


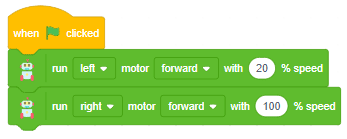
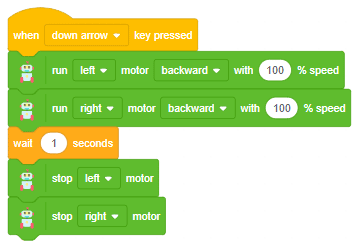
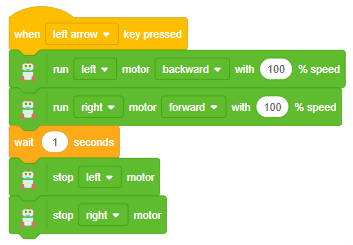
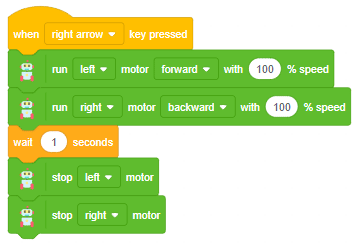
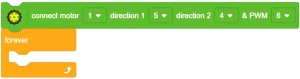
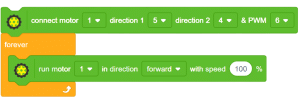
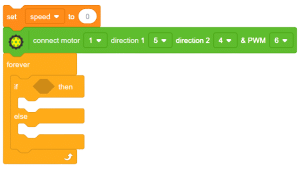
The block sets the specified motor of the Quarky robot to the specified direction (“FORWARD” or “BACKWARD”) and specified speed.
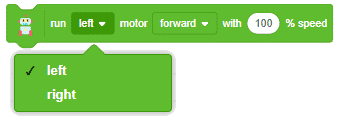

The block sets the specified motor of the Quarky robot to the specified direction (“FORWARD” or “BACKWARD”) and specified speed.


Arduino Uno is a controlling device which is capable to control the things we are connected to it, it is not a power source. motors works on the principle of electromagnetism so draws a lot of load current which can’t be maintained by Arduino, for this we need a motor driver which is integrated circuited (IC) which maintains this load current for the motors.
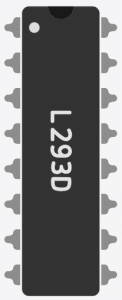
this is of 16 pin chip among which 2 are enable pins used to control the speed of the motor, 4 for the input pins are 4 for output pins for the motors, remaining are GND and VCC.
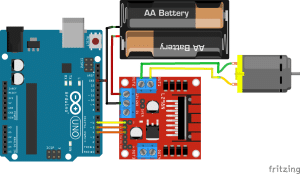
connection.
Arduino uno Motor driver
D5 IN1
D4 IN2
D6 EN1
GND GND
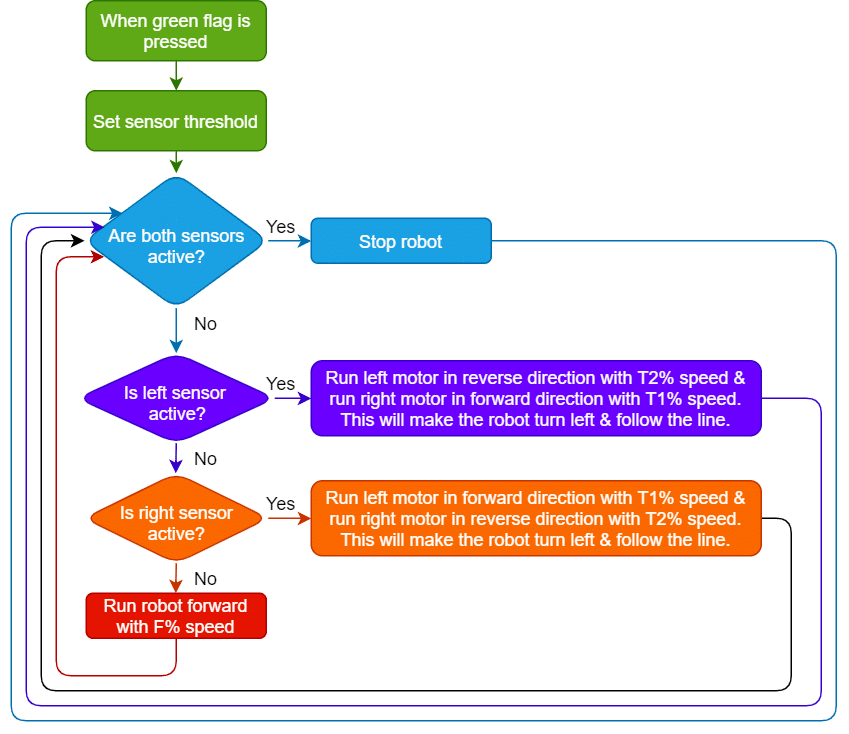
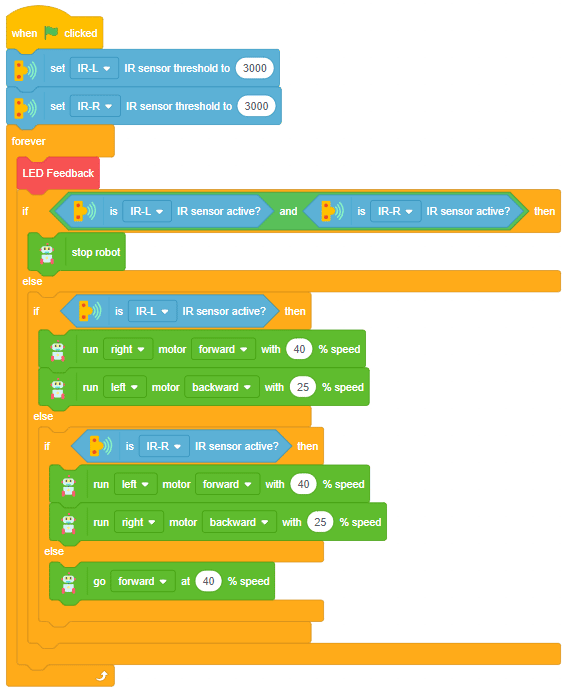
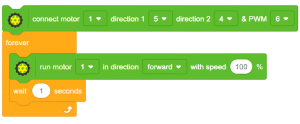
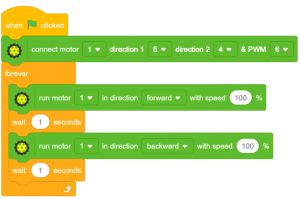
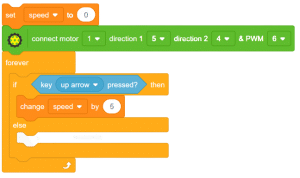
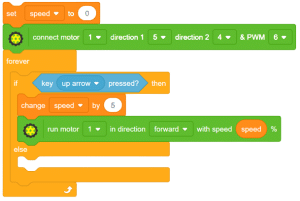
In this example, we will be controlling the direction of rotation of the motor using the motor driver.

Arduino is a controlling device not a power source on the other hand, motors work on the principle of electromagnetism and hence draw a lot of load current which can’t be maintained by Arduino. To overcome this, we need a motor driver which maintains this load current along with the speed and direction control of the motor.
connections
connection.
Arduino uno Motor driver
D5 IN1
D4 IN2
D6 EN1
GND GND

![]()
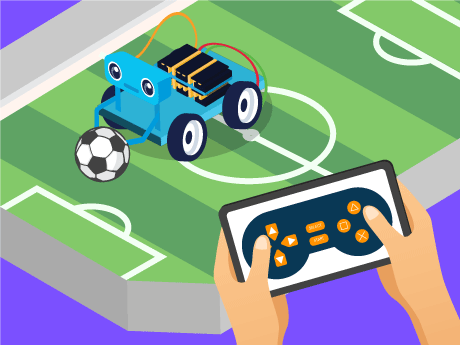
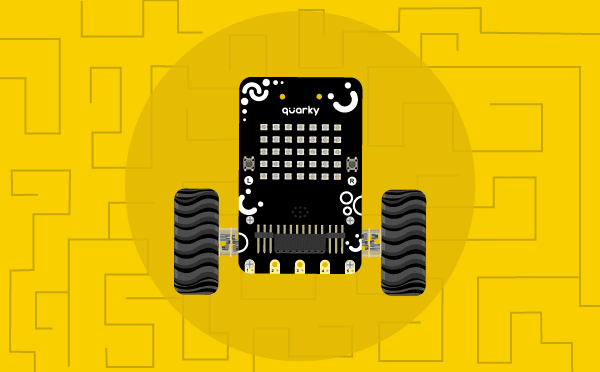
Have you ever wanted to build your own remote-controlled robot — just like the autonomous robots used in warehouses, disaster zones, and space exploration? In this exciting STEM and robotics project, we will program the Quarky robot to be fully controlled by a gamepad controller using PictoBlox’s Block Coding mode. No complex wiring, no advanced programming experience needed — just drag, drop, and drive!
Using the Quarky Expansion Board and PictoBlox’s Dabble extension, we will write a block-coded script that makes Quarky move forward, backward, left, and right; control individual motors; and stop safely — all from the buttons on a gamepad. This is your first step into the world of AI-powered robotics and human-machine interaction!
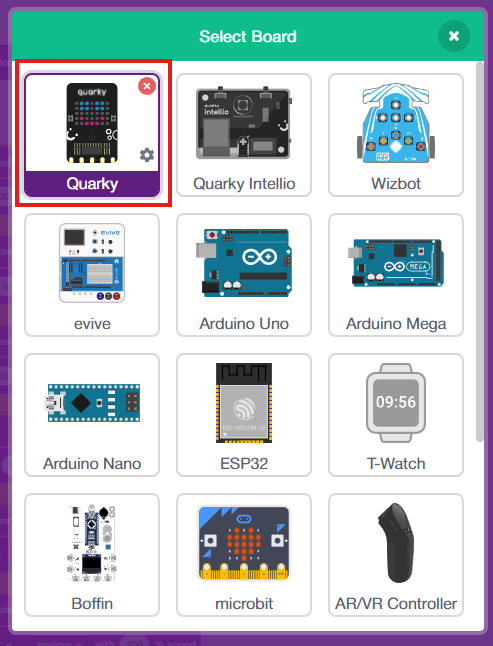
Step 1
Step 2:
Step 3
Remove the Tobi sprite.
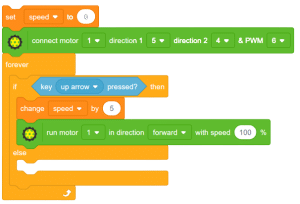
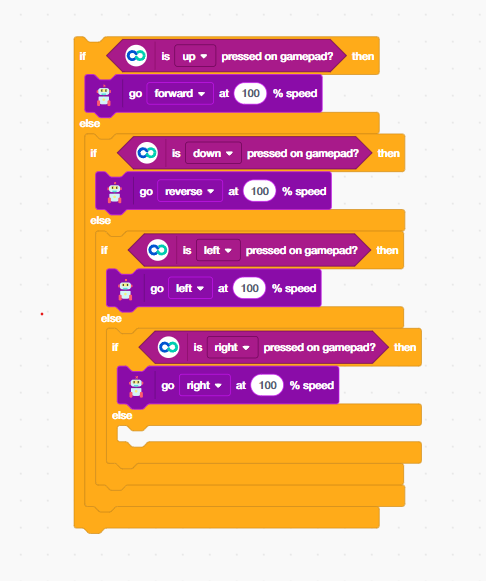
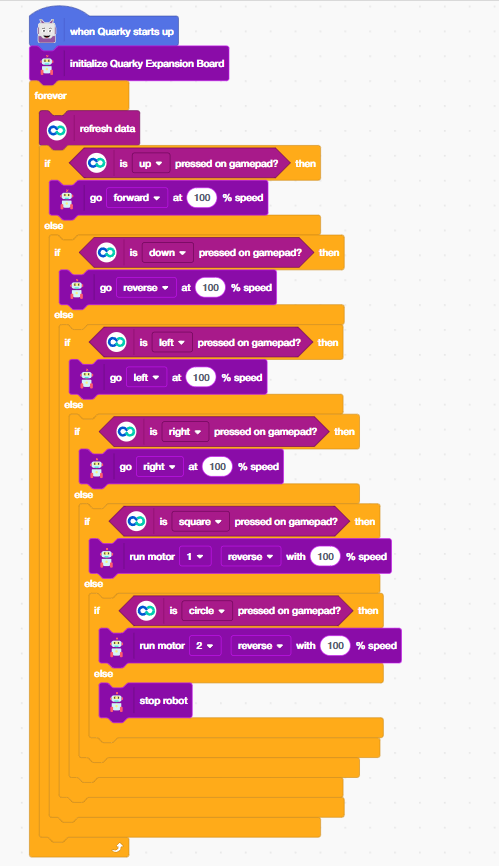
The script runs inside a forever loop that continuously checks which gamepad button is currently being pressed. Based on the button detected, a specific movement command is sent to the Quarky robot. This is called real-time polling — a technique used in robotics, game development, and AI systems to read and react to input states every few milliseconds.
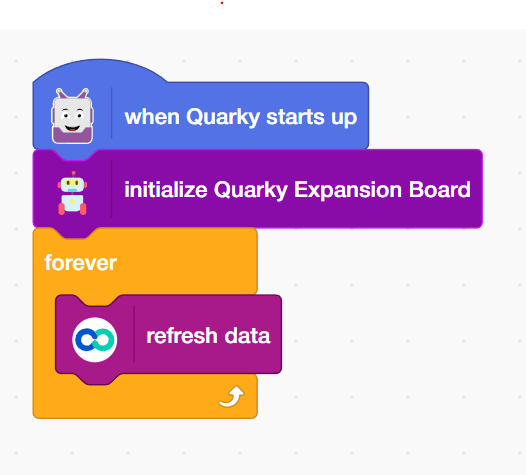
Add the ‘When Quarky starts up’ block from the Quarky palette. The script begins with the ‘When Quarky starts up’ block from the Quarky palette trigger block. This is the entry point of the entire programme. Everything that follows runs automatically when Quarky is switched on and the script is started in PictoBlox.
Add the ‘Initialise Quarky Expansion Board’ block, which sets up communication between PictoBlox and the physical Quarky Expansion Board, enabling motor control, sensor reading, and gamepad input.
Add the ‘Forever’ block from the Control Palette. It wraps the entire control logic in an infinite loop so that Quarky continuously checks for gamepad inputs and reacts without any delay or gap.
Add the ‘Refresh Data’ block from the Dabble extension. Updates all sensor and controller data at the start of each loop cycle, ensuring Quarky is always responding to the most current gamepad state.
Add ‘stop robot’ block, sends a stop signal to all motors, bringing Quarky to a complete halt. In AI-controlled robots, having a reliable stop condition prevents runaway behaviour and is a core requirement of safe autonomous systems design.

Connect your Quarky to Dabble → Open Gamepad → Start controlling your Quarky Robo Soccer!
Congratulations! You have successfully programmed the Quarky robot to respond to gamepad input using PictoBlox Block Coding. In this project, you:
These skills — real-time input polling, conditional logic, motor control, and fail-safe design — are the exact same building blocks used by robotics engineers and AI developers around the world. You are not just playing with a robot; you are learning the language of machines!