What is IFTTT?
IFTTT is short for If This Then That, and is the best way to integrate apps, devices, and services. It helps devices, services, and apps work together in new and powerful ways.
IFTTT has founded on the belief that everything works better together. Tech incompatibility has become challenging for anyone trying to build a smart home or create automatic routines in their life. IFTTT makes it easy.
Create IFTTT Account
Follow the steps:
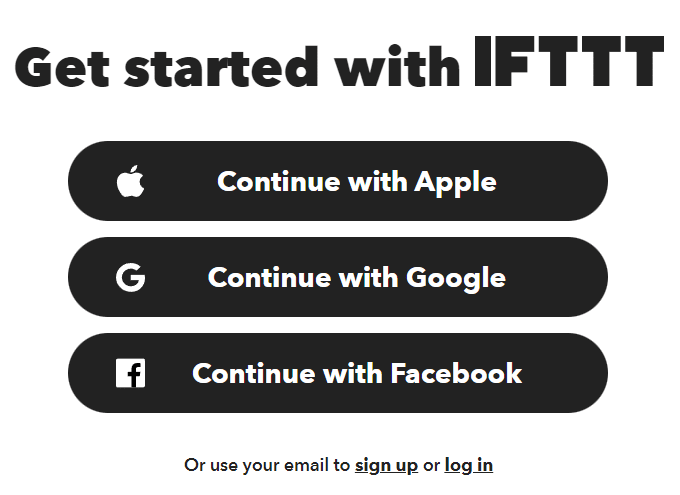
- Go to the IFTTT website and click on Sign UP: https://ifttt.com/explore
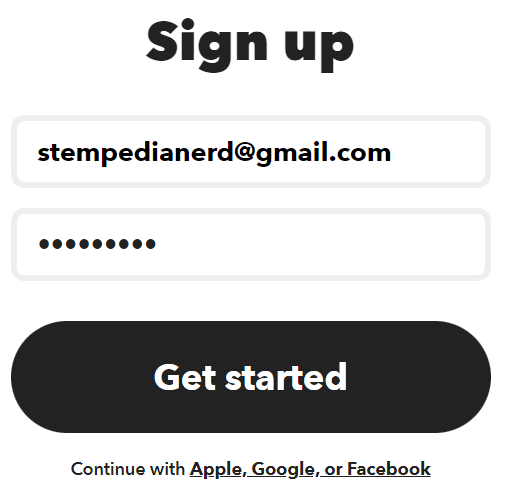
- Add your email ID and password. Click on Get Started.
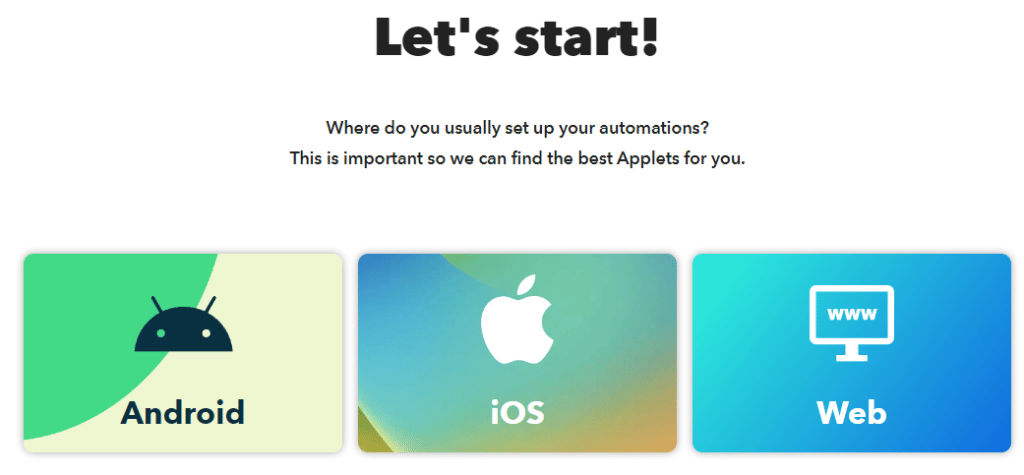
- Select the appropriate device.
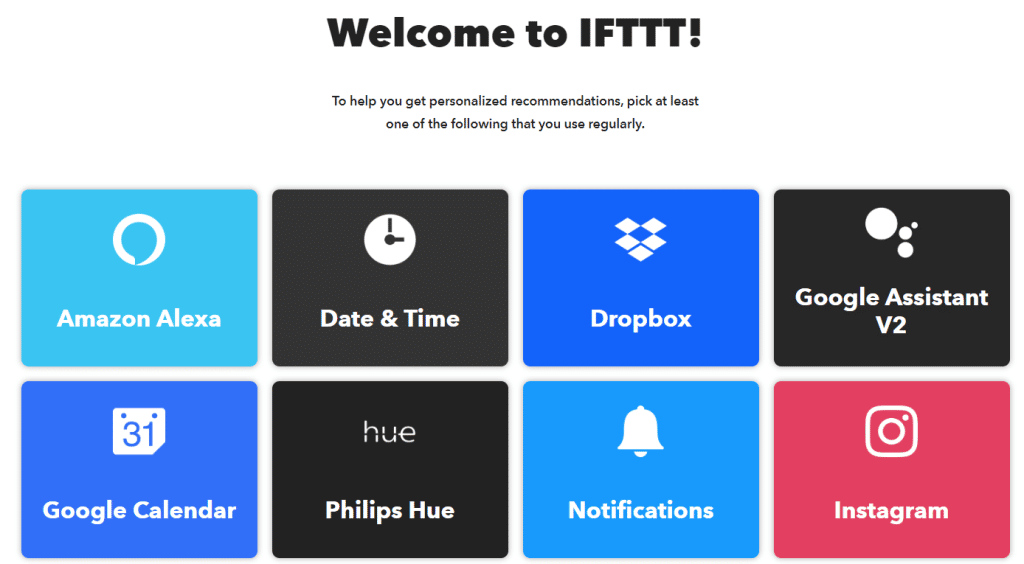
- Choose any of the Applets and go forward.
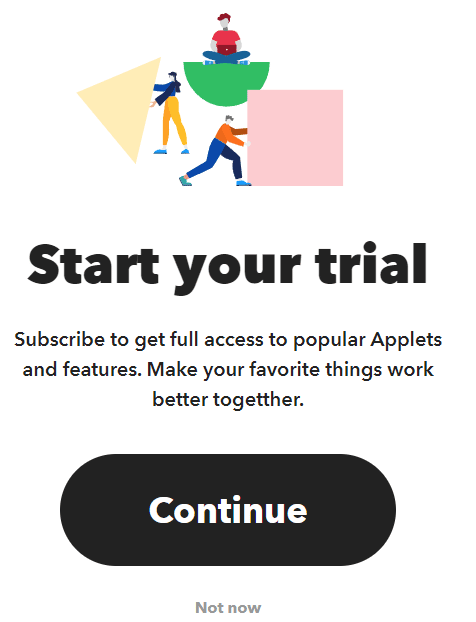
- You will see Start Your Trail. Click on Not Now.
Your Account is Ready.
Install IFTTT on Phone
- Android: https://play.google.com/store/apps/details?id=com.ifttt.ifttt
- iOS: https://apps.apple.com/app/apple-store/id660944635
Creating an IFTTT Workflow
In this example we are going to create a workflow where when the flame is detected on the IoT house, a webhook request is sent to IFTTT by Quarky. On receiving the request, an SMS will be sent to the designated phone number as an alert.
Follow the steps:
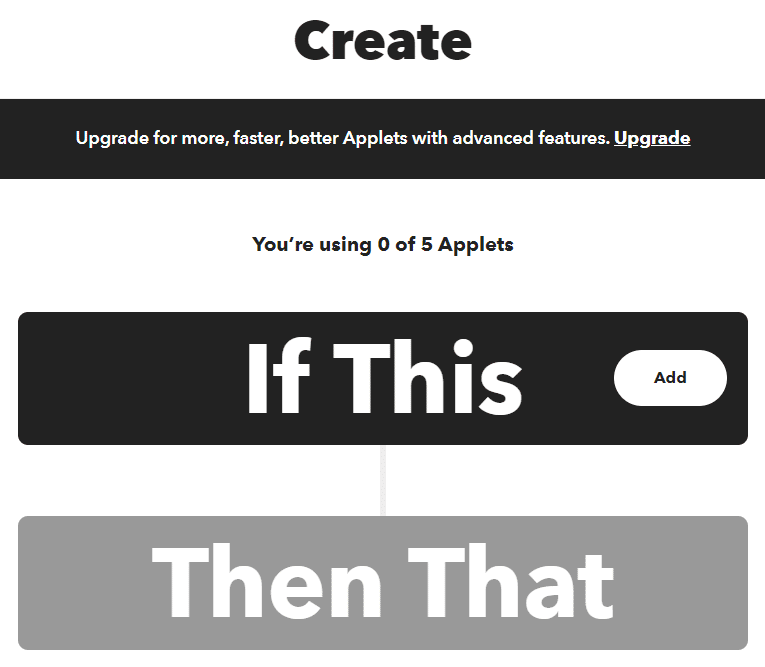
- Click on Create on the Menu.

- You will see the IFTTT flow. You have to click on Add.
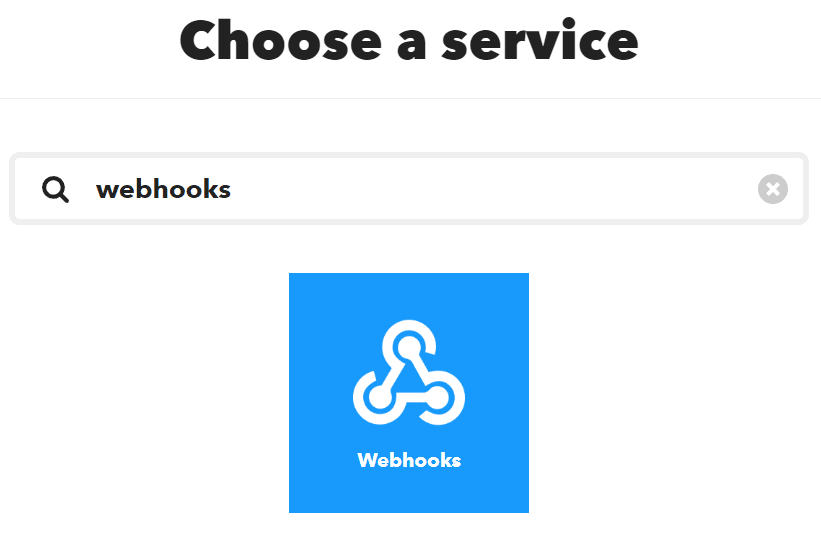
- Next, you have to choose Webhooks as a service.
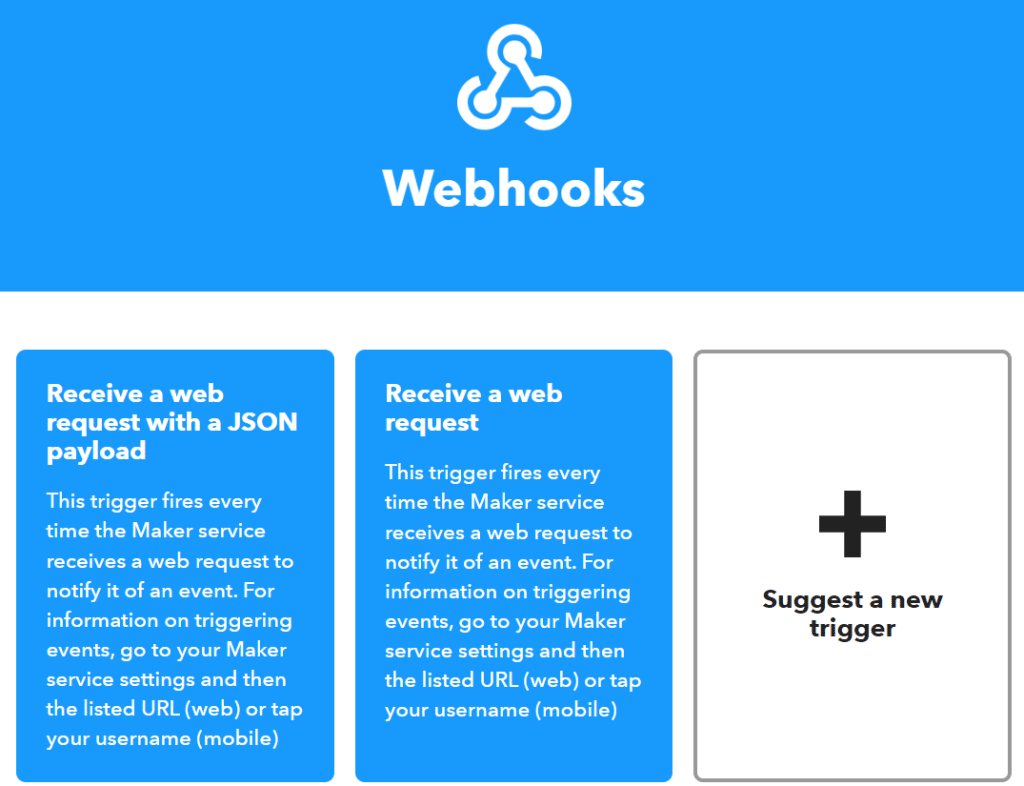
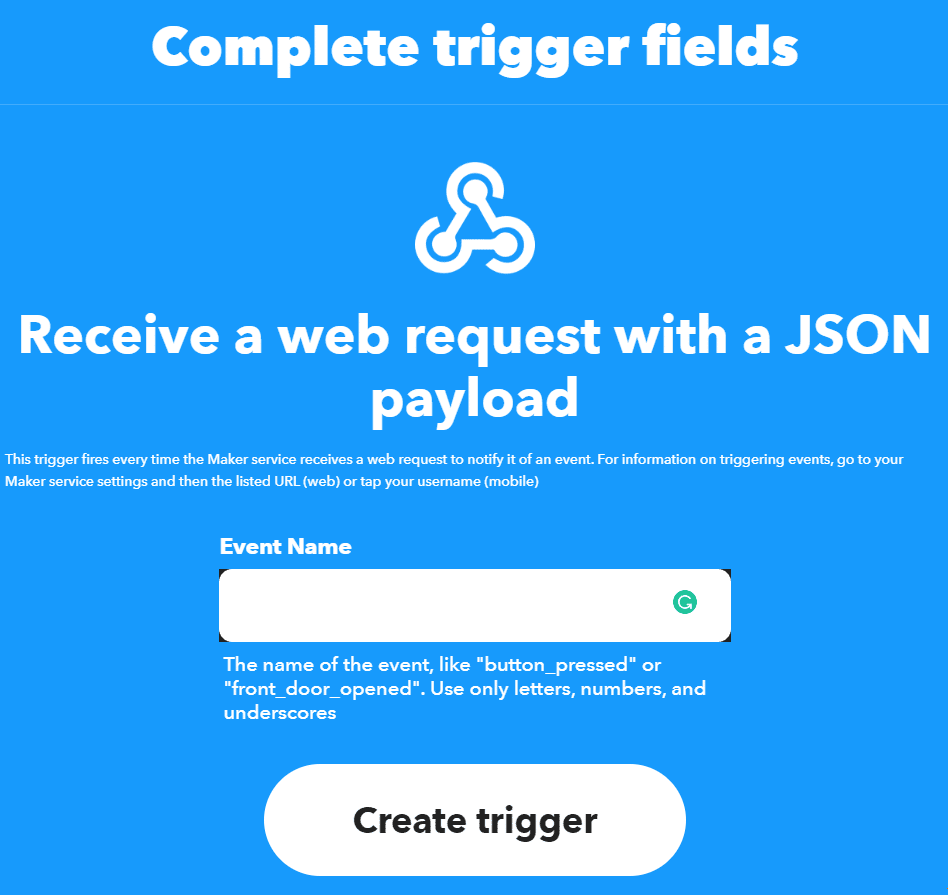
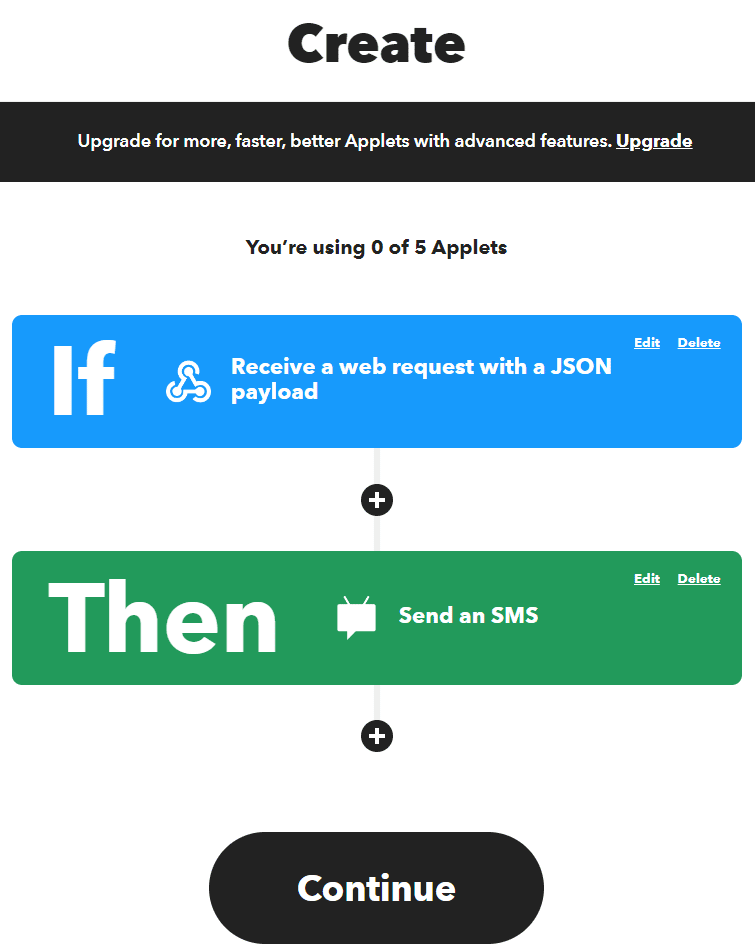
- Inside webhooks, there are 2 options. Select – Receive a web request with a JSON payload.
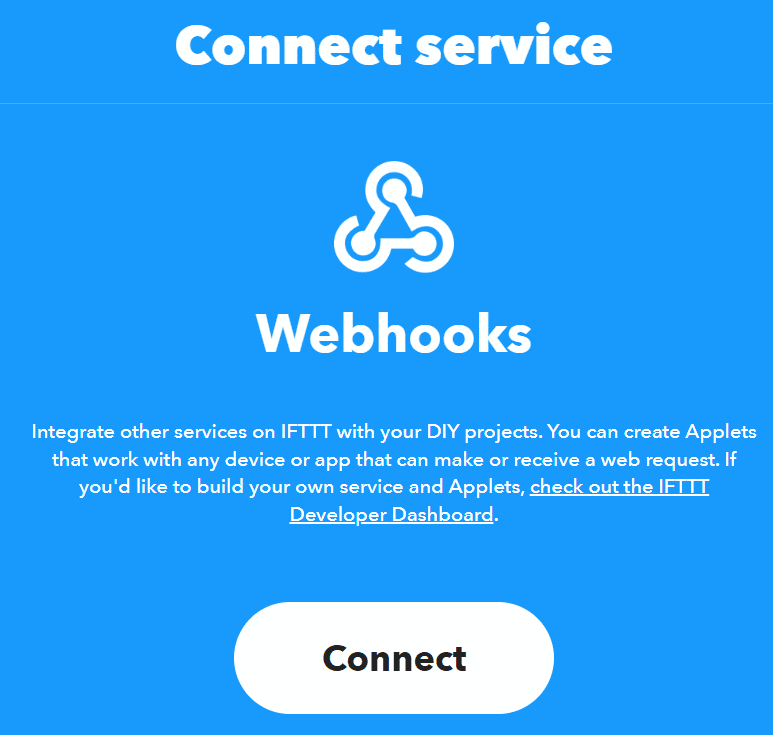
- Next, you have to connect the service. Click on Connect.
- Finally, give the name of the event. For this example let’s give Fire_Alert.
- Our IF is now complete. Click on Add.
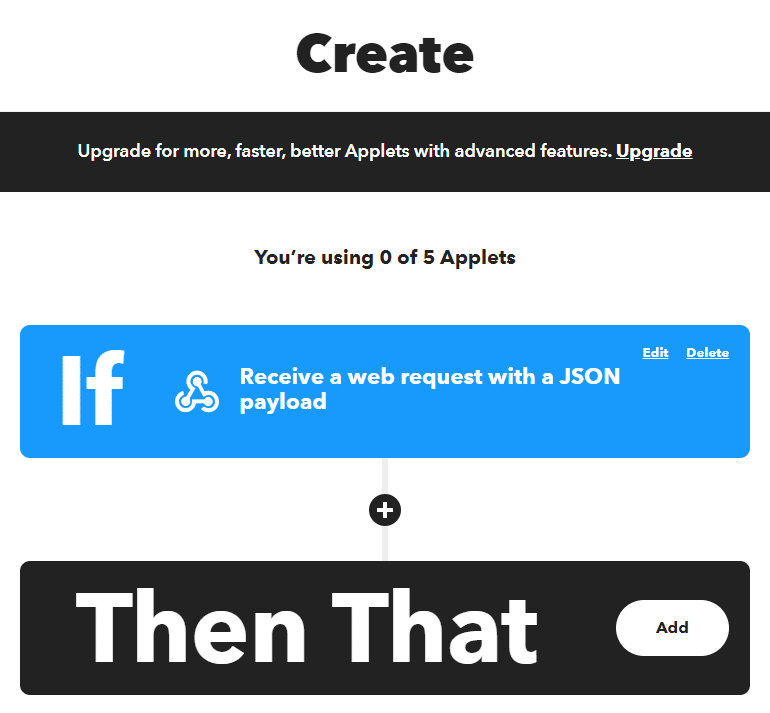
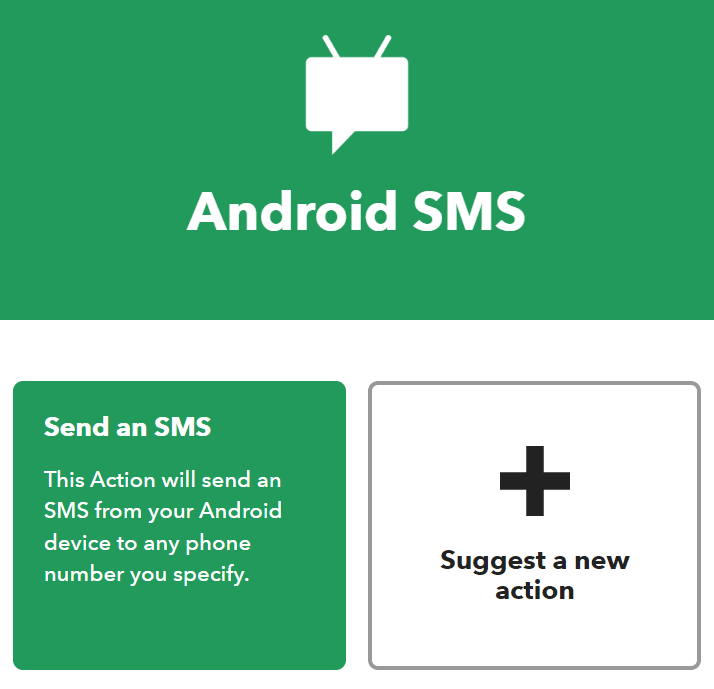
- Choose Android SMS as the service.

- Choose – Send an SMS.
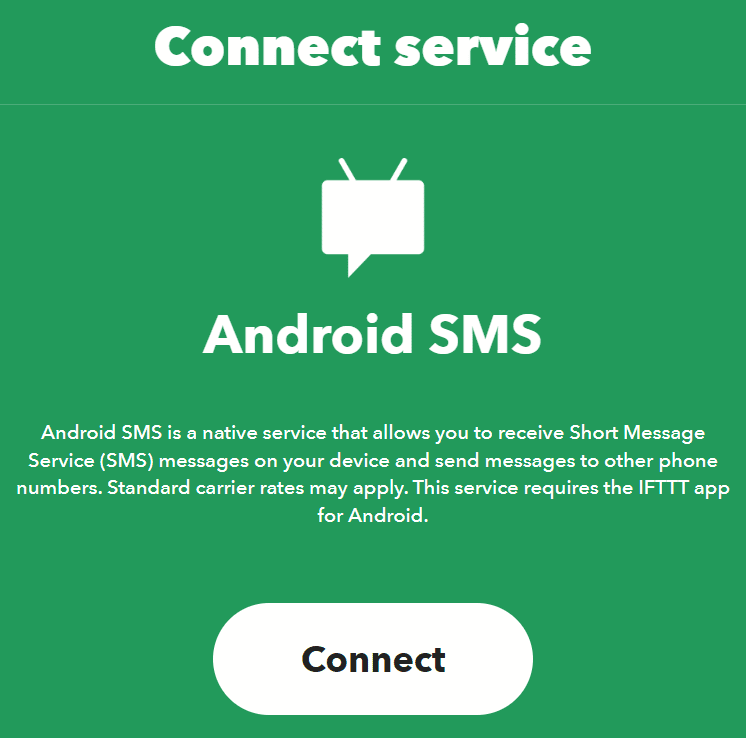
- Next, you have to connect the service. Click on Connect.
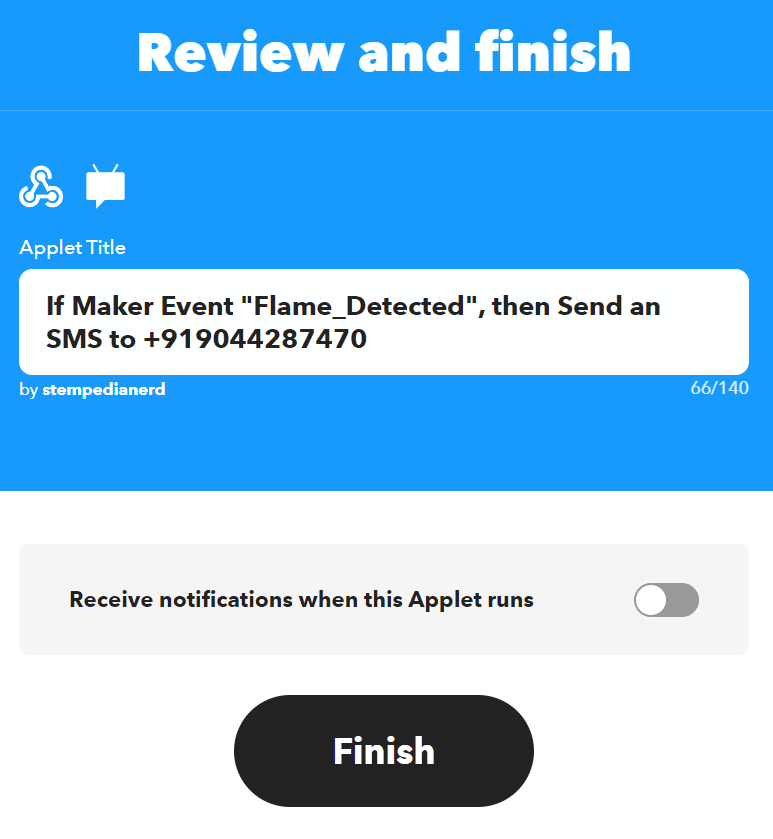
- Add your phone number and the message. Click on Create Action.

- The Action is also complete. Click on Continue.
- Review and click on Finish.
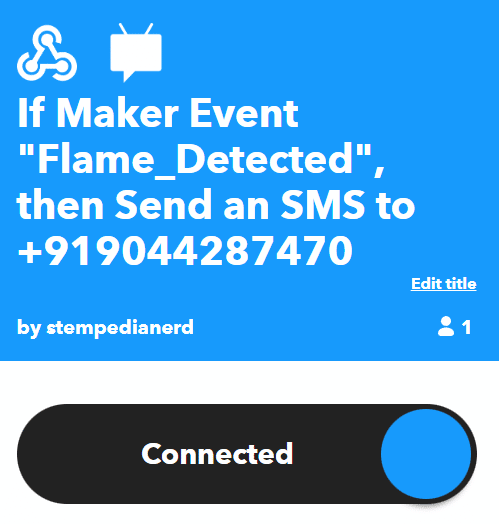
- Your IFTTT workflow is set.
Accessing IFTTT Webhooks Extension in PictoBlox
Following is the process to add IFTTT Webhooks capability to the PictoBlox Project.
- Open PictoBlox and create a new file.

- Select the coding environment as Block Coding.

- Next, click on the Add Extension button and add the IFTTT Webhooks extension.
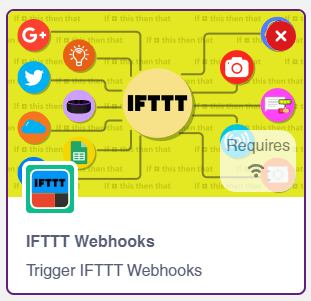
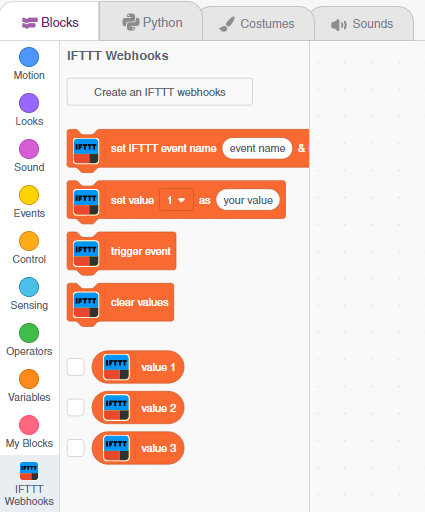
- You can find the IFTTT Webhooks blocks available in the project.
Webhook API Key
The webhook setting can be found here: https://ifttt.com/maker_webhooks/settings
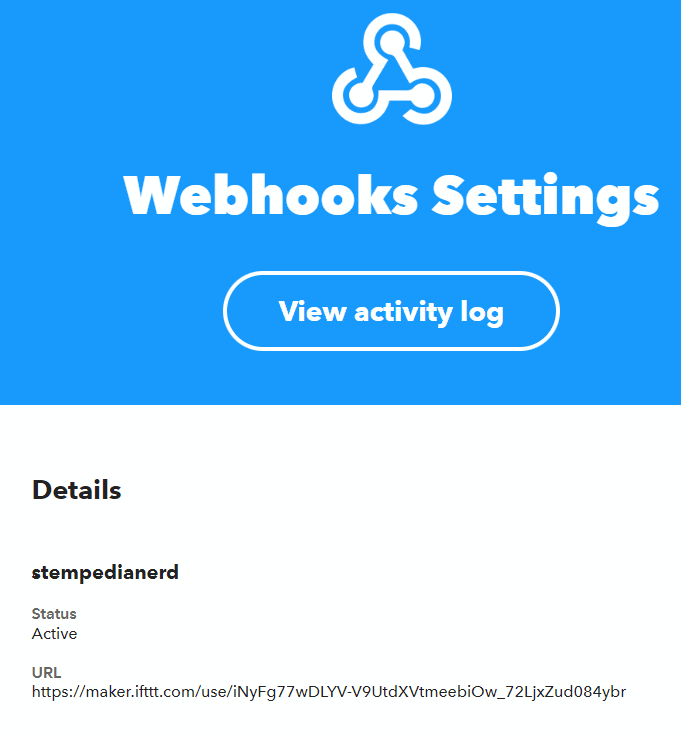
On visiting the URL you will find the API Key: