Sensors (Quarky)
-
 Available in: Block Coding, Python Coding
-
 Mode: Stage Mode, Upload Mode
-
 WiFi Required: No
-
 Compatible Hardware in Block Coding: Quarky
-
 Compatible Hardware in Python: Quarky
-
 Object Declaration in Python: quarky = Quarky()
-
 Extension Catergory: Quarky
Introduction
The Sensor extension allows the users to read and interact with the various sensors of the Quarky robot.
Connecting Quarky with PictoBlox
Let’s begin by first connecting Quarky to PictoBlox. Select your preferred type of device i.e. either the desktop/laptop or your smartphone and follow the instructions.
Desktop
Follow the steps below for connecting Quarky to PictoBlox:
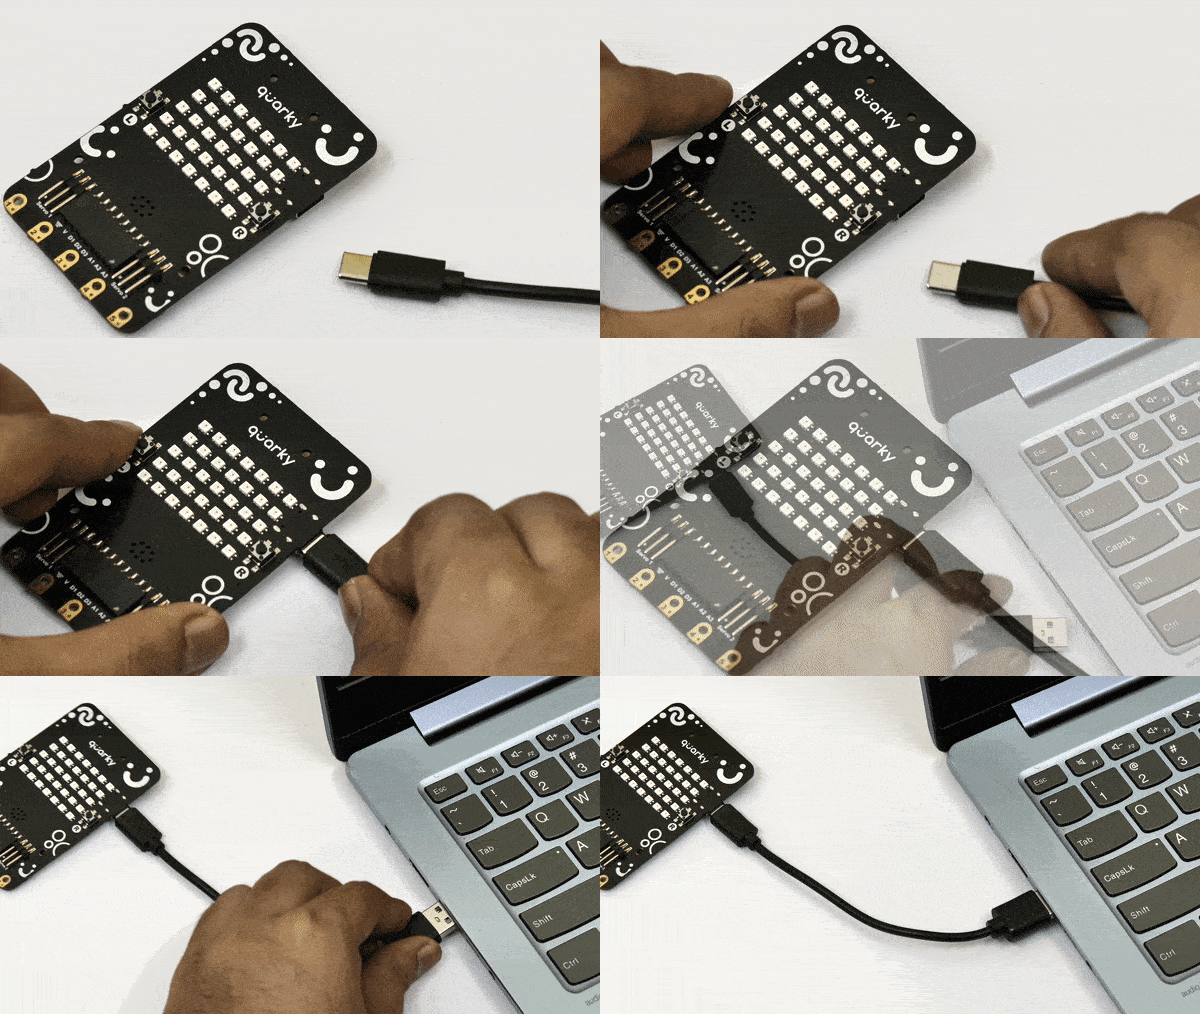
- First, connect Quarky to your laptop using a USB cable.
- Next, open PictoBlox on your desktop.
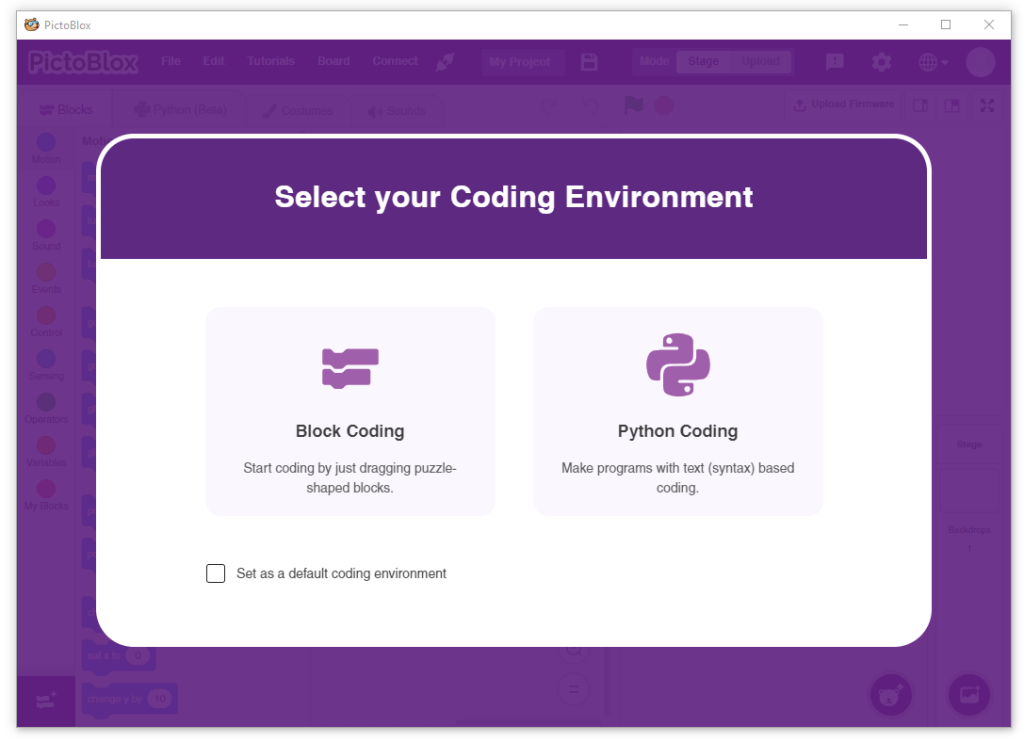
- After that, select Block or Python Coding as your coding environment.
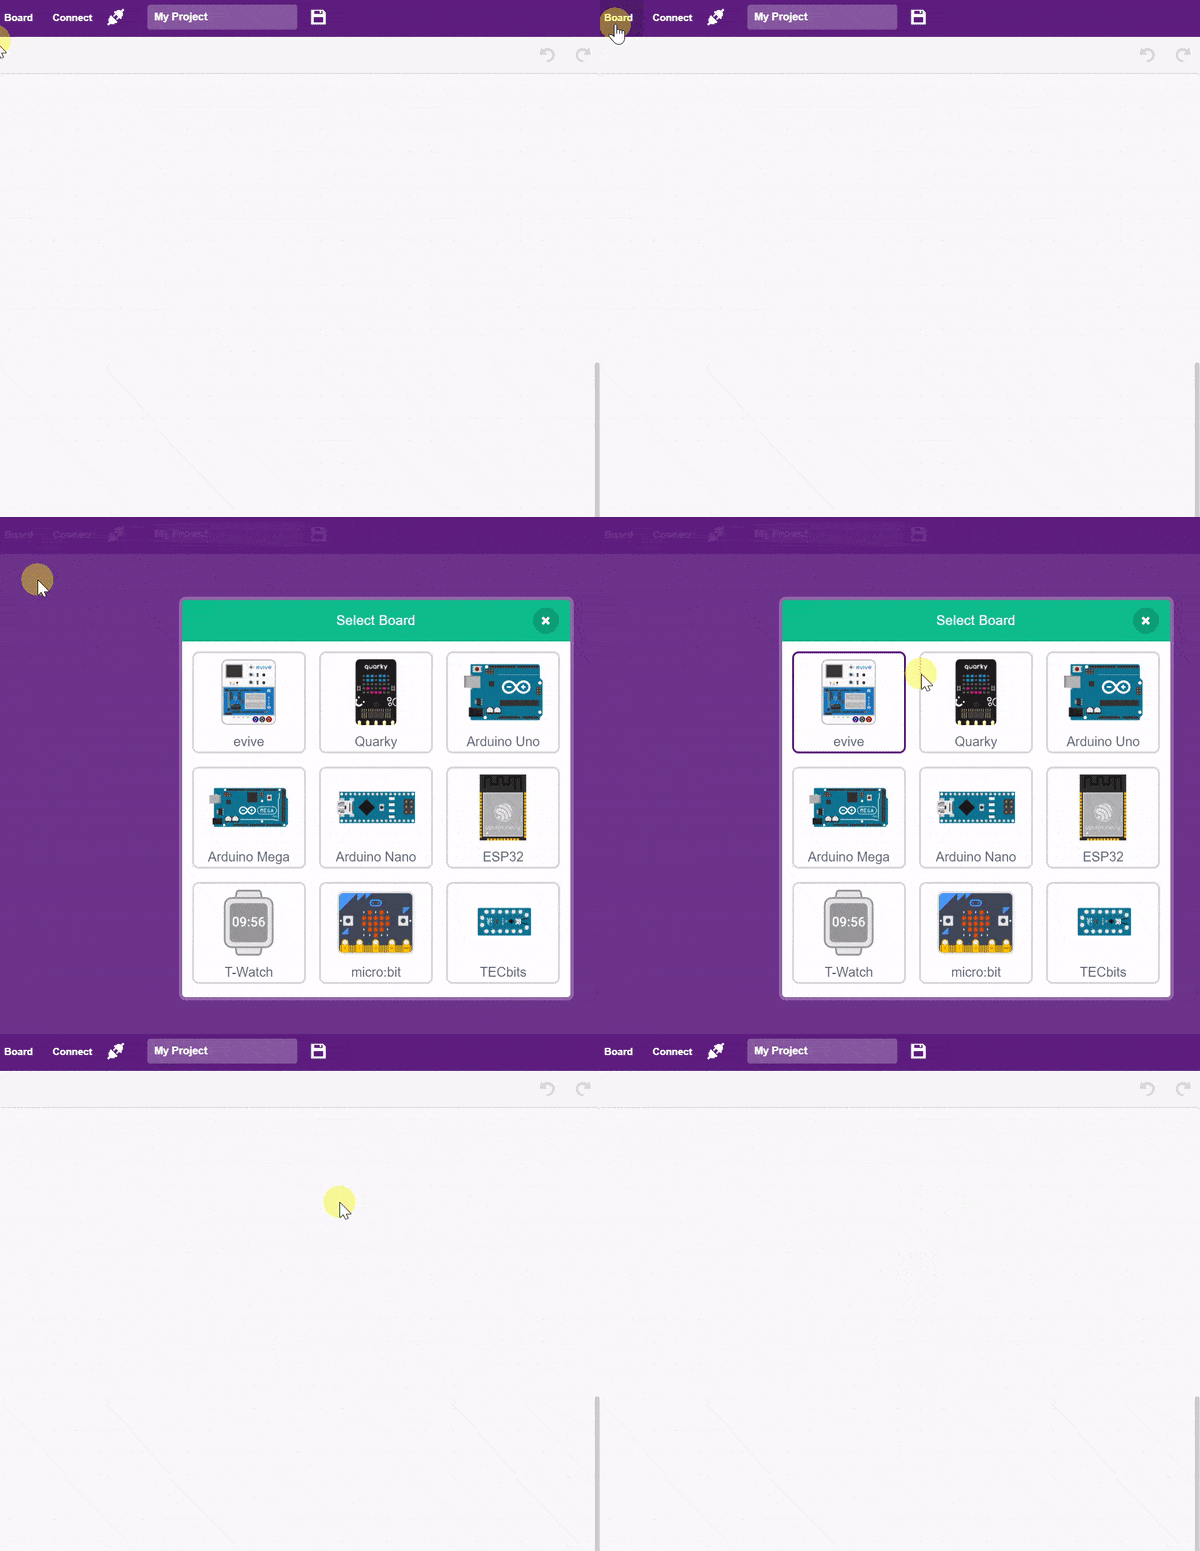
- Then, click the Board button in the toolbar and select board as Quarky.
- Next, select the appropriate Serial port if the Quarky is connected via USB or the Bluetooth Port if you want to connect Quarky via Bluetooth and press Connect.
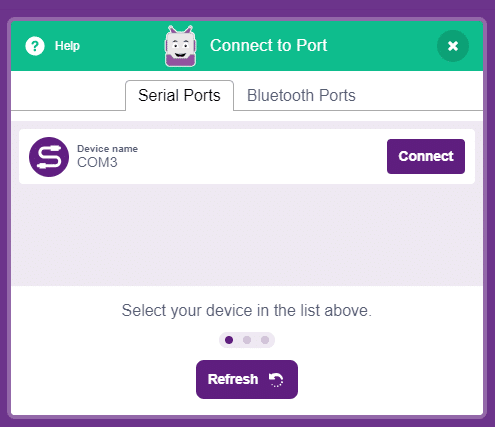
And voila! Quarky is now connected to PictoBlox.
Mobile
Follow the steps below for connecting Quarky to PictoBlox:
- First, power ON Quarky.
- Open PictoBlox on your smartphone. Go to My Space and make a new project by clicking the ‘+(plus)’ button in the bottom-right corner.
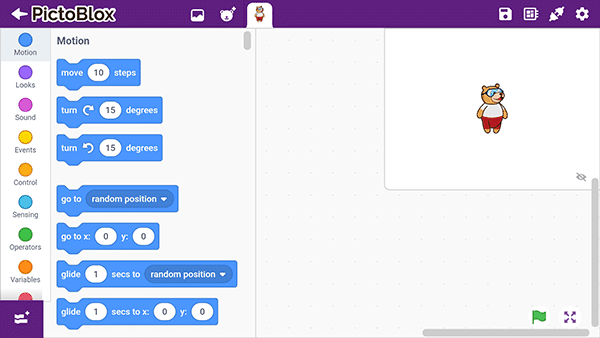
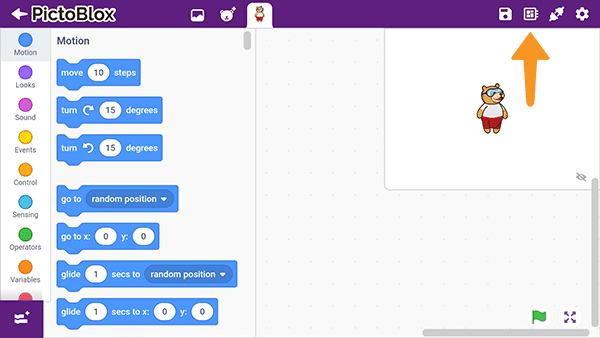
- Then, tap the Board button in the top-right corner of the toolbar.
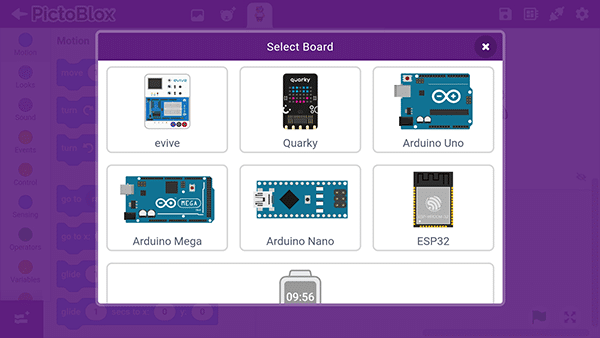
 Select board as Quarky.
- Next, tap the Connect button:
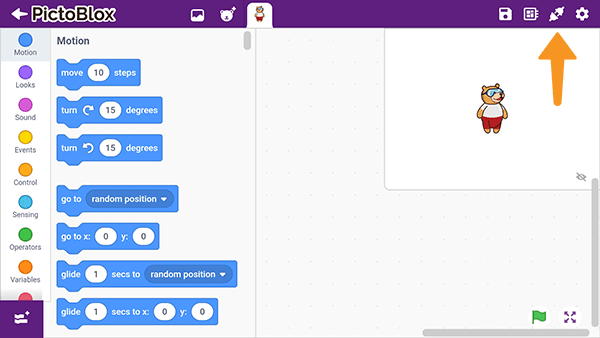 Select your device from the list.
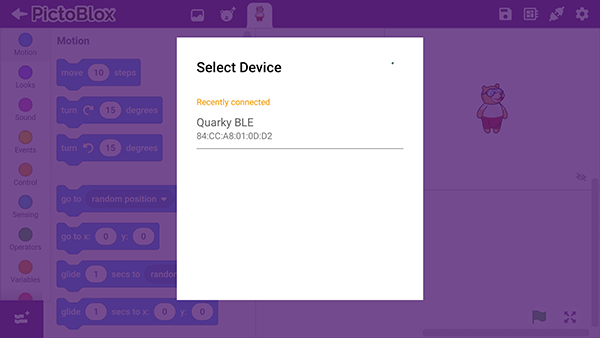
And voila! Quarky is now connected to PictoBlox.
Stage Mode
Stage mode is one of the two modes you can write your programs in Pictoblox. In this mode, you can write scripts for the sprite and boards to interact with sprites in real-time. If you disconnect the board with Pictoblox, you cannot interact with the board anymore. In this mode, you can make games and animation interacting with Quarky.
You can toggle between the upload mode and stage mode using the button on the top right side of Pictoblox.


In Python Coding Environment, use the following object declaration to use Python functions in Stage Mode:
quarky = Quarky()Upload Mode
Upload mode is one of the two modes you can write your programs in Pictoblox. This mode allows you to write scripts and upload them to the board so that you can use them even when it is not connected to your computer, for example, you need to upload a script for making moving robots.
In this case, Quarky will run offline according to the program and it can not interact with the stage.
In Python Coding Environment, use the following object declaration to use Python functions in Upload Mode:
from quarky import *


