


Introduction
Introduction
A piezoelectric sensor is a type of sensor that uses the piezoelectric effect to measure changes in pressure, acceleration, force, temperature, and other physical quantities. The piezoelectric effect is a phenomenon in which certain materials generate an electric charge in response to mechanical stress or deformation. This property makes piezoelectric sensors useful for a wide range of applications where accurate measurements of mechanical changes are required. Here’s how piezoelectric sensors work:
- Piezoelectric Material: Piezoelectric sensors are constructed using materials that exhibit the piezoelectric effect, such as quartz, certain ceramics, and some polymers. These materials have a crystalline structure that allows them to generate an electric charge when subjected to mechanical pressure or deformation
- Applications: Piezoelectric sensors find applications in various fields:
- Pressure Sensing: Measuring changes in pressure in industrial, medical, and automotive applications.
- Acceleration and Vibration Monitoring: Detecting vibrations and accelerations in devices, structures, and machinery.
- Acoustic and Sound Detection: Capturing sound waves for microphones and other acoustic applications.
- Force Measurement: Measuring forces in materials testing, robotics, and biomechanics.
- Temperature Compensation: Piezoelectric materials can be used for temperature compensation in electronic components.

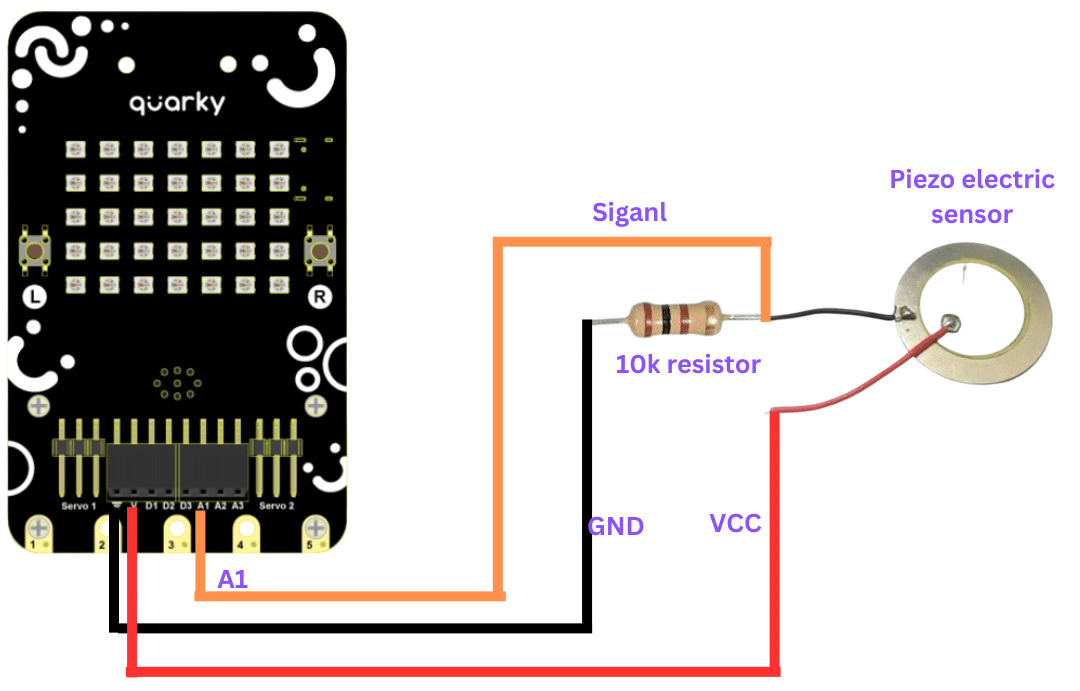
Circuit Diagram
Code
- Open Pictoblox and create a new file.
- Goto boards and select Quarky.
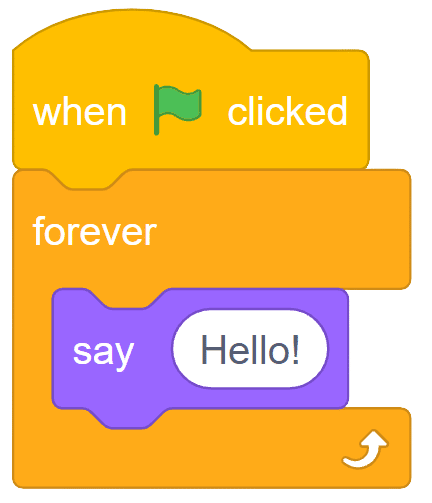
- Add ” When Flag Clicked” from the event palette into the scripting area.

- Add Forever ” block from the controls palette.

- From looks palette drag “say() ” block into the scripting area and place it inside the forever block.
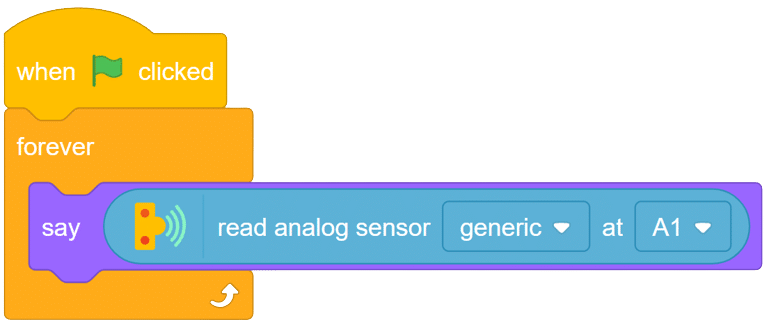
- From Sensor palette of Quarky, Drag ‘Read analog sensor () at ()” and place it inside the say block. Choose generic from the drop-down.

- Your final script will look like this.
Output
Now to read the different changes from the sensor, hit the sensor with your punch and you will see the change in sensor value shown by your sprite.
OUTPUT Gifs will be updated soon.