


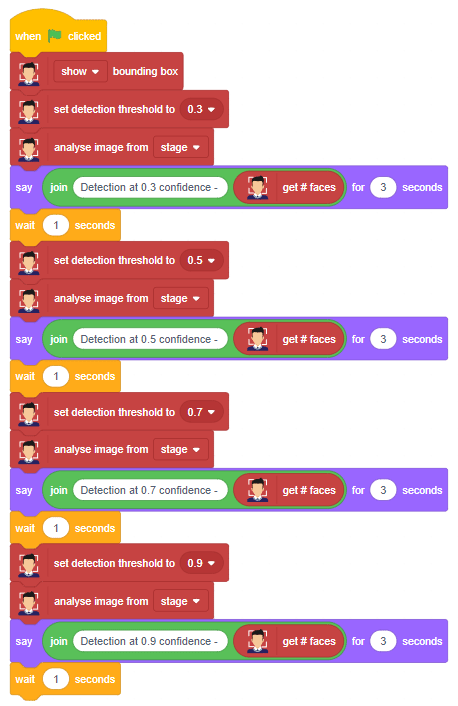
The block enables or disables the automatic display of the box on face detection on the stage. This is useful when you want to see if the face detection happens during the analysis or not.
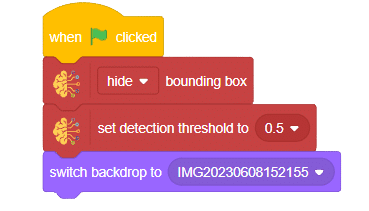
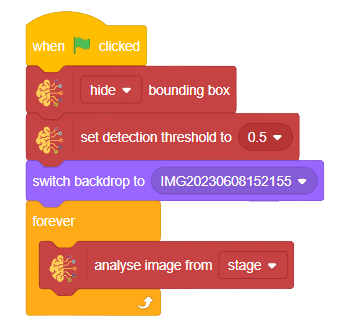
Script
Output

The block enables or disables the automatic display of the box on face detection on the stage. This is useful when you want to see if the face detection happens during the analysis or not.
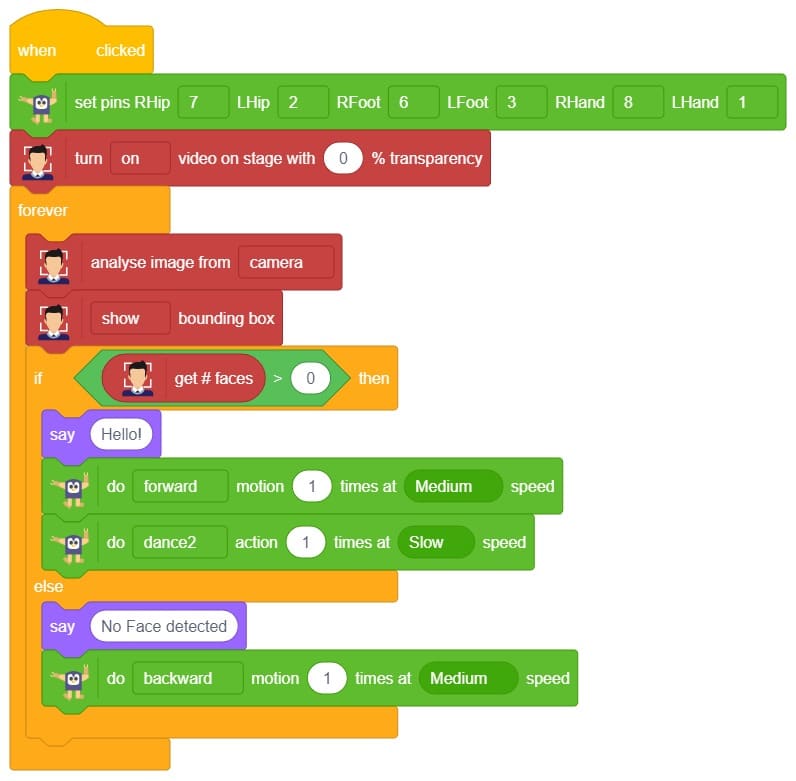
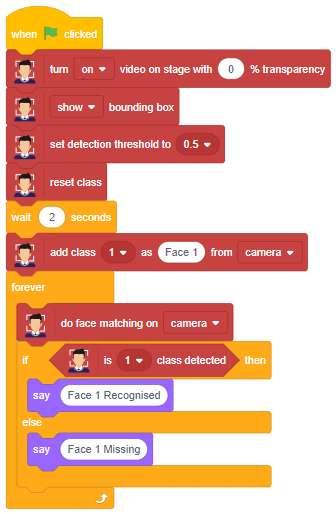
The example demonstrates the application of face recognition with a camera feed. Following are the key steps happening:

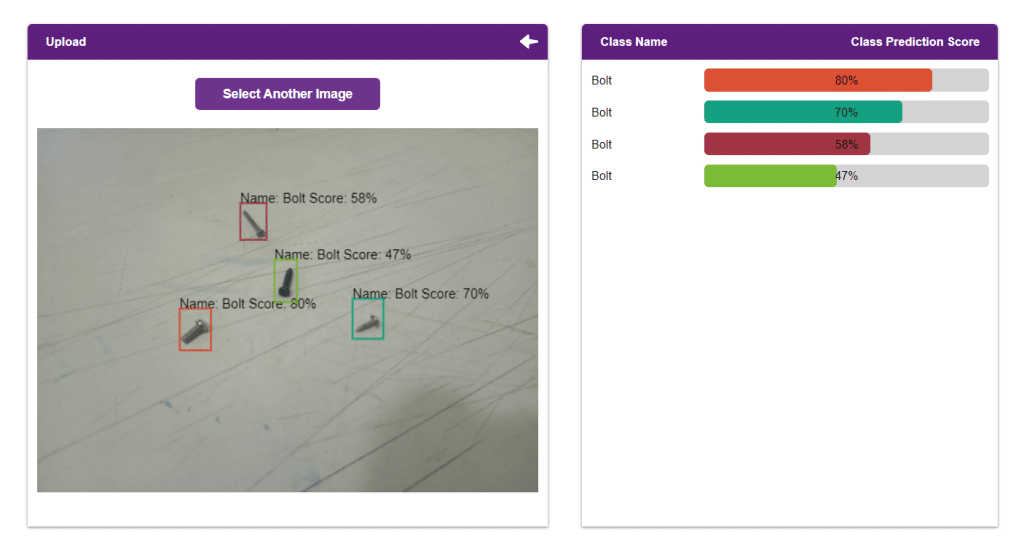
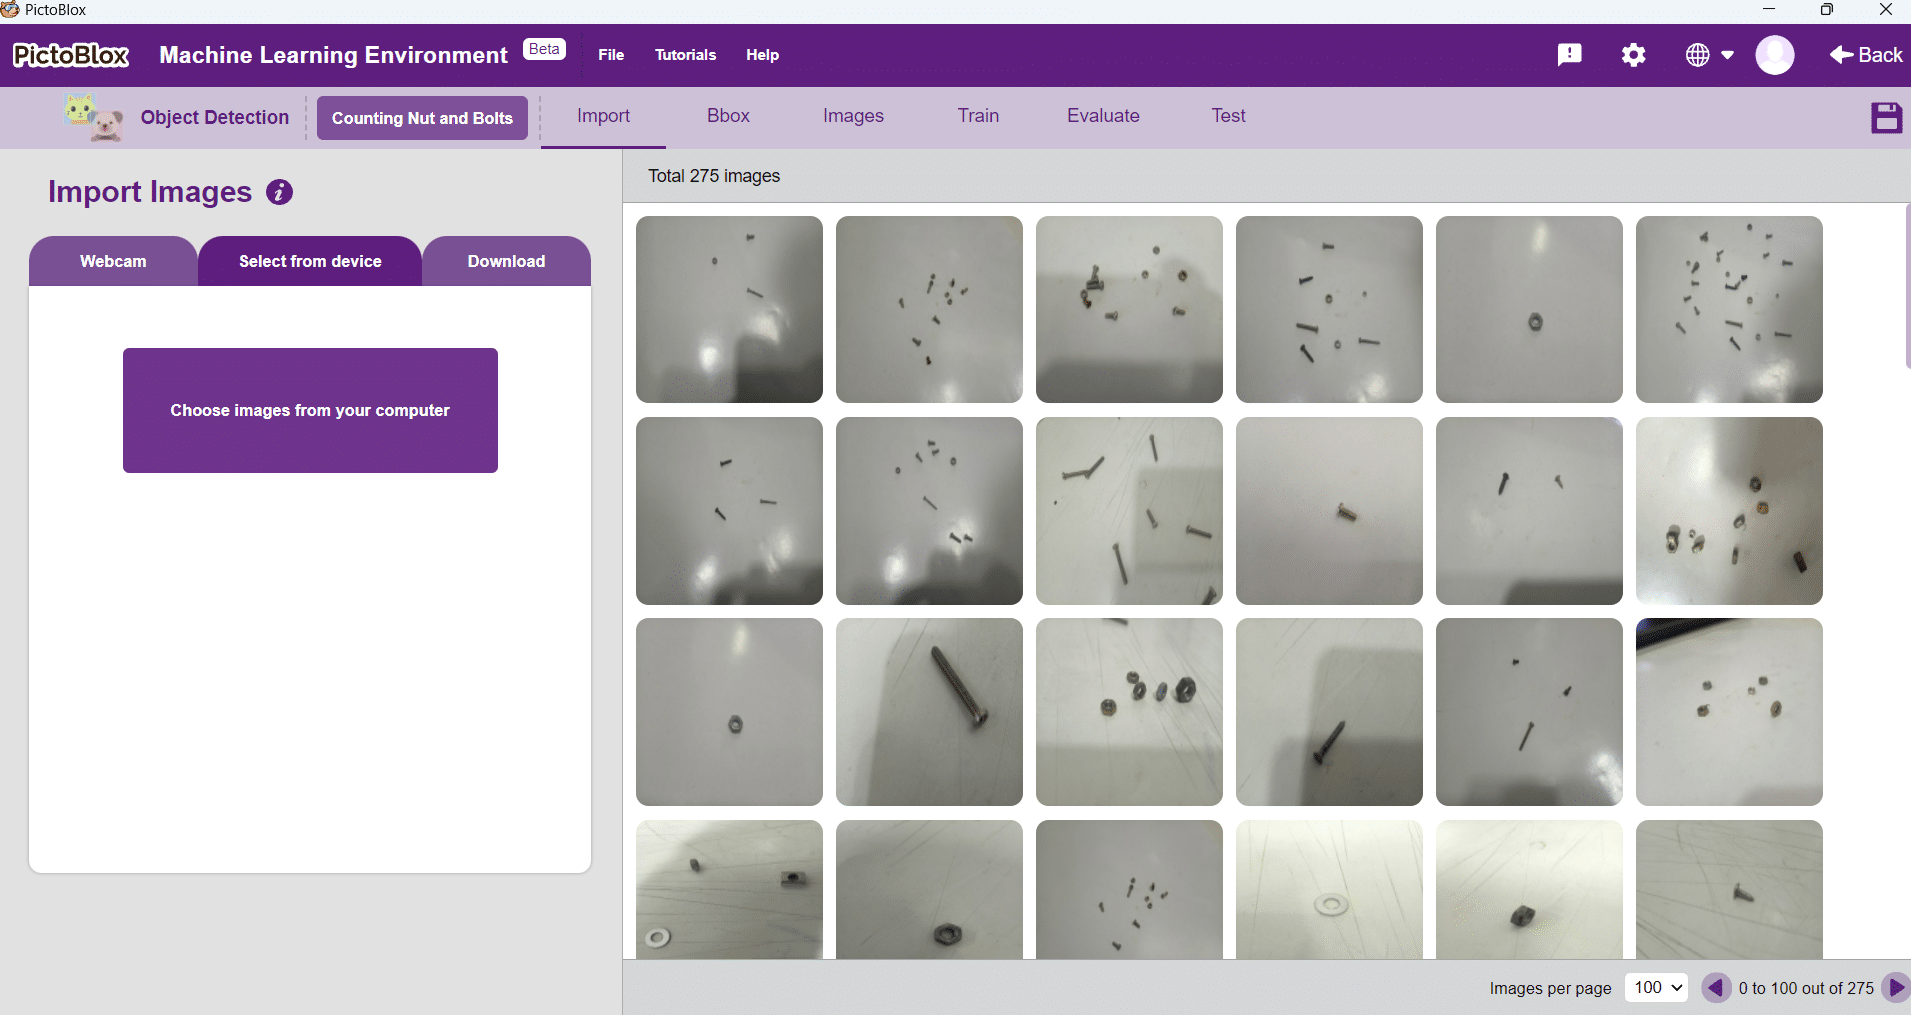
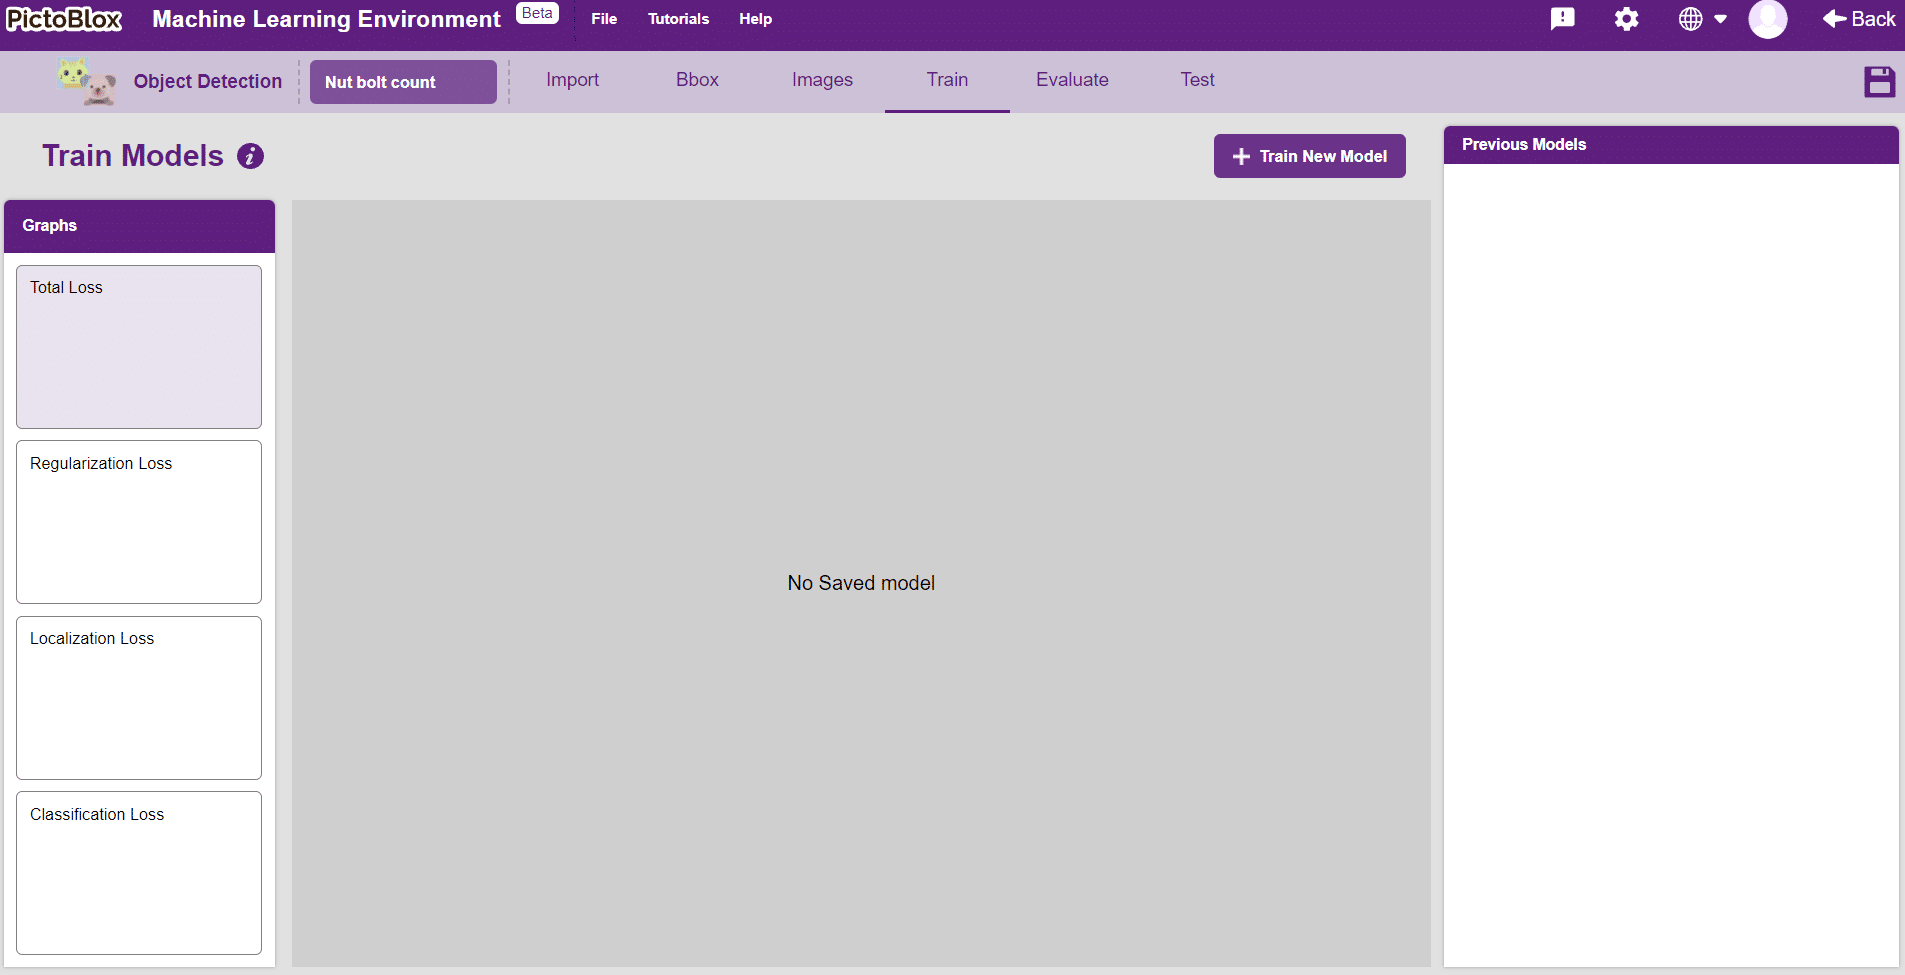
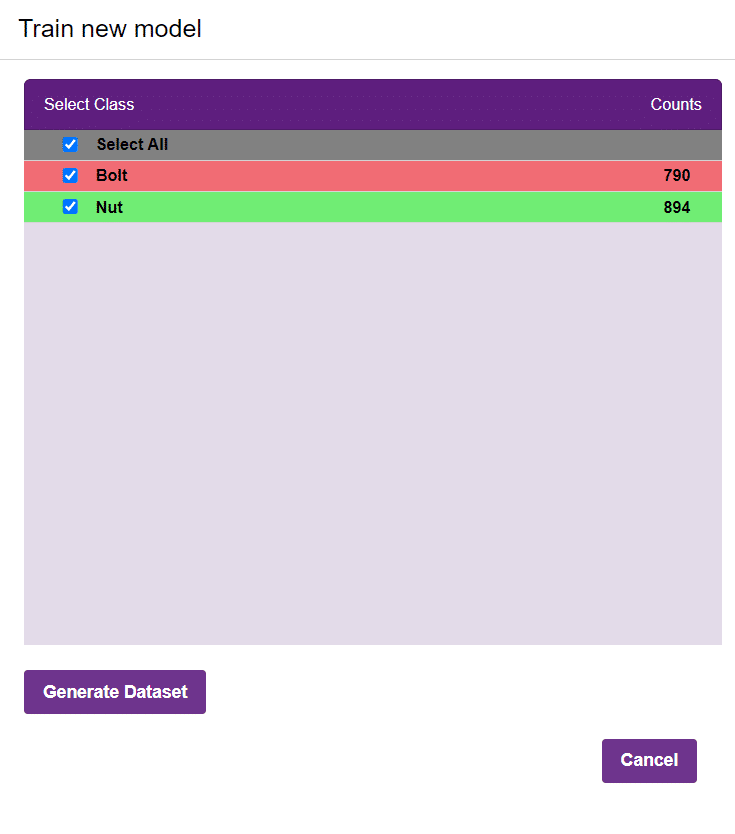
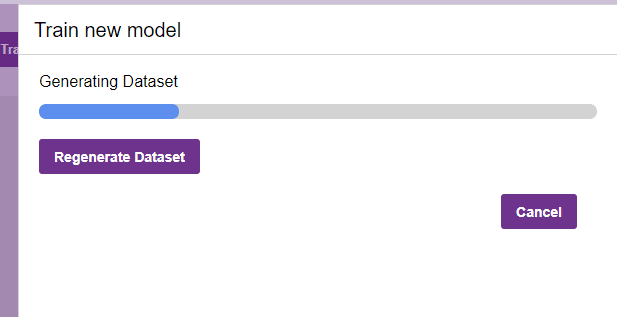
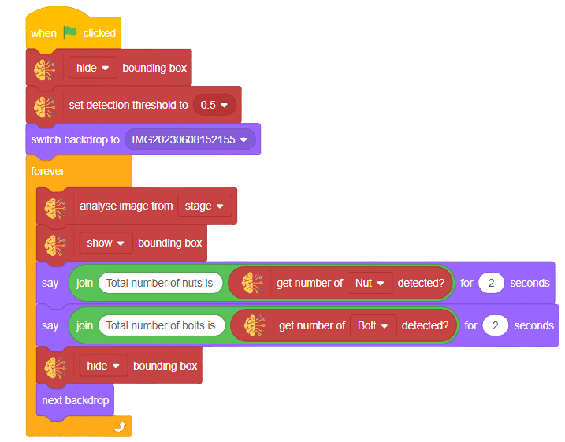
In this example project we are going to create a Machine Learning Model which can count number of nuts and bolts from the camera feed or images.
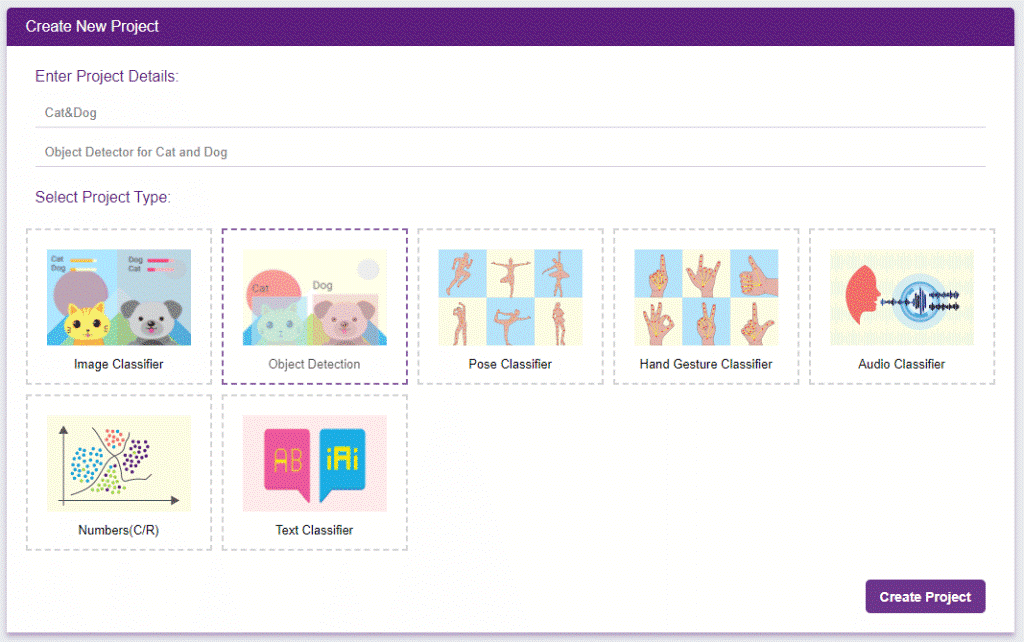
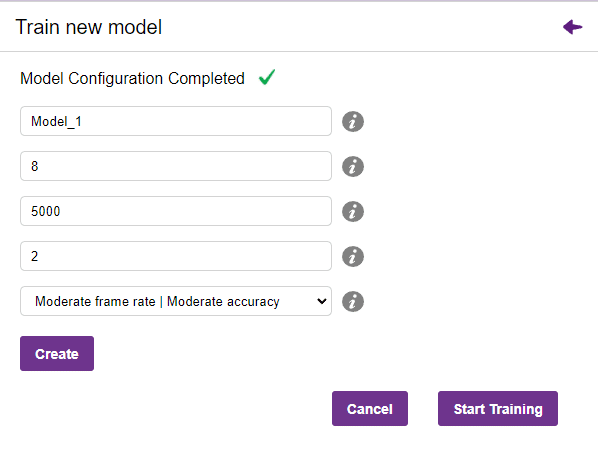
Object Detection is an extension of the ML environment that allows users to detect images and making bounding box into different classes. This feature is available only in the desktop version of PictoBlox for Windows, macOS, or Linux. As part of the Object Detection workflow, users can add classes, upload data, train the model, test the model, and export the model to the Block Coding Environment.

Alert: The Machine Learning Environment for model creation is available in the only desktop version of PictoBlox for Windows, macOS, or Linux. It is not available in Web, Android, and iOS versions.
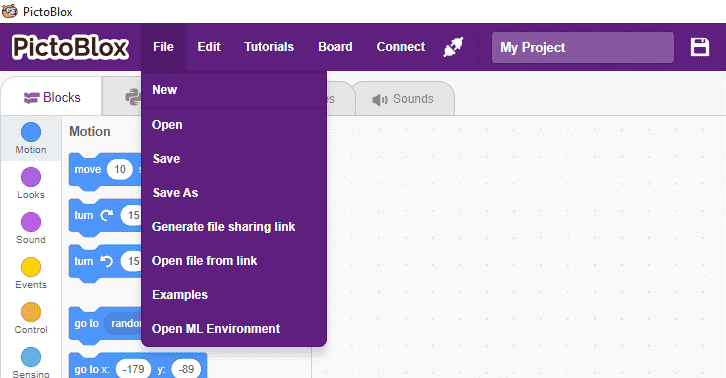
Follow the steps below:


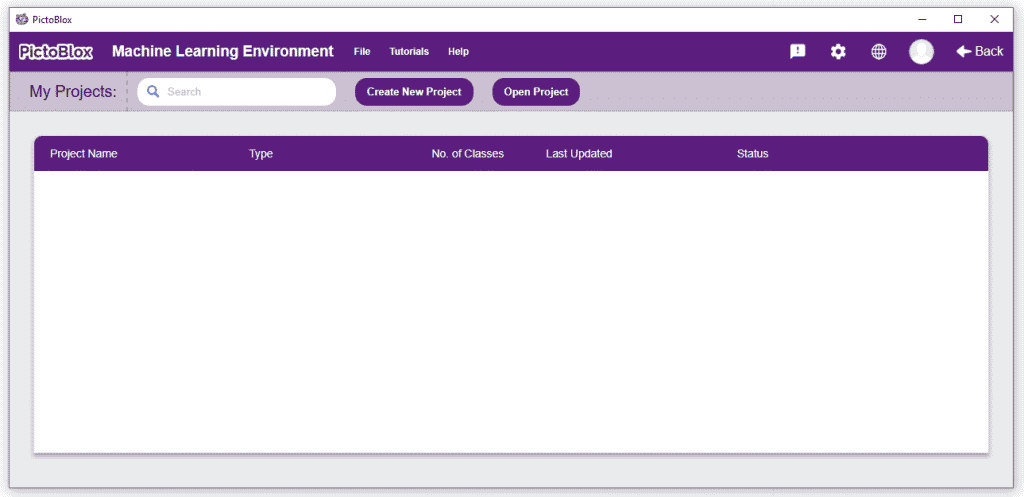
You shall see the Object Detection workflow. Your environment is all set.

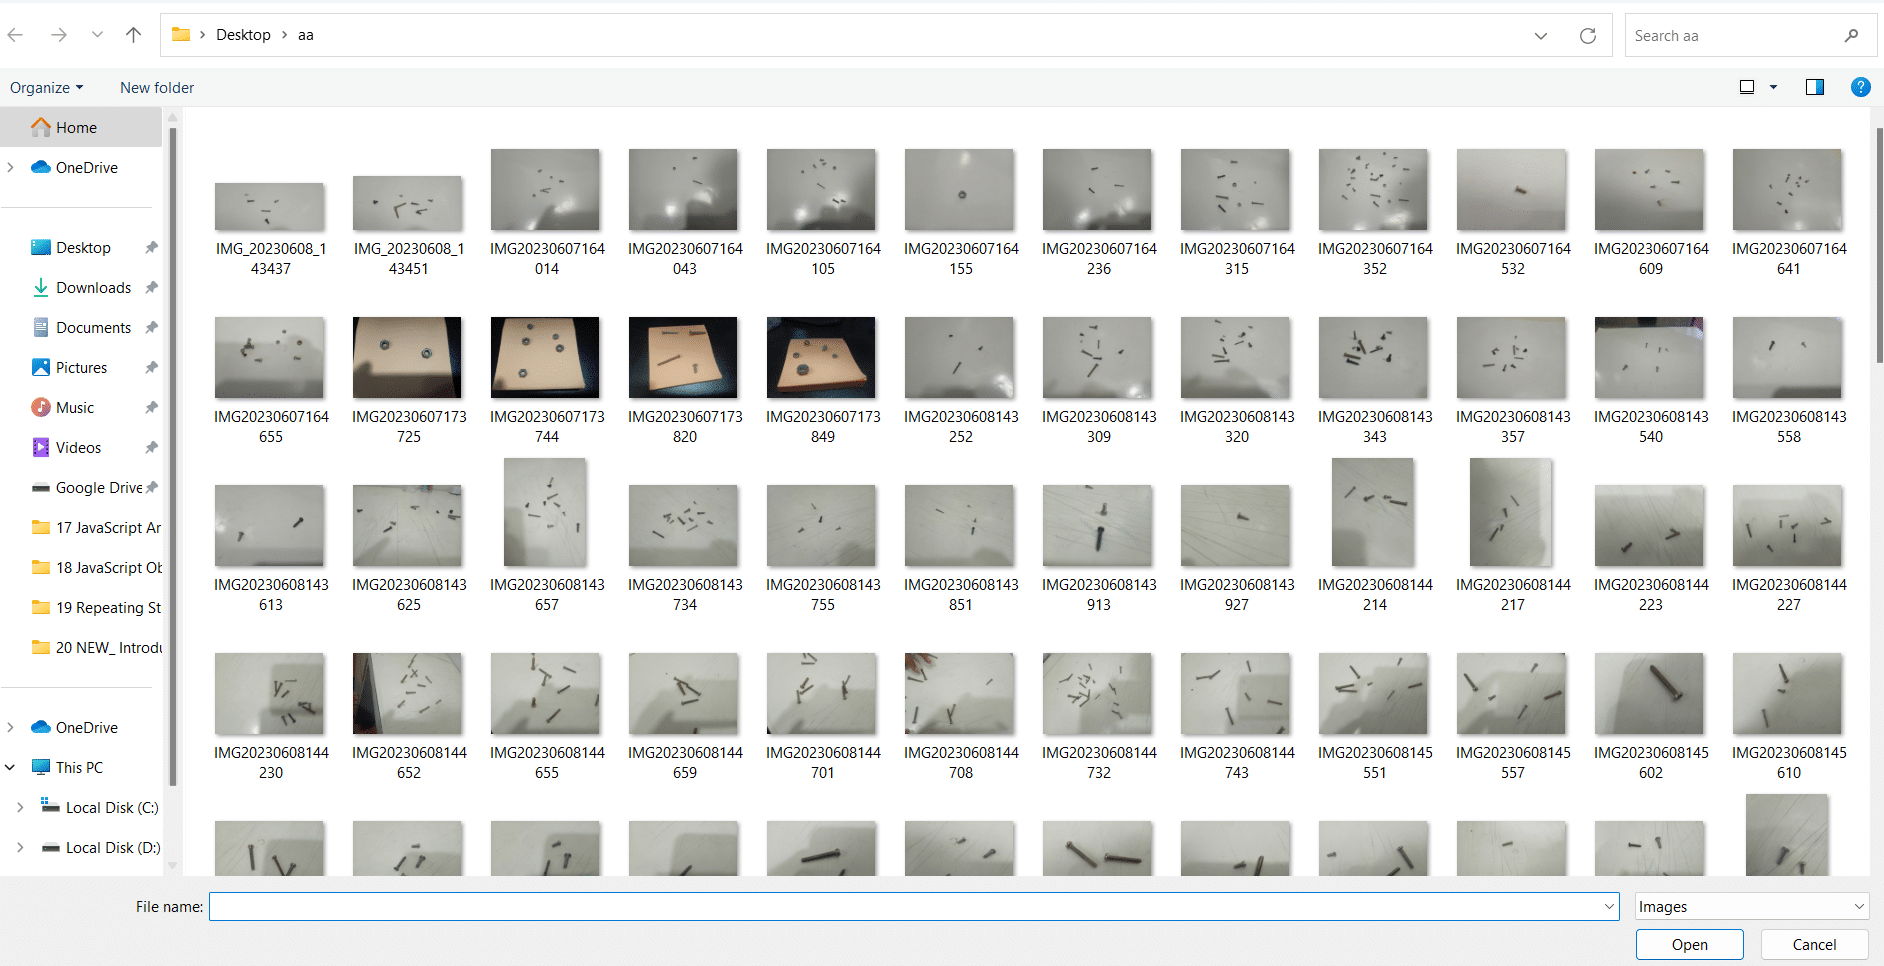
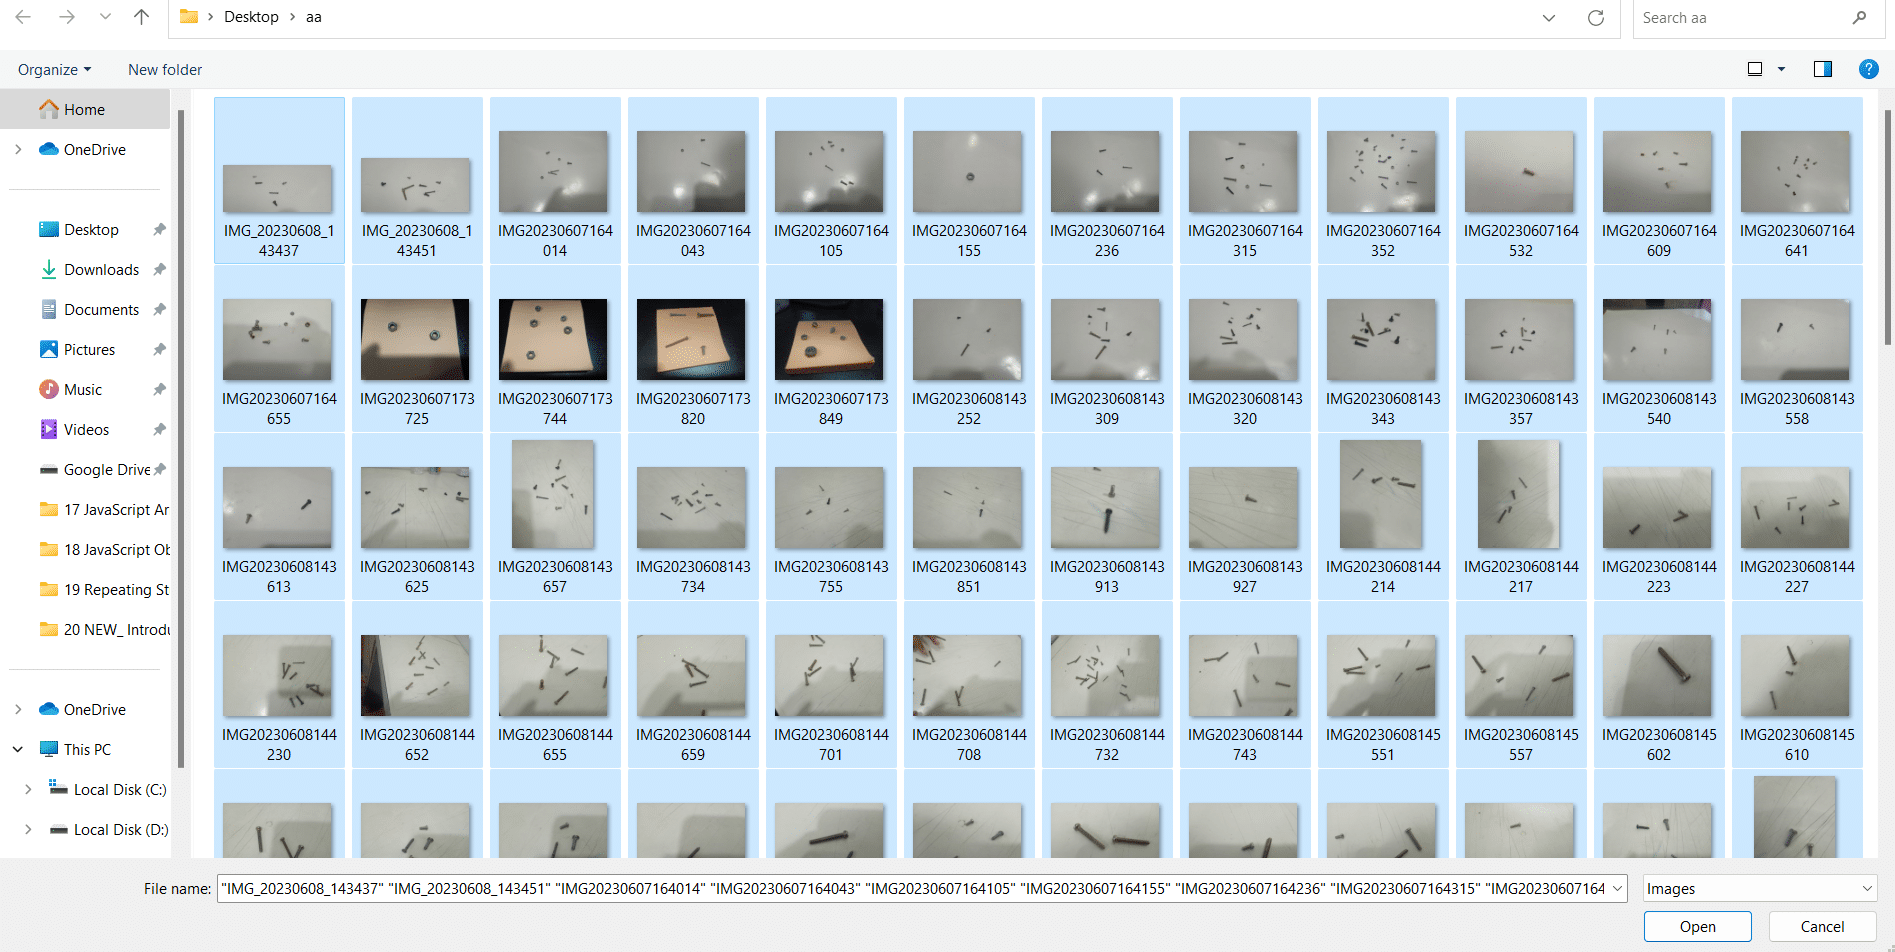
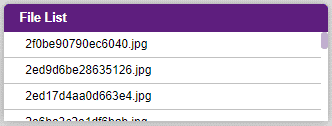
Uploading images from your device’s hard drive
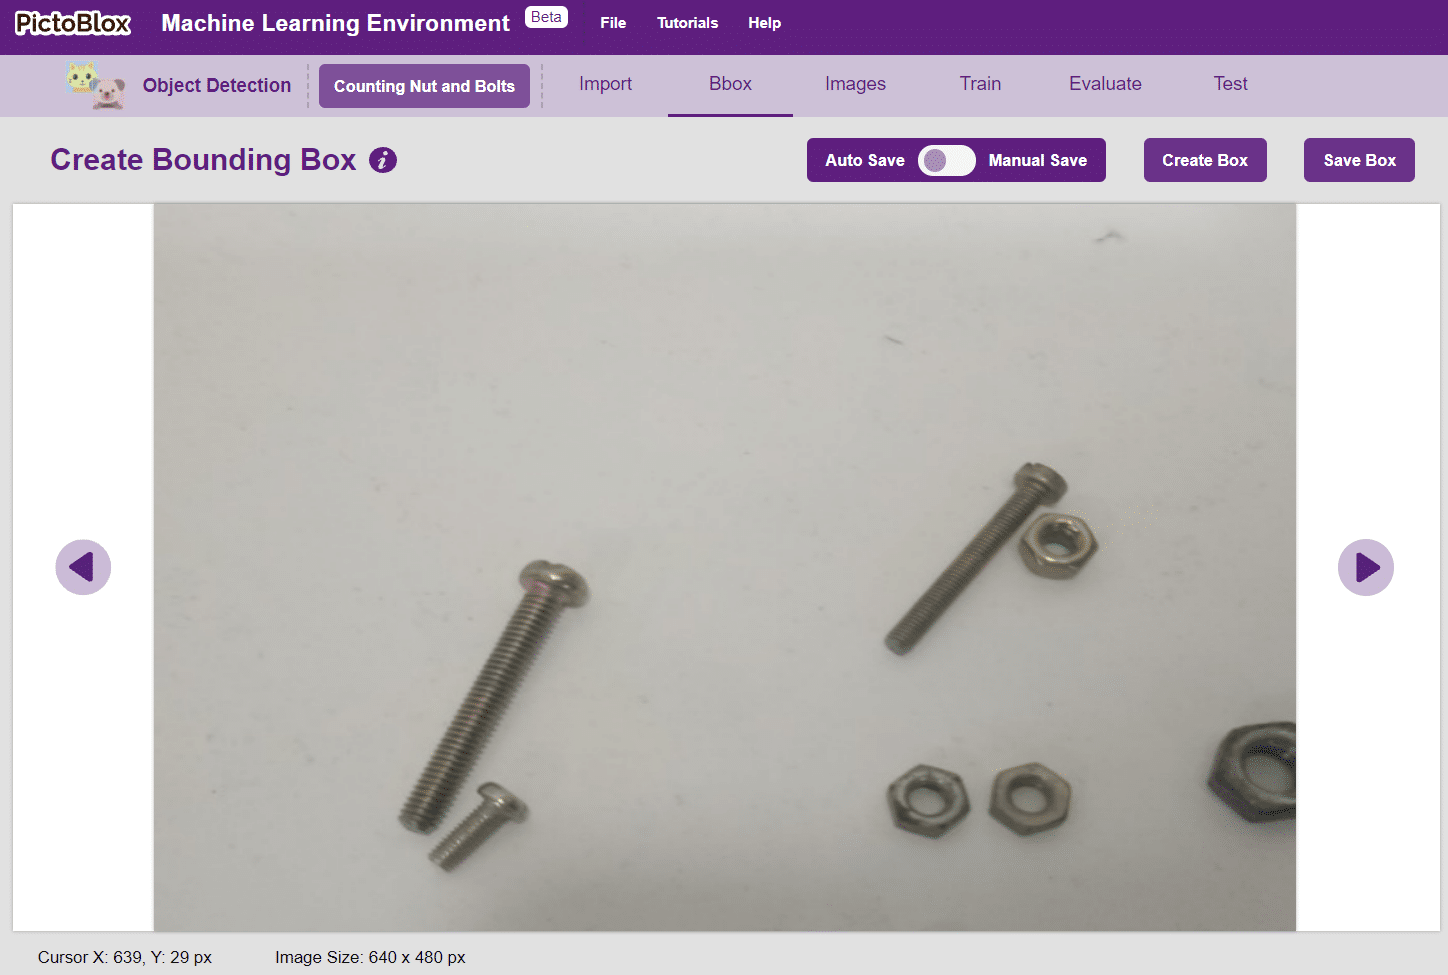

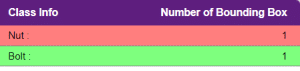
Notes: Notice how the targets are marked with a bounding box. The labels appear in the “Label List” column on the right.


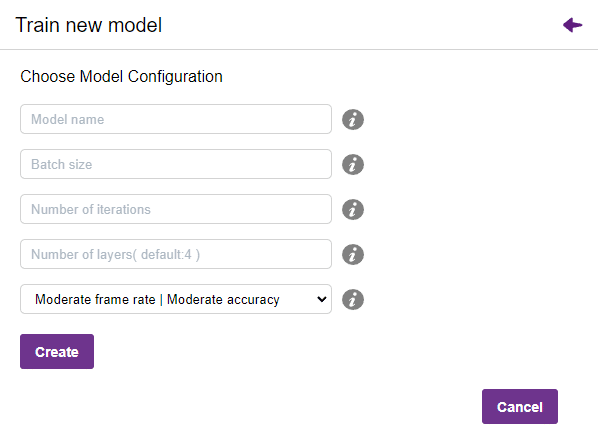
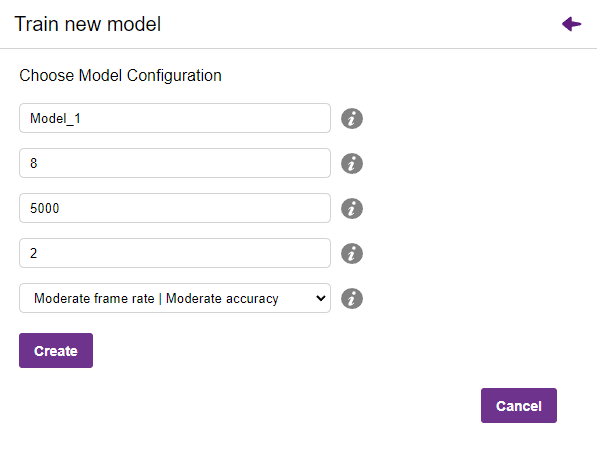
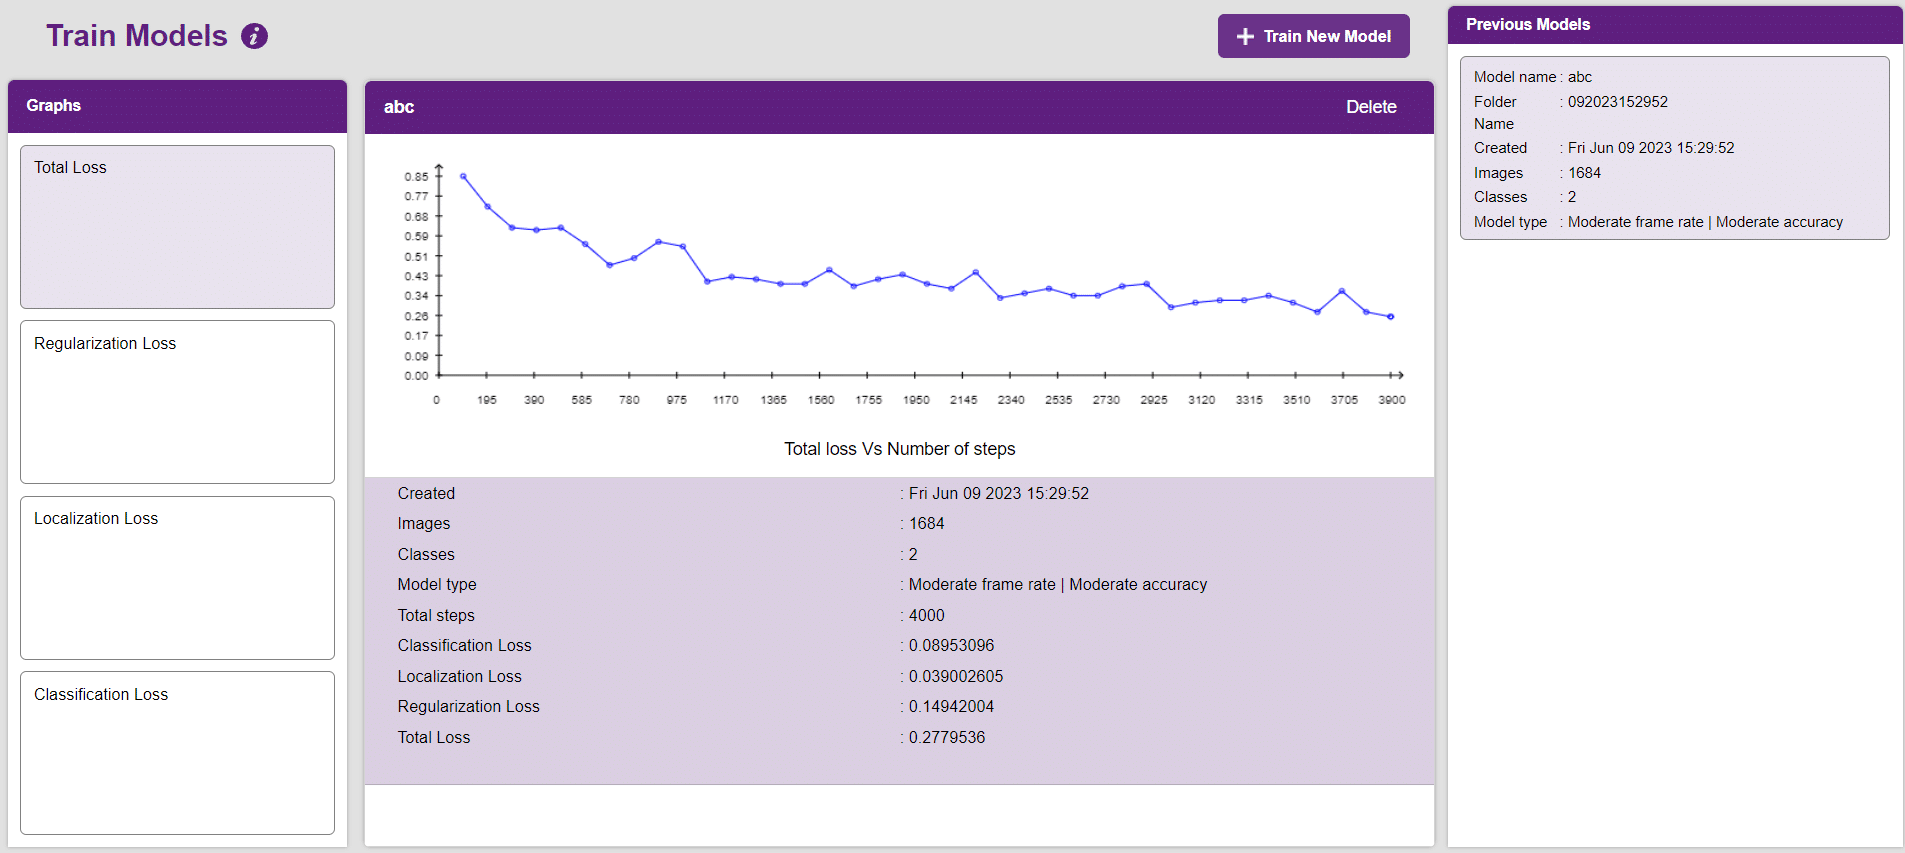
In Object Detection, the model must locate and identify all the targets in the given image. This makes Object Detection a complex task to execute. Hence, the hyperparameters work differently in the Object Detection Extension.
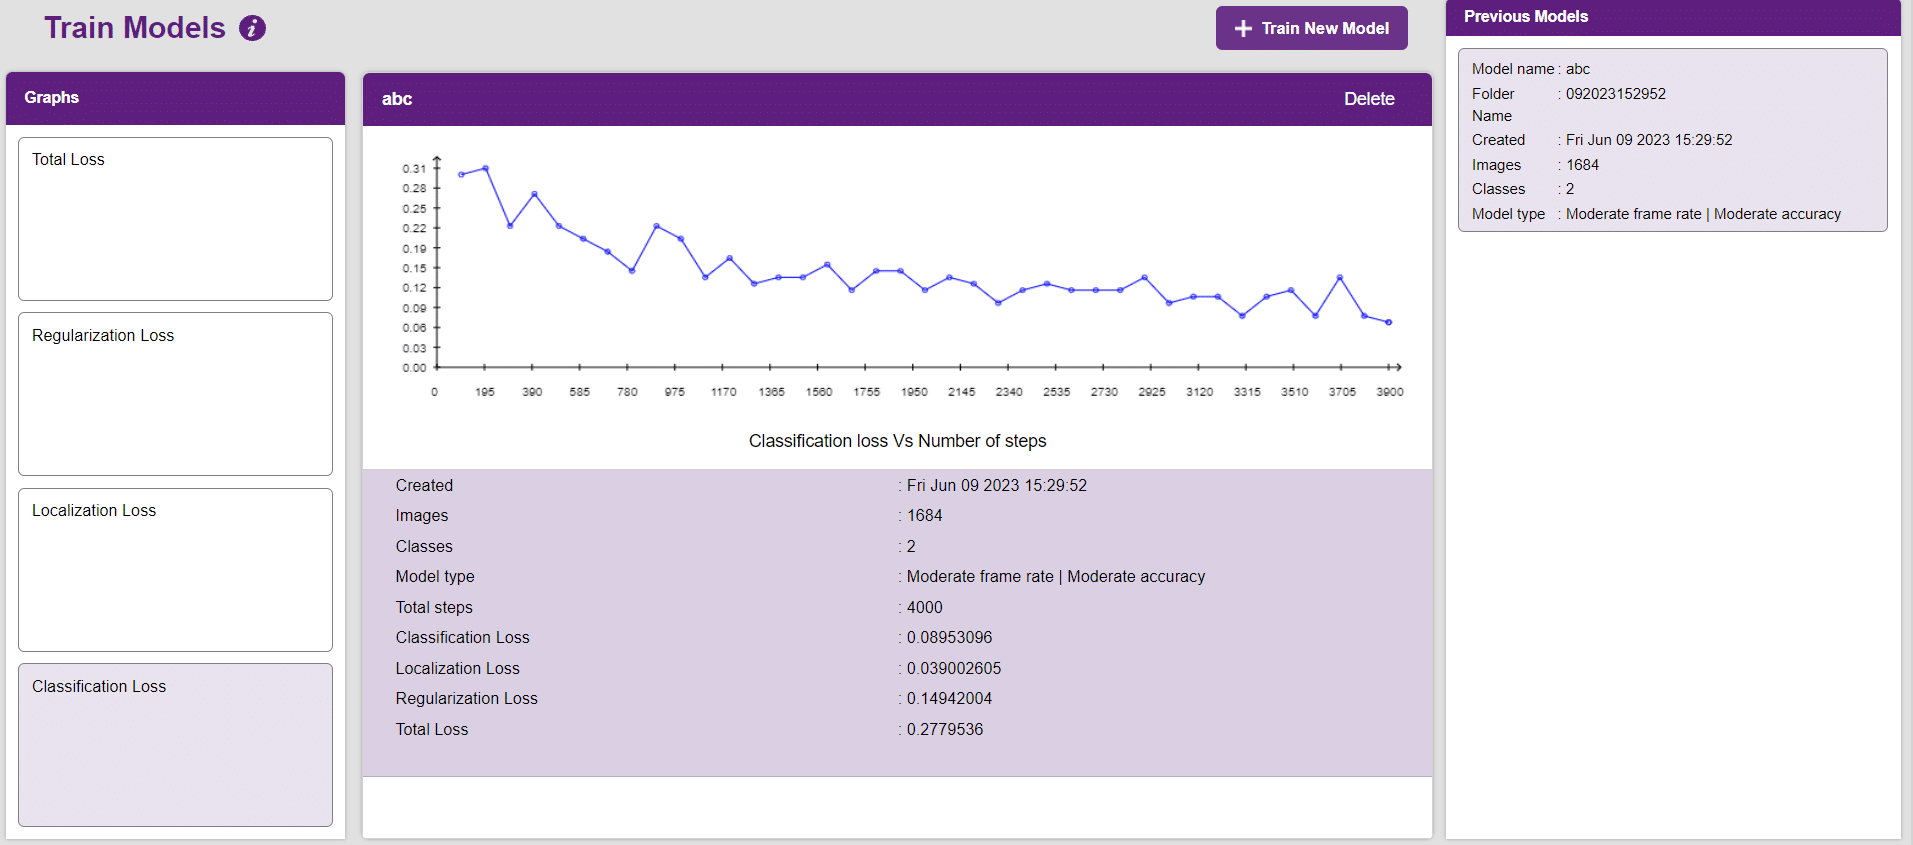
Now, let’s move to the “Evaluate” tab. You can view True Positives, False Negatives, and False Positives for each class here along with metrics like Precision and Recall.
The model will be tested by uploading an Image from device:
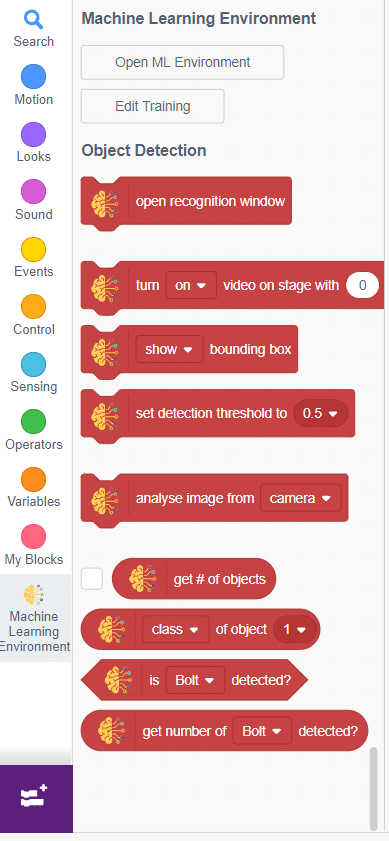
Click on the “PictoBlox” button, and PictoBlox will load your model into the Block Coding Environment if you have opened the ML Environment in the Block Coding.
The idea is simple, we’ll add image samples in the “Backdrops” column. We’ll keep cycling through the backdrops and keep predicting the image on the stage.
A sign detector Mecanum robot is a robot that can recognize and interpret certain signs or signals, such as hand gestures or verbal commands, given by a human. The robot uses sensors, cameras, and machine learning algorithms to detect and understand the sign, and then performs a corresponding action based on the signal detected.
These robots are often used in manufacturing, healthcare, and customer service industries to assist with tasks that require human-like interaction and decision making.
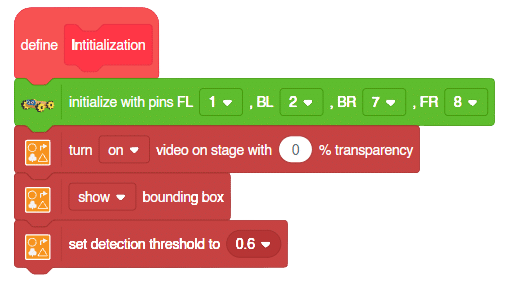
Initialization:
Main Code
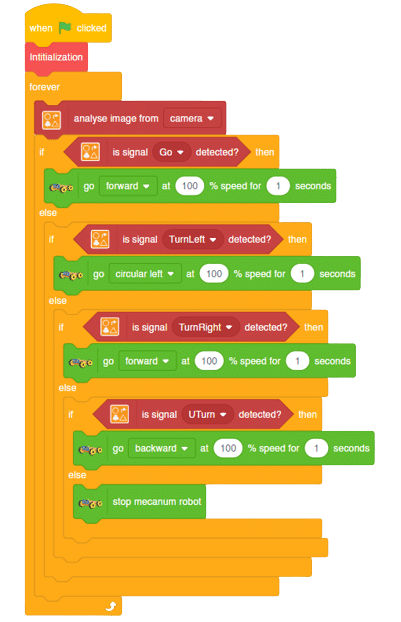
Forward Motion:
Right-Left Motions:
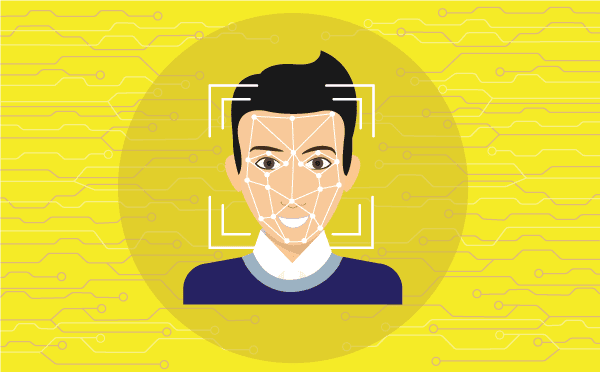
As we start learning artificial intelligence, let’s make it more engaging by incorporating a fun activity. One of the most popular topics in AI is face detection, and we can make it even more exciting by learning it with the help of Humanoid robots. Are you interested in learning it together?