Introduction
A sign detector Mars Rover robot is a robot that can recognize and interpret certain signs or signals, such as hand gestures or verbal commands, given by a human. The robot uses sensors, cameras, and machine learning algorithms to detect and understand the sign, and then performs a corresponding action based on the signal detected.
These robots are often used in manufacturing, healthcare, and customer service industries to assist with tasks that require human-like interaction and decision making.
Code
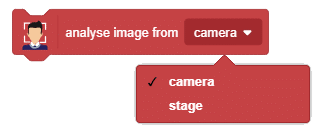
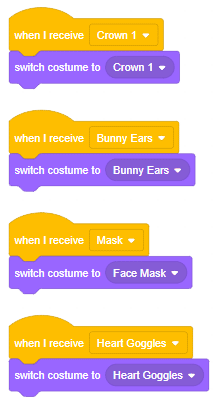
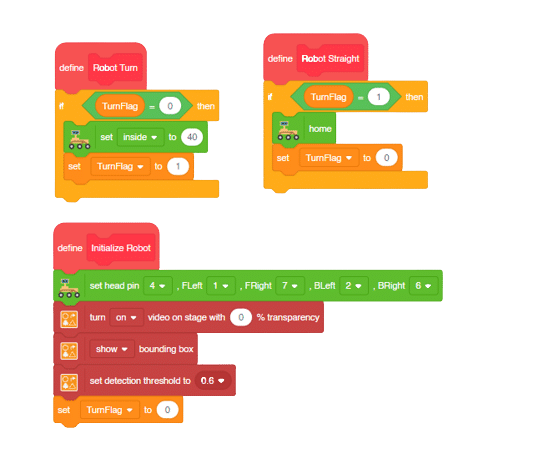
Initializing the Functions:
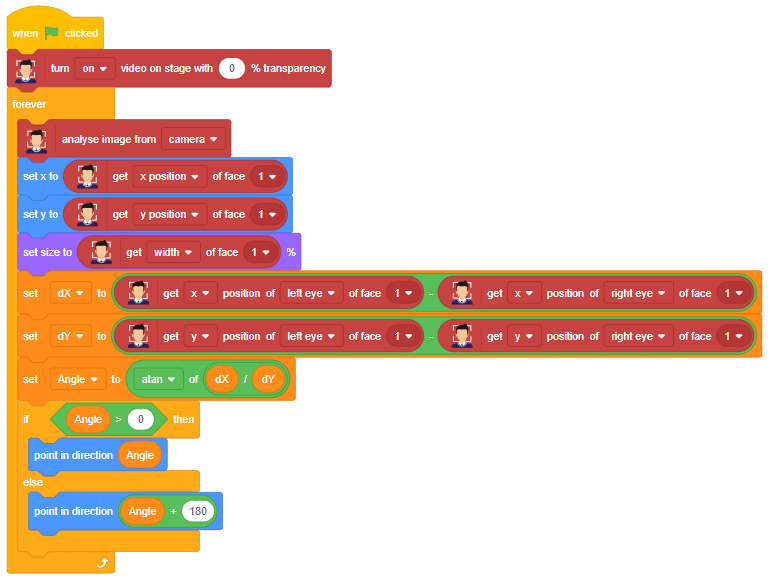
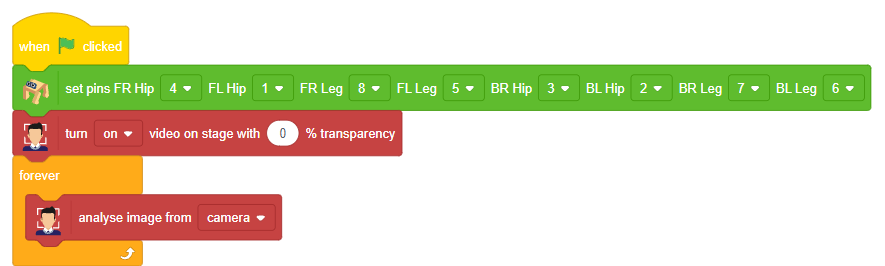
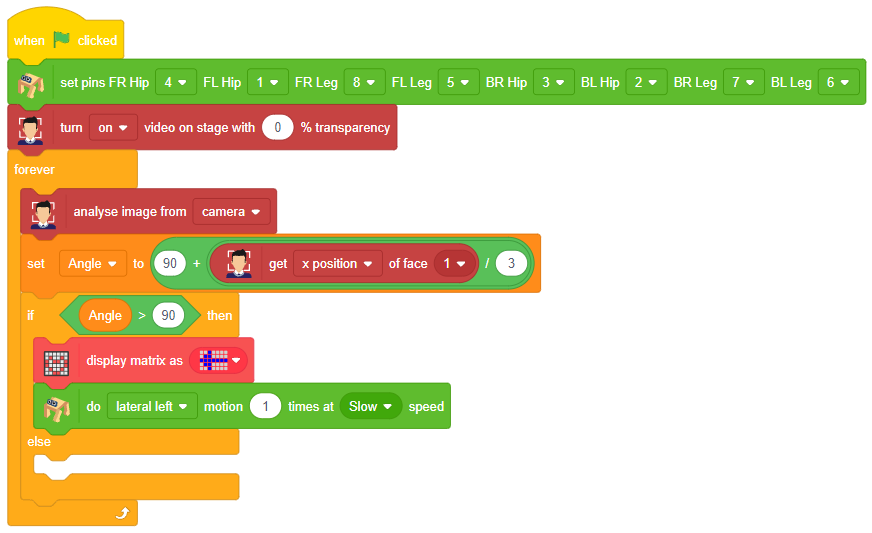
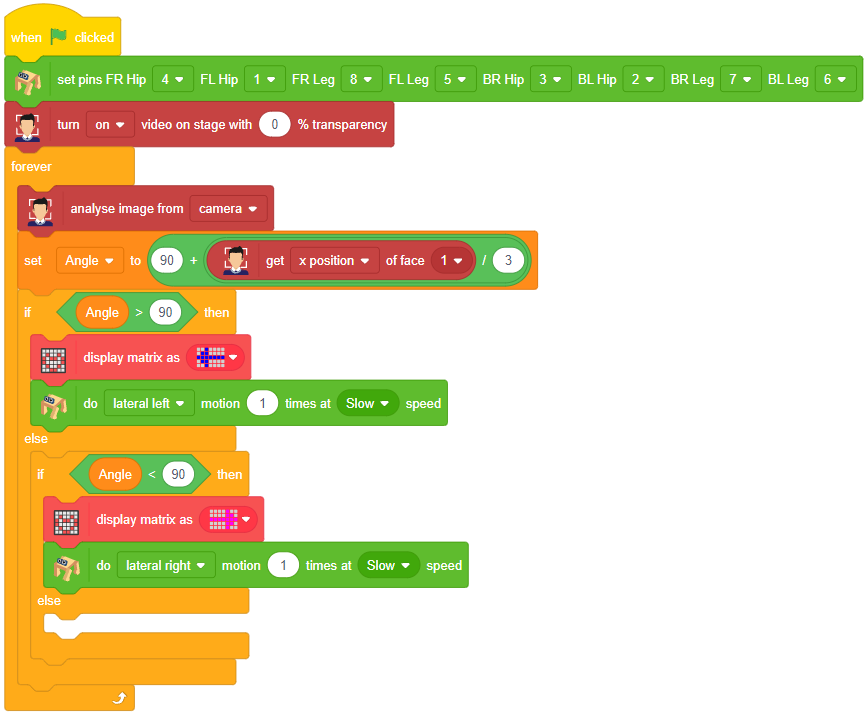
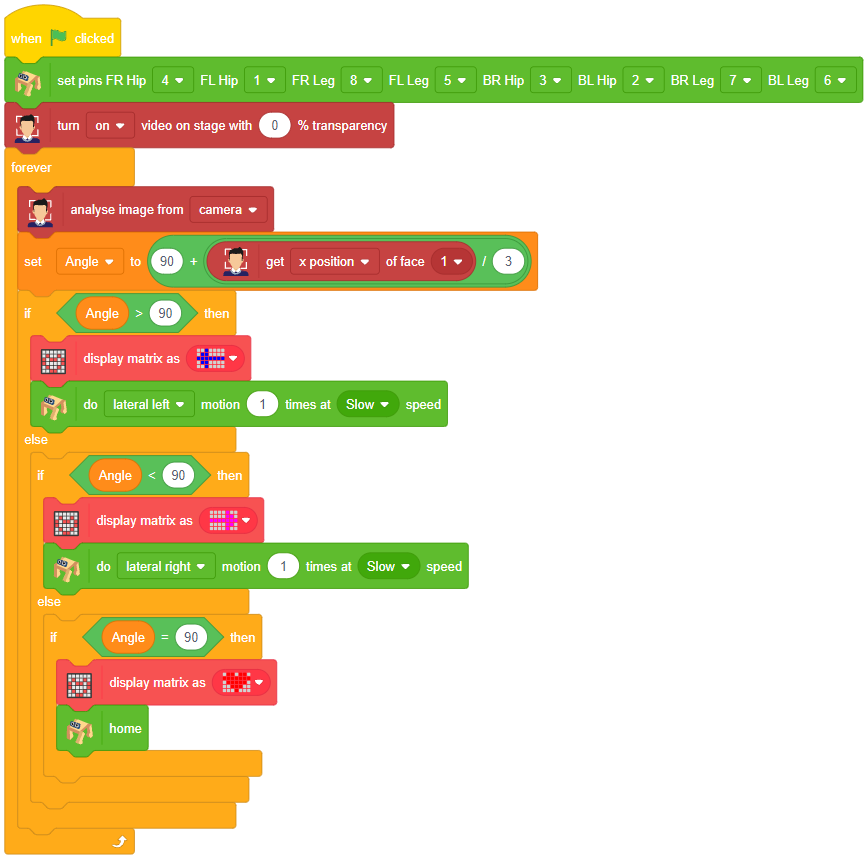
Main Code
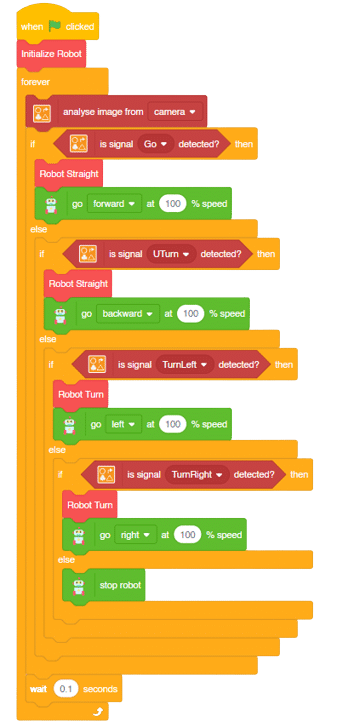
Logic
- Firstly, the code sets up the stage camera to look for signs and detects and recognizes the signs showed on the camera.
- Next, the code starts a loop where the stage camera continuously checks for the signs.
- Finally, if the robot sees certain signs (like ‘Go’, ‘Turn Left’, ‘Turn Right’, or ‘U Turn’), it moves in a certain direction (forward, backward, left, or backward) based on the respective signs.
- This can help the Mars Rover to manoeuvre through the terrain easily by just showing signs on the camera.
Output
Forward-Backward Motions:
Right-Left Motions: