

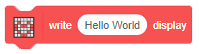


The block writes the text and numbers on the 4×7 segment display.
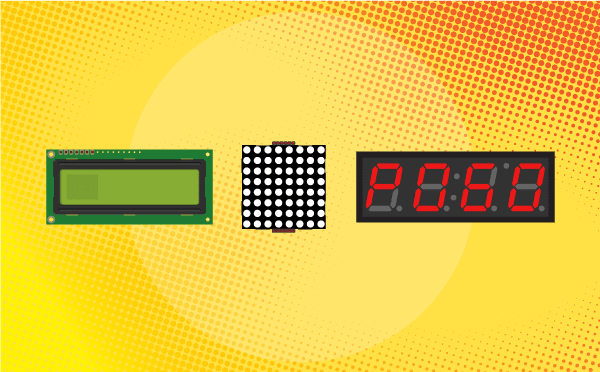
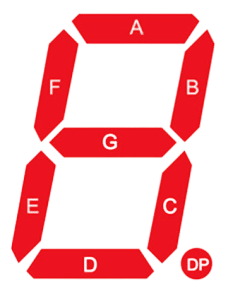
7 Segment Display
The 7 segment display is a compact arrangement of seven LEDs, creatively forming the shape of the number eight. Often, the display contains an eighth LED with a dot, functioning as a decimal point. Each LED can be controlled individually, enabling the formation of any desired number. By understanding the labeling of LEDs (A to G) and the dot LED (DP), we gain full control over this display module.
.
There are two types of 7-segment displays available: common cathode and common anode.
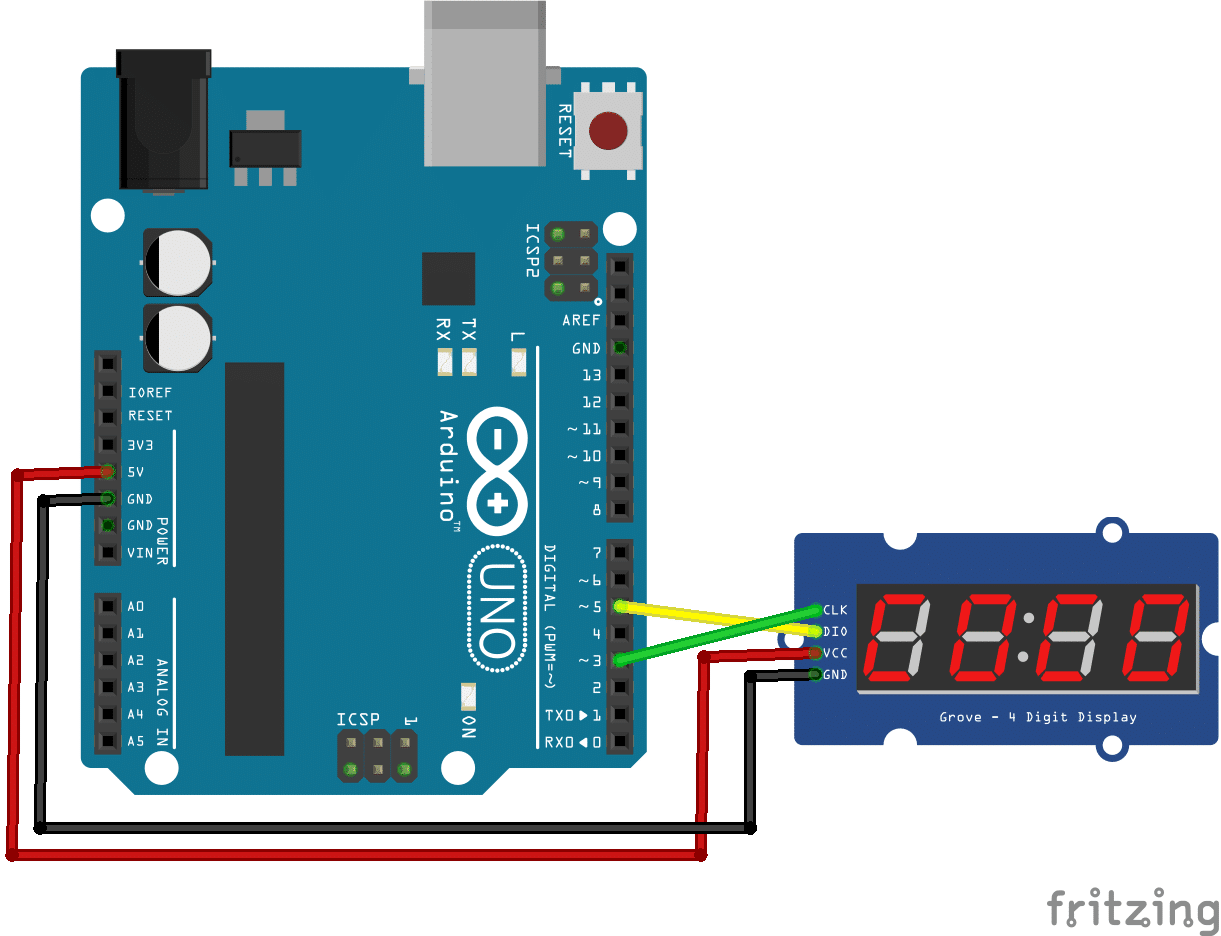
Circuit Diagram
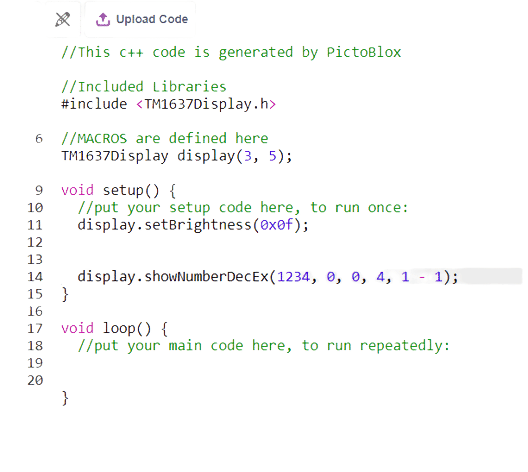
Code
- Change the mode from “stage” to “upload.

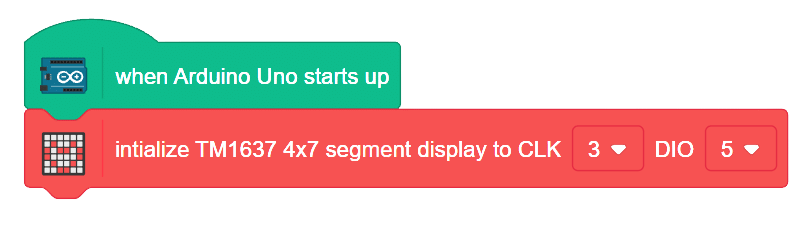
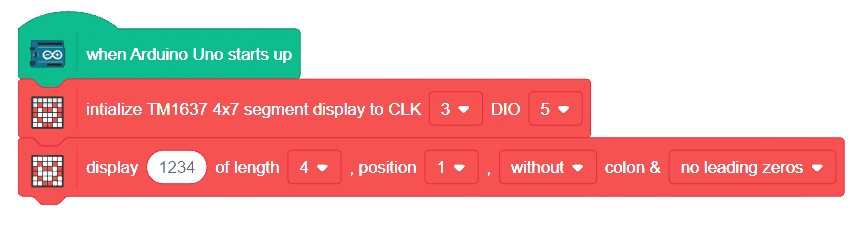
- Add the “when Arduino starts up” block from the Arduino palette.

- Define the connection of the 7 segment display from the display palette.
- Add this block along with the two previous blocks, and input any 4-digit number you want to display on the 7 segment display.

- The first block marked in blue represents the data or number you want to display (up to 4 digits in length). The second block defines the length of the number you’ve entered, and the third block marked in blue specifies the starting position of the number. This allows you to choose which display will show the data, especially useful when multiple displays are connected. Additionally, you can decide whether to display colons, count leading zeros, and more.
- We can also choose whether we want to show colons or just or do we need t count leading zeros or not.
- Add this block with the above two blocks and input any 4-digit number
- Now click on upload code to upload the code on the Arduino and test the code.
Script
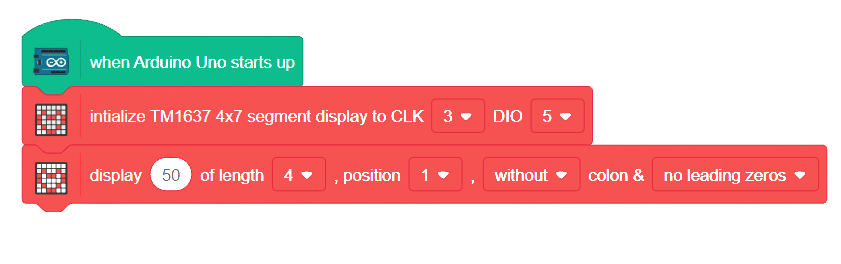
Output