The extension allows you to program evive & Arduino boards to control the following display modules:
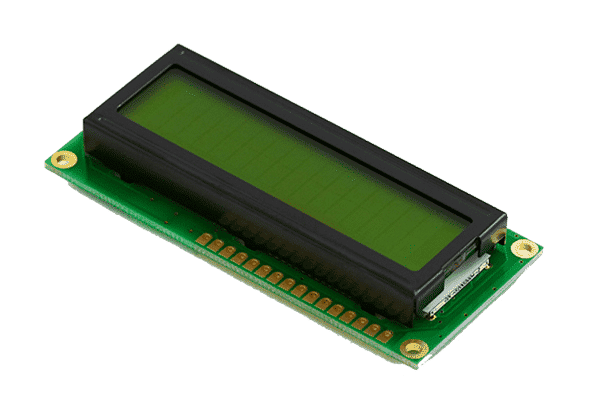
LCD Display 16 x 2: These come in different types and can be controlled with PictoBlox easily.
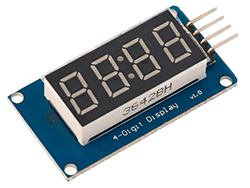
4×7 Segment Display: These can be used only in the Upload Mode.
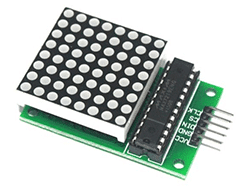
8×8 Dot Matrix Display: These can be used only in the Upload Mode.
Read More
PictoBlox Blocks
The block does the pin assignments for a 16×2 display module. The specific pins that are assigned are for the Reset (RST), Enable (EN), Data 4 (D4), Data 5 (D5), Data 6 (D6), and Data 7 (D7) pins of the module. This initialization enables the code to use the 16×2 display.
This block of code is setting up an I2C LCD module by initializing it with an address code.
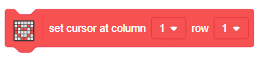
The block allows the user to set the cursor position in an LCD module. It takes two parameters, the column and row numbers, and moves the cursor to that position. This allows the user to create more precise output for the display.
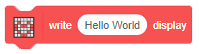
This block writes a specific text, such as “Hello, World!”, onto an LCD display. It is useful for creating simple text-based user interfaces for electronic projects or devices.
The block clears the display.
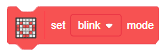
The block sets the cursor mode on a given LCD display. The mode specifies how the cursor will appear when characters are written or commands are executed.
The block initializes a TM1637 4×7 segment display module by assigning two boundaries, CLK and DIO, to two digital pins of an Arduino board. The module can then be used to display numbers, characters, and symbols using the 4×7 segment display.
The block writes the text and numbers on the 4×7 segment display.
The block sets up an 8×8 Dot Matrix display and assigns the pins of the display (DIN, CS, CLK) to be connected to the Arduino board. The code assigns the name of the display to the pins for easy referencing and establishes communication between the Arduino board and the display.
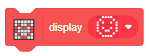
The block displays the custom pattern on the 8×8 Dot Matrix Display.
The block makes the specified LED turn ON or OFF on the 8×8 Dot Matrix display.