
Introduction
Firmware is the software installed directly on Quarky that enables communication between the board, its hardware components, and PictoBlox.
Keeping the firmware updated ensures that Quarky remains compatible with the latest PictoBlox blocks and extensions. Firmware updates may also resolve communication problems and minor issues found in previous versions.
Connecting Quarky to PictoBlox
Before checking or troubleshooting the firmware, connect Quarky to PictoBlox.
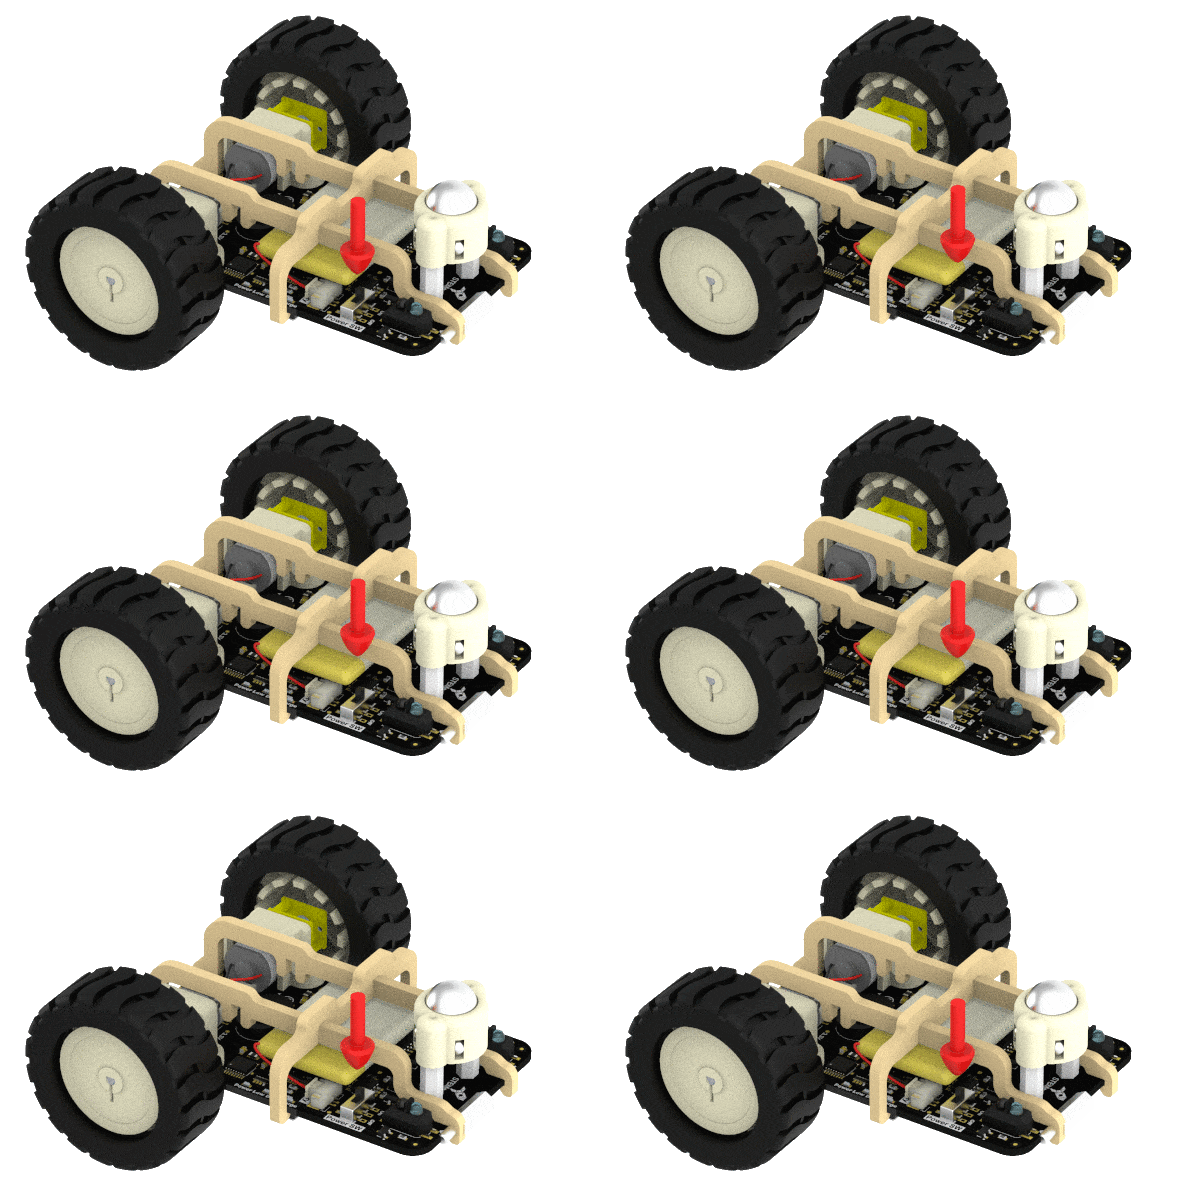
- Power ON Quarky.
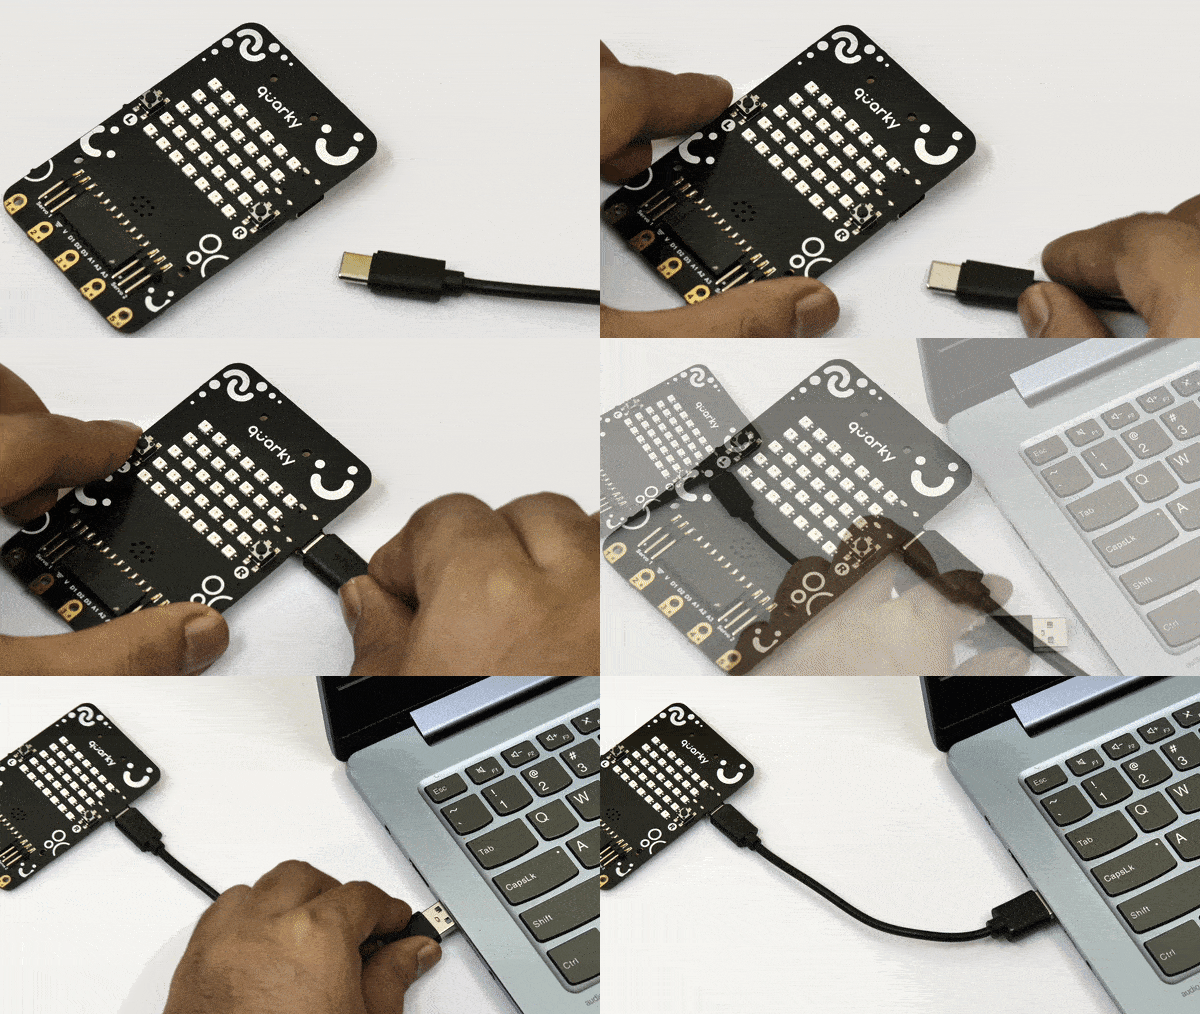
- Connect Quarky to your computer using a USB data cable.
- Use Bluetooth for a wireless connection ( USB connection is recommended when checking or updating firmware)
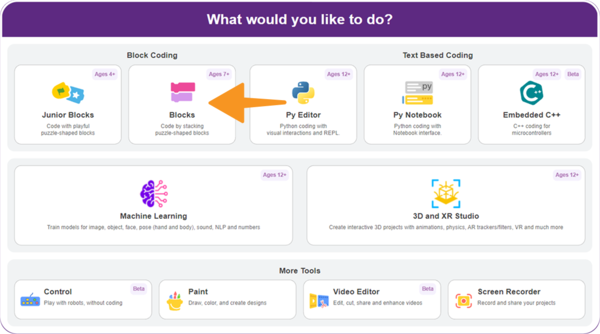
- Open PictoBlox on your desktop or laptop. Select Block Coding as the coding environment.
- Click the Board button on the toolbar. Select Quarky from the list of available boards.
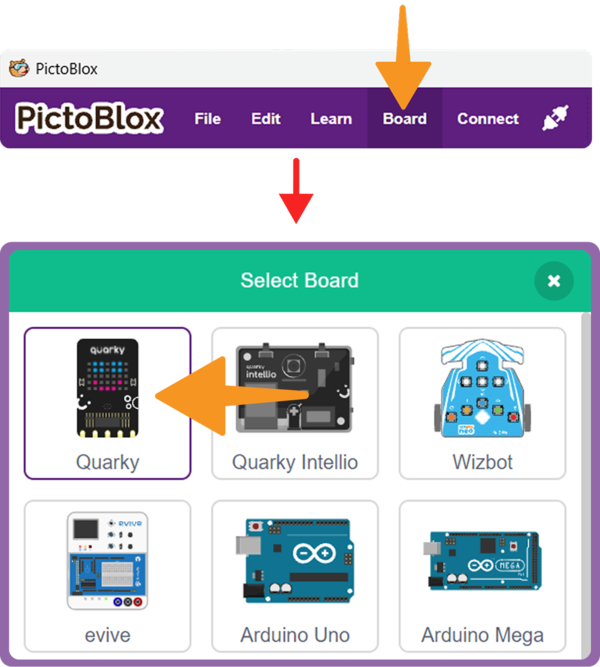
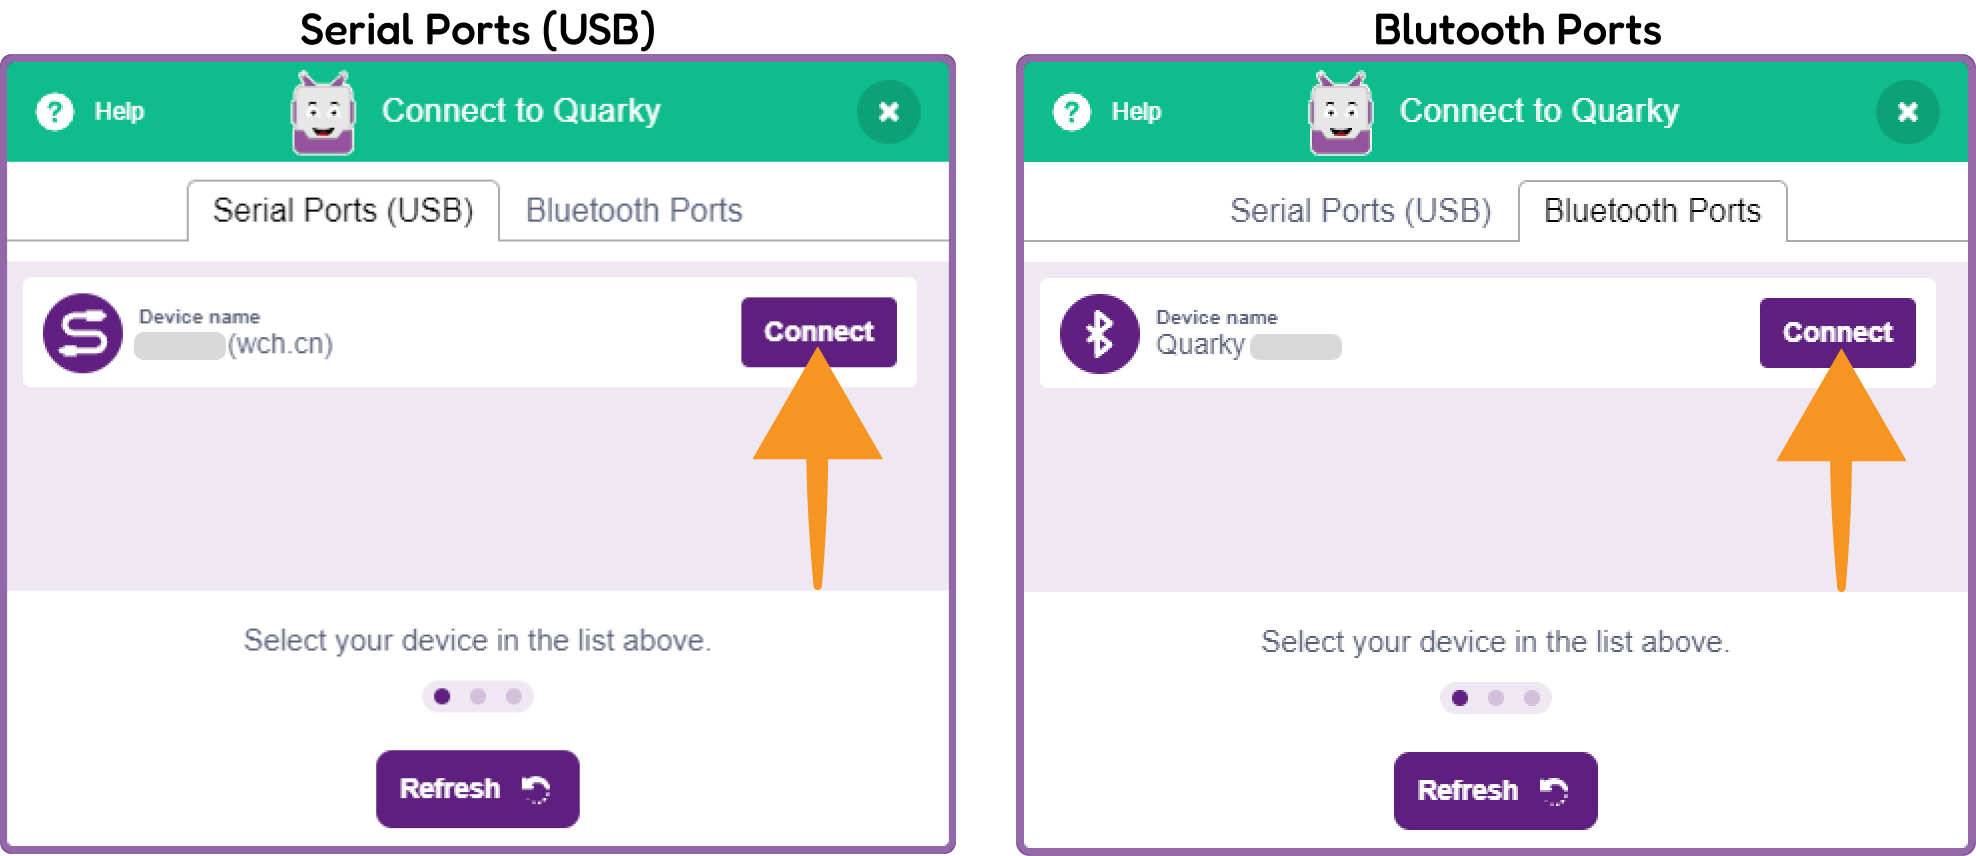
- To connect your Quarky board, select the appropriate Serial Port (USB) or Bluetooth port from the list, find your device, and click Connect.
- Once successfully connected, the status will change to Connected.
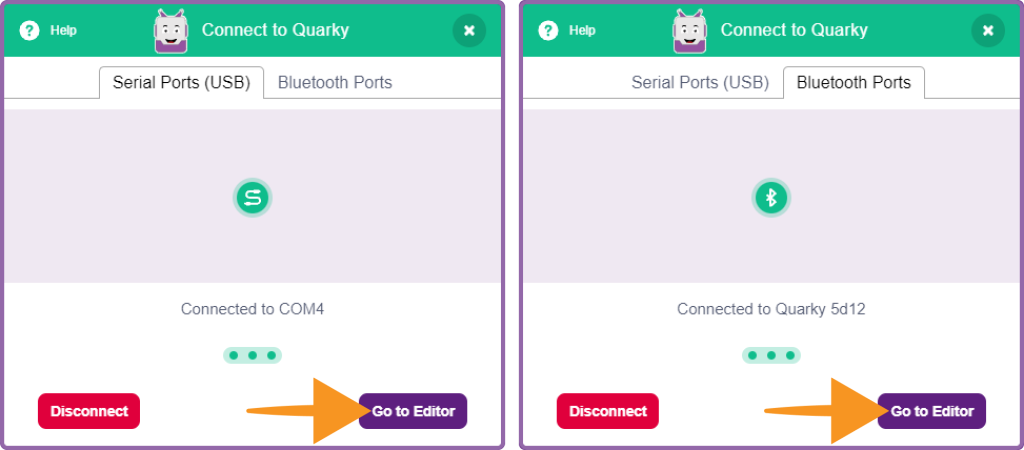
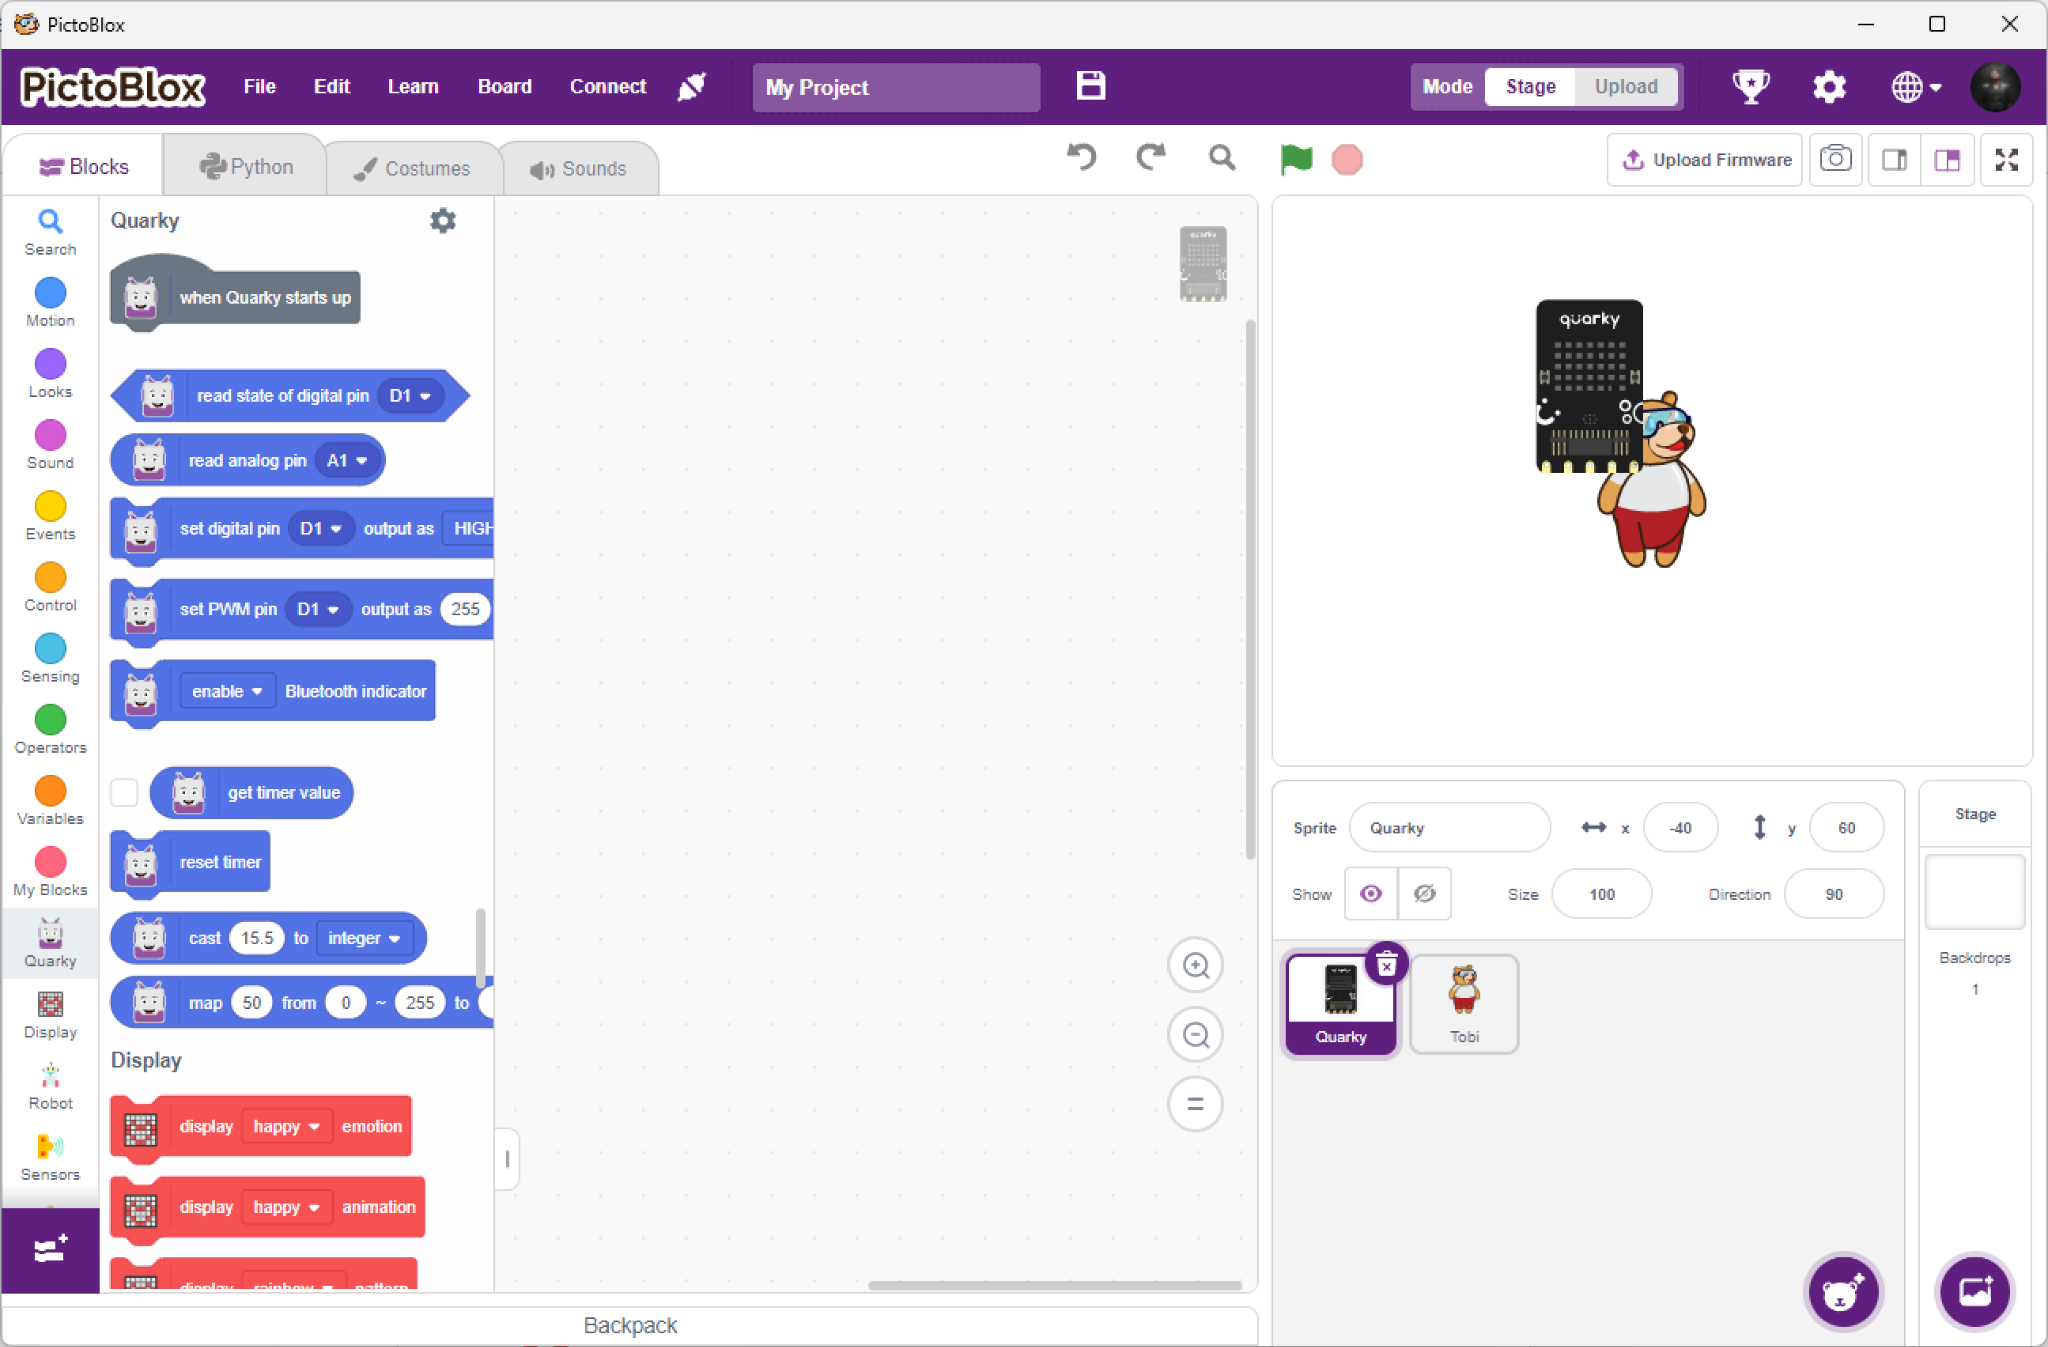
- Click on Go Editor to launch the coding environment and start programming with your Quarky board.
How to Check the Firmware Version on Quarky?
Use the following steps to check the firmware version currently installed on Quarky.
- Connect Quarky to your computer using a compatible USB data cable using Connecting Quarky to PictoBlox section.
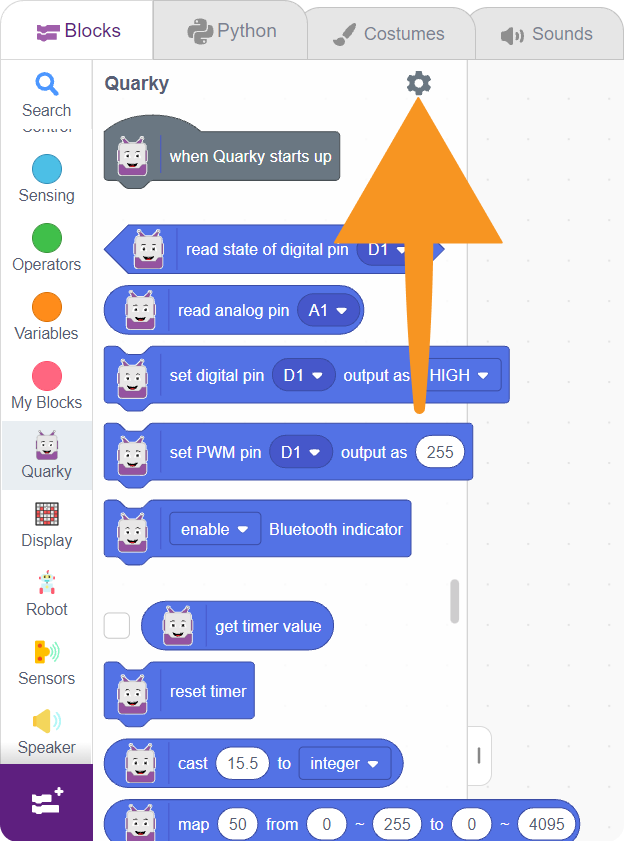
- Go to the Quarky block palette. Click the Settings icon available in the Quarky extension.
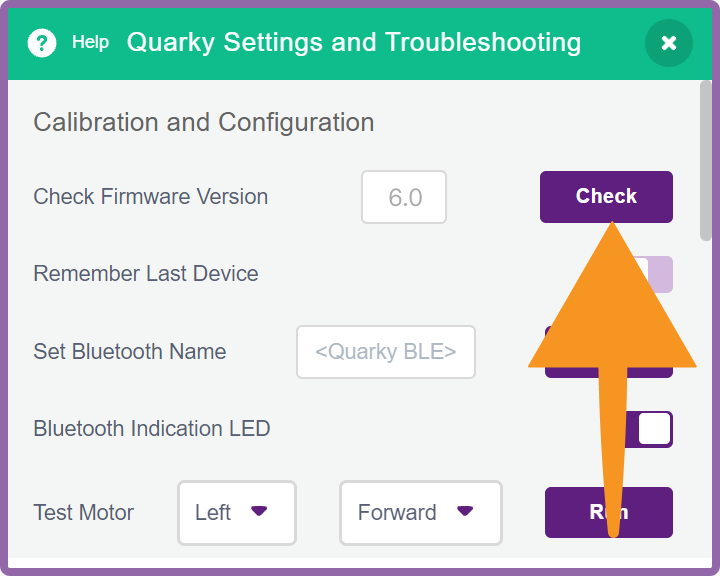
- The Quarky Settings window will open. Click the Check button, depending on the PictoBlox interface version.
How to Update the Firmware on Quarky?
Firmware should be updated using PictoBlox on a desktop or laptop computer.
- Connect Quarky to your computer using a compatible USB data cable using Connecting Quarky to PictoBlox section.
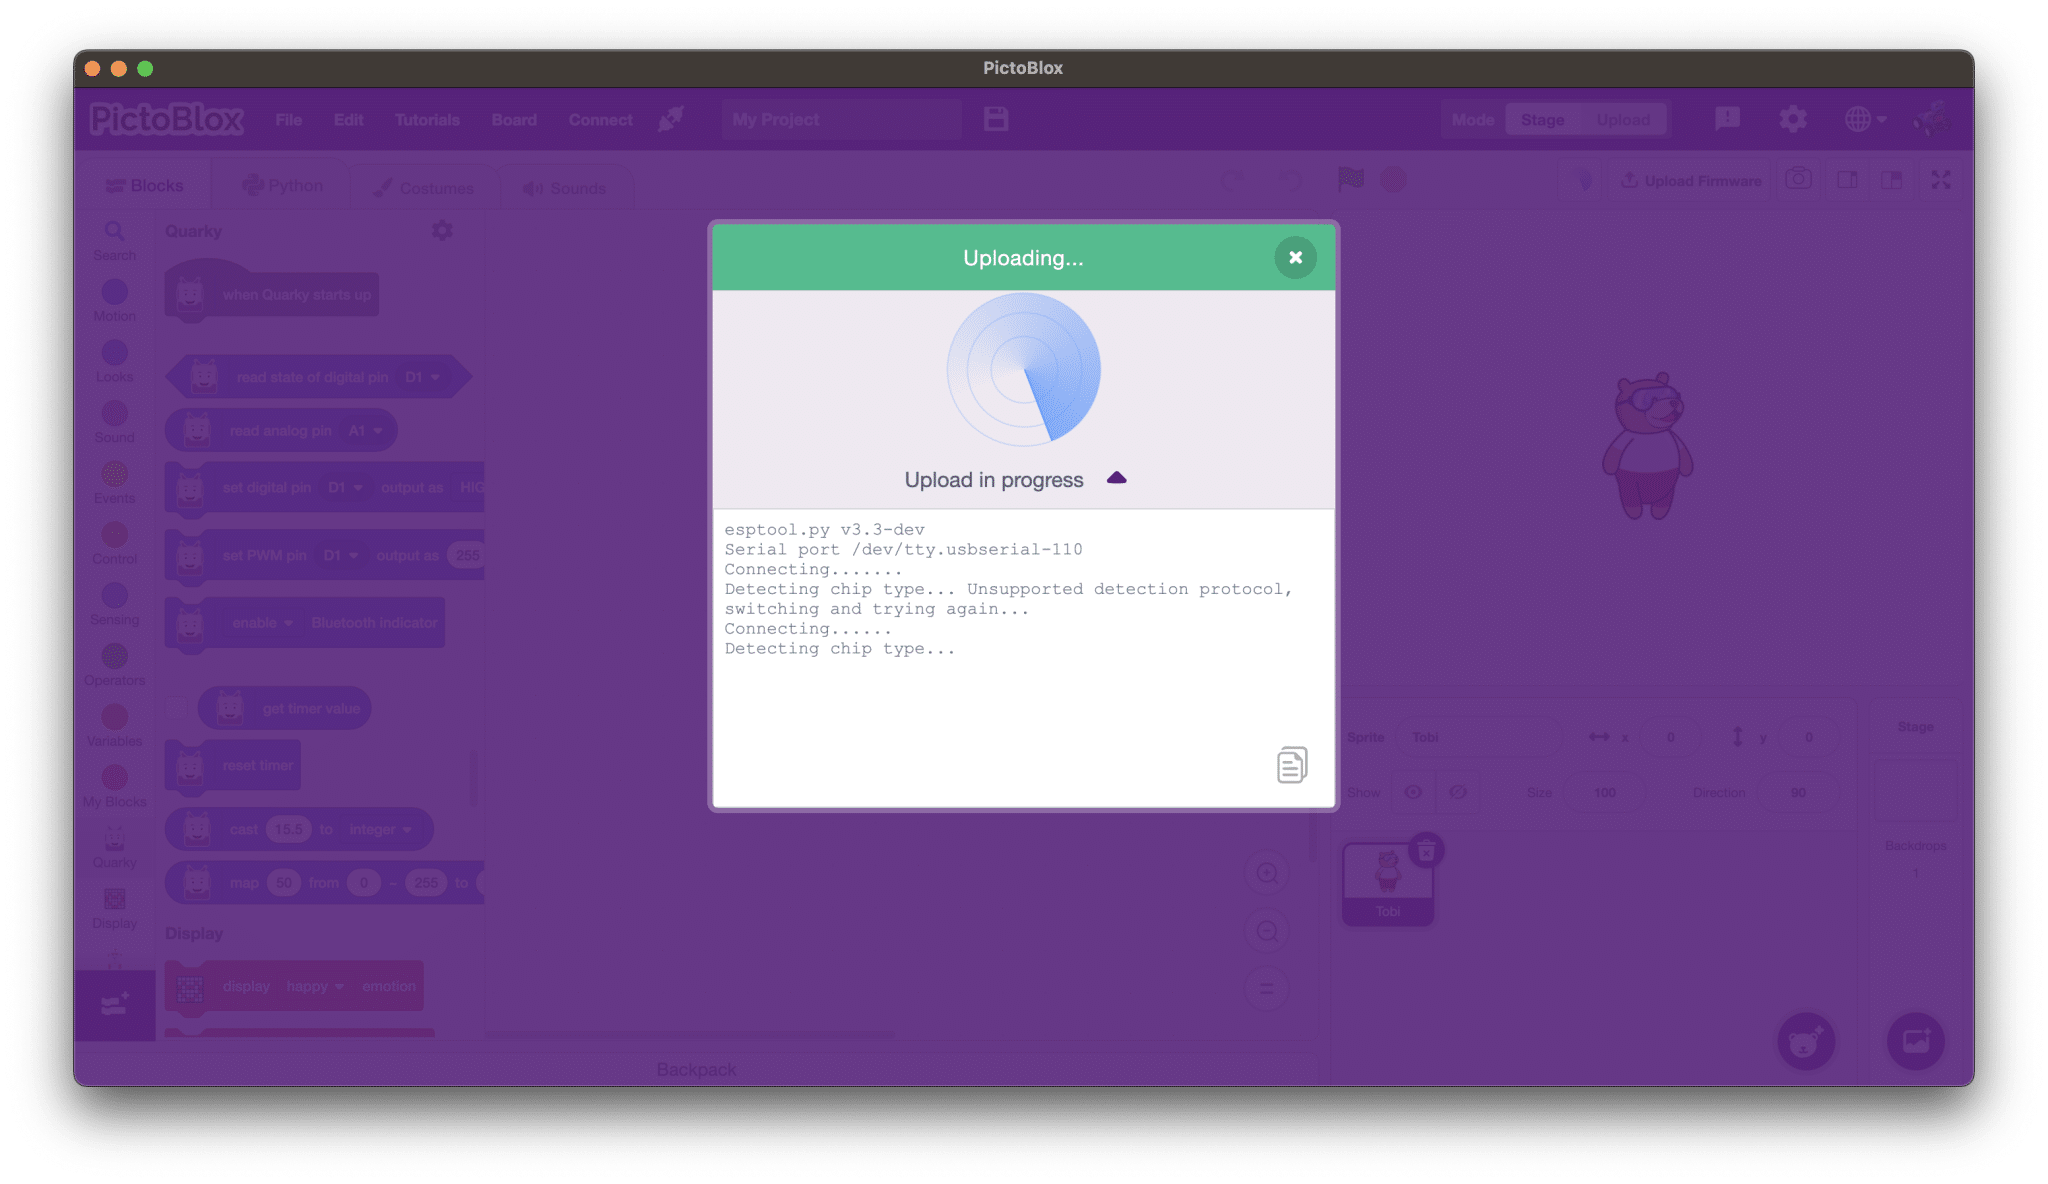
- Click the Upload Firmware button displayed in the upper-right section of the PictoBlox window.
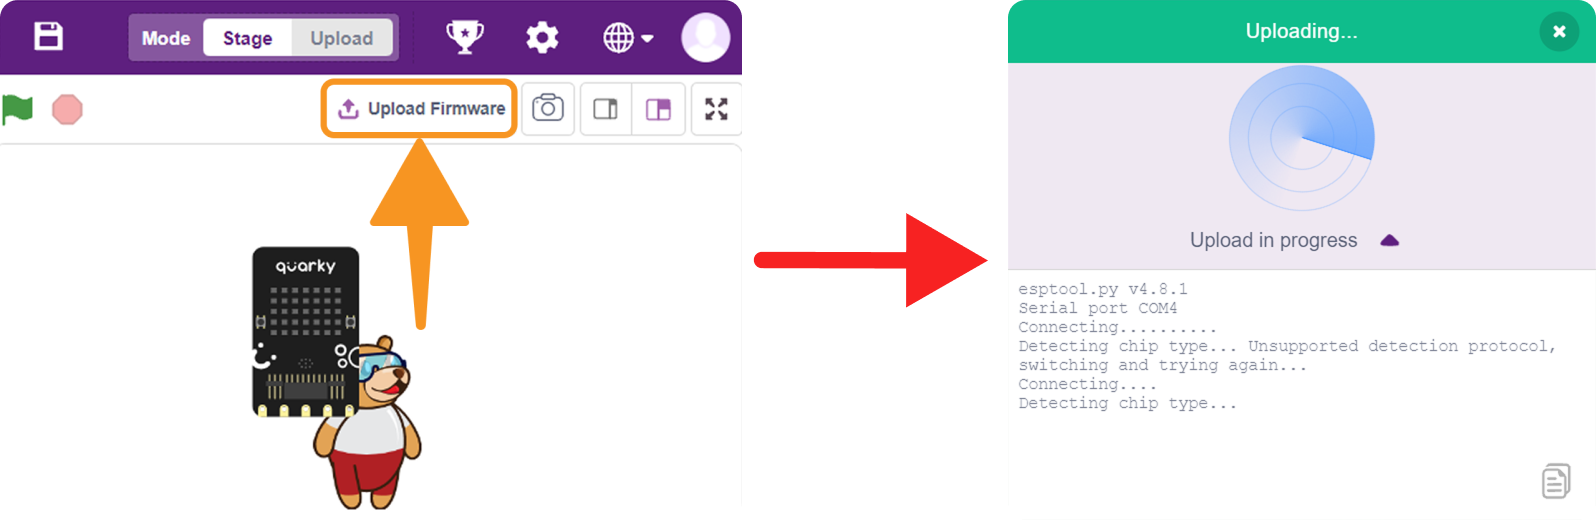 A firmware upload status window will appear, and PictoBlox will automatically begin installing the supported firmware on Quarky.
 - Keep Quarky connected and wait until PictoBlox displays a successful completion message.
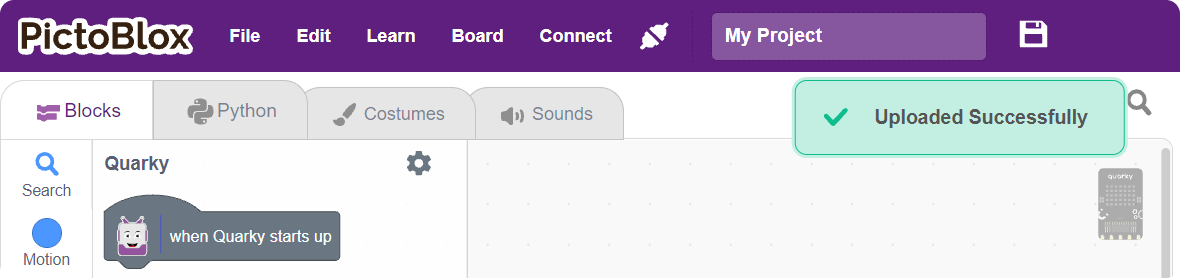 If Quarky already has the latest supported firmware, PictoBlox will display:
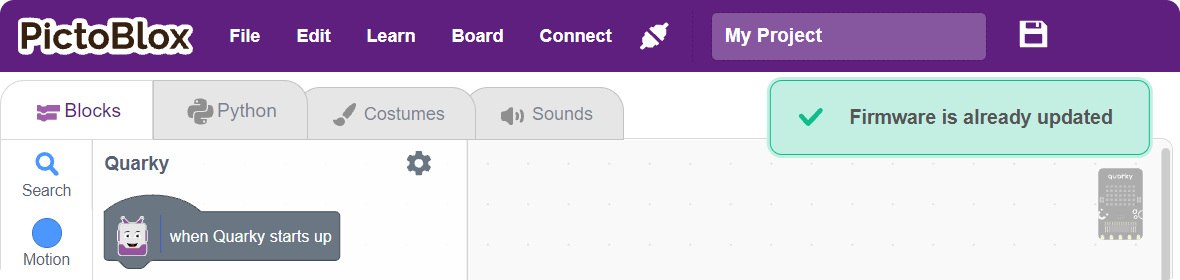
- Reconnect Quarky using the Connecting Quarky to PictoBlox section.
What Is the Difference Between Older and Updated Firmware?
Older firmware may have been designed for an earlier version of PictoBlox and may not support recently introduced blocks, extensions, or hardware features.
Updated firmware improves compatibility between Quarky and the current version of PictoBlox. It may also include communication improvements, support for new extensions, and fixes for minor issues found in previous firmware versions.
Because firmware features can change between releases, it is recommended to use the latest firmware provided through PictoBlox rather than relying on an older manually stored firmware file.
Can Quarky Firmware Be Updated Using a Smartphone?
No. Quarky firmware cannot currently be updated through the PictoBlox smartphone application.
Use the desktop version of PictoBlox on a Windows, macOS, or Linux computer and connect Quarky through a USB cable to update the firmware.
After the update, Quarky can be connected to a supported smartphone for compatible block-coding activities.
Quarky Is Connected, but the blocks are not working. Why?
Quarky is connected via serial or Bluetooth, and the connection status shows “Connected,” but the Quarky blocks do not control the board.
The issue may continue even after updating the firmware.
Follow these steps:
Step 1: Connect Quarky using the Connecting Quarky to PictoBlox section.
Connect Quarky to PictoBlox using either:
- Serial Port (USB)
- Bluetooth Port
Step 2: Update the Firmware if Required using the How to Update the Firmware on Quarky section.
If the firmware is outdated or its status cannot be detected, connect Quarky via USB and upload the latest firmware. Wait until the firmware update is completed successfully.
Step 3: Locate the physical Reset button on the Quarky board. Press and release the Reset button once.
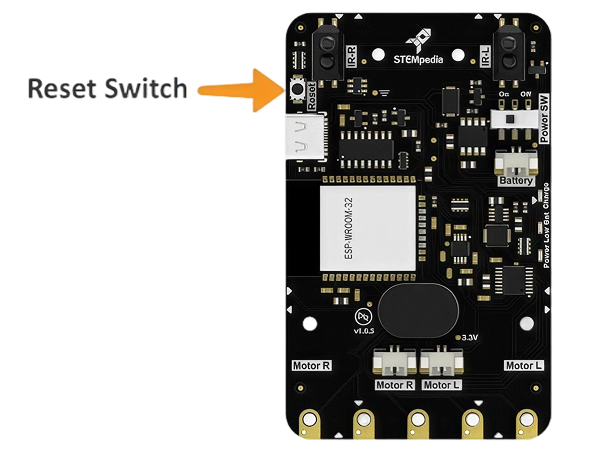
This restarts the board and reloads the installed firmware.
Step 4: Run the Blocks Again
Wait a few seconds for Quarky to complete the restart process. The RGB light will turn on to indicate that the process is complete.
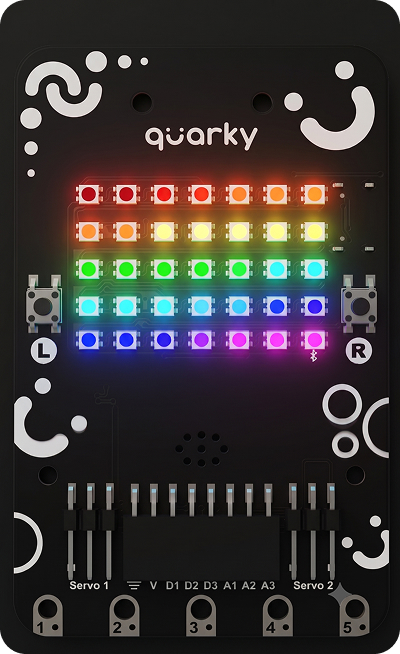
Run a simple project, which is the Quarky Beating Heart project.