Introduction
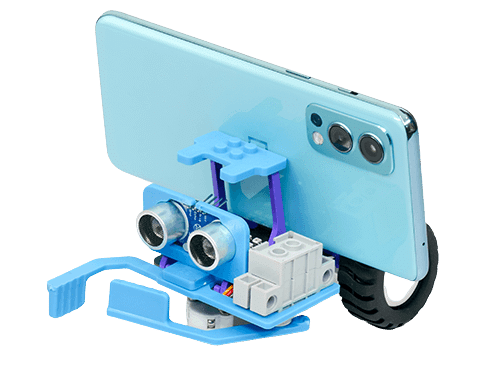
Quarky can be transformed into a Gripper Robot very easily. The gripper robot adds the capability to grip objects and perform pick and place tasks.
The gripper robot can also be programmed to autonomously pick and place objects like a Pizza Delivery Robot.
Assembly
Follow the steps:
We will start with the normal horizontal robot:
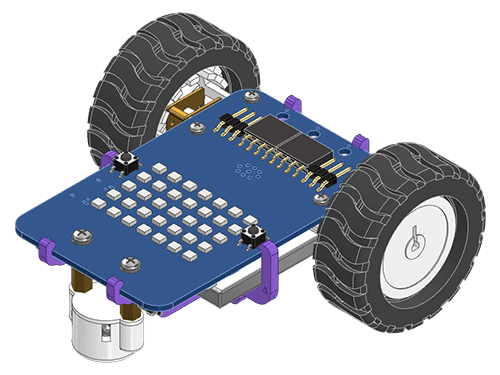
- Begin by detaching the Castor Wheel from the Robot using the Screw Driver.
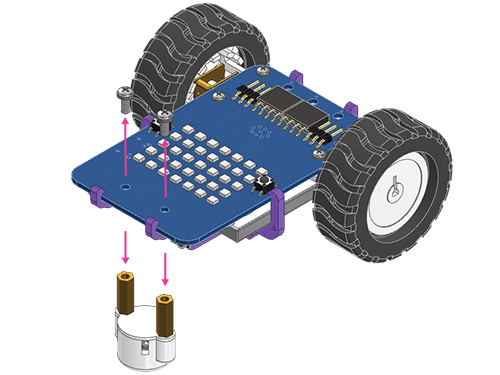
- Next, attach the B8 Plate to the Quarky Robot using the Castor Wheel and the M2.5 Bolts. Tighten it using the Screwdriver.
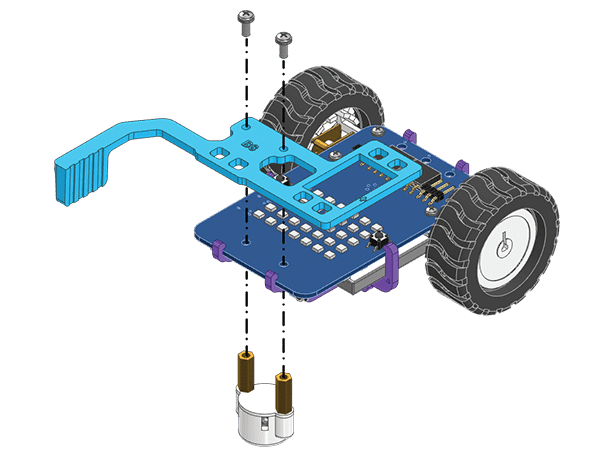
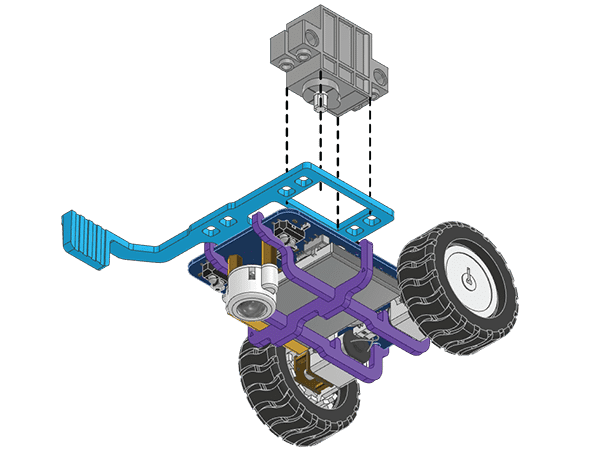
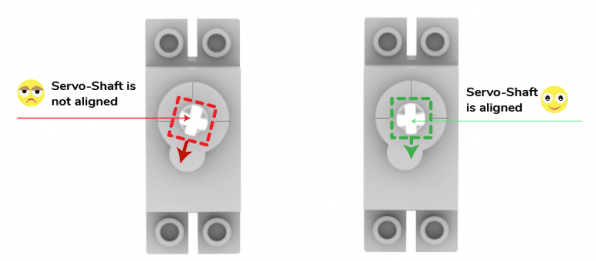
- Next, snap the Geek Servo Motor to the B8 Plate as shown in the figure. Make sure the orientation of the Servo Motor is downwards and the Servo Shaft is aligned as per the figure.
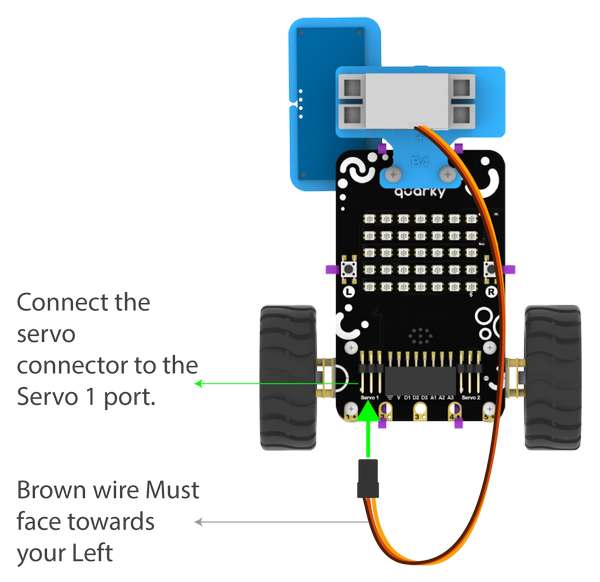
- Connect the Servo Motor to the Quarky.
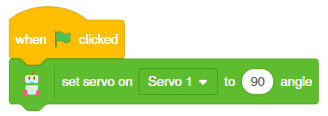
- Open PictoBlox and set the Servo Motor angle to 90 degrees. The servo head should get aligned properly.
- Attach the B9 Plate to the Servo Motor Shaft.

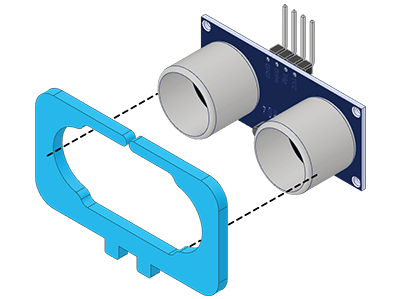
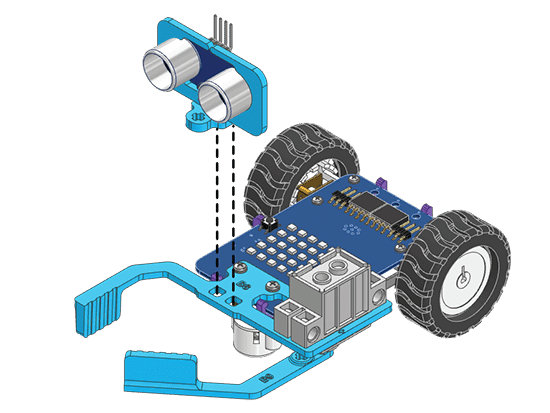
- Push-fit the Ultrasonic Sensor into the B2 Plate.
- Push-fit the B2 Plate into the B7 Plate as shown in the figure.
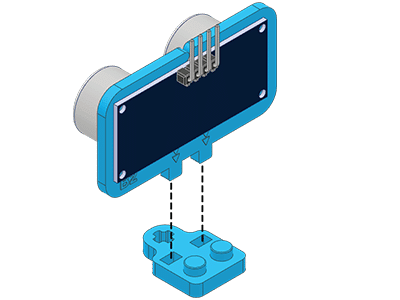
- Snap the B7 Plate to the Front of B8 Plate as shown in the figure. Make sure the B7 Plate is tightly attached.
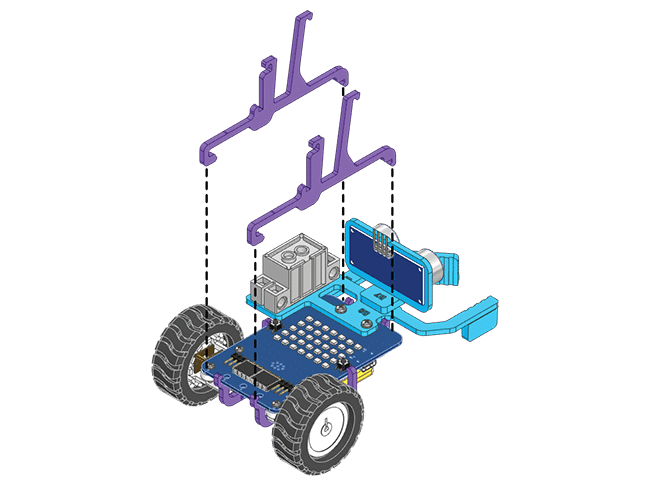
- Snap the A3 Plates to the Quarky Robot as shown in the figure.
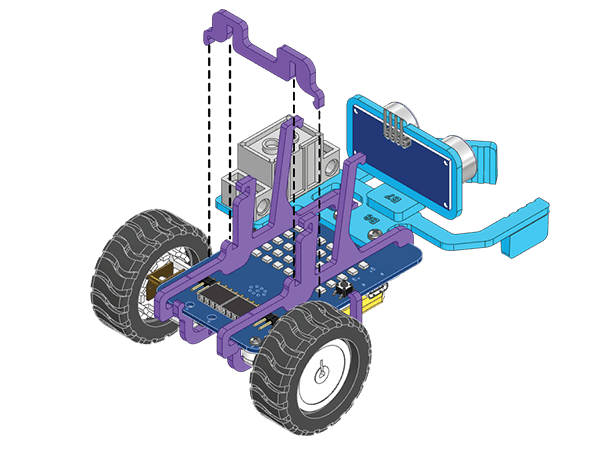
- Lock the A3 Plate using the A4 Plate.
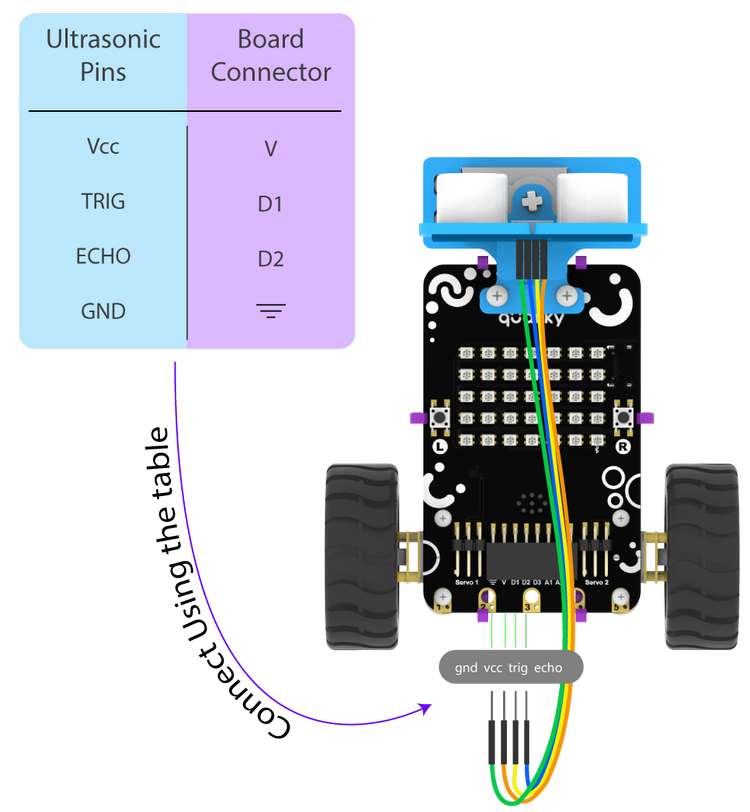
- Connect the Ultrasonic Sensor to the Quarky Robot according to the following diagram.
- To balance the mobile phone on Quarky, snap the B13 Plate on the smartphone mount as shown in the image.
Your robot is ready.
Note: Steps 7 to 13 are optional and can be used only if you use a mobile phone to analyze images.
Project – Making a Manually Controlled Gripper Robot
Now we are going to program the gripper robot! The gripper robot can grip boxes and place them.
Let’s Begin!
- Now, Open PictoBlox and select Block coding.
- Connect Quarky to PictoBlox.
Setting up the Stage
- Add 2 Arrow sprites to the stage from the sprite library.
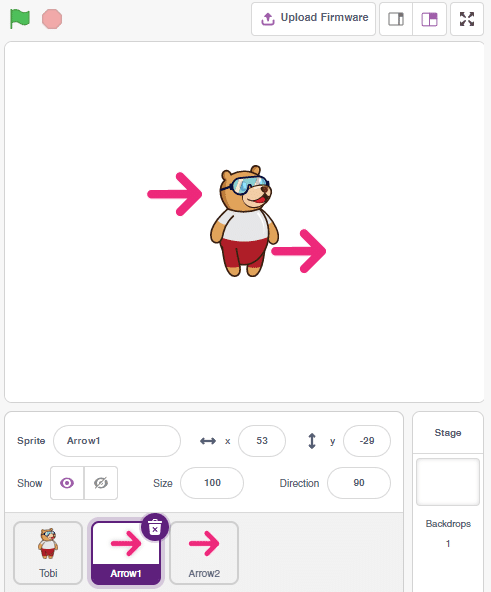
- Rename the Arrow sprites to Open and Close. Keep one of the arrows to face right and change the other arrow costume to face left.
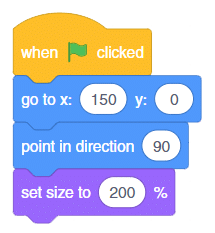
- Click on the Open sprite and add the script to go to 150, 0 positions, point in 90 degrees, and set the size to 200%.
- Add the set servo on () to () angle block and set the angle to 90 degrees. This will set the gripper to open when the code starts.

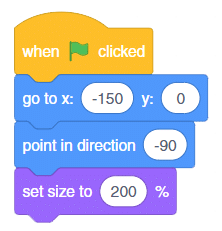
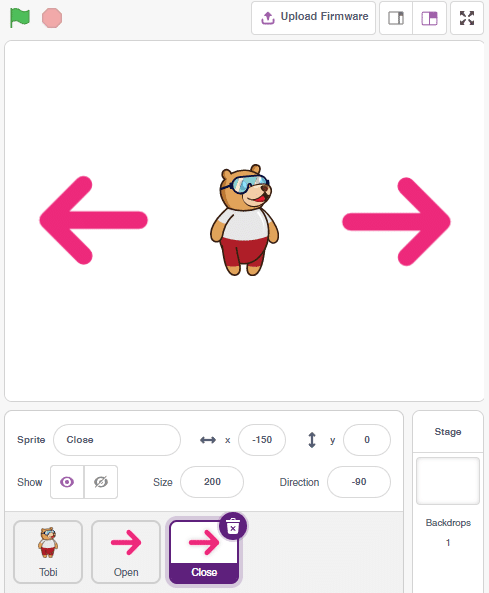
- Click on the Close sprite and add the script to go to -150, 0 positions, point in -90 degrees, and set the size to 200%.
- Finally, click on the green flag to set up the stage.
Gripper Control
The gripper has the following angles of control:
- Open – 90 Degrees
- Close – 170 Degrees
Let’s code it.
Open Sprite
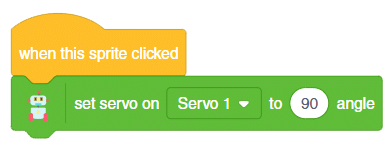
- Click on the Open sprite and add when this sprite clicked block from the Control palette. This will start the script when the open arrow is clicked.
- Add the set servo on () to () angle block and set the angle to 90 degrees.
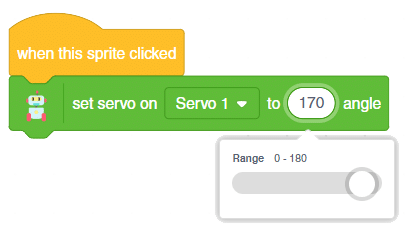
Close Sprite
Click on the Close sprite and add a similar code as open. This time set the angle to 170 degrees.
The script is complete. Test the code with the robot.

Wireless Control
There is only one thing remaining, create the control of the robot to move it forward, backward, left, and right. This we have already done in Control Your Robot Wirelessly.
Click on the Tobi sprite and create the same script.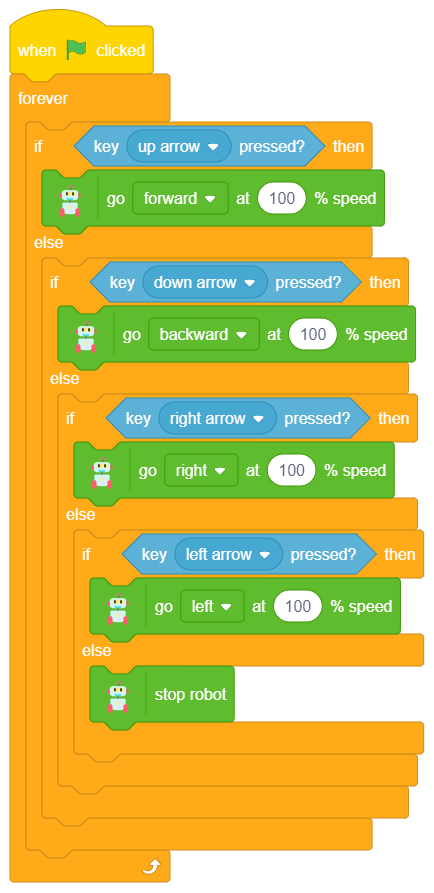
Play with the Robot
Now the code is complete. You can test the code and start playing with the robot.