Introduction
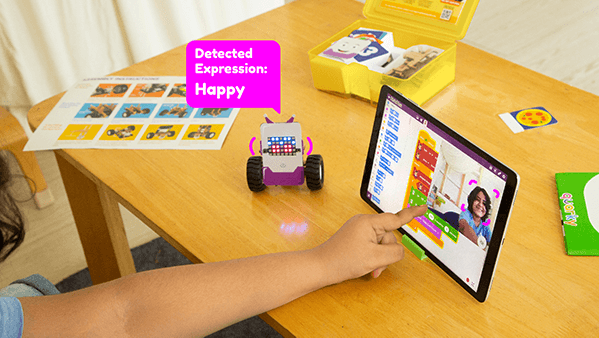
Quarky is programmable with PictoBlox. PictoBlox is coding education software using graphical block-based coding and Python programming.
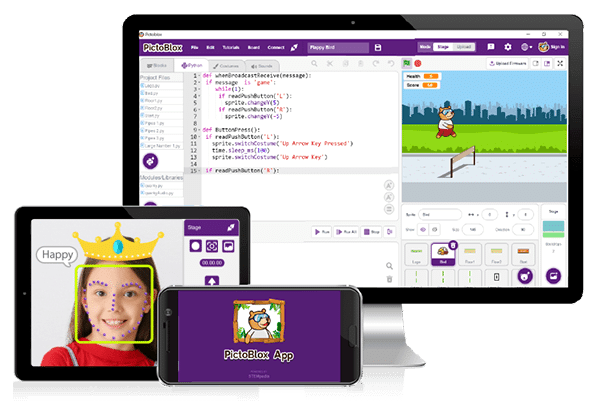
With PictoBlox, you can program every aspect of Quarky and the different Quarky Robots.
If you haven’t installed PictoBlox, please follow the instructions:
STEP 2: Run the .exe file.
Some devices may show a warning pop-up. You don’t need to worry — this software is safe. Click on More info, then click Run anyway.
STEP 3: The rest of the installation is straightforward. Follow the on-screen instructions and choose the options appropriate for your needs.

Your software is now installed!

Connecting Quarky with PictoBlox
Let’s begin by first connecting Quarky to PictoBlox. Select your preferred type of device i.e. either the desktop/laptop or your smartphone and follow the instructions.
Desktop
Follow the steps below for connecting Quarky to PictoBlox:
- First, connect Quarky to your laptop using a USB cable.
- Next, open PictoBlox on your desktop.
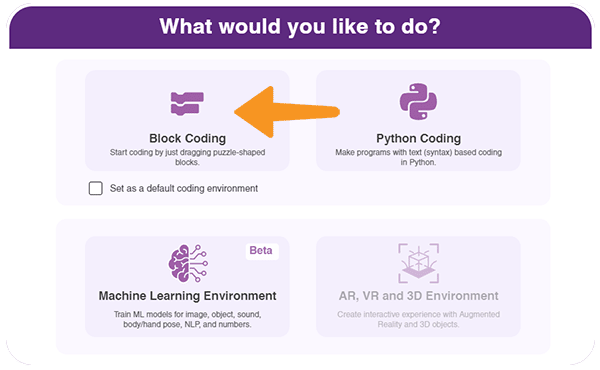
- After that, select Block as your coding environment.
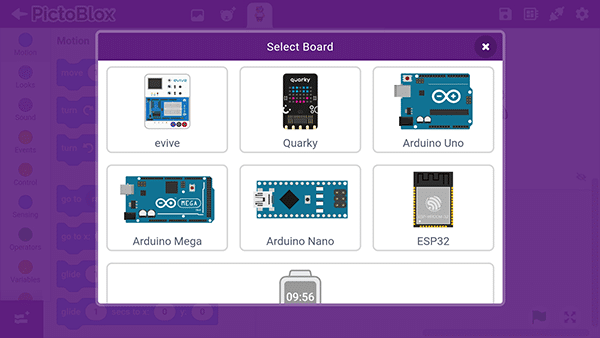
- Then, click the Board button in the toolbar and select board as Quarky.
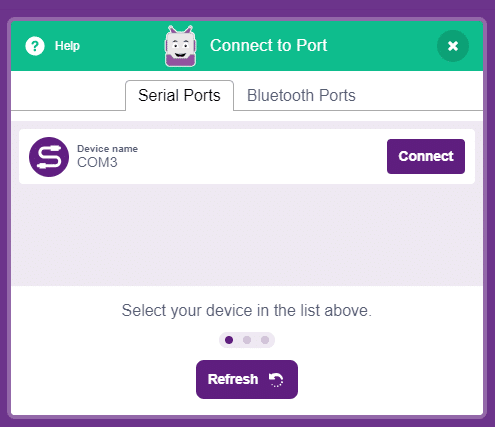
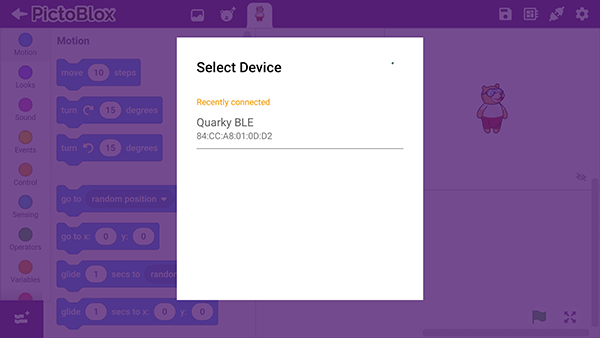
- Next, select the appropriate Serial port if the Quarky is connected via USB or the Bluetooth Port if you want to connect Quarky via Bluetooth and press Connect.
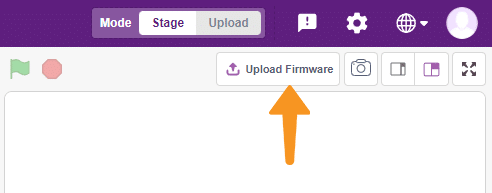
- Click on the Upload Firmware button. This will upload the latest firmware in Quarky.
 Note: If your device already has the latest firmware, then PictoBlox will show the message – Firmware is already updated. For learning more you can refer to this tutorial: https://ai.thestempedia.com/docs/quarky/quarky-toubleshooting/updating-quarky-firmaware-with-pictoblox/
 - Once the firmware is uploaded, Quarky starts the Getting Started program. This runs only for the first time. Run through it.
And voila! Quarky is now connected to PictoBlox.
Mobile
Follow the steps below for connecting Quarky to PictoBlox:
- First, power ON Quarky.
- Open PictoBlox on your smartphone. Go to My Space and make a new project by clicking the ‘+(plus)’ button in the bottom-right corner.

- Then, tap the Board button in the top-right corner of the toolbar.
 Select board as Quarky.
- Next, tap the Connect button:
 Select your device from the list.
And voila! Quarky is now connected to PictoBlox.
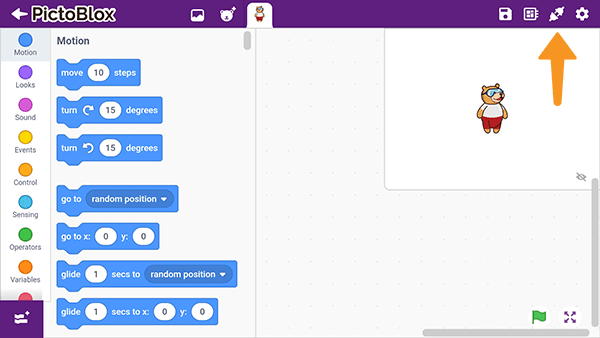
Programming Quarky in Stage Mode
Let’s first understand what Stage mode is.
The Stage mode is a mode of working in PictoBlox in which we can interact with the components like sensors, actuators, and Quarky in real time. If you disconnect the board with Pictoblox, you cannot interact with Quarky anymore. In this mode, you can make games and animation by interacting with Quarky.
You can select this mode from here:

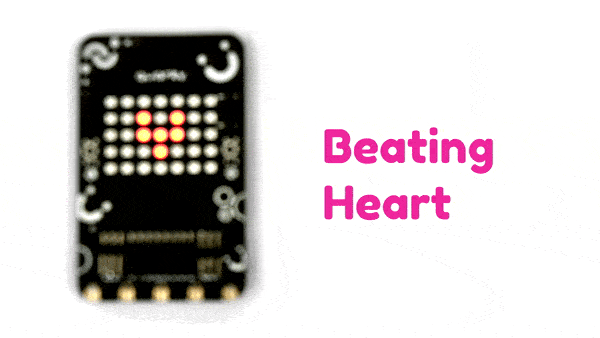
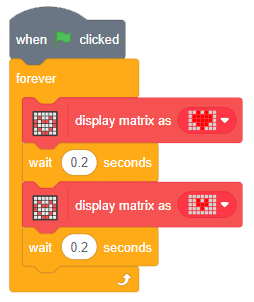
Project – Beating Heart
Let’s make the project of creating an animation of Beating Heart on Quarky.
Follow the steps below:
- Let’s begin by first connecting Quarky to PictoBlox.
- Drag and drop a when flag clicked block into the scripting area from the Events palette.
- Add a forever block from the Control palette below the when flag clicked block.
- Inside the forever block, add a display matrix as () block from the Display palette.
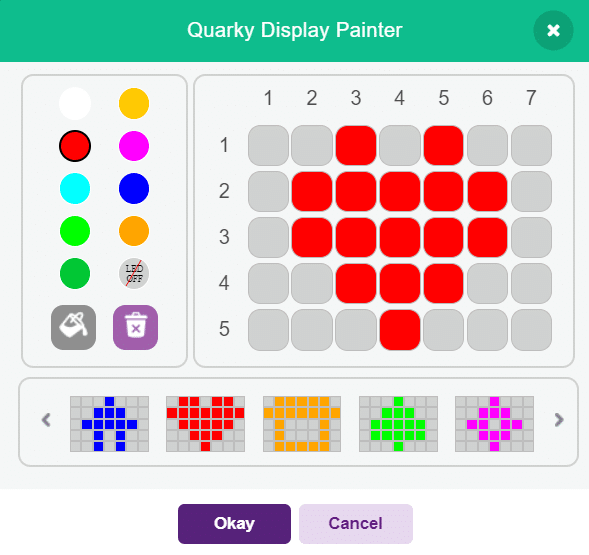
- Open the drop-down by clicking on the tiny white arrow as shown in the image.
- Draw a small heart in the middle of the matrix as shown.
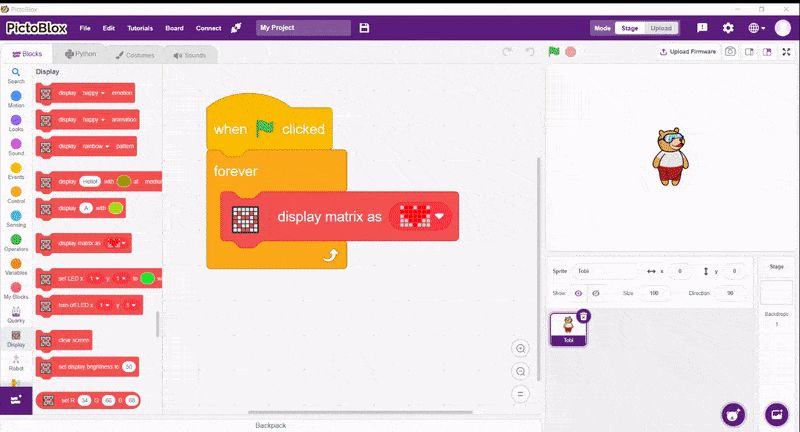
- Add a wait () seconds block under the display matrix as () block and set the waiting time as 0.2 seconds.

- Now, add another display matrix as () block and draw a bigger heart in the matrix as shown in the image.
- Add another wait () seconds block under the display matrix as () block and set the waiting time as 0.2 seconds.
 Note: If you’re wondering what the wait () seconds block is for, here’s the answer: the wait block will ensure that there is a pause before the second pattern appears on the matrix.
And there you go! Quarky’s heart beats only for you!
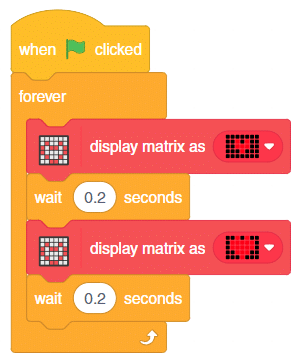
Run the script by clicking the green flag.

Programming Quarky in Upload Mode
Let’s begin by understanding what Upload mode is.
Upload mode is one of the two modes you can write your programs in Pictoblox. This mode allows you to write scripts and upload it to the board so that you can use even when it is not connected to your computer, for example, you need to upload a script for making moving robots.
Once uploaded, the board runs independently according to the script.
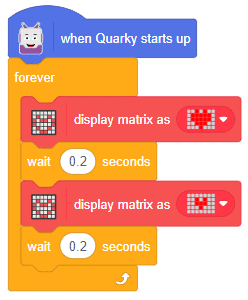
Project – Beating Heart in Upload Mode
Follow the steps:
- Switch to Upload mode by toggling this button. You’ll observe some changes in the UI.
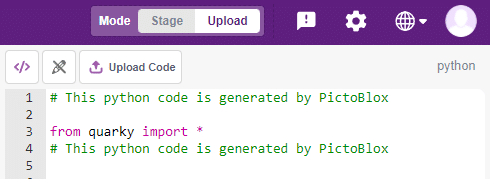
- For starters, the stage is replaced by the editor window. The editor window shows the equivalent Python code of the script you create.
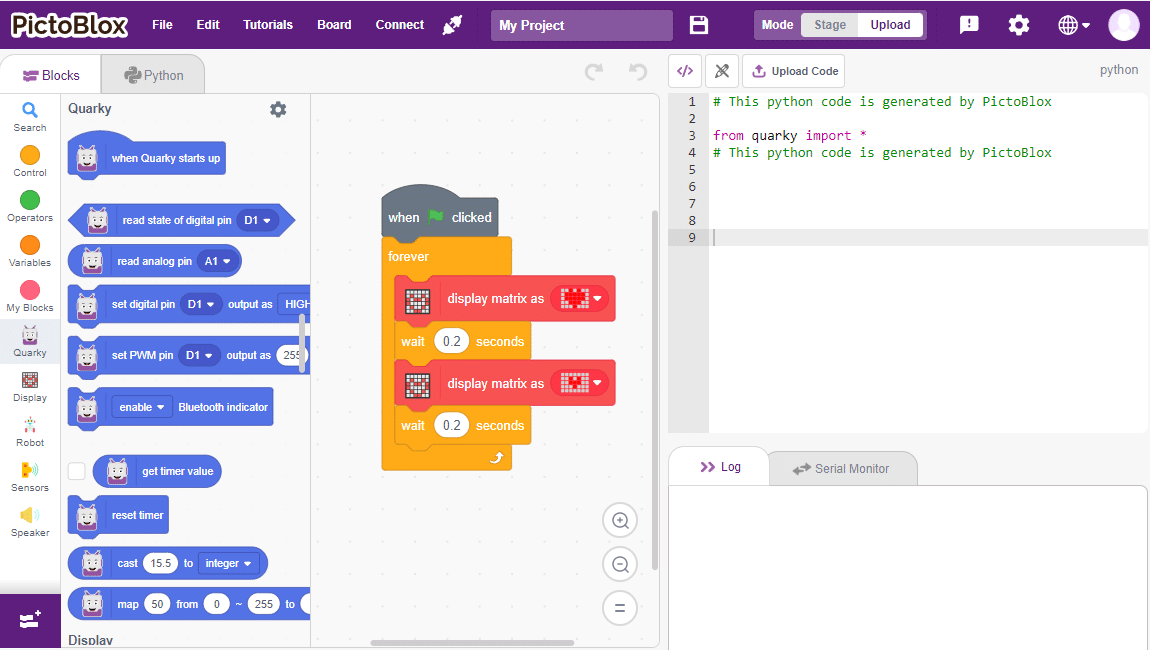
- The other difference that you’ll notice is in the block palette. Those palettes whose blocks are used to interact with the stage and sprite such as motion, sound, and looks disappear.
- Since the when flag clicked block is not compatible with Upload Mode, you will find it to be grey. We have to remove it.
- Especially to upload the code into Quarky, when Quarky starts up block inside the Quarky palette is available. Scripts that wear this block get converted into Python code when you are in Upload Mode.

- Make the script with when Quarky starts up block.
- You will find the Python code automatically added to the editor on the right.
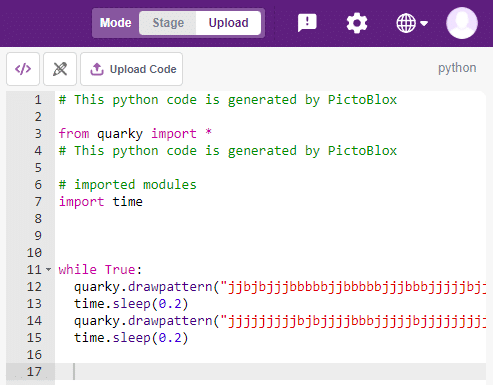
- Click on the Upload Code button.
- Once uploaded, you will find the Quarky heart beating!
Conclusion
In conclusion, PictoBlox makes it easy to program Quarky with its graphical block–based coding and Python programming. Knowing how to connect and program Quarky with PictoBlox will help you unlock the full potential of Quarky and its different Quarky Robots. With PictoBlox, you can create amazing projects like the Beating Heart in both Stage Mode and Upload Mode.