
Arduino Uno

Arduino_UNO
Extension Description
Learn how to program Arduino Uno using PictoBlox Block Coding. This beginner-friendly tutorial explains Arduino Uno setup, PictoBlox UI, Stage Mode, Upload Mode, Arduino blocks.

Introduction

Arduino Uno is one of the most commonly used microcontroller boards for learning electronics, robotics, and physical computing. Traditionally, Arduino Uno is programmed using syntax-based code, where learners need to write multiple lines of code to perform even a simple task like blinking an LED.

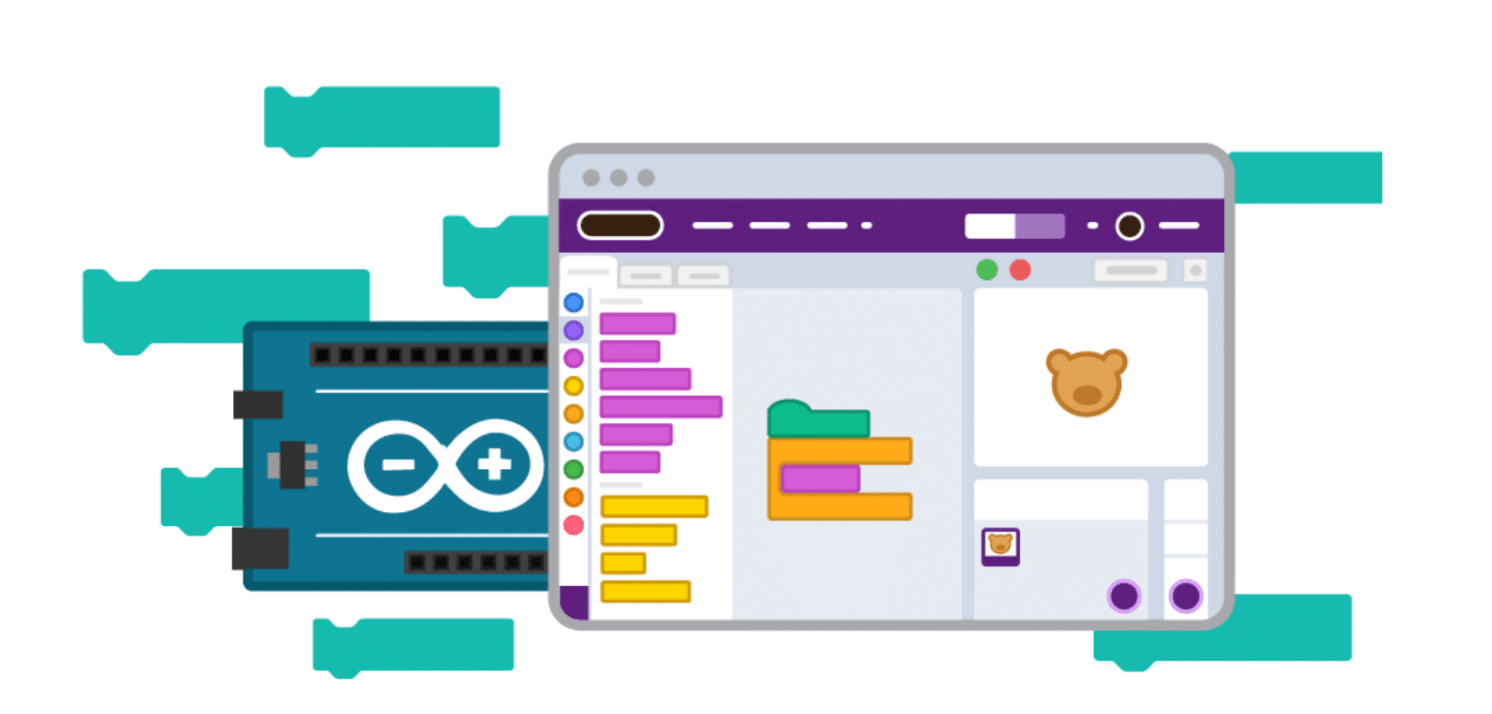
PictoBlox makes Arduino programming easier by providing a block coding environment. Instead of writing code manually, you can drag and drop blocks to control Arduino Uno.

In this documentation, you will learn about the Arduino Uno extension in PictoBlox, understand important Arduino blocks, and connect Arduino Uno to PictoBlox.

Connecting Arduino Uno to PictoBlox

Follow these steps to connect Arduino Uno to PictoBlox.

Step 1: Connect Arduino Uno

Connect Arduino Uno to your computer using a USB cable.
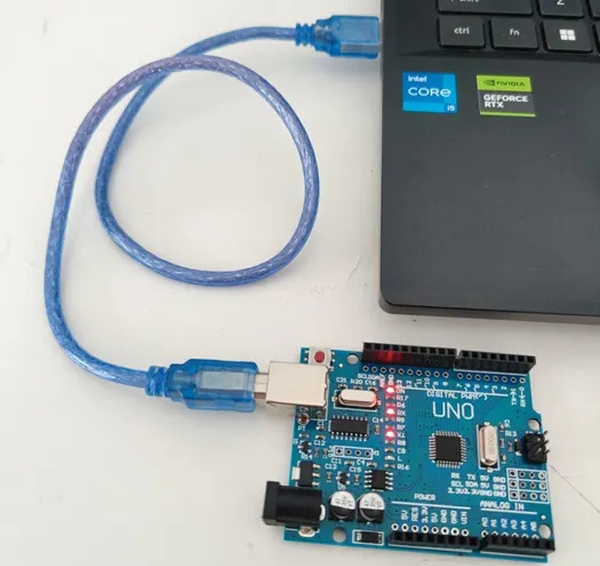
Connect Arduino Uno to pictoblox with usb

Step 2: Select Arduino Nano Board

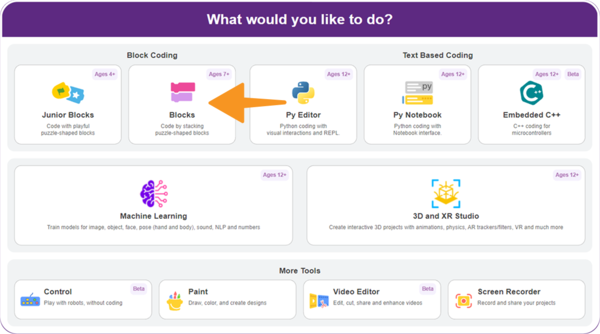
  1. Open PictoBlox and select the Block Coding environment.
    Select the Block Coding environment

Step 3: Select Arduino Uno Board

Open PictoBlox. Click on the Board menu from the toolbar. Select Arduino Uno from the board list.
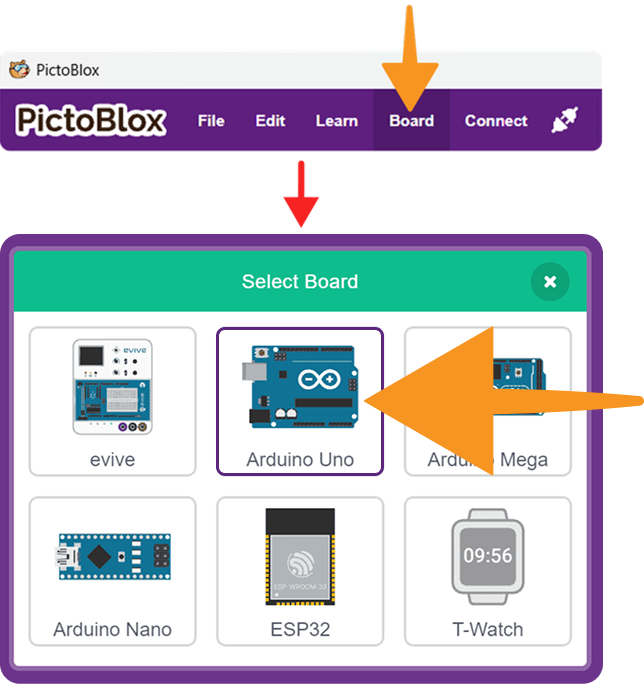
Select Arduino board

Step 4: Connect the Serial Port

Click on the Connect menu. Select the correct serial port from the list.
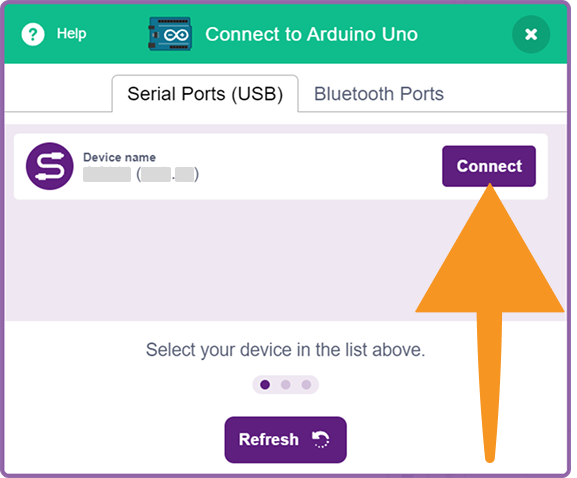
Connect listed device click on connect button

Arduino Uno is now successfully connected to PictoBlox. Click on the Go to Editor button to open the coding workspace and start programming your Arduino Uno.
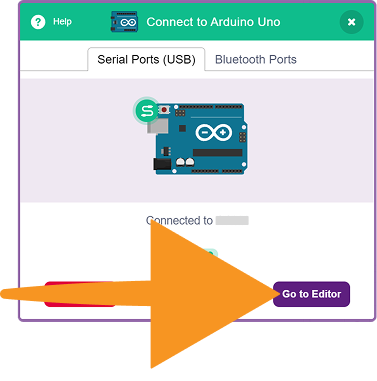
Successfully connected to PictoBlox Click on go to editor

Step 5: Check Arduino Blocks

After selecting Arduino Uno, the Arduino-related blocks will appear in the block palette.
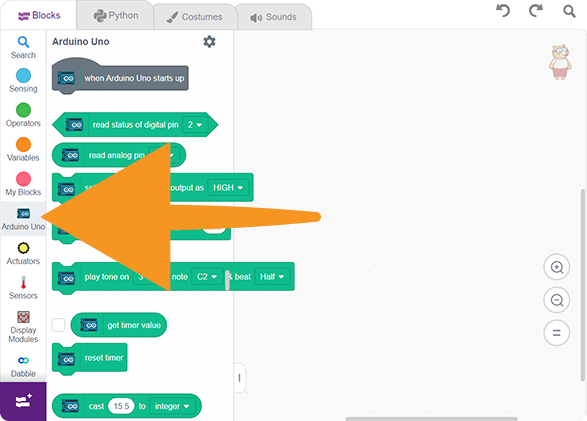
Arduino uno Blocks

PictoBlox Modes for Arduino Nano

1. Stage Mode

  • Use Stage Mode when you want Arduino Nano to communicate with PictoBlox in real time.
  • The Arduino Nano must remain connected to the computer while the project is running.

2. Upload Mode

  • Use Upload Mode when you want to upload the program directly to Arduino Nano.
  • After uploading, the board can run the program independently without remaining connected to PictoBlox.
Read More

PictoBlox Blocks

The read status of digital pin () block checks whether the selected Arduino Uno digital pin is HIGH or LOW. It returns True for HIGH and False for LOW.
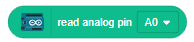
The read analog pin () block reads the value received by a selected Arduino Uno analog pin. It returns a value from 0 to 1023, representing an input voltage of approximately 0V to 5V.
The set digital pin () output as () block sets a selected Arduino Uno digital pin to HIGH or LOW. Use it to control LEDs, buzzers, relays, and other digital output devices.
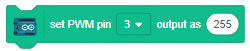
The set PWM pin () output as () block controls the PWM output of a selected Arduino Uno pin from 0 to 255. It can be used to adjust LED brightness, motor speed, and other PWM-compatible devices.
The play tone on () of note () & beat () block plays a selected note on an Arduino Uno digital pin. It is useful for creating buzzer sounds, alarms, melodies, and audio feedback.
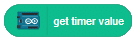
The get timer value block returns the time elapsed since Arduino Uno started or the timer was reset. The returned time is measured in milliseconds.
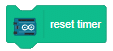
This block resets the timer value to 0.0, which is necessary at the start of a project to ensure the Timer block holds the correct value.
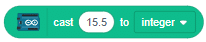
This block takes in a given value and converts it to either an integer or a float depending on the input.
This block allows you to scale a value from one range of numbers to another.
All articles loaded
No more articles to load

Block Coding Examples

All articles loaded
No more articles to load
Table of Contents