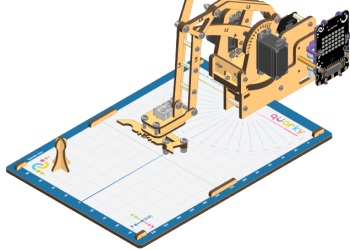
Learn how to assemble the Quarky Robotic Arm with this step-by-step guide. Follow the steps to make the Quarky Robotic Arm look like the image shown in this guide, and use it to explore more complicated programs and activities.
Learn how to assemble the Quarky Robotic Arm with this step-by-step guide. Follow the steps to make the Quarky Robotic Arm look like the image shown in this guide, and use it to explore more complicated programs and activities.
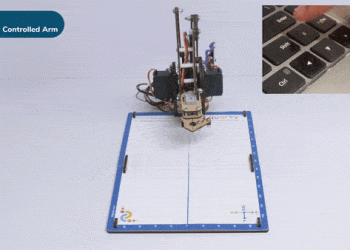
“Learn to control a Quarky robotic arm remotely using Bluetooth and PictoBlox. Perfect for tasks like picking and tool manipulation, this project boosts productivity and safety in hazardous environments. Step-by-step coding guides included for precise X, Y, Z-axis, and gripper control.”
“Learn to control a Quarky robotic arm remotely using Bluetooth and PictoBlox. Perfect for tasks like picking and tool manipulation, this project boosts productivity and safety in hazardous environments. Step-by-step coding guides included for precise X, Y, Z-axis, and gripper control.”
This activity focuses on programming a robotic arm using Python in PictoBlox, showcasing Python’s power in AI and ML. You’ll learn to initialize the arm, define movement functions for X, Y, and Z axes, control the gripper, and implement real-time control using a loop. This hands-on project sets the stage for embedding AI and ML into the robotic arm in future activities. Let’s get started!
This activity focuses on programming a robotic arm using Python in PictoBlox, showcasing Python’s power in AI and ML. You’ll learn to initialize the arm, define movement functions for X, Y, and Z axes, control the gripper, and implement real-time control using a loop. This hands-on project sets the stage for embedding AI and ML into the robotic arm in future activities. Let’s get started!
Learn how to make a robotic arm autonomous, moving beyond manual control to execute repetitive tasks efficiently. By following the coding steps in PictoBlox, you can program precise movements and actions, making it suitable for applications in industries like manufacturing and medical fields. With careful calibration and testing, you can successfully transform your robotic arm into an autonomous system, enhancing its functionality and versatility.
Learn how to make a robotic arm autonomous, moving beyond manual control to execute repetitive tasks efficiently. By following the coding steps in PictoBlox, you can program precise movements and actions, making it suitable for applications in industries like manufacturing and medical fields. With careful calibration and testing, you can successfully transform your robotic arm into an autonomous system, enhancing its functionality and versatility.
Learn how to program a robotic arm to operate autonomously using Python in Pictoblox. This activity guides you through initializing the robotic arm, writing movement and gripper actions, and using a continuous loop for independent operation. You’ll also explore the transition from stage mode to upload mode, allowing the robotic arm to function without an external system or Pictoblox connection. Ideal for robotics enthusiasts and learners, this guide will help you take full control of robotic arms in a simple, efficient way.
Learn how to program a robotic arm to operate autonomously using Python in Pictoblox. This activity guides you through initializing the robotic arm, writing movement and gripper actions, and using a continuous loop for independent operation. You’ll also explore the transition from stage mode to upload mode, allowing the robotic arm to function without an external system or Pictoblox connection. Ideal for robotics enthusiasts and learners, this guide will help you take full control of robotic arms in a simple, efficient way.
this activity introduces the integration of machine learning into robotics by developing a hand gesture recognition model in PictoBlox. Through systematic steps, you learn to train, test, and export the model to control a robotic arm using gestures. By combining gesture analysis with robotic arm settings, this project highlights the potential of machine learning in enabling intuitive and precise control in robotics, paving the way for innovative applications.
this activity introduces the integration of machine learning into robotics by developing a hand gesture recognition model in PictoBlox. Through systematic steps, you learn to train, test, and export the model to control a robotic arm using gestures. By combining gesture analysis with robotic arm settings, this project highlights the potential of machine learning in enabling intuitive and precise control in robotics, paving the way for innovative applications.
Quarky Robotic Arm Project - Block Coding
Refer to the tutorials to learn how to use PictoBlox Block Coding Environment to code Quarky Robotic Arm for different applications.
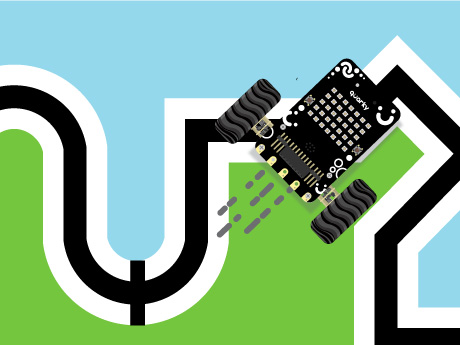
Learn how Grade 7 students can build an Advanced Line Follower Robot using Quarky and PictoBlox. This step-by-step tutorial introduces sensor calibration, PID control, checkpoint detection, and autonomous robot navigation using the Quarky Advanced Line Follower extension.
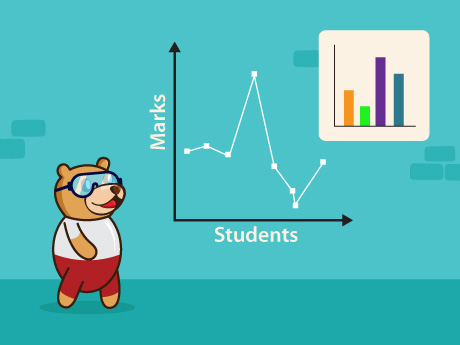
Learn how Grade 9 students can analyze class marks using Python Notebook in PictoBlox. This step-by-step tutorial teaches students how to use Pandas, Matplotlib, mean, median, mode, DataFrames, and charts to analyze student performance.
Learn how to move multiple sprites together in PictoBlox using Python. This beginner-friendly Grade 8 tutorial teaches students how to create sprite objects, use loops, apply movement commands, and animate Tobi, Devin, and Giga Walking together on the stage.
Learn how Grade 8 students can use the Evive Gamepad Module in PictoBlox with the Dabble extension. This tutorial teaches joystick X and Y values, angle, radial distance, button detection, custom blocks, and TFT display output.
Learn how Grade 8 students can draw different shapes on the evive TFT display using PictoBlox. This step-by-step tutorial teaches keyboard input, custom blocks, conditional statements, loops, and shape-drawing functions.
Designed for Grade 5 learners, this project introduces motor interfacing with evive using Python in PictoBlox. Students learn how to control motors through programming while exploring the fundamentals of robotics and hardware.
This activity is designed for Class 8 students. Students will learn to create an AI-powered voice assistant using Quarky and PictoBlox Py Editor. The assistant understands voice commands, uses ChatGPT to generate smart replies, and speaks the answers using text-to-speech. Quarky also shows animations to make the interaction fun and engaging.
The evive Terminal Module in PictoBlox enables two-way communication between the evive device and the Dabble app using Bluetooth. Through the Terminal Module, users can send text commands or numeric values from a smartphone to control hardware components such as LEDs, motors, and relays. It can also transmit sensor readings and status messages from evive back to the smartphone in real time.
Learn how to build an AI-powered Object Detection and Counting System using PictoBlox and the Object Detection extension. In this beginner-friendly Grade 7 STEM AI project, you’ll use your webcam to detect objects in real time, count the total number of detected objects, and identify each object by its class name. Using simple drag-and-drop block coding, the program displays the object count on the screen and announces the name of every detected object. This hands-on tutorial is perfect for learning AI object detection, computer vision, and machine learning concepts with PictoBlox.
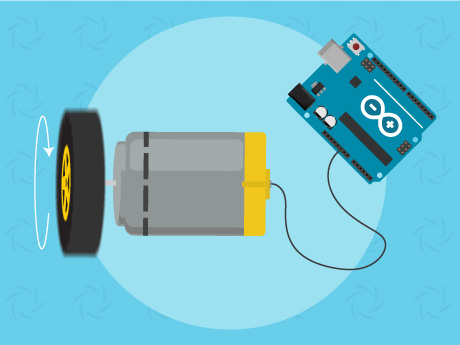
Learn how to control the direction of a DC motor using Arduino Uno and PictoBlox. In this beginner-friendly Grade 7 STEM project, you will program the motor to rotate forward for 5 seconds and reverse for 5 seconds while learning motor driver interfacing, robotics, and Arduino programming.
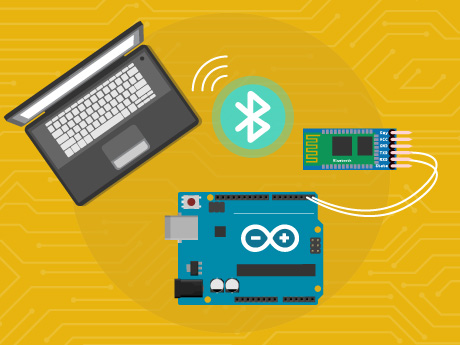
Learn how to change the communication baud rate of an HM-10 Bluetooth module using Arduino Uno and PictoBlox. In this beginner-friendly Grade 8 STEM project, you’ll use Arduino to send AT commands that configure the HM-10 module’s baud rate. This hands-on activity introduces AT commands, serial communication, Bluetooth module configuration, and the fundamentals of wireless communication using Arduino and PictoBlox.
Learn how to build and control a humanoid robot using evive, servo motors, and a microcontroller. This project enables students of grade 8 to program robot movements, control walking and balancing actions, and explore concepts of robotics, embedded systems, and automation through hands-on learning.
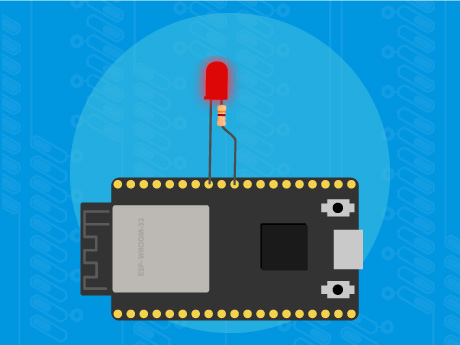
Learn how to establish a Feedback mechanism with ESP32 and a Push-Pull Switch & how to program the Switch to perform LED Glow on the ESP32 using PictoBlox – our blocks-based graphical programming platform with advanced hardware interaction abilities.
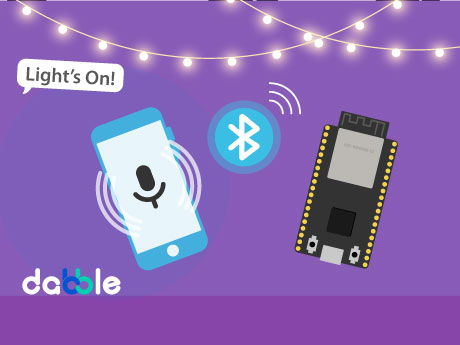
Learn how to build a voice-controlled lighting system by interfacing an ESP32 with the Dabble smartphone app. This lesson walks you through using Bluetooth, capturing voice commands, and writing PictoBlox logic to control a physical LED with your voice
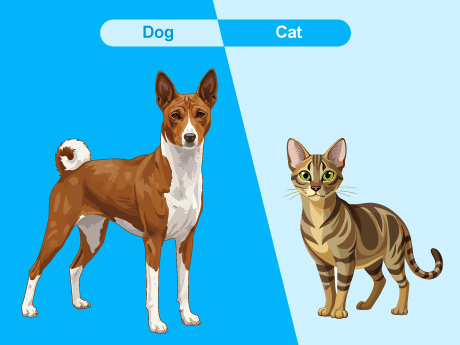
Dive into AI by building a real-time “Cat and Dog” image classifier using PictoBlox. This beginner-friendly project guides students through the entire machine learning lifecycle—from uploading datasets and training the model, to live webcam testing and exporting the trained AI into block-based scripts for interactive coding.
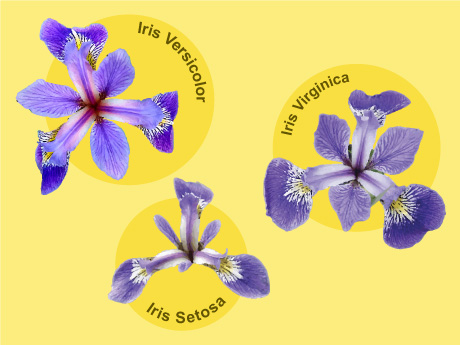
Learn how to build an Artificial Intelligence (AI) based Iris Flower Classifier using PictoBlox. In this project, a Machine Learning model is used to identify different species of Iris flowers from images. The project introduces learners to image classification using an easy-to-use block programming environment.
Learn how to build a Machine Learning classification model using the PictoBlox Machine Learning Environment to recognize different animal sounds. In this project, a classification model is trained using an animal sound dataset, enabling the system to identify the corresponding animal based on audio features. This project introduces learners to supervised Machine Learning, dataset preparation, model training, testing, and prediction using a graphical interface.
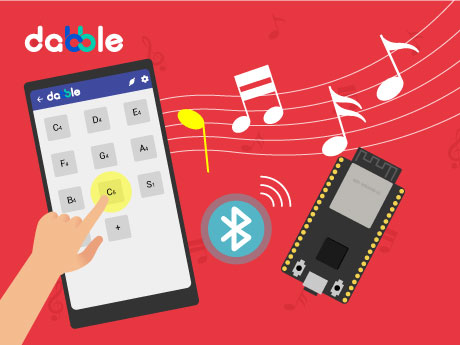
Learn how to build a bluetooth enabled piano by interfacing an ESP32 with the Dabble smartphone app. This lesson walks you through using Bluetooth, capturing touch signals, and writing PictoBlox logic to control the musical tones with your command.
How to Create a Bluetooth Piano using PictoBlox and ESP32
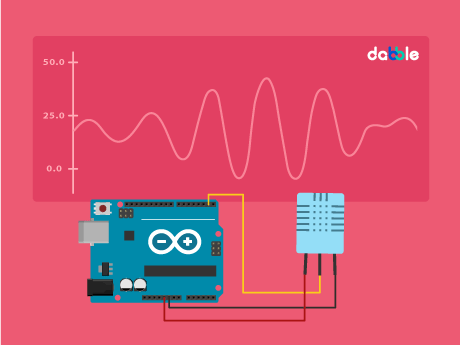
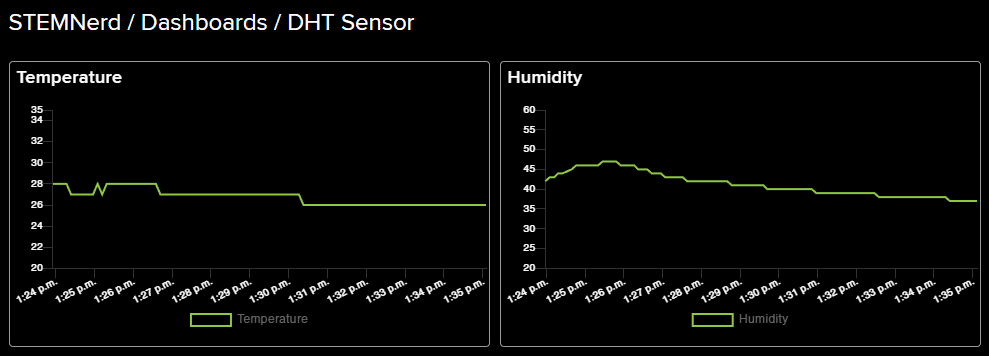
Learn how to build a full-fledged weather station by interfacing an Arduino Uno with a DHT11 Sensor. This lesson walks you through using Bluetooth, capturing sensor data, and printing the weather readings.
Build your own smart switch! Learn how to wire a push button and an LED to an ESP32 board, and program it using PictoBlox’s Upload Mode. This lesson covers the fundamentals of digital inputs, tracking variable states, and conditional logic so you can start creating real-world DIY automation projects.
Learn how to build a hand-gesture-controlled robot with Wizbot Maxx and PictoBlox. This step-by-step guide walks you through using the Dabble app’s smartphone sensors, establishing Bluetooth communication, and programming directional motor logic to drive your robot wirelessly.
Learn how analog sensors transform continuous environmental changes – like light and temperature – into readable digital data. This guide shows you how to interface analog sensors with evive and write threshold logic in PictoBlox to build smart, real-world automation projects.
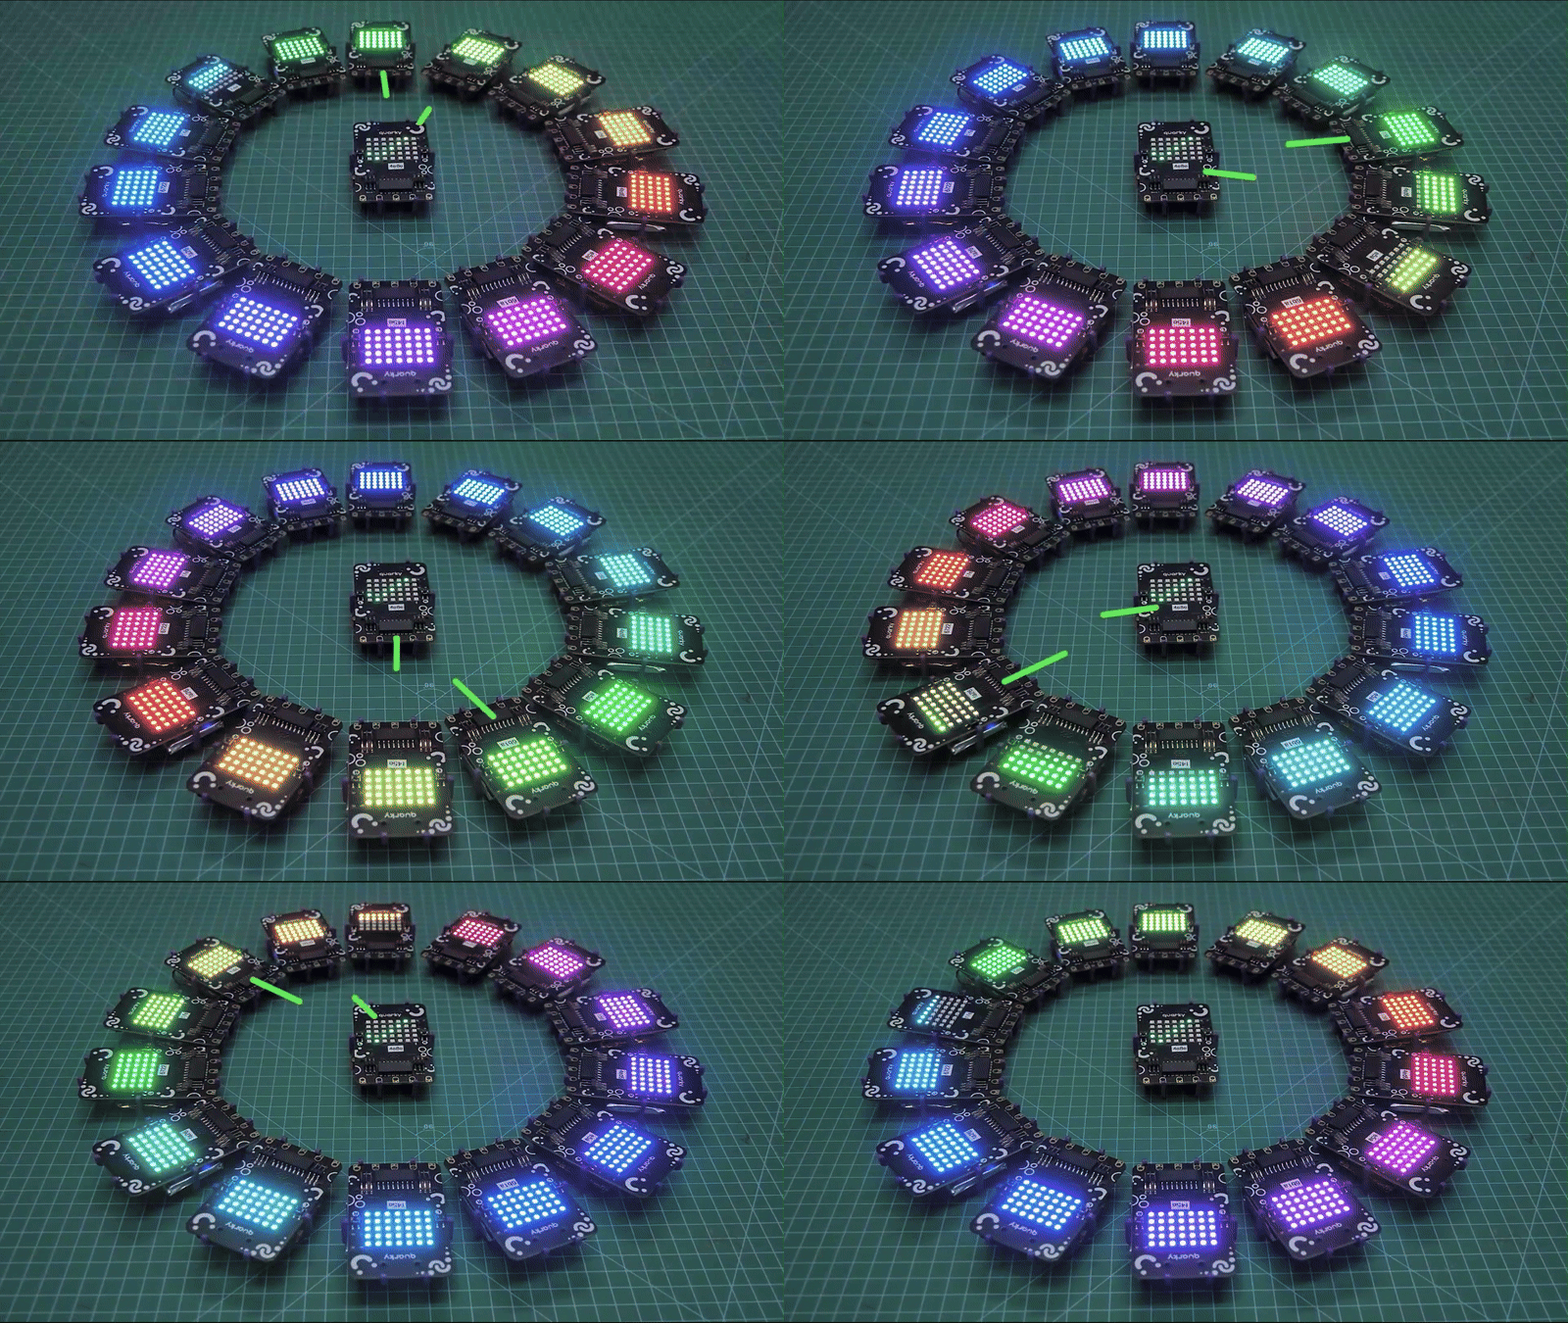
In this example, you will create a colourful digital Rangoli using 15 Peer Quarkys controlled wirelessly by one Master Quarky. The Quarky Connect extension uses ESP-NOW communication, allowing the Quarkys to communicate directly without requiring a Wi-Fi router or internet connection.
The Master Quarky connects to all 15 Peer Quarkys and broadcasts different LED matrix patterns. All the Peer Quarkys display the colours together, creating a synchronised Rangoli effect.
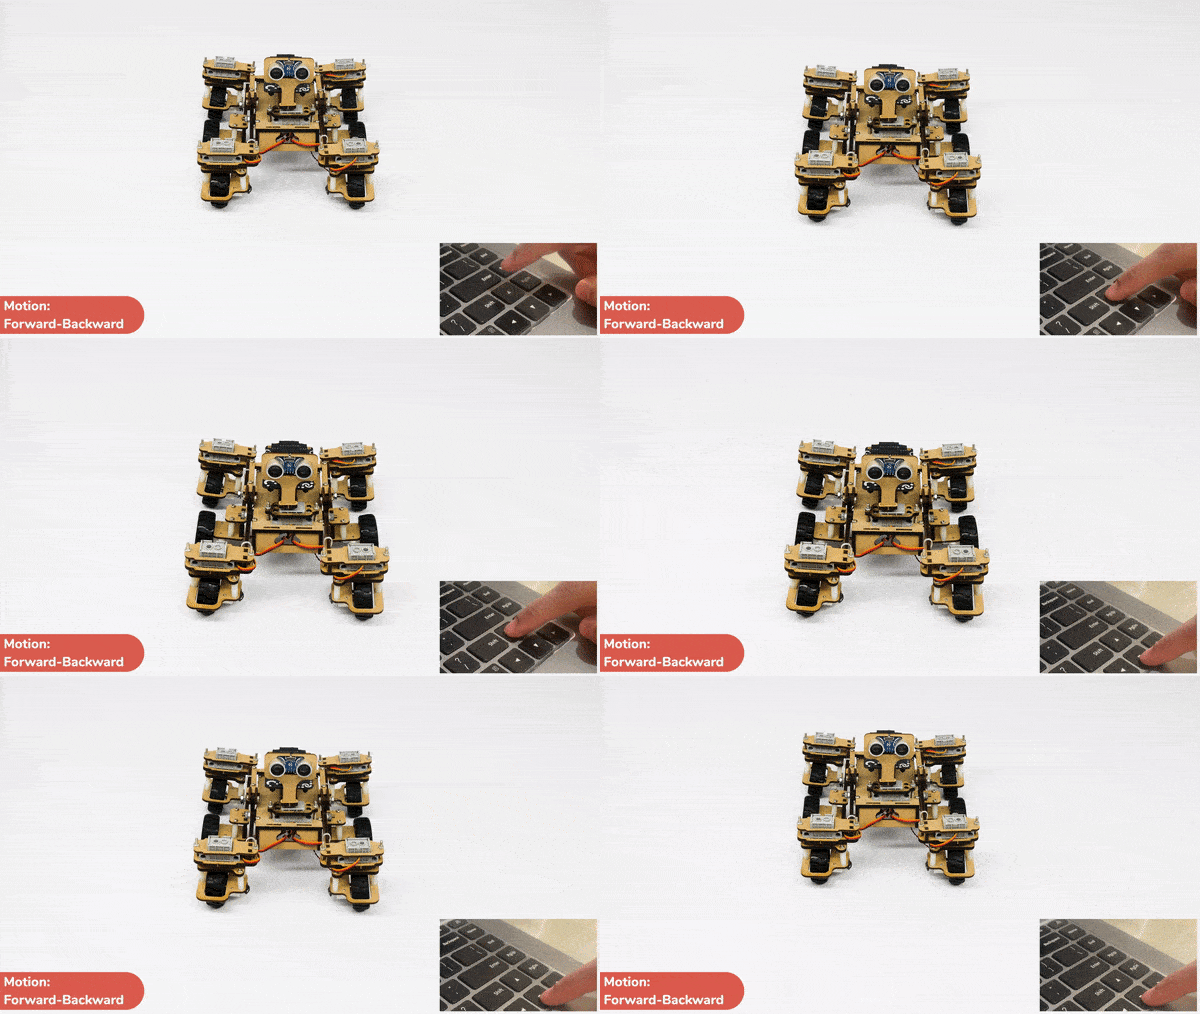
In this tutorial, you’ll discover how to use Python programming to control the Mars Rover. You’ll learn how to use different keys on your keyboard to move the rover forward, backward, turn left, and turn right.
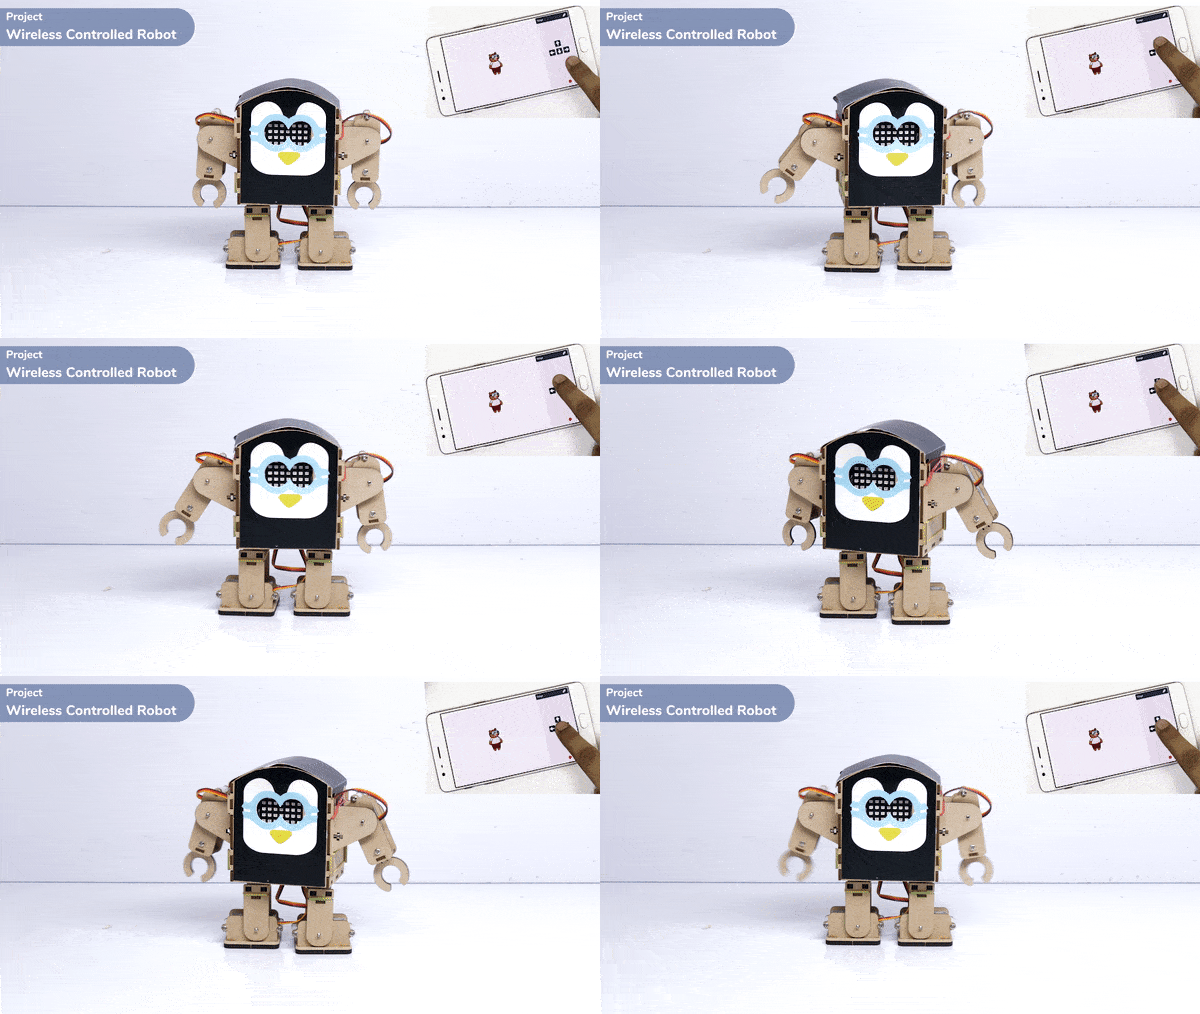
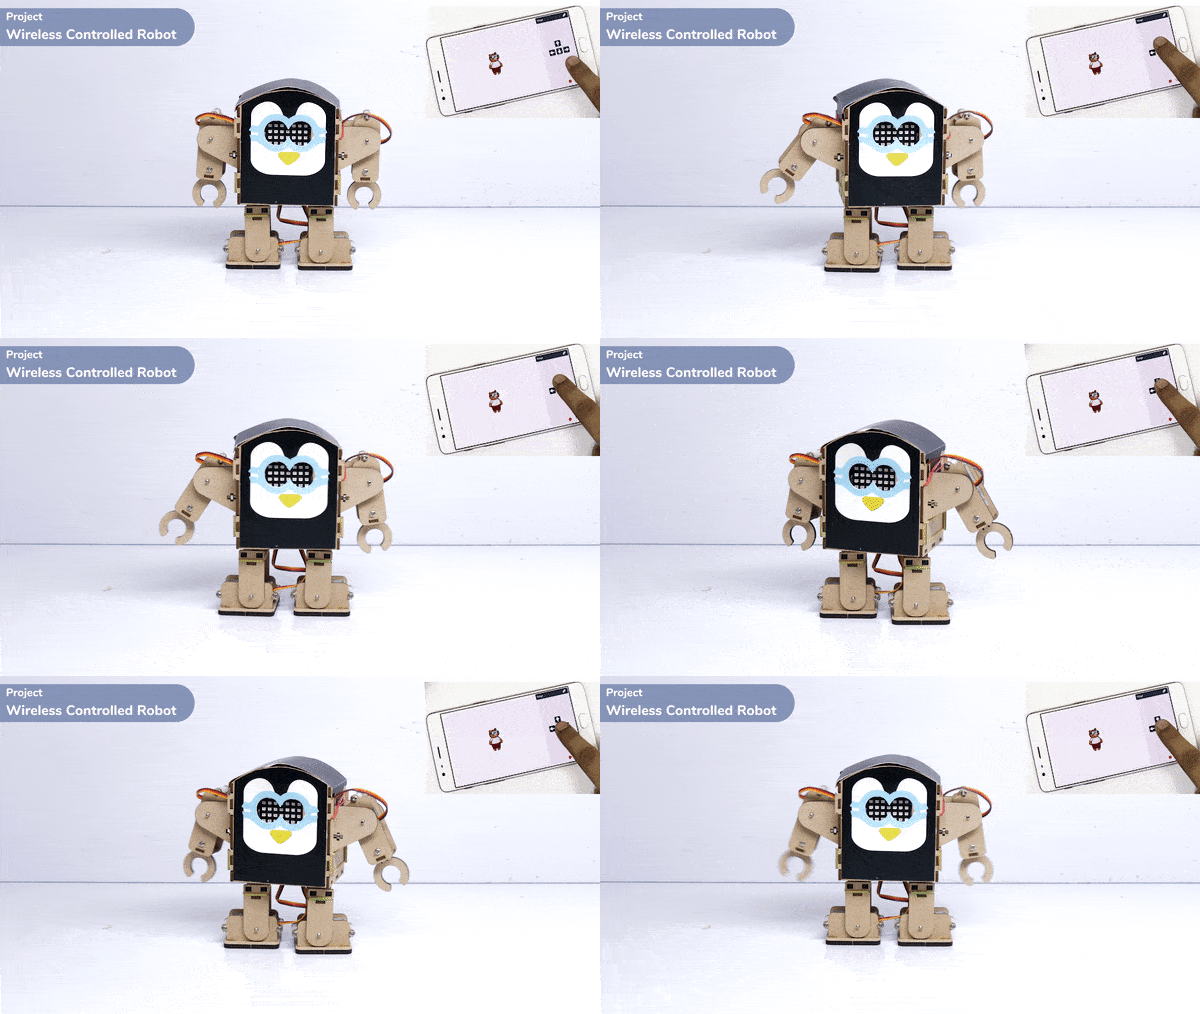
Learn about humanoid robots, their form and functionality, and how the program uses arrow keys to control humanoid movement in different directions and speed.
Learn about humanoid robots, their form, functionality, and logic for movement. Explore the code that controls humanoid robots to move using arrow keys.
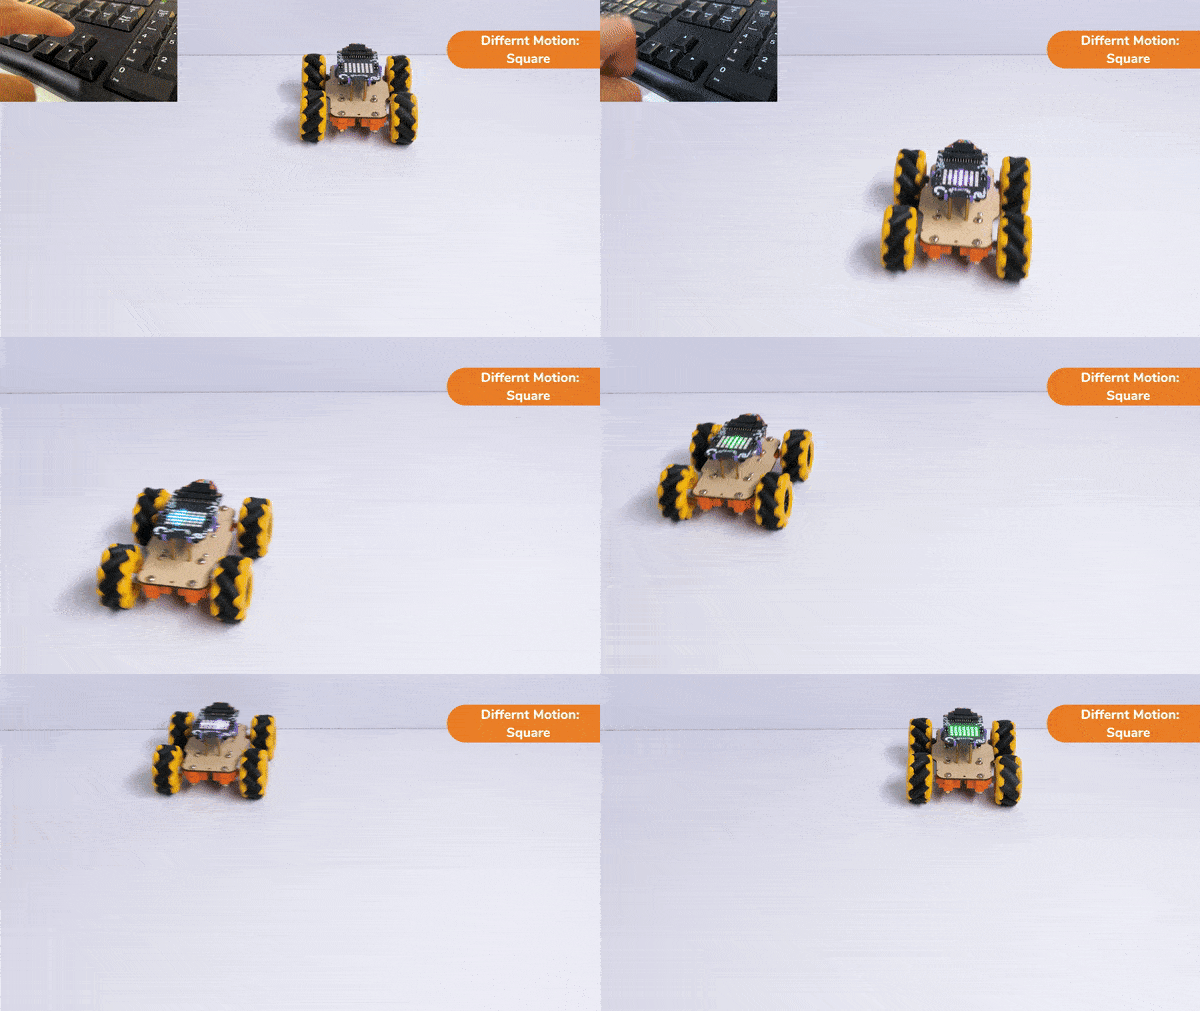
Learn to move your Quarky Mecanum Wheel Robot in a square and make an axe figure with PictoBlox. Use the arrow keys to activate the custom movements and watch your robot move in the desired direction!
Learn to move your Quarky Mecanum Wheel Robot in a square and make an axe figure with PictoBlox’s Python Interface. Use the arrow keys to activate the custom movements!
All articles loaded
No more articles to load
PictoBlox Extension Documentation
Refer to the documentation of PictoBlox Extension to understand how to use the blocks and functions for the Robotic Arm.