



Introduction:
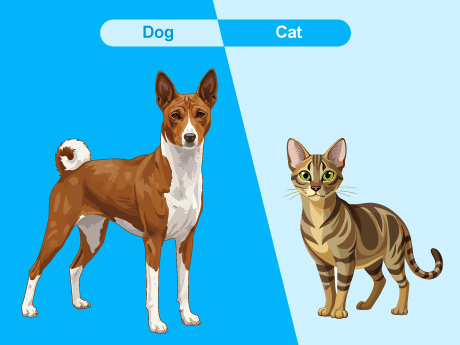
Dive into the exciting world of Artificial Intelligence! In this hands-on project, students will learn the fundamentals of Machine Learning by building a real-time “Cat and Dog Classifier”. Using the intuitive PictoBlox platform, learners will teach a computer to distinguish between different animals, bridging the gap between theoretical AI and practical, fun programming. Get ready to train your very own smart machine.
Setting up the Environment
- Open PictoBlox and create a new file.
- Select the coding environment as Machine Learning.
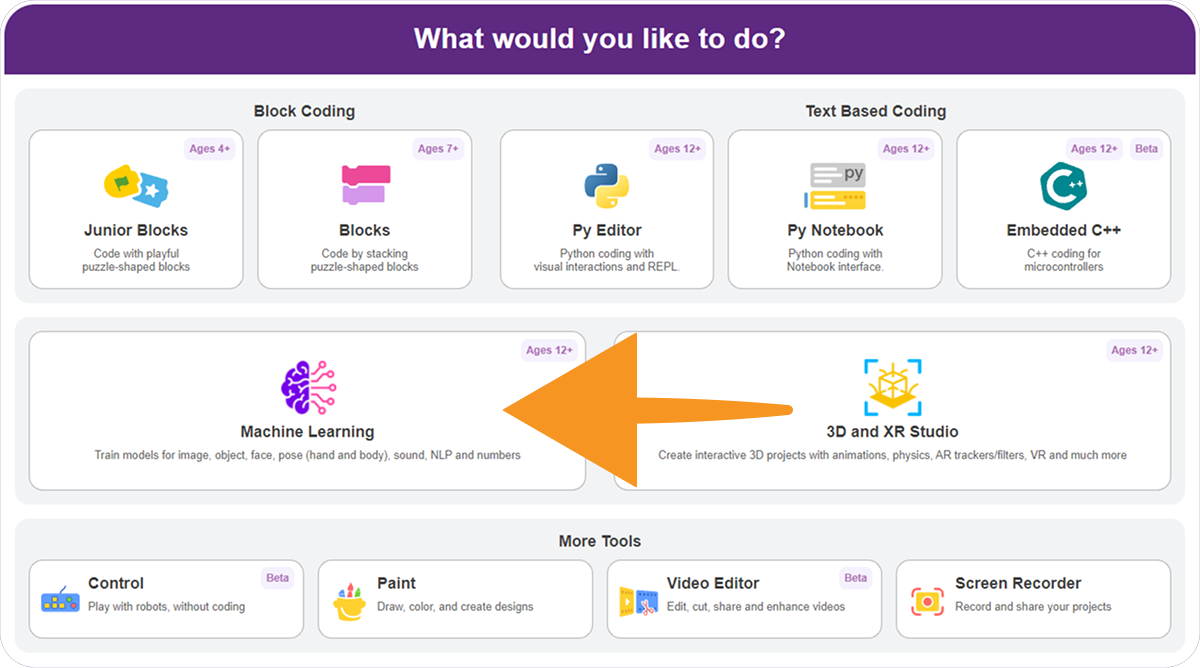
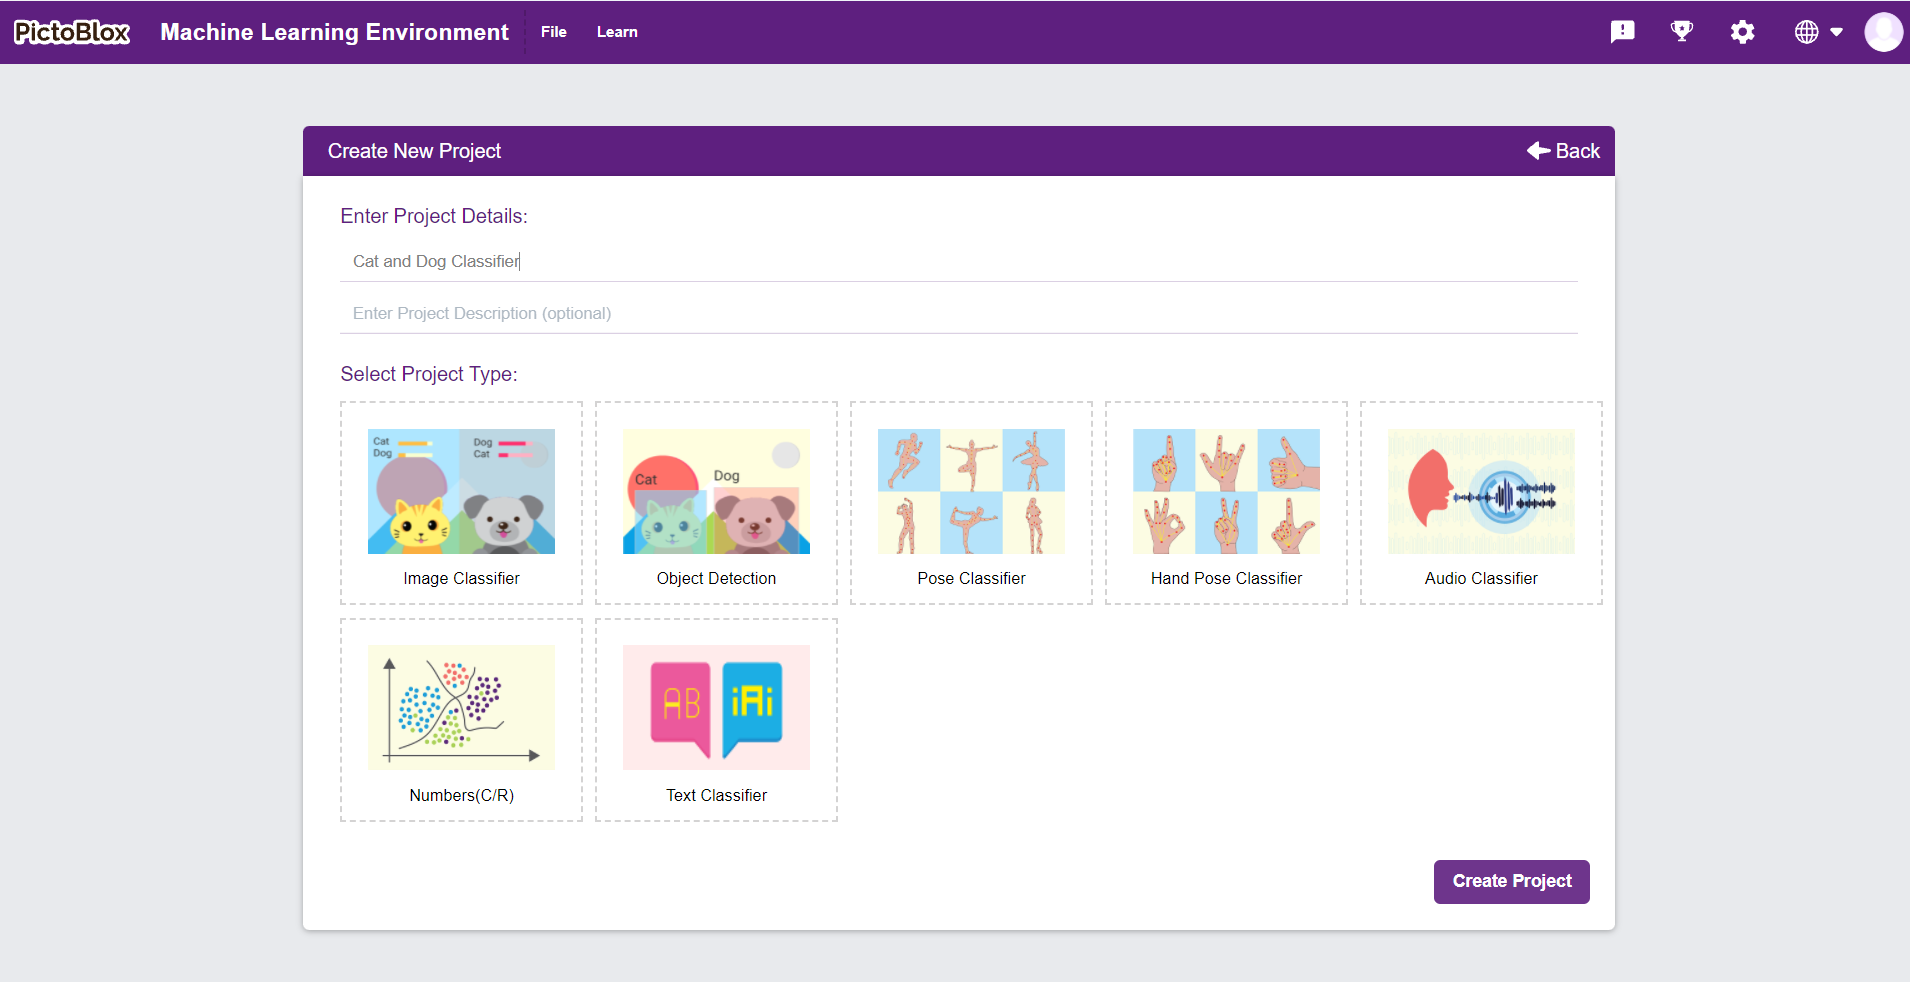
- A window will open. Type in a project name of your choice and select the “Image Classifier” extension. Click the “Create Project” button to open the Image Classifier window.
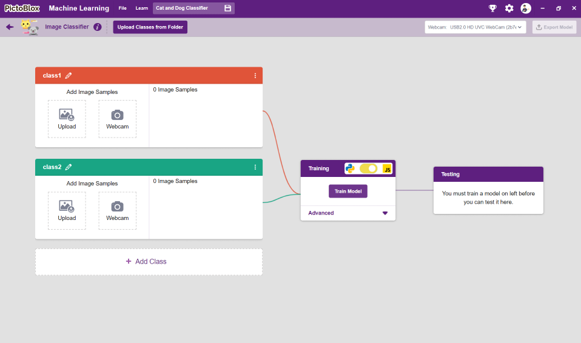
- You shall see the Image Classifier Workflow with two classes already made for you. Your environment is all set. Now it’s time to upload the data.
Collecting and Uploading the Data
- Class is the category in which the Machine Learning model classifies the images. Similar images are put in one class.
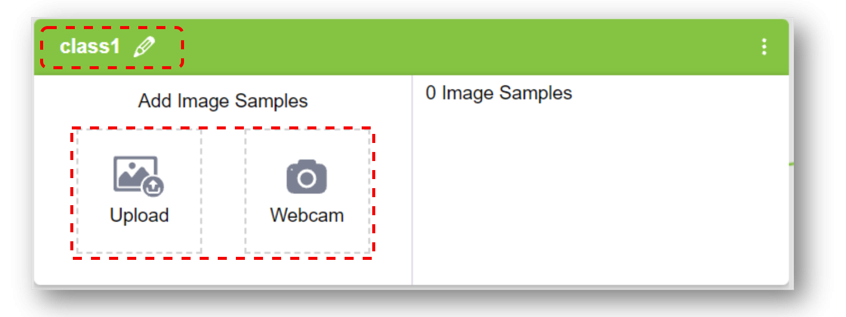
- There are 2 things that you have to provide in a class:
- Class Name
- Image Data: This data can either be taken from the webcam or by uploading from local storage or from google drive.
For this project, we’ll be needing three classes: - Cat
- Dog
Follow the steps to upload the data for the classes:
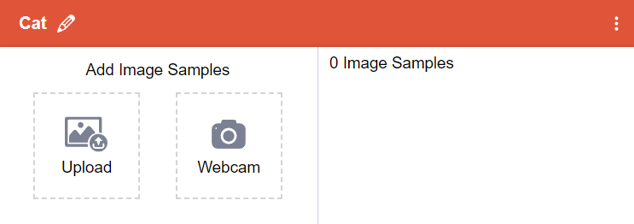
- Rename the first class name Cat.
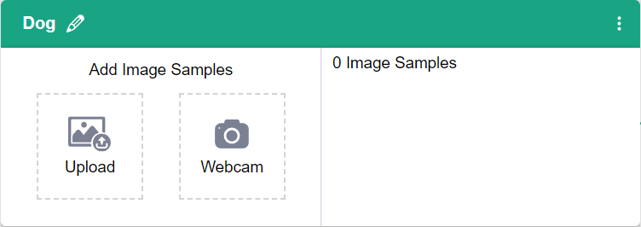
- Rename the second class name Dog.
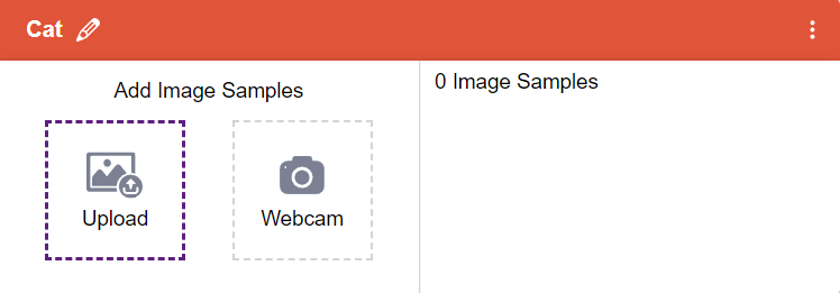
- Click the “Upload” button, then select all the cat images from your computer and upload them to the “Cat” class. Wait until all the images have finished uploading before moving to the next step.
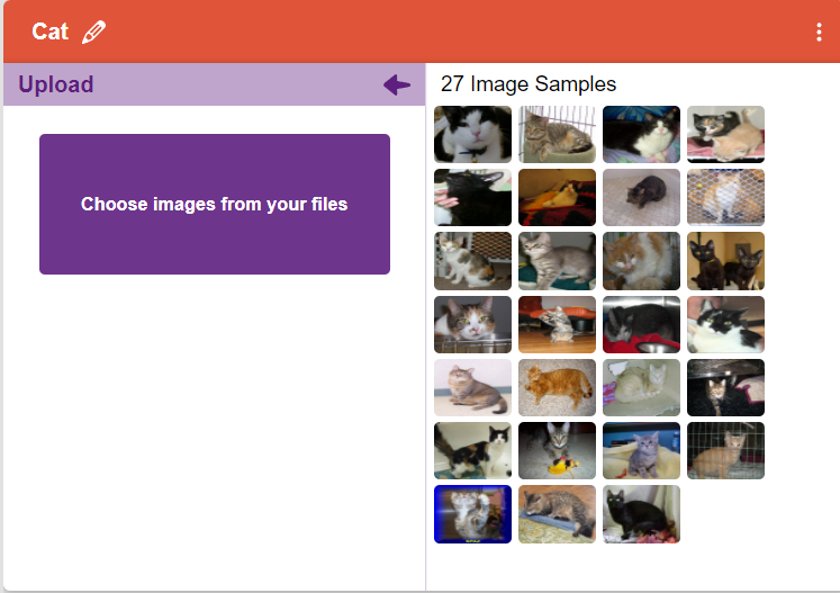
- Similarly, click the “Upload” button and upload all the dog images to the Dog class. Use a diverse set of dog images with different breeds, colors, sizes, poses, backgrounds, and lighting conditions. Once all the images have been uploaded successfully, you are ready to train the image classification model.
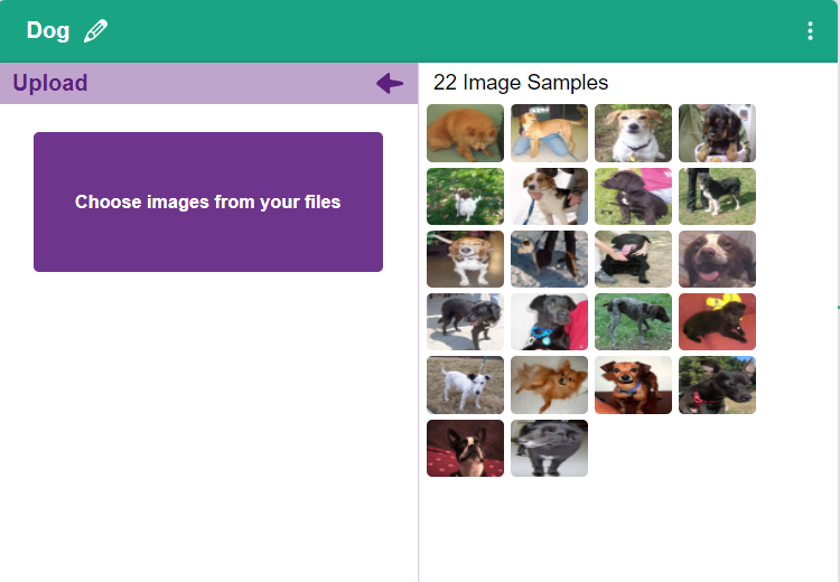
- As you can see, now each class has some data to derive patterns from. In order to extract and use these patterns, we must train our model.
Training the Model
Now that we have gathered the data, it’s time to teach our model how to classify new, unseen data into these three classes. In order to do this, we have to train the model. By training the model, we extract meaningful information from the images, and that in turn updates the weights. Once these weights are saved, we can use our model to make predictions on data previously unseen.
However, before training the model, there are a few hyperparameters that you should be aware of. Click on the “Advanced” tab to view them.
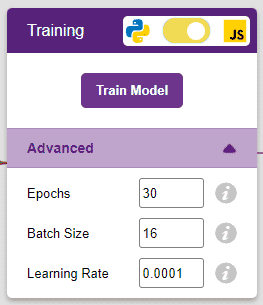
There are three hyperparameters you can play along with here:
- Epochs– The total number of times your data will be fed through the training model. Therefore, in 10 epochs, the dataset will be fed through the training model 10 times. Increasing the number of epochs can often lead to better performance.
- Batch Size– The size of the set of samples that will be used in one step. For example, if you have 160 data samples in your dataset, and you have a batch size of 16, each epoch will be completed in 160/16=10 steps. You’ll rarely need to alter this hyperparameter.
- Learning Rate– It dictates the speed at which your model updates the weights after iterating through a step. Even small changes in this parameter can have a huge impact on the model performance. The usual range lies between 0.001 and 0.0001.
Let’s train the model with the standard hyperparameters and see how it performs. You can train the model in both JavaScript and Python. In order to choose between the two, click on the switch on top of the Training box.
We’ll be training this model in JavaScript. Click on the “Train Model” button to commence training. We need not change any hyperparameter for this model.
We’ll be training this model in JavaScript. Click on the “Train Model” button to commence training. We need not change any hyperparameter for this model.
The model shows great results! Remember, the higher the reading in the accuracy graph, the better the model. The x-axis of the graph shows the epochs, and the y-axis represents the corresponding accuracy. The range of the accuracy is 0 to 1.
Testing the Model
Now that the model is trained, let us see if it delivers the expected results. We can test the model by either using the device’s camera or by uploading an image from the device’s storage. Let’s use our webcam to start with.
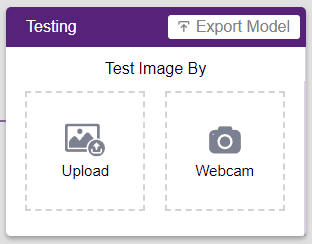
Click the “Upload Mode” button, then upload a cat or dog image from your computer to test the trained model. The model will analyze the image and predict whether it is a cat or a dog, along with the confidence score for its prediction.
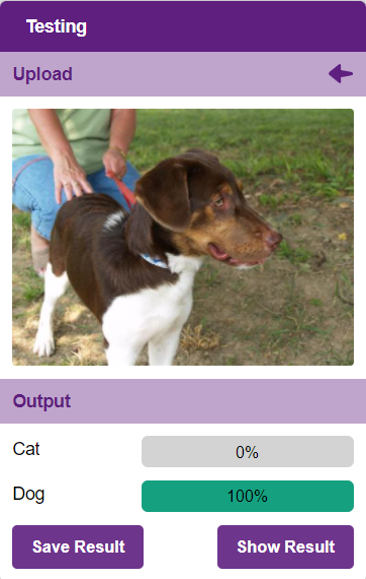
Great! The model is able to make predictions in real-time. Now close the window by clicking on the cross on the top right of the testing box.
Now we can export our model and make a project in the block coding environment.
Exporting the Model to the Block Coding Environment
Click on the “Export Model” button on the top right of the Testing box, and PictoBlox will load your model into the Block Coding Environment.
Observe how we have blocks pertaining to the model we just trained on the left side panel.
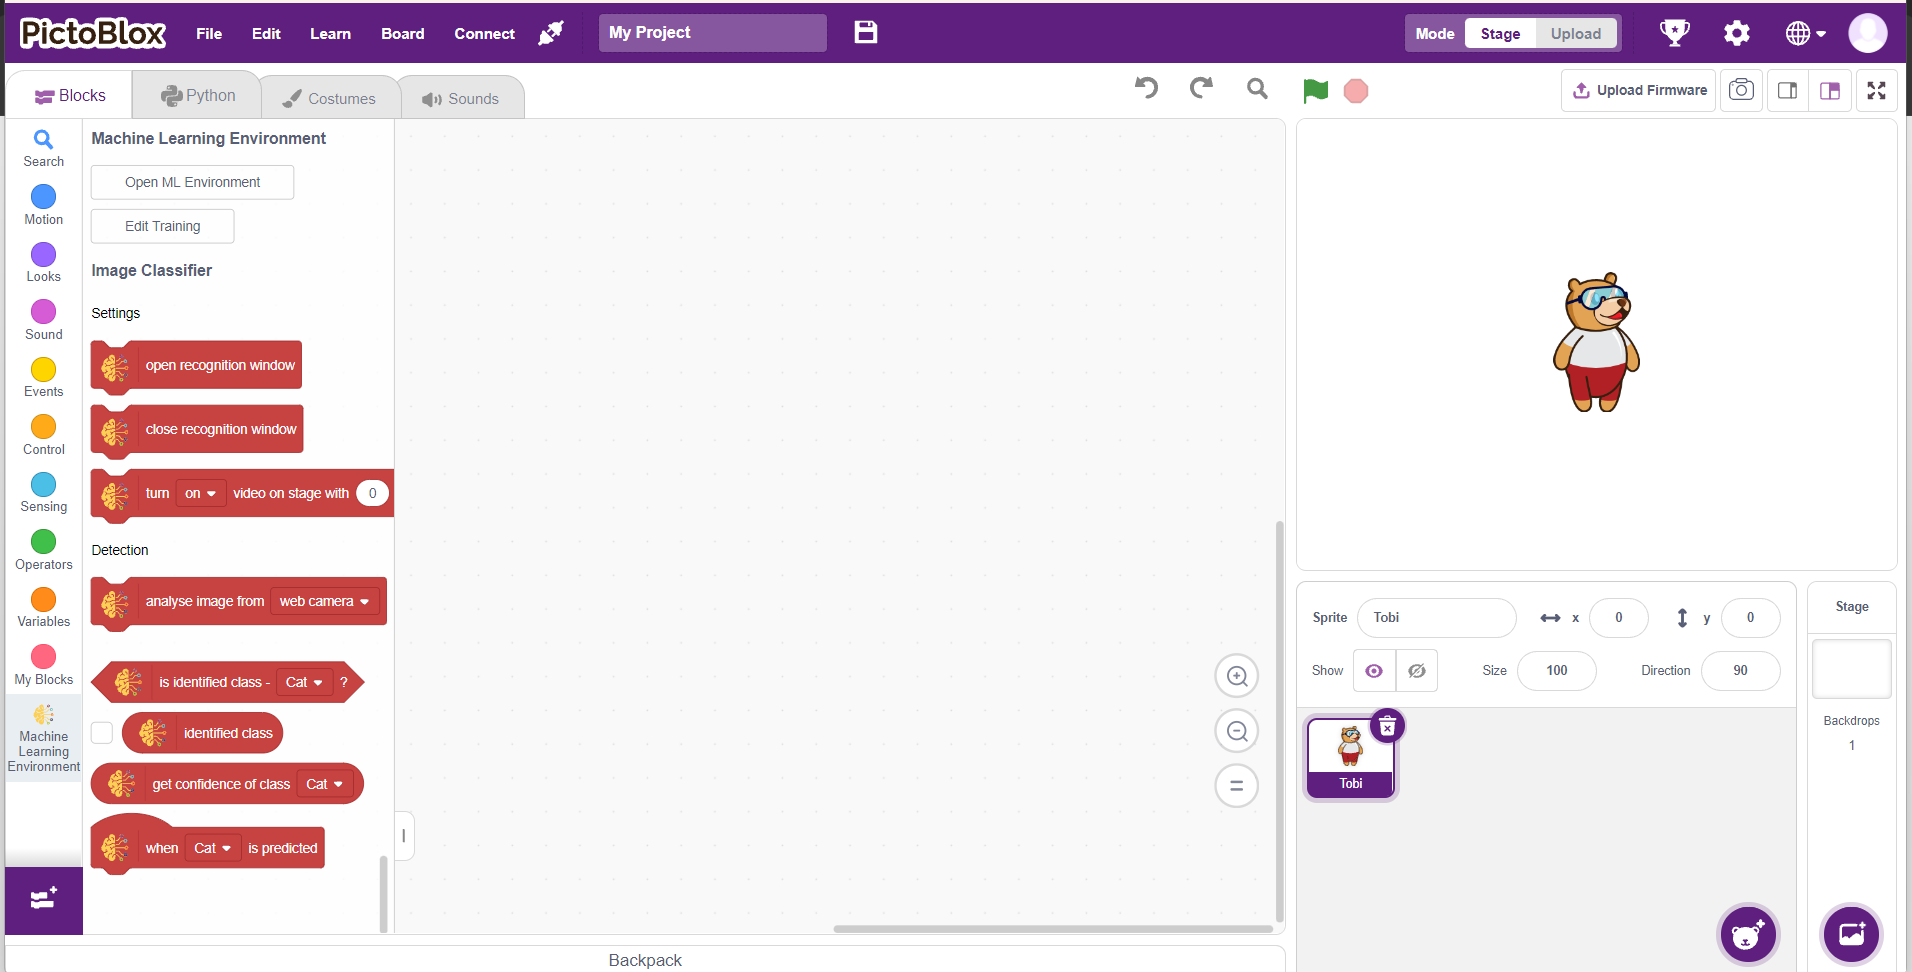
Script in the Block Coding Environment
Now let’s use our model in an actual project. To do so, we’ll be making use of our Block Coding Environment.
We’ll be making a script that uses our model to analyze an image from the device’s camera. Once that’s done, our sprite Toby will tell us if the person in the image is wearing a mask, wearing a mask incorrectly, or not wearing a mask at all.
Let’s begin!
- Add the when flag clicked block and the forever block into the scripting area and snap them together.
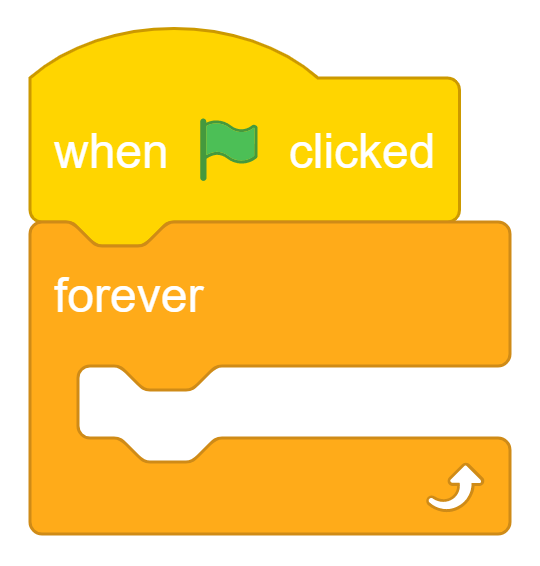
- Add a turn () video on stage with () transparency block above the forever block. Select ON and 0 as transparency.
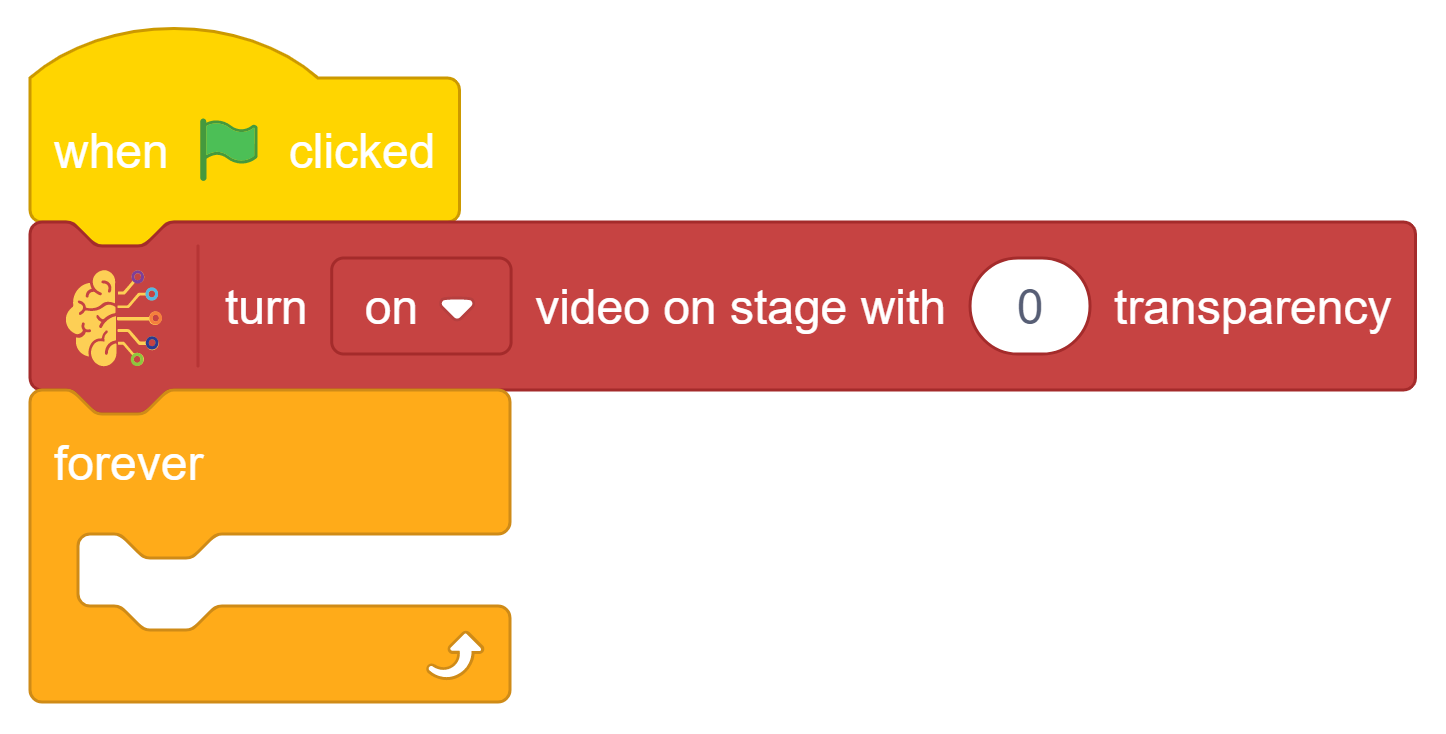
- Drag and drop the if the block inside forever block.
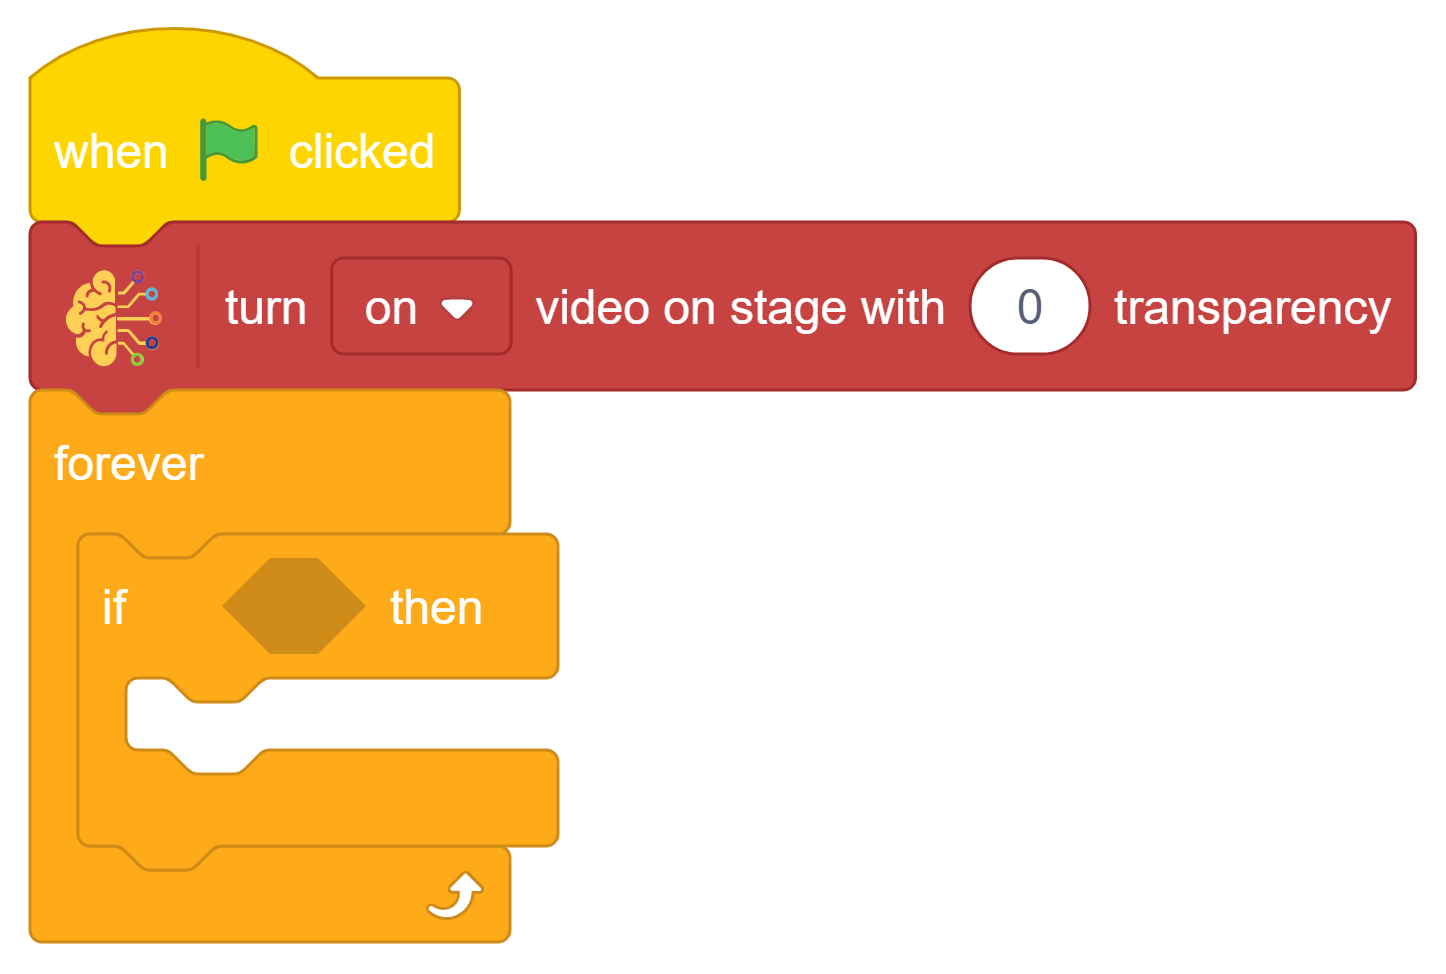
- Then add the analyse image from () block above the if () block and select web camera as feed.
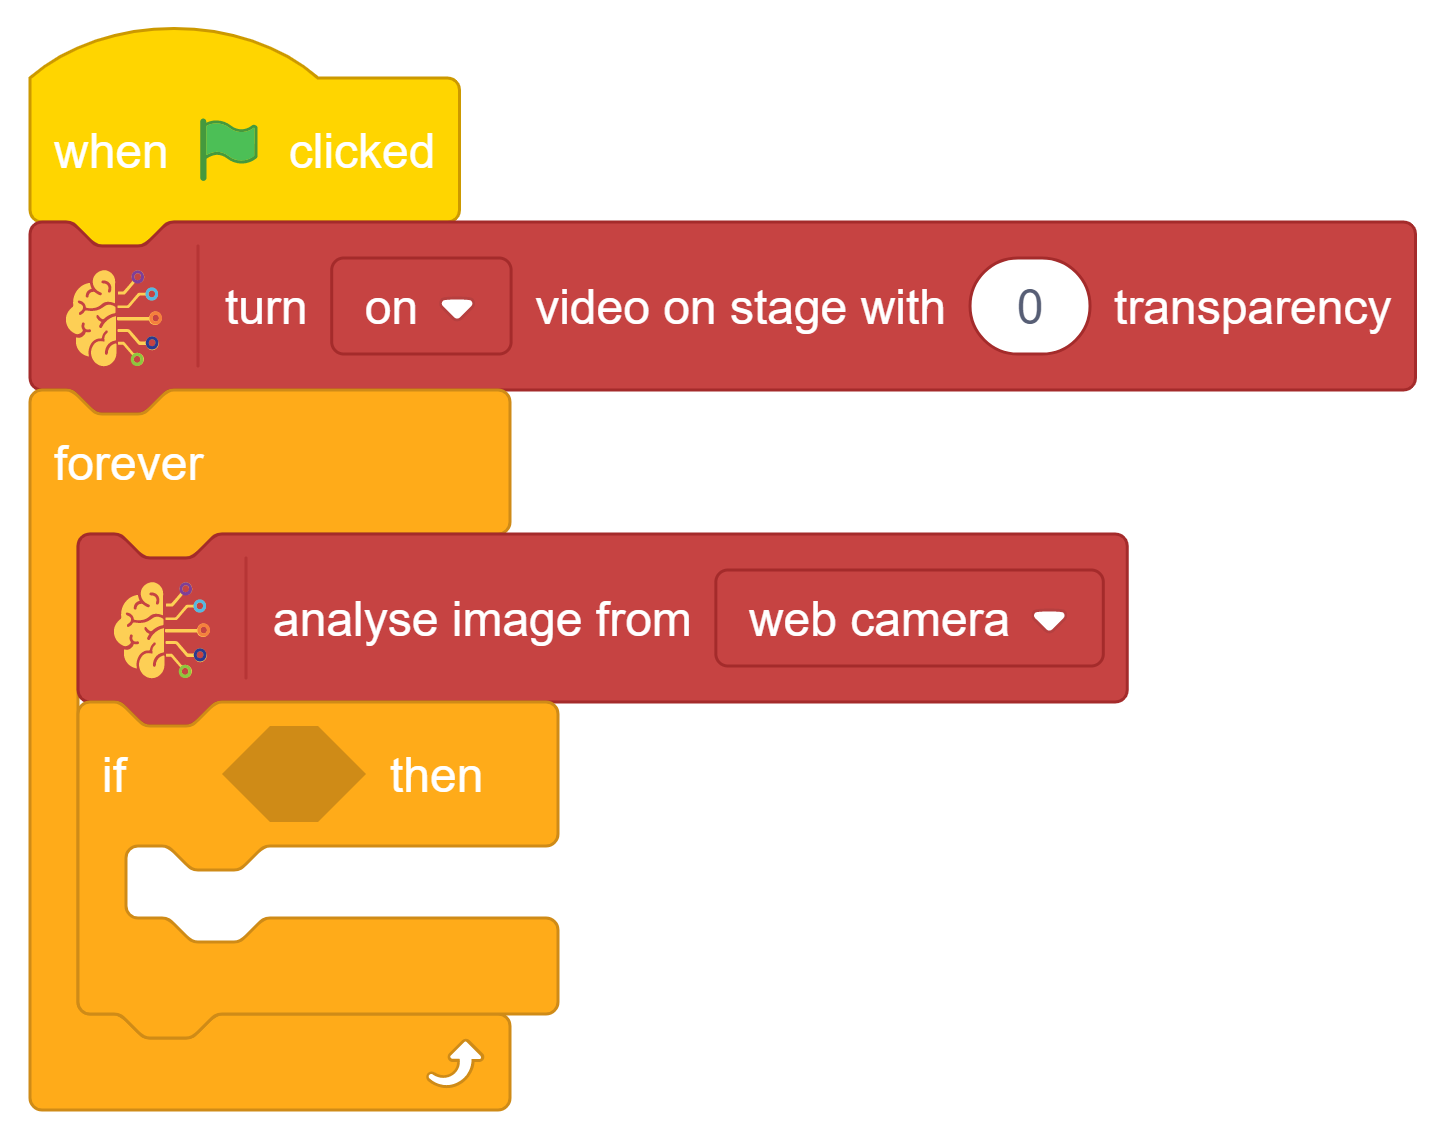
- Then, add the is identified class is ()? block in condition space. Select the class as Mask ON.
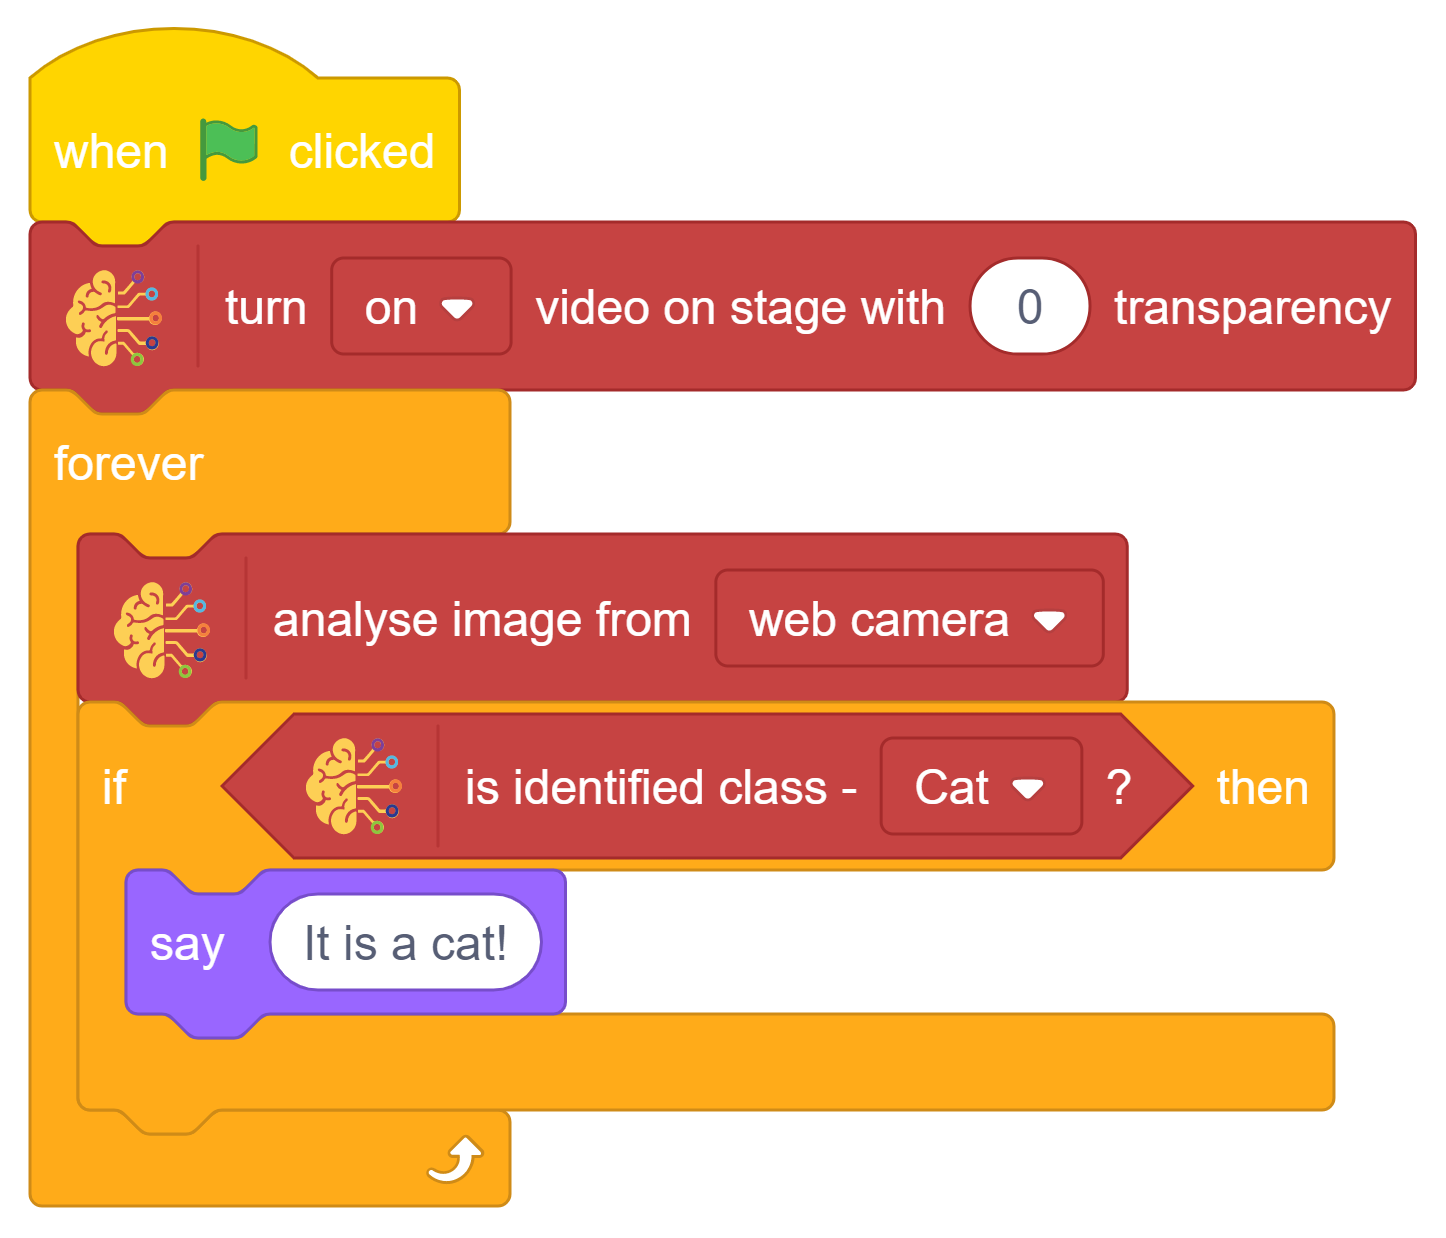
- From the Looks palette, add a say () block inside if block. Write the message – Thank you for wearing the mask properly!
- Duplicate the if block and snap it below the first if block. Select the class as a Dog in the second is identified class is ()? block. Change the text in the say block to – Please select the Dog!
- Duplicate the if block and snap it below the first if block. Select the class as a Dog in the second is identified class from () is ()? block. Change the text in the say block to – It’s a Dog!
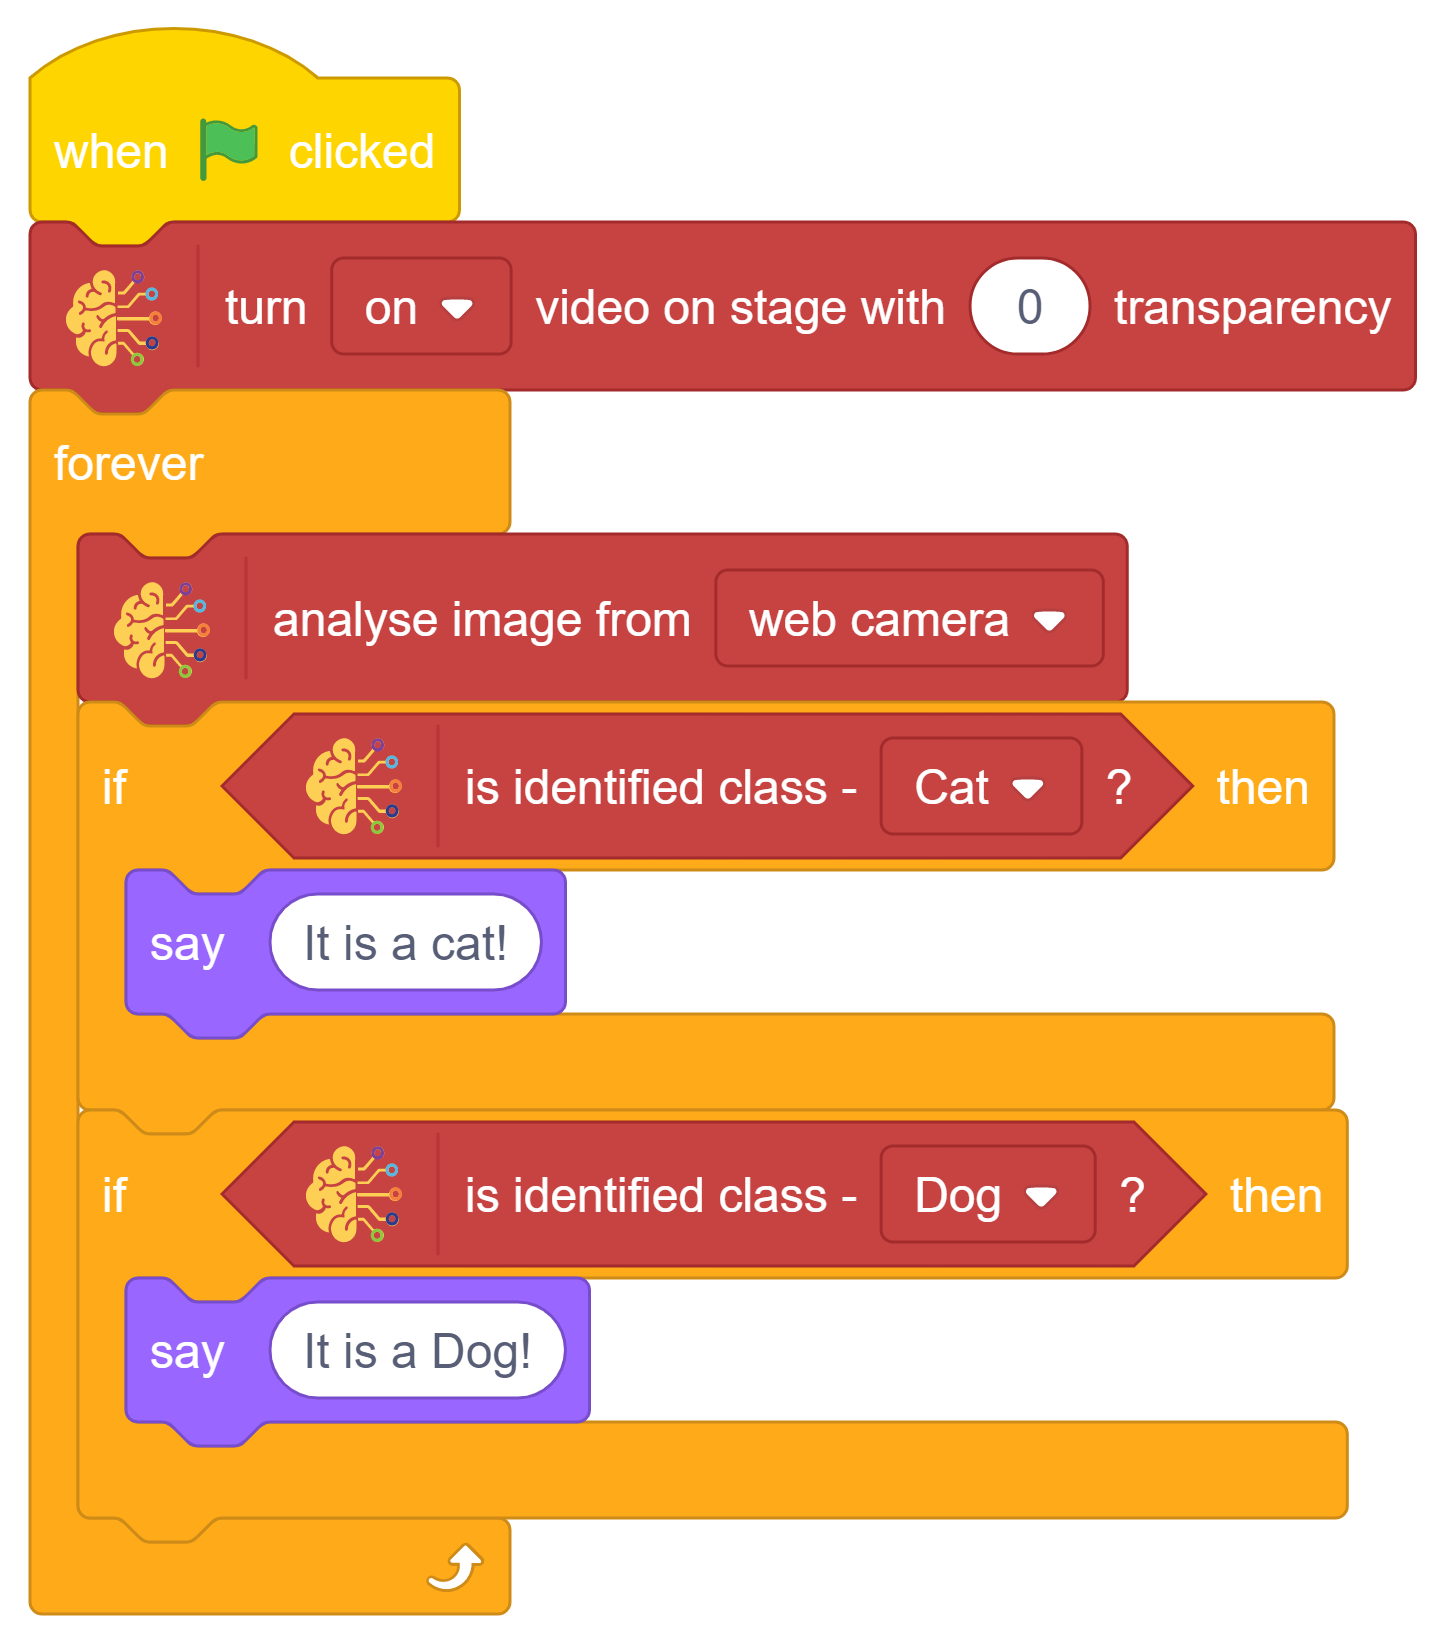
The script is complete. Click the green flag to run the script.
Save the project as Mask Detector.
There you have it! You just used image classification to make your very own mask detection project.