



Introduction
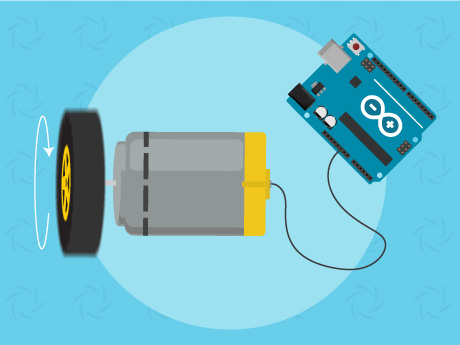
DC motors are essential components in robots, automated machines, and smart devices. Since Arduino cannot directly power a motor, we use an L298N Motor Driver to control the motor safely. In this project, Arduino sends commands to the motor driver through PictoBlox, causing the motor to rotate forward and reverse repeatedly.
This project helps students understand:
- Motor Driver Interfacing
- Forward and Reverse Motor Control
- Loops and Timing
- Robotics Fundamentals
- Arduino Hardware Programming
Setting Up the Stage / Sprite
Before creating the program, we need to add the Arduino extension and connect the motor driver circuit.
Adding the Arduino Extension
- Open PictoBlox.
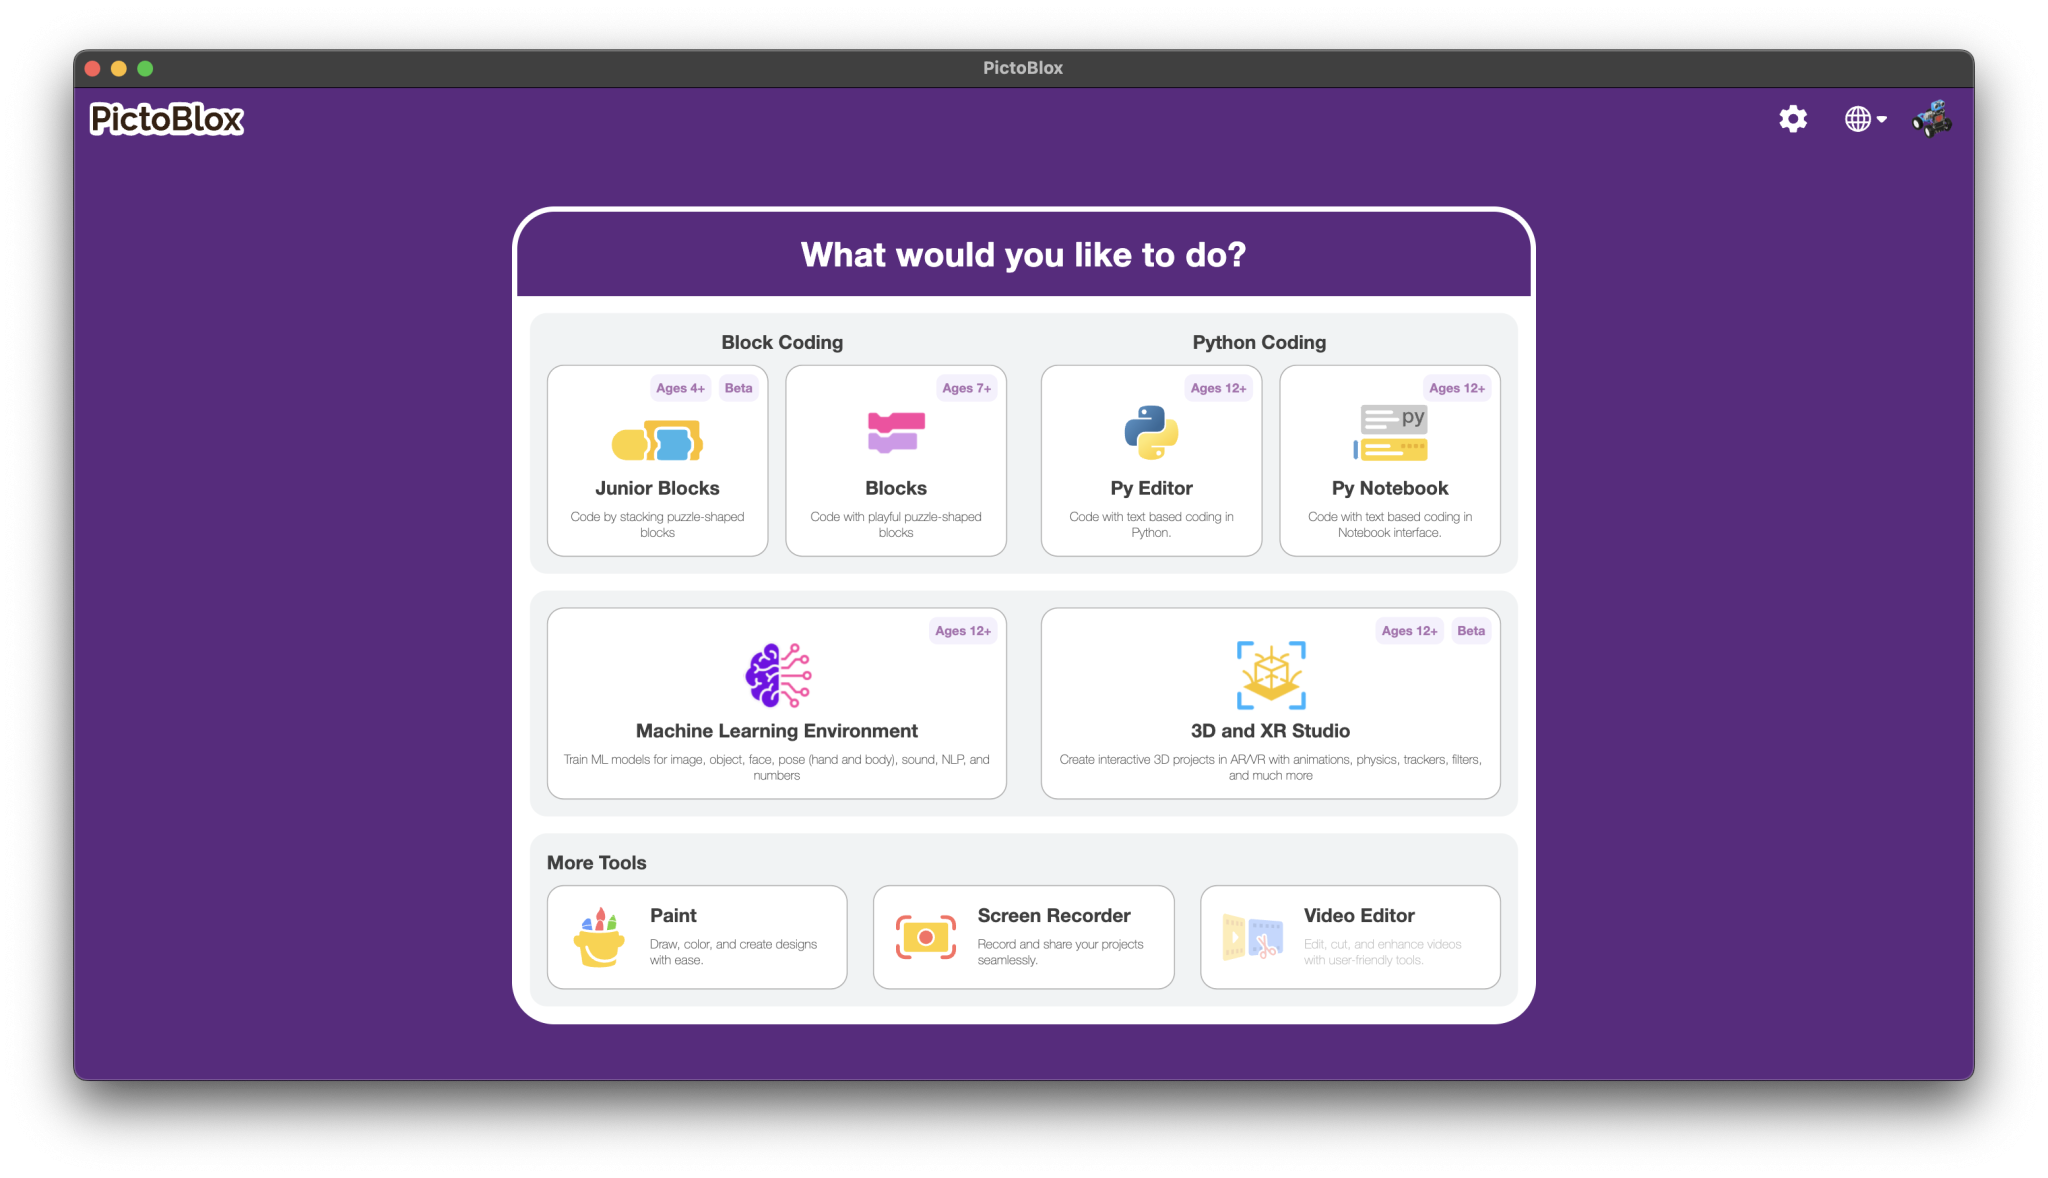
- Select Arduino Uno.
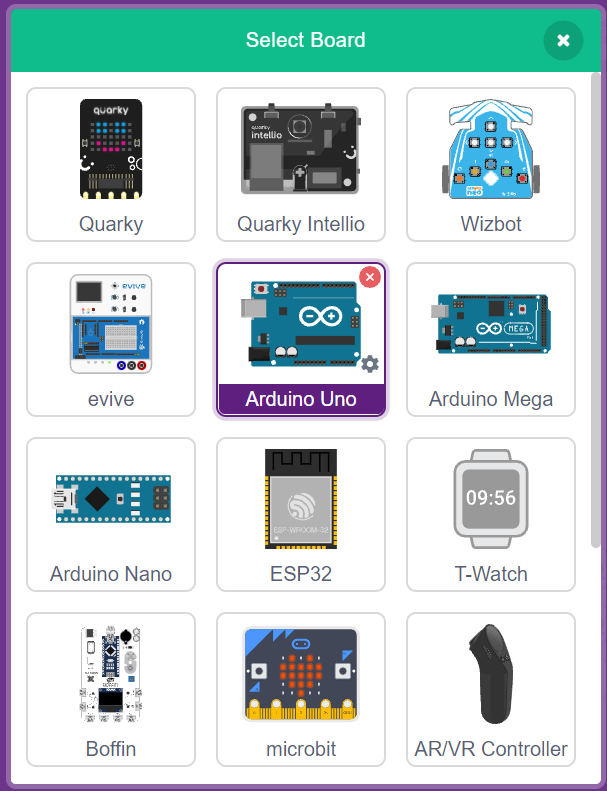
- Connect the Arduino board using a USB cable.
- Select the correct COM Port.
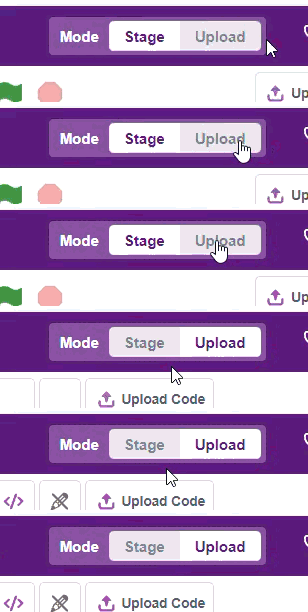
- Switch to Upload Mode.
Circuit Connections
Components Required
- Arduino Uno
- L298N Motor Driver
- DC Motor
- Jumper Wires
- External Battery (6V–12V)
- USB Cable
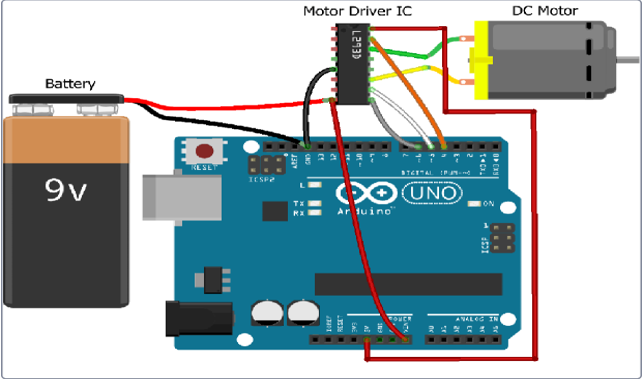
Arduino to L298N Connections
Arduino D4 → L298N IN1
Arduino D5 → L298N IN2
Arduino D3 (PWM) → L298N ENA
Arduino GND → L298N GND
DC Motor Connections
Motor Terminal 1 → L298N OUT1
Motor Terminal 2 → L298N OUT2
Power Connections
Battery Positive (+) → L298N 12V
Battery Negative (-) → L298N GND
Arduino GND → L298N GND
Important Note
All GND connections must be common.
Arduino GND → L298N GND → Battery Negative (-)
This common ground ensures proper communication between Arduino and the motor driver.
Connections :
Step-by-Step Block Coding Guide
Let’s create the script that makes the motor rotate forward and reverse continuously.
Step 1: Start the Program
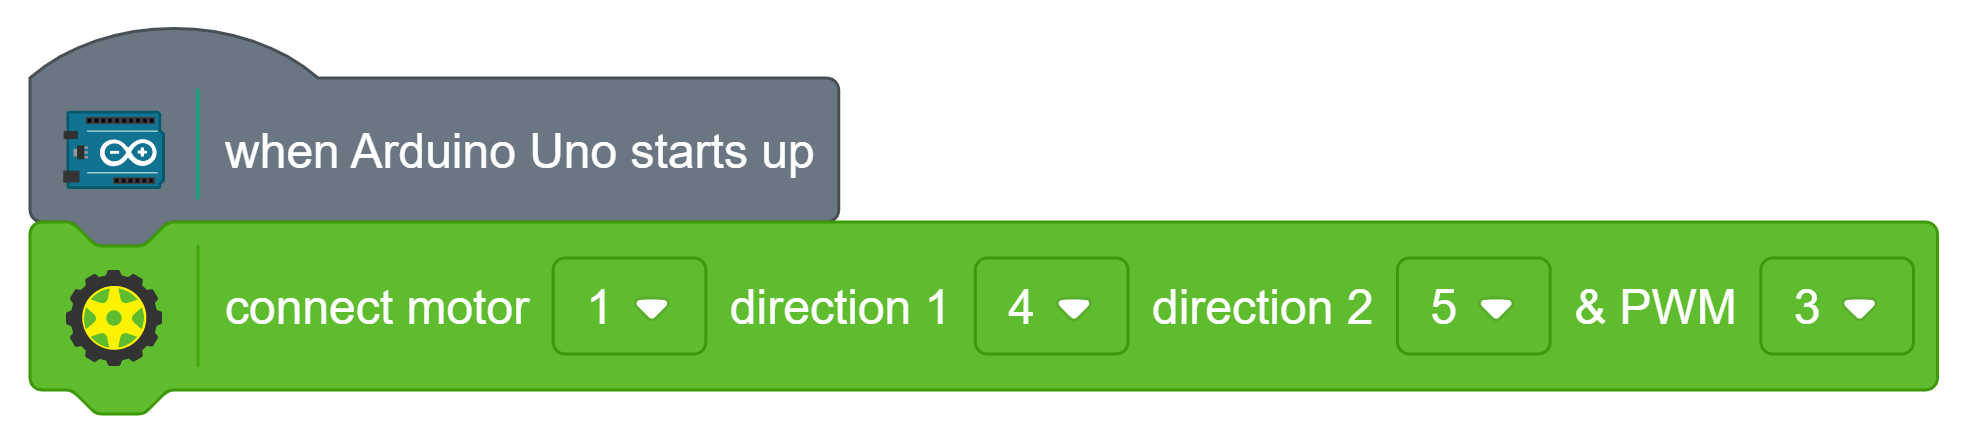
Go to the Arduino Uno Extension and drag the when Arduino Uno starts up block into the scripting area.
This block starts the program automatically when the Arduino powers on.
Step 2: Configure the Motor Driver
From the Actuators section, drag the connected motor block.
Set:
- Motor = 1
- Direction 1 = 4
- Direction 2 = 5
- PWM = 3
This tells Arduino which pins are connected to the motor driver.
Block Used:
Step 3: Create the Forever Loop
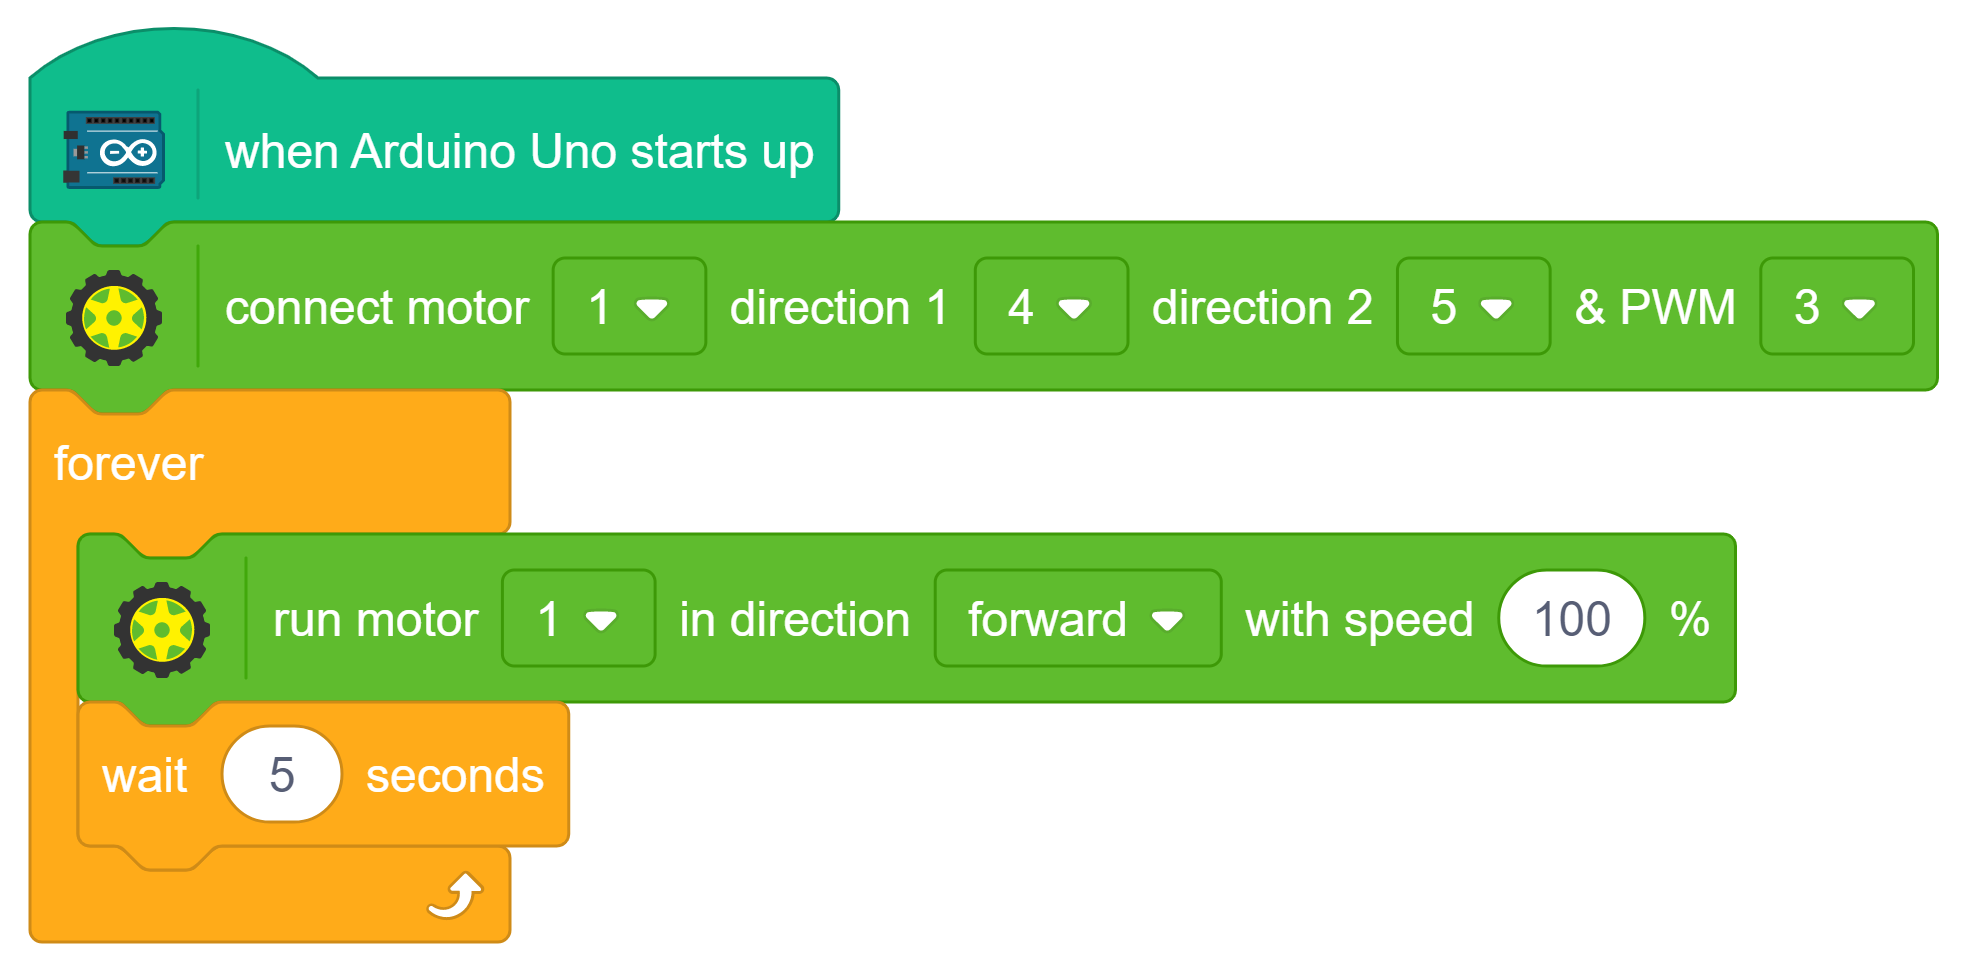
From the Control palette, drag a forever block.

The motor control commands will be placed inside this loop so that they run continuously.
Step 4: Rotate the Motor Forward
Inside the forever block:
- Drag the run motor block.
- Select:
- Motor 1
- Forward
- Speed 100%
- Add a wait of 5 seconds.
This rotates the motor forward at full speed for 5 seconds.
Block Used:
Step 5: Rotate the Motor in Reverse
Below the first wait block:
- Add another run motor block.
- Select:
- Motor 1
- Reverse
- Speed 100%
- Add a wait of 5 seconds.
This changes the motor direction and rotates it in reverse for 5 seconds.
Block Used:
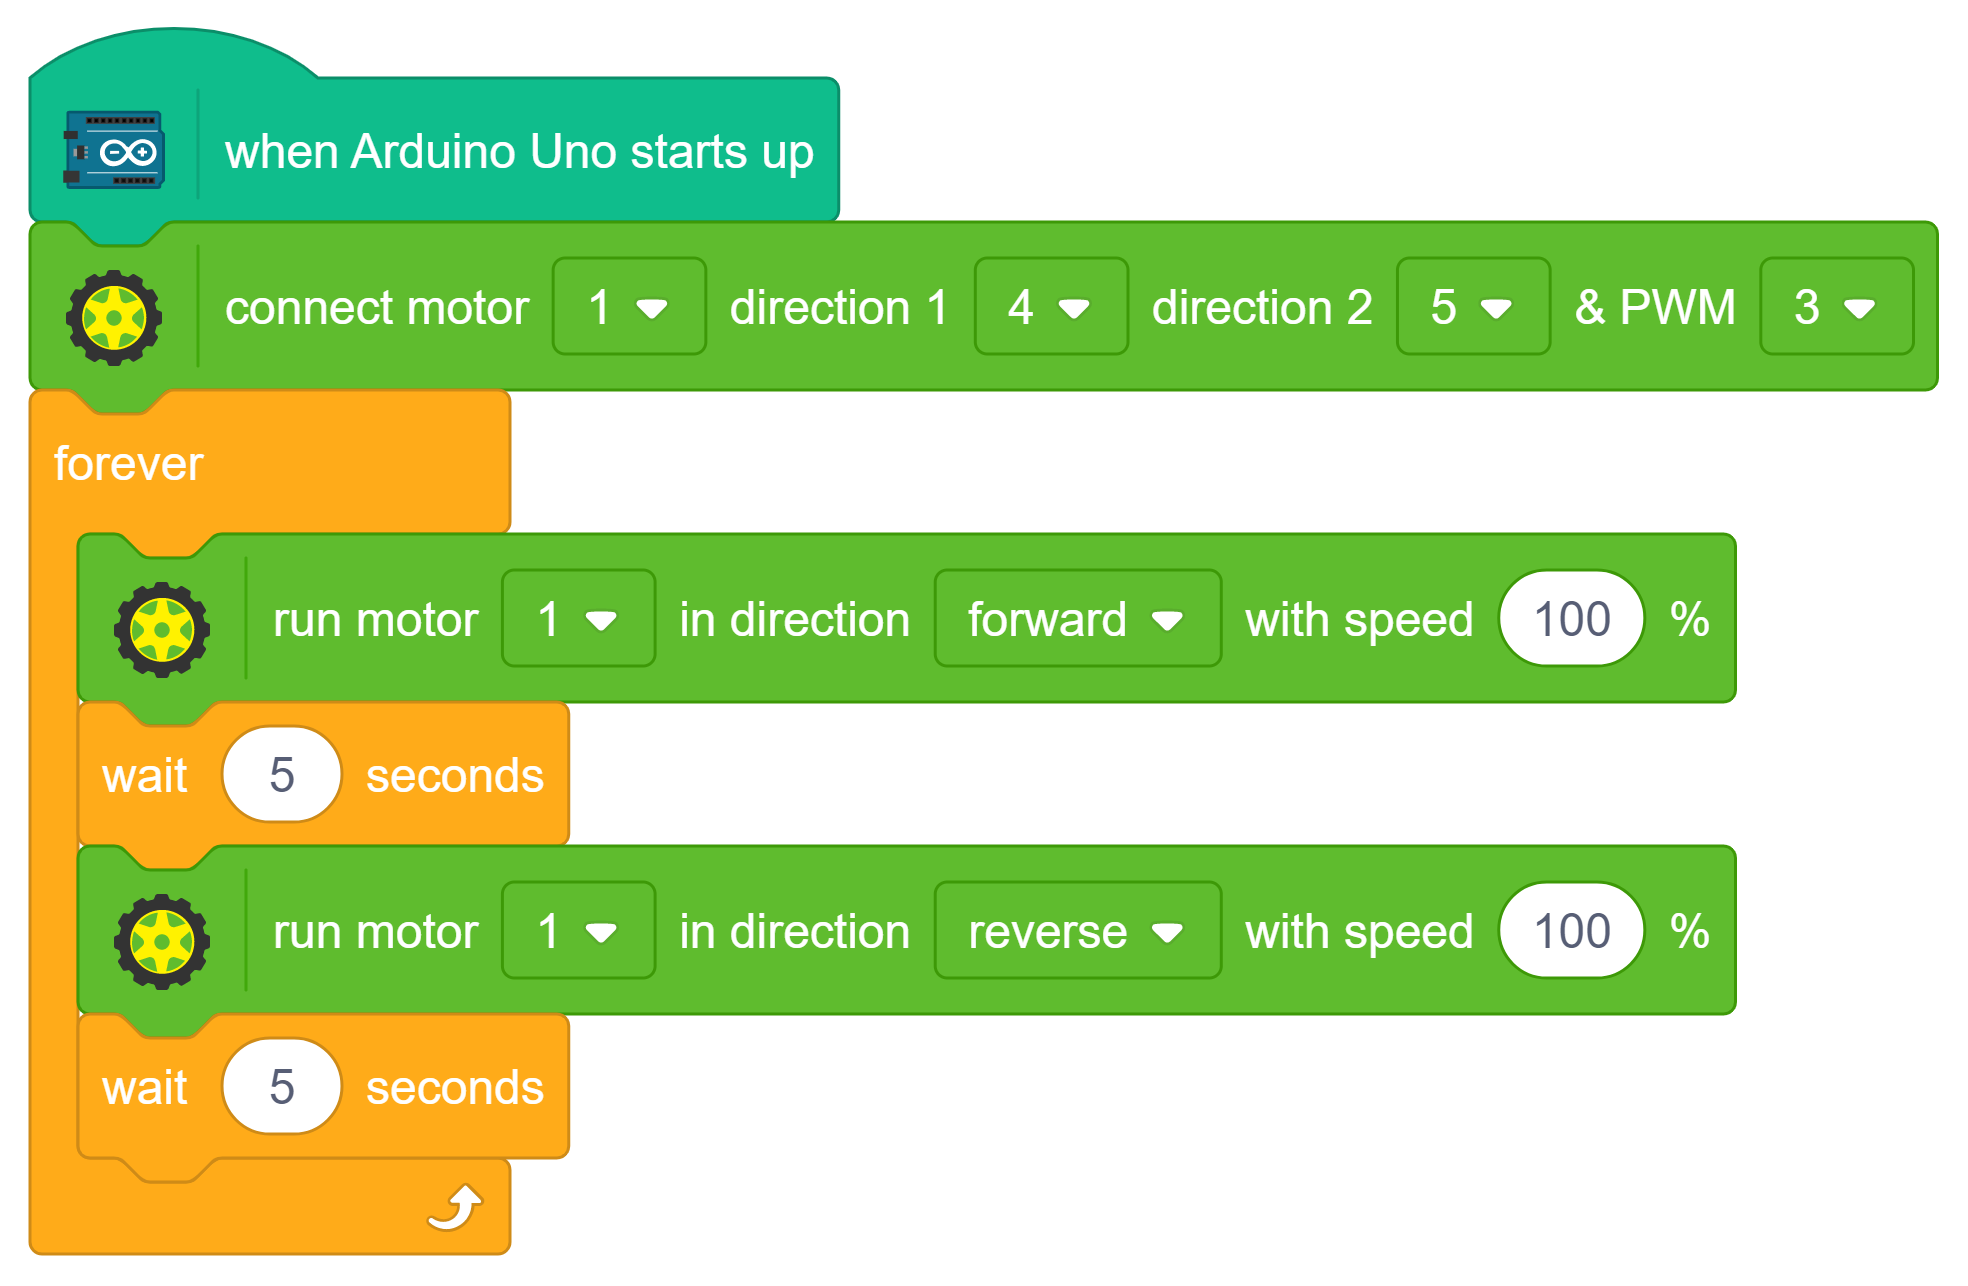
Complete Program Flow.
Output
After uploading the code:
- The motor starts rotating in the forward direction.
- It continues rotating for 5 seconds.
- The motor changes direction automatically.
- It rotates in reverse for 5 seconds.
- The process repeats continuously.
Expected Output Sequence
Forward Rotation
↓
Wait 5 Seconds
↓
Reverse Rotation
↓
Wait 5 Seconds
↓
Repeat Forever
Conclusion
This project demonstrates how Arduino and the L298N motor driver can be used to control the direction of a DC motor. Students learn about motor interfacing, direction control, and automation using PictoBlox. The project provides a strong foundation for robotics and intelligent machine design. It also introduces concepts that are widely used in real-world automation and robotic systems.