



Introduction
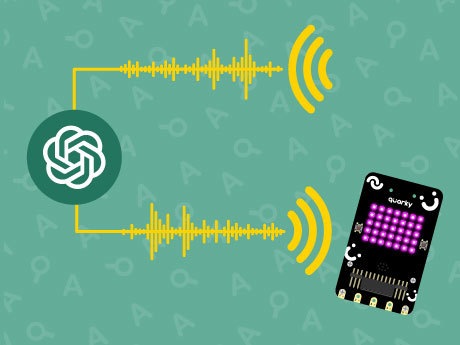
Imagine creating your own intelligent robot assistant capable of communicating just like the virtual assistants used in smart homes, customer service systems, and modern AI robots. In this exciting AI and robotics project, we will program Quarky to process voice commands, communicate with ChatGPT, and respond intelligently in real time using PictoBlox Py Editor.
Using Speech Recognition, ChatGPT, and Text-to-Speech extension, we will create a smart conversational robot capable of understanding spoken language and generating meaningful responses. Quarky will also display different emotions and animations while responding, making the interaction feel more natural and interactive. This project introduces you to the world of Artificial Intelligence, voice processing, human-machine interaction, and conversational robotics.
Prerequisites
- Quarky
- Laptop/Computer
- PictoBlox installed on the system
- Internet Connection
- Microphone enabled on the computer
- A stable Bluetooth or USB connection between PictoBlox and Quarky
Connecting Quarky to PictoBlox Py Editor
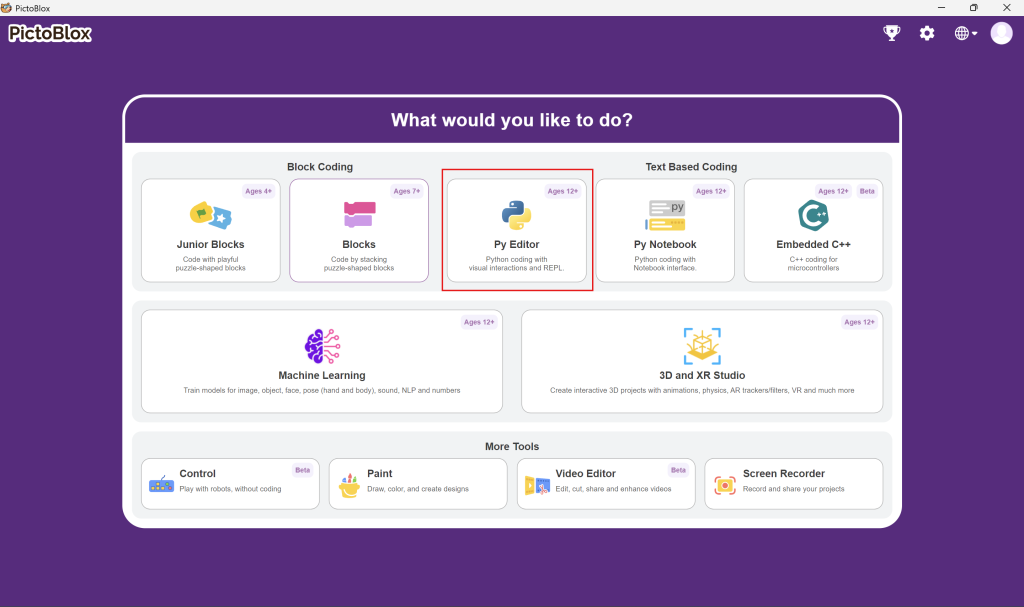
- Open PictoBlox software and select “Py Editor” environment.
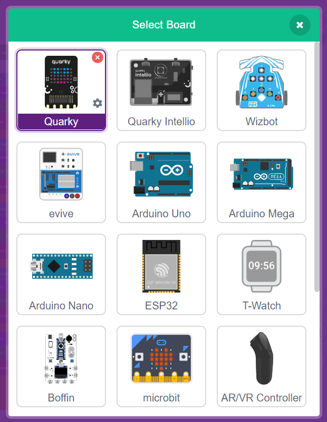
- Click on the Board tab on the top navigation bar and select Quarky.
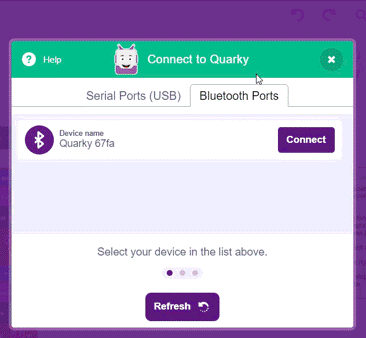
- Click on Connect and choose Bluetooth.
- Select your Quarky device from the available list and click on Connect.
- Quarky plays a confirmation sound on connecting. Voila! Your Quarky is now connected to PictoBlox!
Import Required Libraries
The program begins by importing the required AI libraries for speech recognition, AI response generation, and voice output. Click on the white box in the Module/Libraries section and add the following Extensions:
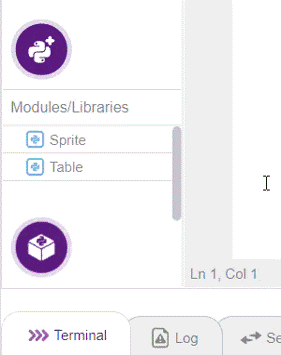
- Import the Speech Recognition library to detect and process voice input from the user including ChatGPT and Text-to-Speech libraries.
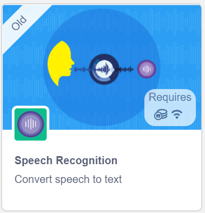
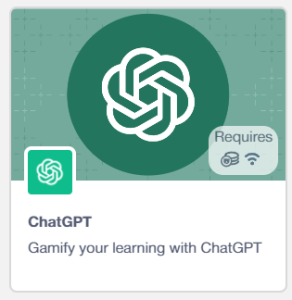
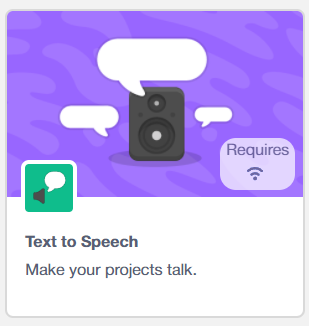
Initialise AI Assistant Components
The program creates objects required for speech recognition, AI communication, robot control, and speech output.
- Use sprite Tobi.
- Initialise the ChatGPT, Text-to-Speech, Speech Recognition, and Quarky objects.
- These components work together to build a complete AI voice assistant system.
import threading

import time

# Create a sprite named Tobi

sprite = Sprite('Tobi')

# Create a ChatGPT object for AI responses

gpt = ChatGPT()

# Create a text-to-speech object to speak out responses

speech = TexttoSpeech()

# Create a Quarky robot object for emotions/animations

quarky = Quarky()

# Create a speech recognition object

sr = SpeechRecognition()
Create Listening Animation
- Add a custom function named surprise_listen().
- Add a for loop inside the function.
- Place the quarky.showanimation(ANIMATION=”surprise”) command inside the loop.
- This animation visually indicates that Quarky is actively listening for voice input.
- Add the surprise_listen() function call before starting speech recognition.
# Function to show 'surprise' animation multiple times

def surprise_listen():

    for x in range(0, 4):

        quarky.showanimation(ANIMATION="surprise")

# Function to show 'happy' animation multiple times

def happy_answer():

    for x in range(0, 4):

        quarky.showanimation(ANIMATION="happy")
Create Response Animation
- Add a custom function named happy_answer().
- Add a for loop inside the function.
- Place the quarky.showanimation(ANIMATION=”happy”) command inside the loop.
- This animation is displayed whenever Quarky responds to the user.
- This creates an interactive and expressive robot behavior.
Set AI Credit Limit
- Create a variable named MAX_RUNS and set its value to 10.
- Create another variable named run_count and initialize it to 0.
- Use MAX_RUNS to define the maximum number of ChatGPT responses allowed.
- Use run_count to keep track of the number of AI responses generated.
- This acts as a simple AI usage management system and helps prevent excessive API usage.
Check Credit Availability
while True:
    # Check credit limit FIRST
    if run_count >= MAX_RUNS:
        message = "Sorry, your AI credits are over. Please try again later."

        sprite.say(message)
        speech.speak(message)
        print("ChatGPT credit limit reached")

        time.sleep(3)
continue # Do NOT call ChatGPT again- Before calling ChatGPT, add an if condition to check whether run_count is greater than or equal to MAX_RUNS.
- If the limit has been reached, display an alert message such as “AI usage limit reached!” on the screen.
- Use the text-to-speech block to announce that the AI credit limit has been exhausted.
- Change the sprite message or appearance to notify the user visually.
- Add the continue statement to skip the remaining code and prevent further ChatGPT requests.
- This ensures controlled API usage and avoids exceeding the allowed number of AI responses.
Start Listening for Voice Commands
# Listening animation
    quarky.showemotion("surprise")
    threading.Thread(target=surprise_listen, daemon=True).start()

    # Speech input
    sr.analysespeech(4, "en-US")
    command = sr.speechresult()

    if not command:
        continue  # Nothing heard, no credit used

user_input = command.lower()- Display the surprise emotion on Quarky to indicate that it is ready to listen.
- Start the surprise_listen() animation function using threading so the animation runs continuously in the background.
- Use the speech recognition block to listen and analyze the user’s speech for 4 seconds.
- Store the recognized speech in the command variable.
- This allows Quarky to capture and process voice input while displaying an interactive listening animation.
Process User Speech
- The detected voice command is processed before being sent to ChatGPT.
- Add an if condition to check whether any speech input was successfully detected.
- Convert the recognised text to lowercase using the .lower() function.
- Store the processed text in the user_input variable.
- This ensures consistent text formatting and improves AI understanding of the user’s request.
Generate AI Response
# Call ChatGPT
    try:
        gpt.askOnChatGPT("AIAssistant", user_input)
        result = gpt.chatGPTresult()

        # Increment ONLY after successful response
        run_count += 1

    except Exception as e:
        error_msg = "Something went wrong. Please try again."
        sprite.say(error_msg)
        speech.speak(error_msg)
        print("Error:", e)
continue- The user’s voice input is sent to ChatGPT to generate an intelligent response.
- Use the askOnChatGPT() function to send the content stored in the user_input variable.
- Retrieve and store the generated response using the chatGPTresult() function.
- Increase the value of run_count after receiving a successful response.
- Wrap the ChatGPT request inside a try-except block to handle errors safely and prevent the program from crashing.
- This ensures reliable AI interaction while keeping track of API usage.
Display and Speak the Response
# Happy animation
    threading.Thread(target=happy_answer, daemon=True).start()

    # Output
    sprite.say(result)
    speech.speak(result)
print(f"Response {run_count}/{MAX_RUNS}: {result}")- The generated AI response is presented both visually and through speech.
- Start the happy_answer() animation using threading so Quarky displays a happy expression while responding.
- Use the sprite’s say() function to display the generated response on the screen.
- Use the Text-to-Speech block to read the response aloud to the user.
- Print the response in the console for monitoring and debugging purposes.
- This creates an engaging and interactive AI assistant experience.
How to Run the Program
- Click the Run button in PictoBlox Python Mode.
- Speak clearly into the microphone when Quarky starts listening.
- Wait for ChatGPT to generate the response.
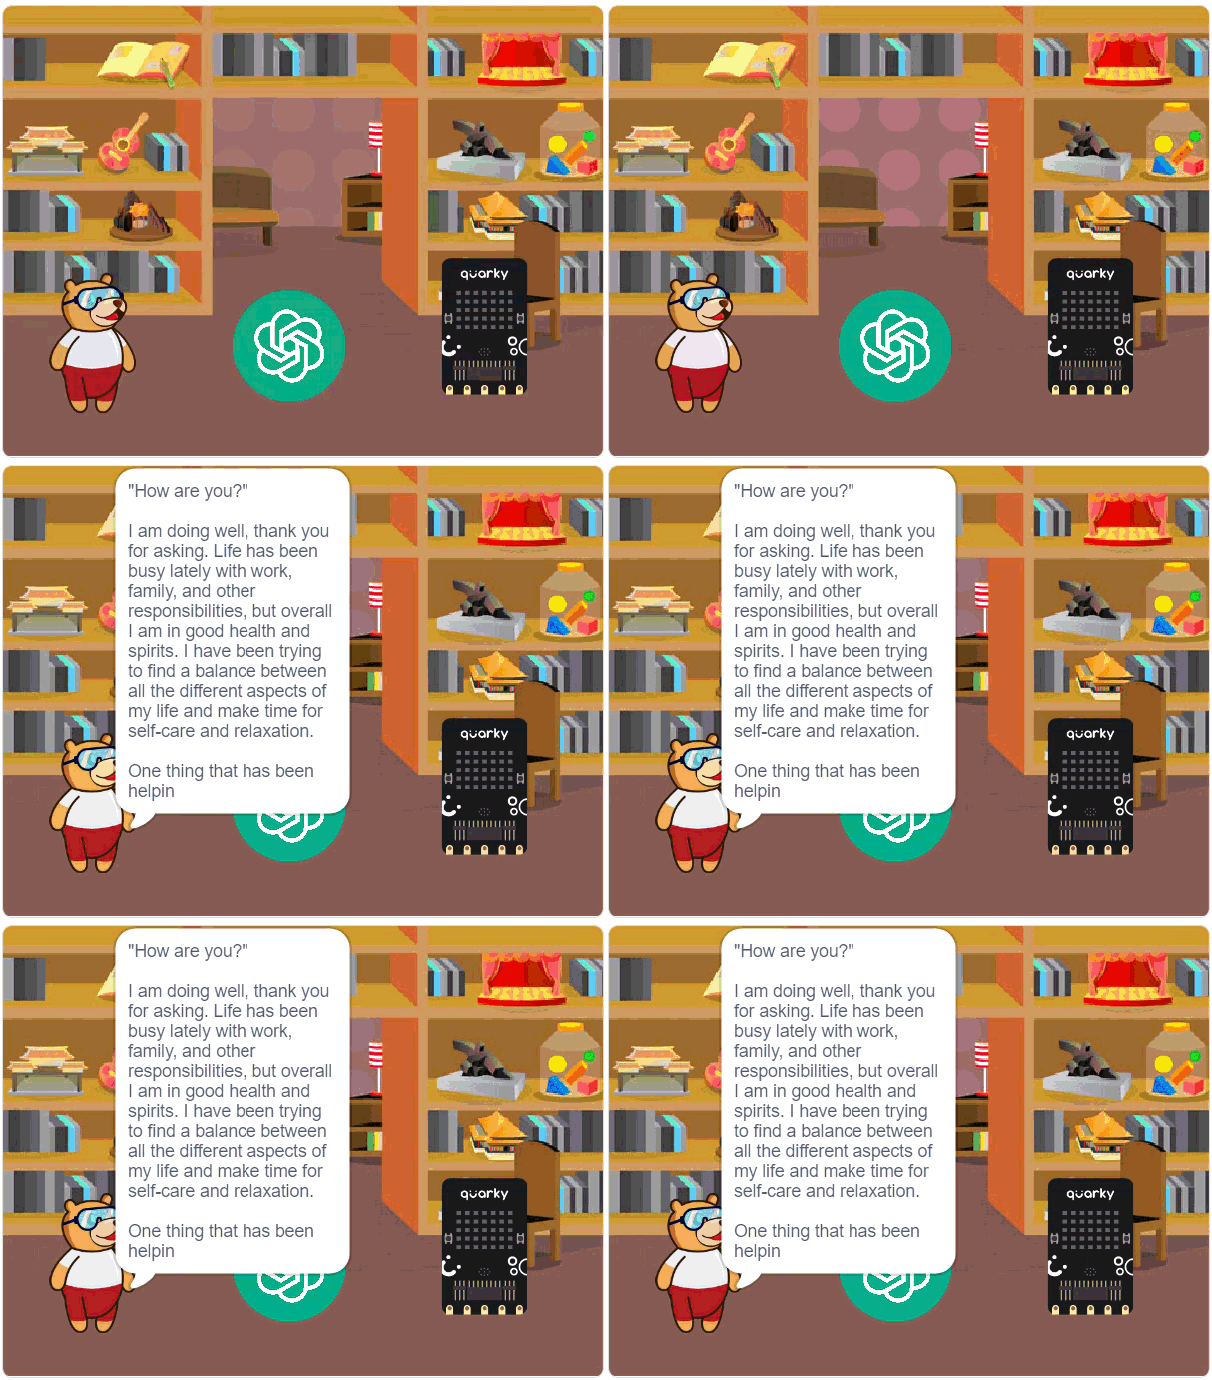
- Observe Quarky’s emotions, animations, and spoken AI response in real time.
import threading

import time

# Create a sprite named Tobi

sprite = Sprite('Tobi')

# Create a ChatGPT object for AI responses

gpt = ChatGPT()

# Create a text-to-speech object to speak out responses

speech = TexttoSpeech()

# Create a Quarky robot object for emotions/animations

quarky = Quarky()

# Create a speech recognition object

sr = SpeechRecognition()

# Function to show 'surprise' animation multiple times

def surprise_listen():

    for x in range(0, 4):

        quarky.showanimation(ANIMATION="surprise")

# Function to show 'happy' animation multiple times

def happy_answer():

    for x in range(0, 4):

        quarky.showanimation(ANIMATION="happy")

# Main loop runs forever

while True:

    # Shows a surprise emotion on Quarky’s face

    quarky.showemotion("surprise")

    # Run surprise animation in in a separate thread (so the main loop doesn't stop)

    threading.Thread(target=surprise_listen, daemon=True).start()

    # Listen for speech input for 4 seconds (English - US)

    sr.analysespeech(4, "en-US")

    # Get the speech-to-text result

    command = sr.speechresult()

        # Convert the text to lowercase (while handling the empty input)

    answer = (command or "").lower()

    # Send the speech that we were able to recognize to ChatGPT for a reply

    gpt.askOnChatGPT("AIAssistant", answer)

    # Get ChatGPT's response

    result = gpt.chatGPTresult()

    # When a response is received, run happy animation in parallel

    threading.Thread(target=happy_answer, daemon=True).start()

    # Show on screen and speak out loud the ChatGPT's response

    # Display the response in Tobi's speech bubble

    sprite.say(result)

    # Speak the response out loud

    speech.speak(result)

    # Print the response in console (for debugging)

    print(result)
Output
Conclusion
Congratulations! You have successfully programmed Quarky to function as an AI-powered voice assistant using PictoBlox Python coding. In this project, you:
- Initialised speech recognition, ChatGPT AI, text-to-speech, and Quarky components
- Built a real-time conversational AI system using Python programming
- Programmed Quarky to listen, process speech, and respond intelligently
- Added expressive animations and emotions for interactive communication
- Implemented a safe AI credit management system using conditional logic
These skills — speech recognition, conversational AI, threading, text-to-speech technology, and real-time interaction design — are fundamental concepts used in modern AI systems, virtual assistants, smart robots, and human-machine communication technologies. You are not just building a robot; you are creating your own intelligent AI assistant!