


Introduction
This module provides a simple and interactive way to understand wireless communication and data exchange in embedded systems. With the Terminal Module, learners can build a variety of projects such as LED and motor control systems, sensor monitoring applications, data logging systems, and smart automation solutions. It is an excellent tool for introducing students to the fundamentals of the Internet of Things (IoT), Bluetooth communication, and command-based programming through hands-on activities.
Prerequisites
- Evive device (powered on)
- USB cable for connecting Evive
- PictoBlox installed on your computer
- Basic understanding of block coding
- Note: Before connecting Evive to PictoBlox, ensure that the Arduino/CH340 device driver is installed properly.
Connecting Evive to PictoBlox
- First, open PictoBlox.
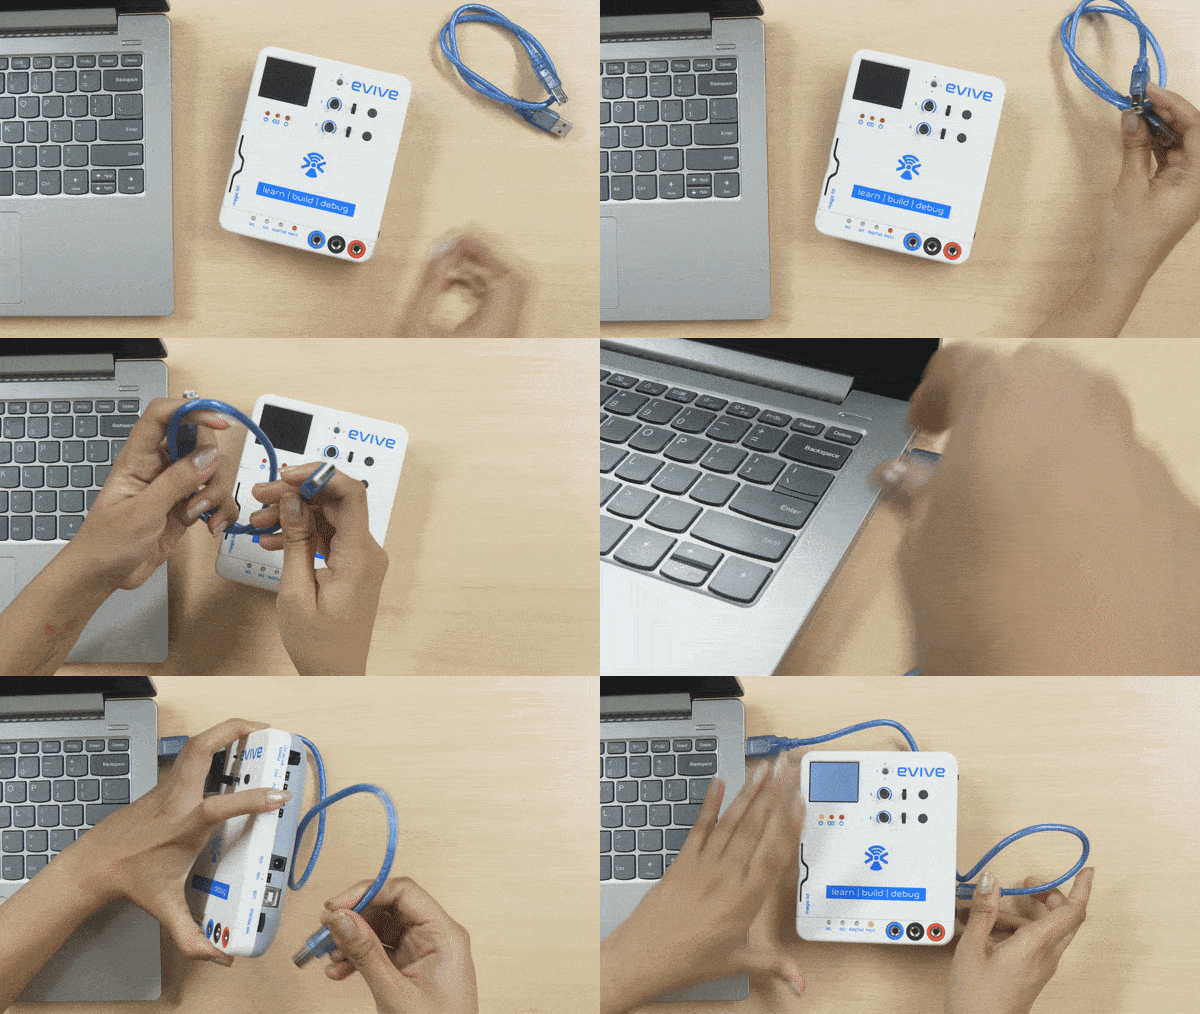
- Then, connect Evive to your computer via a USB cable.
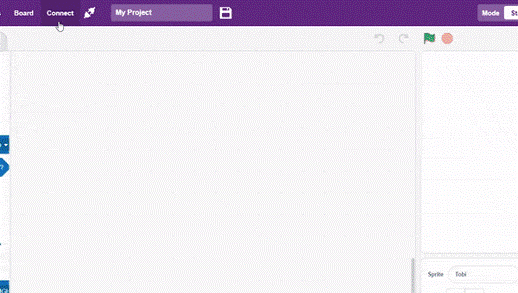
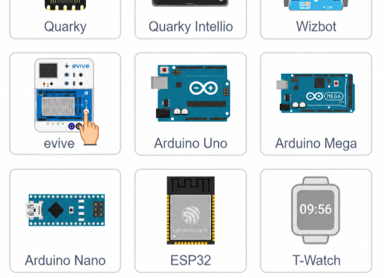
- Click on the Board button in the toolbar. A list of the boards that are compatible with PictoBlox will appear in the drop-down. Select evive from the option.

- Select evive from the drop-down. Next, click on the connect button and select the appropriate serial port.
- You’ll notice new palettes under the Code tab. You can interact with evive using the blocks in these palettes.
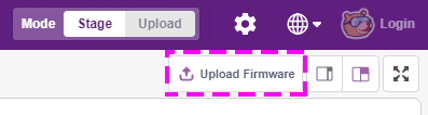
- Since we’re going to work in Stage mode, we must upload the firmware to the board. It will ensure real-time communication between the board and the computer. Uploading the firmware is a one-time process. To do so, click on the Upload Firmware button. Observe that while doing so, the Rx0/Tx0 LED starts blinking.
To check whether the firmware has successfully been uploaded or not observe evive’s screen. If evive’s logo appears on the screen, it indicates success. Otherwise, retry the process.
Step-by-Step Block Coding Guide
We will use the set digital pin () output as () block to turn the LED ON/OFF.
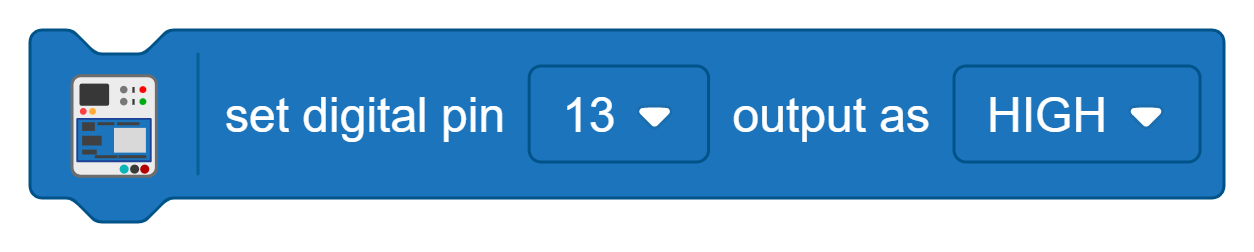
Choose the pin to which the LED is connected in the first drop-down menu and the second drop-down menu helps to set the status of the LED whether ON/OFF.
Output
Conclusion
The evive Terminal Module helps students communicate with evive using a smartphone through the Dabble app. It allows them to send commands and receive messages easily. By working with this module, students can learn the basics of Bluetooth communication and create fun projects such as controlling LEDs, motors, and displaying sensor data. It is a simple and engaging way to explore programming and IoT concepts using PictoBlox.