



Introduction
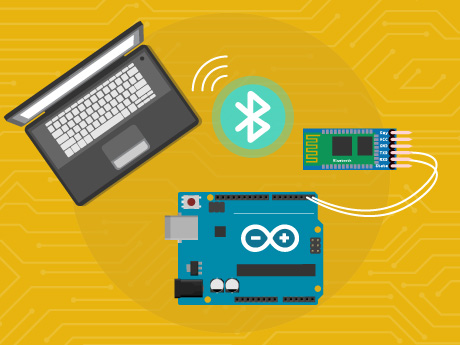
The HM-10 is a Bluetooth Low Energy (BLE) module widely used in IoT, wireless communication, and automation projects. Before using the module in different applications, it is often necessary to change its baud rate so that it matches the communication speed of the connected device.
In this project, Arduino Uno communicates with the HM-10 module through serial communication and sends an AT command to change its baud rate.
This project helps students understand:
- Bluetooth Low Energy (BLE)
- AT Commands
- Serial Communication
- HM-10 Module Configuration
- Arduino Communication Protocols
Setting Up the Stage / Sprite
Before creating the program, we need to add the Arduino extension and connect the HM-10 module.
Adding the Arduino Extension
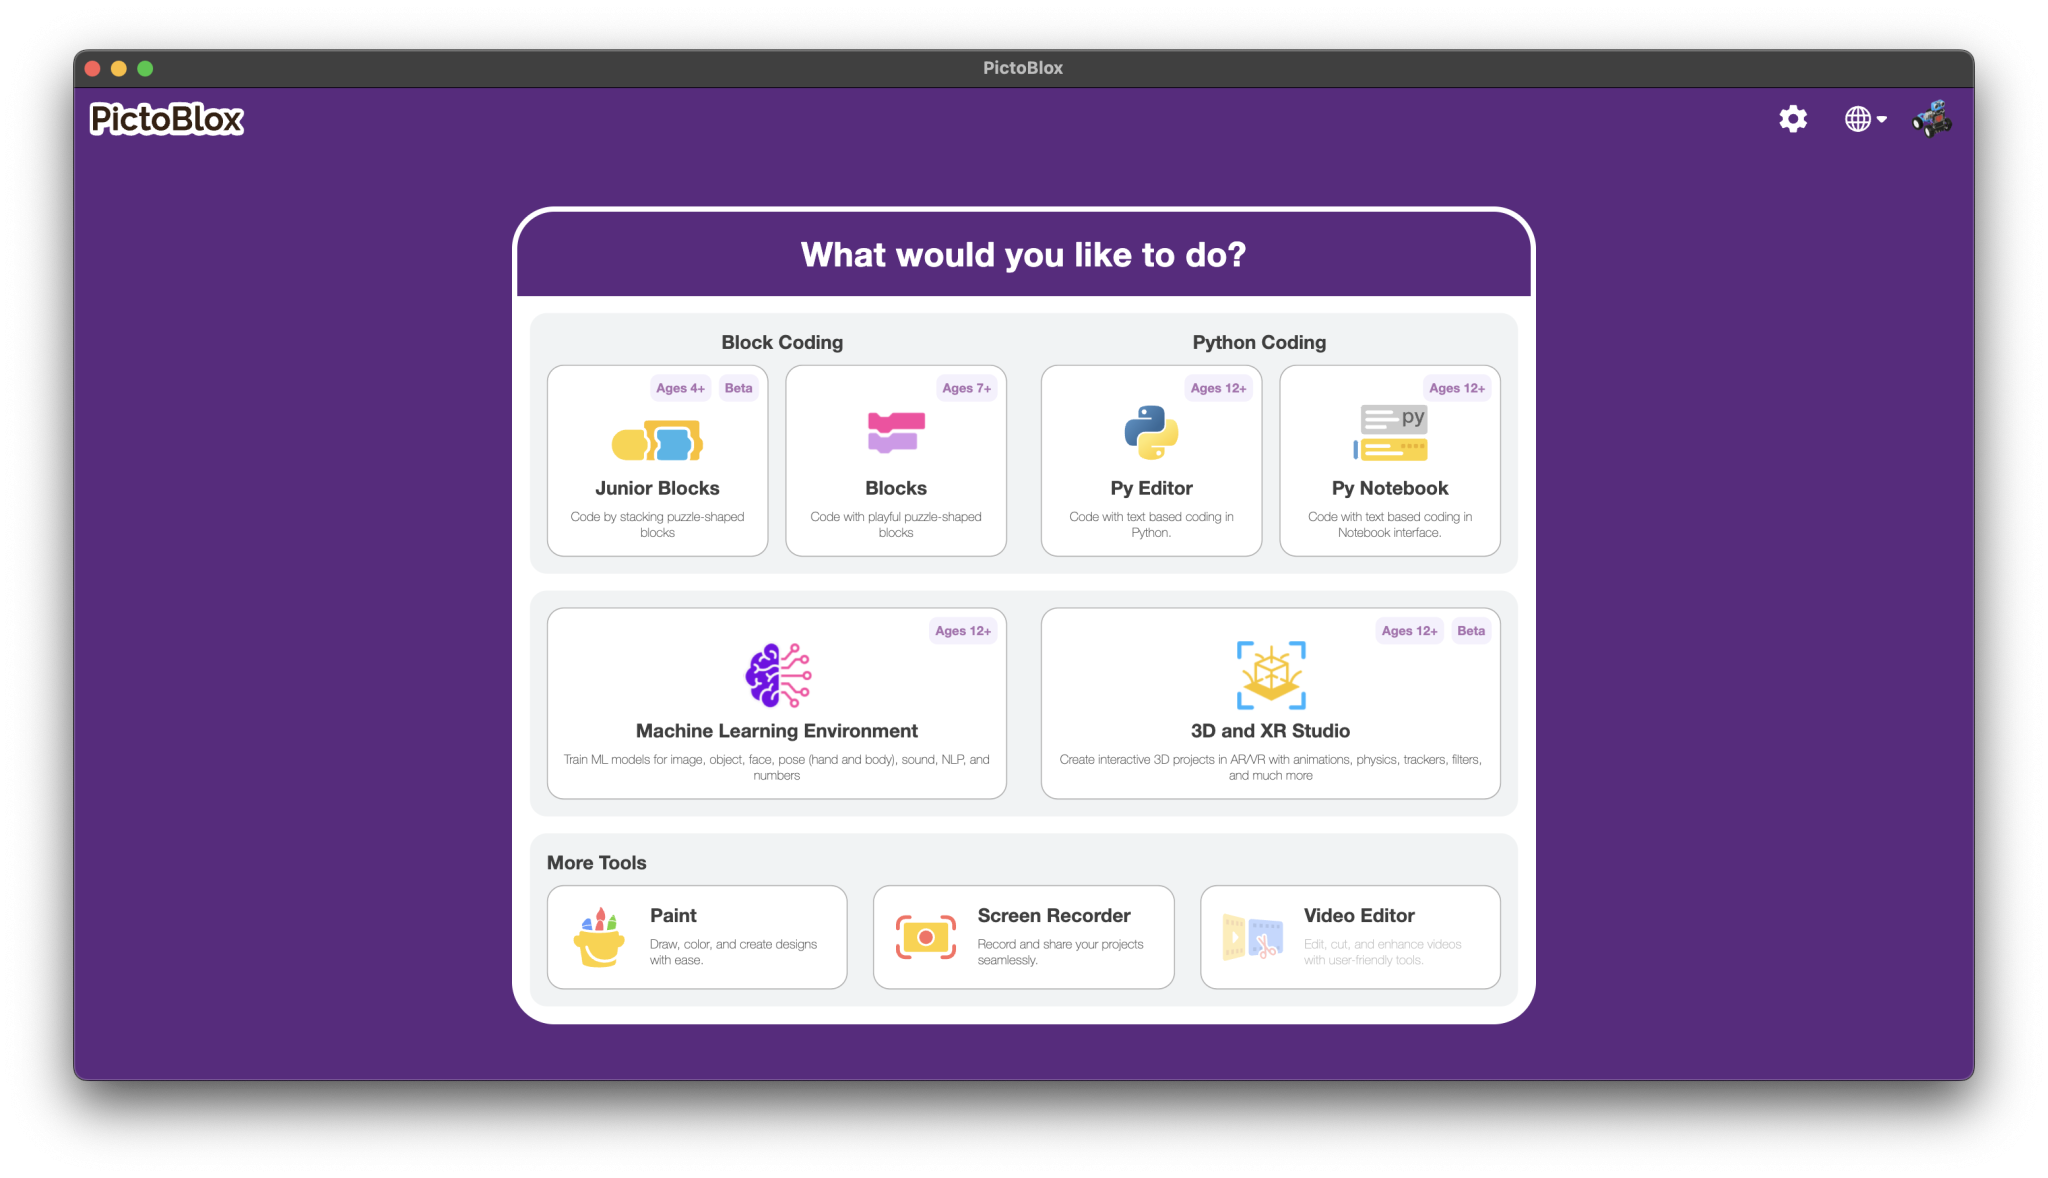
- Open PictoBlox.
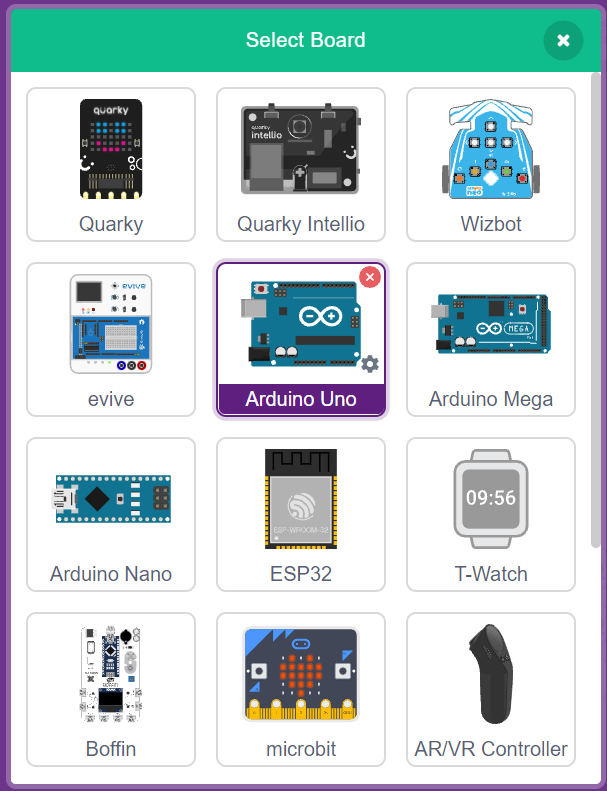
- Add Arduino Uno.
- Add Dabble.

- Connect the Arduino board using a USB cable.
- Select the correct COM Port.
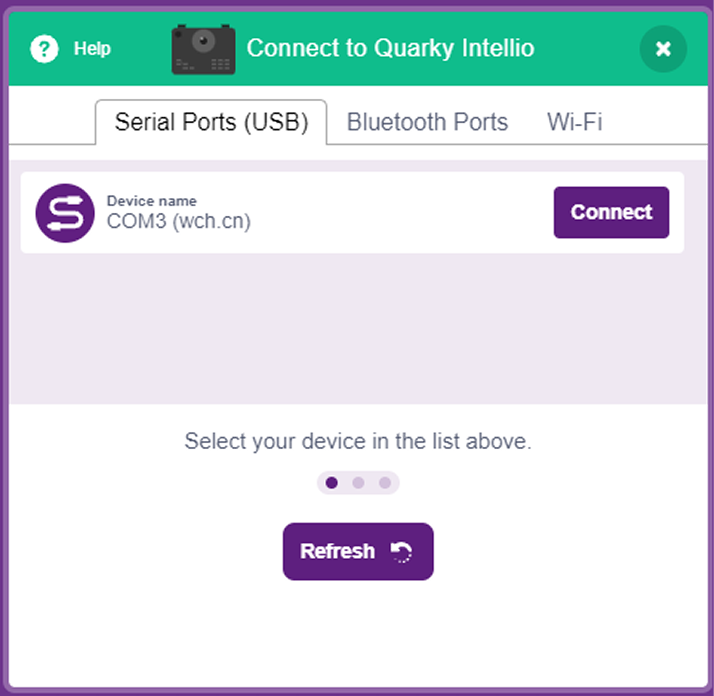
- Switch to Upload Mode.

Circuit Connections
Components Required
- Arduino Uno
- HM-10 Bluetooth Module
- Breadboard
- Jumper Wires
- USB Cable
HM-10 Connections
- HM-10 VCC → Arduino 5V
- HM-10 GND → Arduino GND
- HM-10 TXD → Arduino Digital Pin 10
- HM-10 RXD → Arduino Digital Pin 11
Important Note
- Connect the HM-10 RXD pin through a voltage divider or logic level converter if required, since the HM-10 operates at 3.3V logic.
- Ensure all GND connections are common.
Arduino GND → HM-10 GND
Step-by-Step Block Coding Guide
Let’s create a program that changes the baud rate of the HM-10 Bluetooth module.
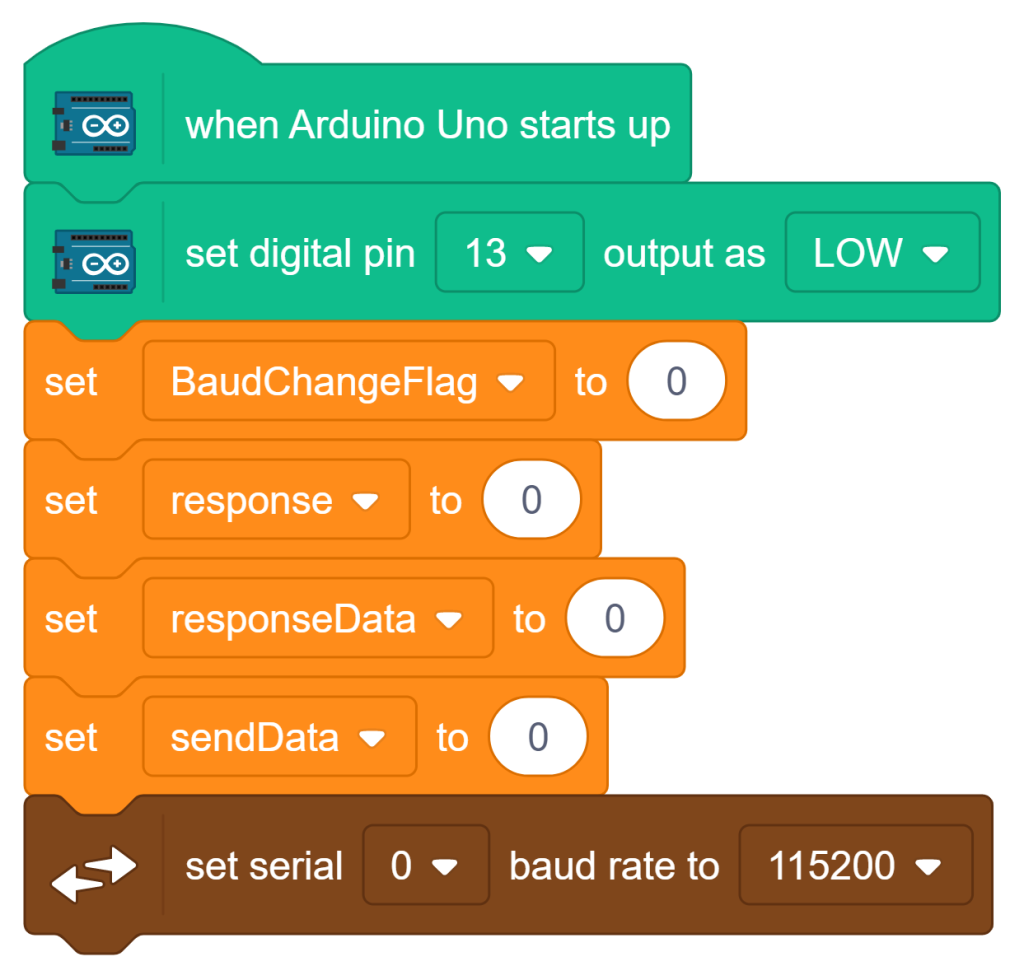
Start the Program
- Drag when Arduino Uno starts up block.
- Initialize all required variables.
- Configure Digital Pin 13 as LOW.
- Set Serial 0 baud rate to 115200.
- These settings prepare Arduino for communication with the HM10 module.
Initialize Software Serial Communication
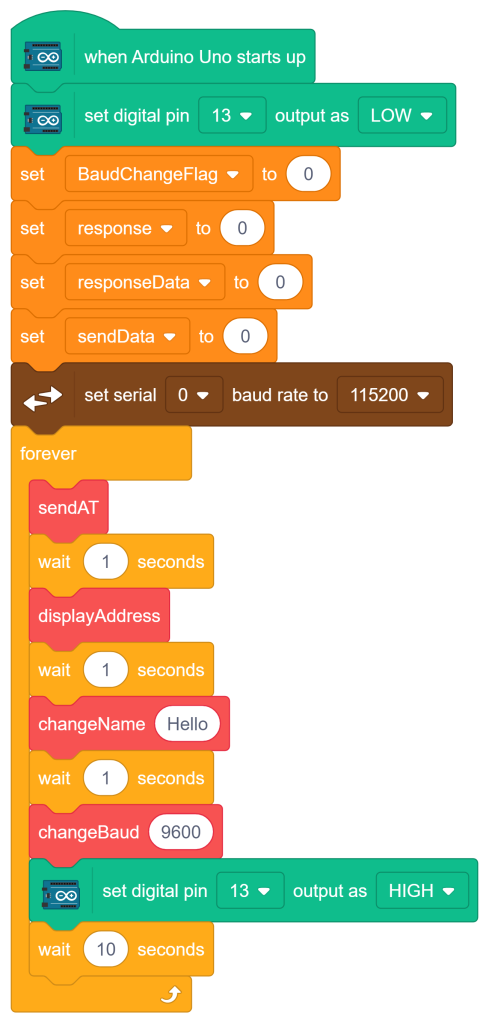
- Add a Forever block.
- Inside this loop, call all custom My Blocks one after another.
- The sequence is:
- sendAT
- displayAddress
- changeName
- changeBaud
- Turn LED ON
- Wait 10 seconds
- This sequence continuously configures the HM10 module.
Send the AT Command
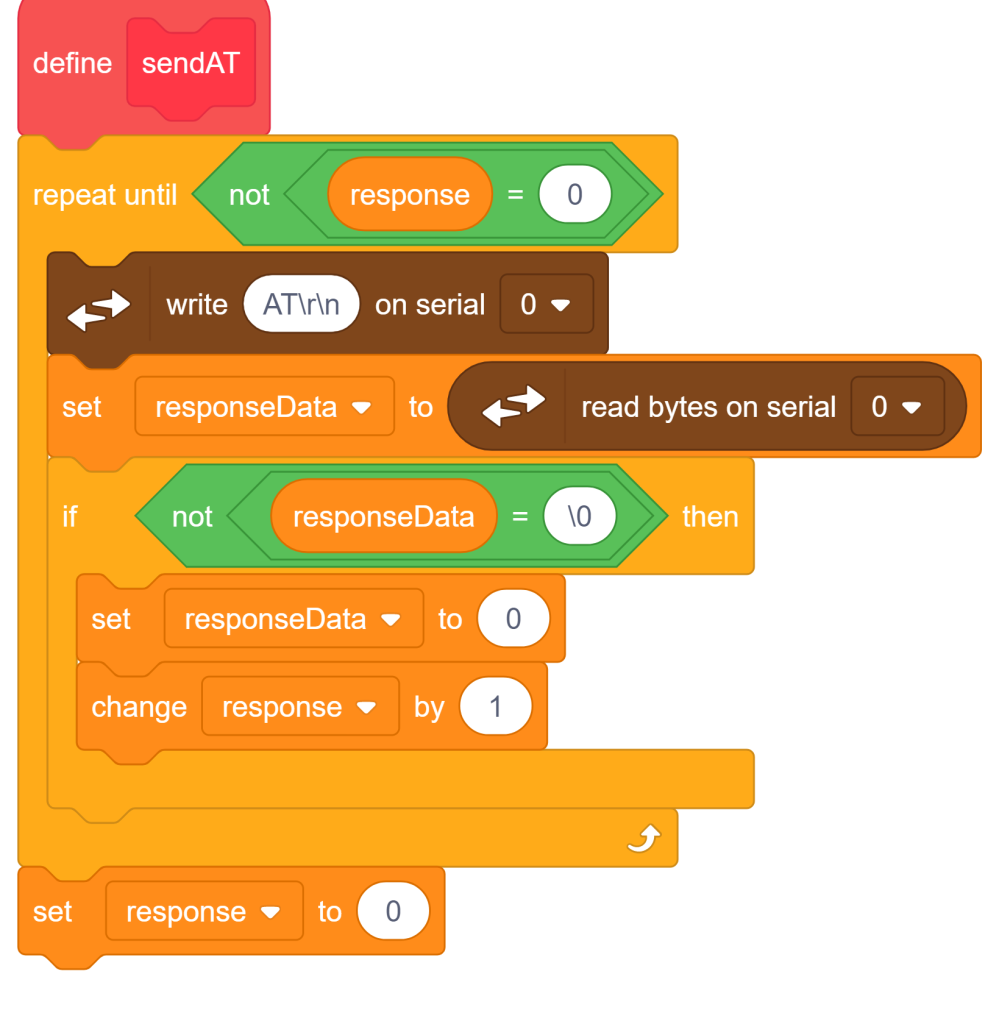
- Create a My Block named sendAT. This block sends the command:
- To verify that the HM10 module is responding.
- The program repeatedly sends the command until a response is received.
- Add the block to send serial data through Software Serial.
- Type the AT command:
- AT+BAUD4
- This changes the HM-10 baud rate to 115200 bps (or use the appropriate AT command for your desired baud rate according to your HM-10 firmware).
Create the displayAddress My Block
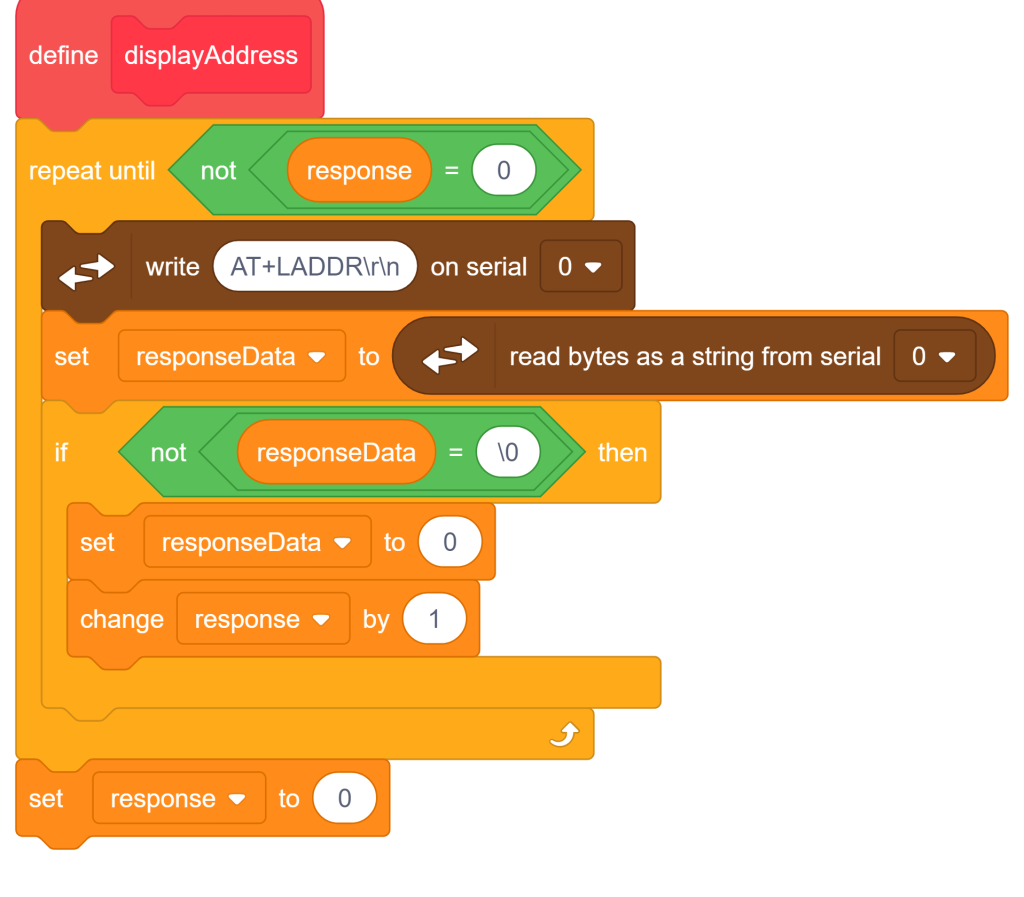
- Create another My Block called
- displayAddress
- It sends the command
- AT+LADDR
- to obtain the Bluetooth MAC Address.
- The response is read through Serial communication.
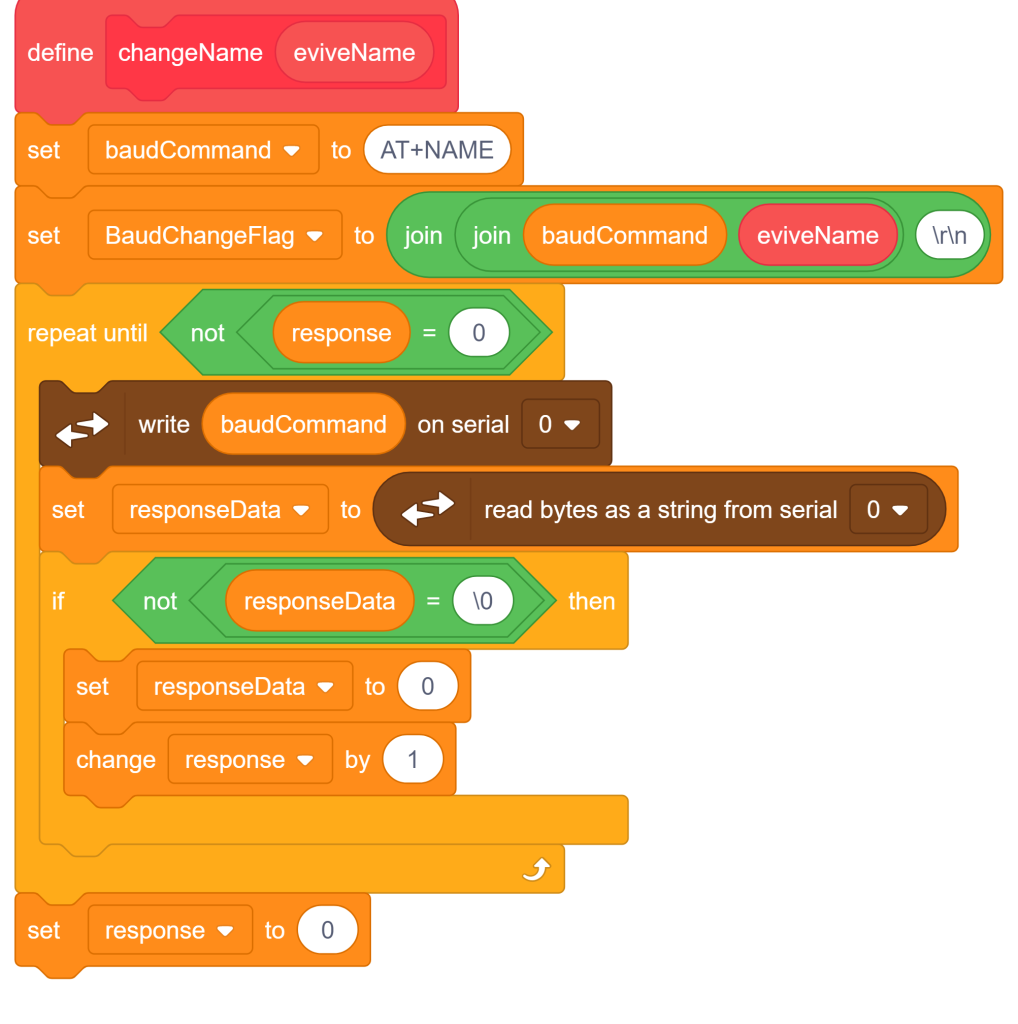
Create the changeName My Block
- Create a My Block called changeName
- Set the command AT+NAMEhello. This changes the Bluetooth module name to hello
- The program waits until it receives a successful response.
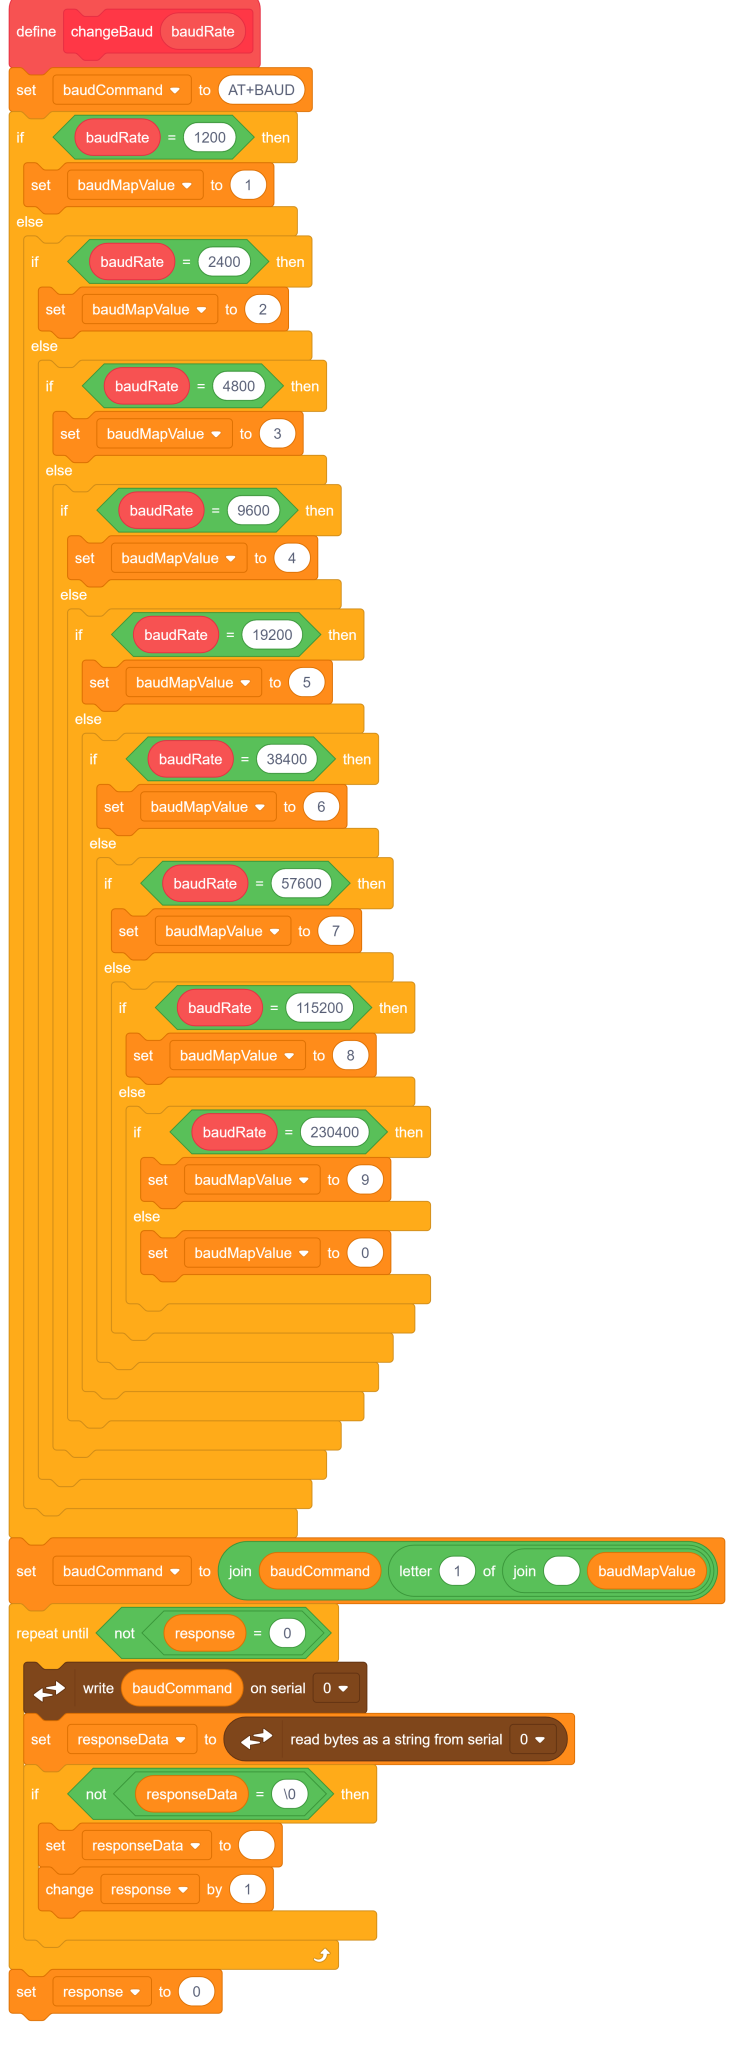
 Create the changeBaud My Block
- Create another My Block named
- changeBaud
- This block converts the baud rate into the HM10 baud index.
- For example:
- 1200 → 1
- 2400 → 2
- 4800 → 3
- 9600 → 4
- 19200 → 5
- 38400 → 6
- 57600 → 7
- 115200 → 8
- 230400 → 9
- After selecting the correct value, the command becomes
- AT+BAUD4
- (for 9600 baud)
- The command is transmitted through serial communication until a response is received.
Complete Program Flow:
Arduino Starts
↓
Initialize Variables
↓
Set Serial Baud Rate
↓
Send AT Command
↓
Receive OK Response
↓
Display Bluetooth Address
↓
Change Device Name
↓
Change Baud Rate
↓
Turn ON LED
↓
Wait 10 Seconds
↓
Repeat
Output
After uploading the program, the HM10 module performs the following operations automatically:
- Sends AT command to check communication.
- Reads and displays the Bluetooth MAC address.
- Changes the Bluetooth device name to hello.
- Changes the baud rate to 9600.
- Turns ON the LED connected to Digital Pin 13.
- Waits for 10 seconds before repeating the sequence.
Conclusion
This project demonstrates how Arduino Uno can configure an HM-10 Bluetooth module using AT commands. Students learn about serial communication, Bluetooth module configuration, and baud rate settings. Understanding AT commands and communication protocols is essential for developing reliable wireless communication and IoT applications using Arduino and PictoBlox.