
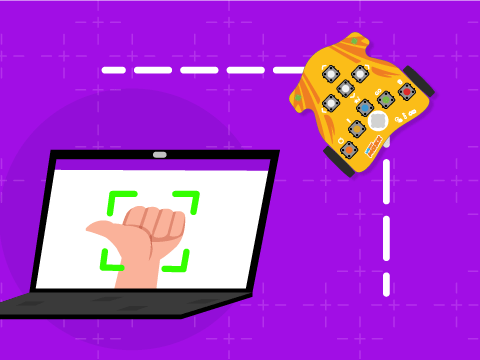



Introduction
Hand gesture recognition technology is revolutionizing human-robot interaction, allowing you to command machines with simple waves of your hand just like in sci-fi movies! Learn how gesture detection works, how smartphone sensors capture motion data via the Dabble app, how to pair your mobile device with Wizbot Maxx, and program it with ease in PictoBlox – our Scratch blocks-based graphical programming platform with advanced hardware interaction abilities. Once you’re equipped with the basic knowledge of Bluetooth communication, accelerometer inputs, and directional motor control, we’ll show you how to wirelessly drive your robot using hand movements and build exciting DIY gesture-controlled automation projects using Wizbot Maxx.
To work in PictoBlox, you’ll first need to download it from HERE.
Ready? Set. Go!
Prerequisites
- Wizbot Maxx
- Laptop or Computer
- PictoBlox installed on the system
Let’s Turn On Your Wizbot!
- Look at the power switch on your Wizbot. Slide the 3-way power switch towards Picto coding!
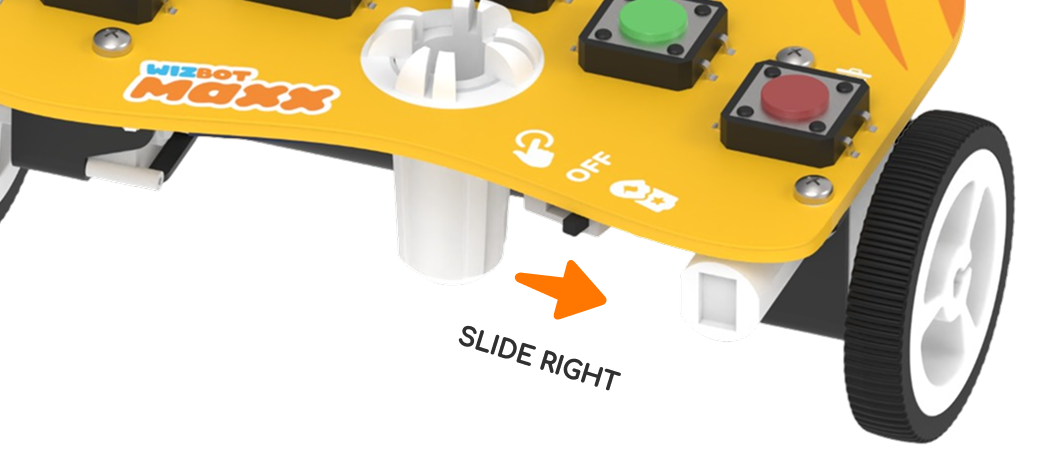
- See the blue light? Hear the troo-tooi sound? Your Wizbot is awake!
Connect Wizbot to Your Computer
- Click on Board at the top of your screen. Pick Wizbot Maxx!
- Click the Connect tab in the top menu, then choose Bluetooth
- Your Wizbot Maxx has a unique code on it. Find your Wizbot Maxx in the list and click Connect!
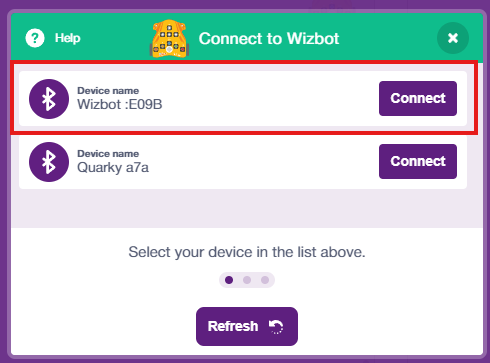
- Hear that sound? That means it worked; your Wizbot is connected!
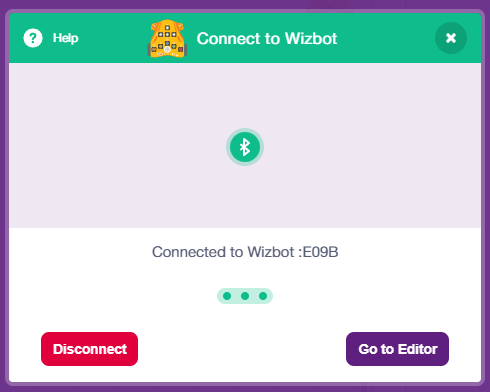
- Voila! Your wizbot is now connected to PictoBlox!
Step-by-Step Block Coding Guide
- Click ‘Add Extension‘ and pick Hand Pose Detection extension.
- Click the delete icon on top of the Tobi sprite. In this project, we are not going to use Tobi.
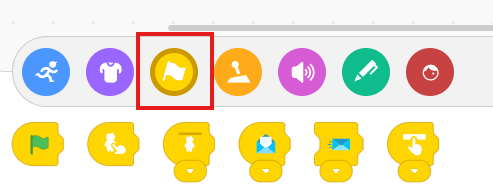
- Go to Events and drag the ‘Green Flag’ block into your coding area.
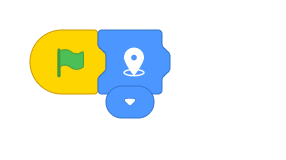
- From the Motion palette, add the ‘Move to Location’ block. Set the cordinates as (16, 9).
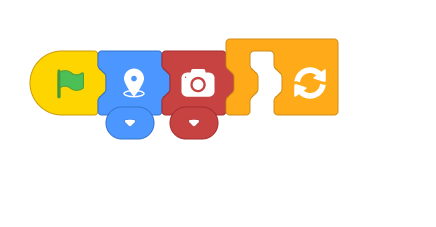
- Add the ‘Camera Switch’ Block from the Hand Pose Detection palette.
- From the Control palette, add the ‘Forever’ block.
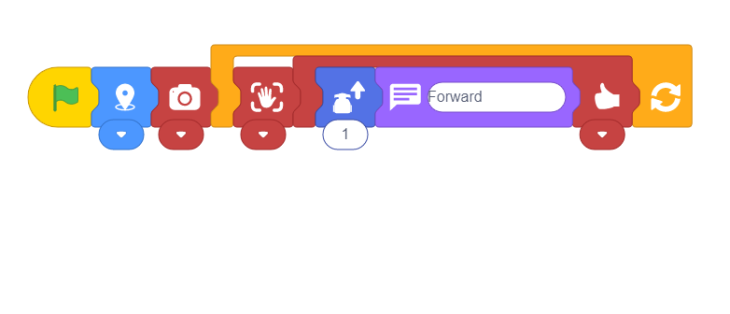
- Inside the Forever block, add the ‘Analyze Hand’ block from the Hand Pose Detection extension.
- From the Hand Pose Detection palette, add the ‘When sign () detected’ block. Set the sign as Thumbs Up.
- Inside the ‘When sign () detected’ block, add the ‘Forward’ block from the Wizbot palette.
- From the Looks palette, add the ‘say ()’ block. Enter Forward for the display text.
- From the Hand Pose Detection palette, add the ‘When sign () detected’ block. Set the sign as Thumbs Down.
- Inside the ‘When sign () detected’ block add the ‘Backward’ block from the Wizbot palette.
- From the Looks palette, add the ‘say ()’ block. Enter Backward for the display text.
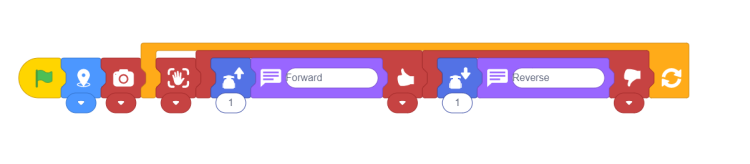
- Repeat Steps 11 to 13 for Right and Left Directions.
- Finally add the ‘Stop Robot’ from the Wizbot palette.
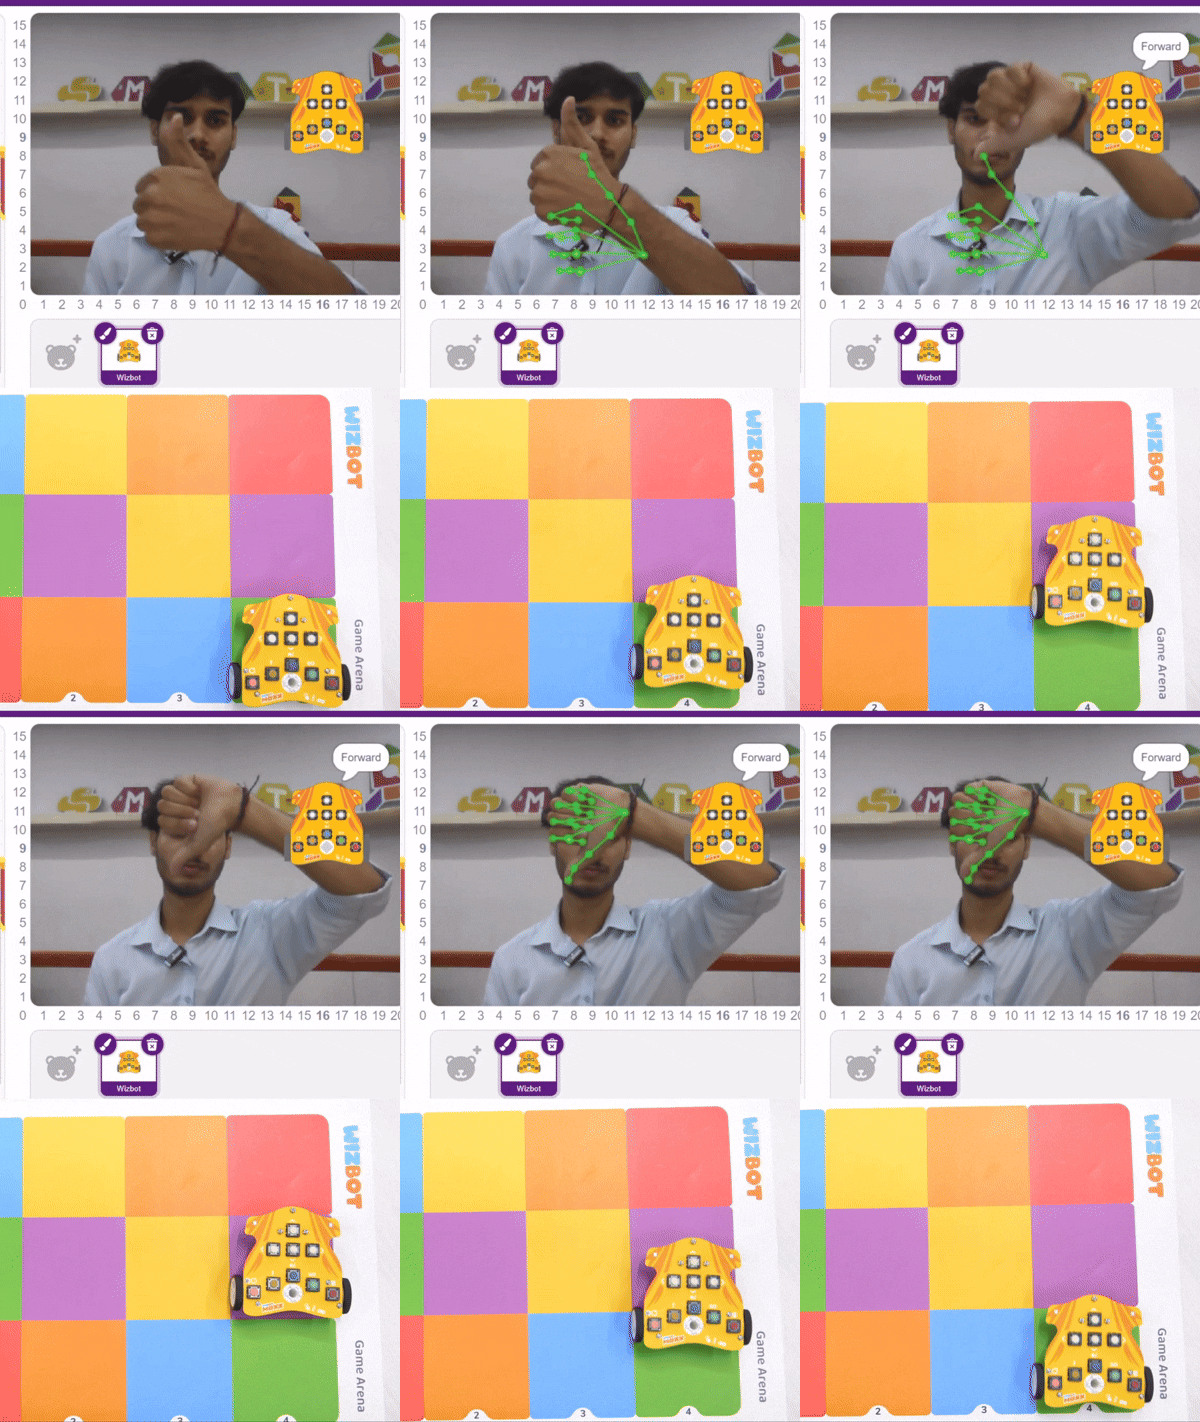
- That’s it, run the Wizbot Maxx by clicking the Green Flag.
Output
Conclusion
In this lesson, we explored how hand gesture recognition works by capturing hand motions in PictoBlox. We learned how to establish a wireless Bluetooth connection between our mobile device and Wizbot Maxx. We mapped dynamic hand movements to directional motor control commands to drive our robot wirelessly.