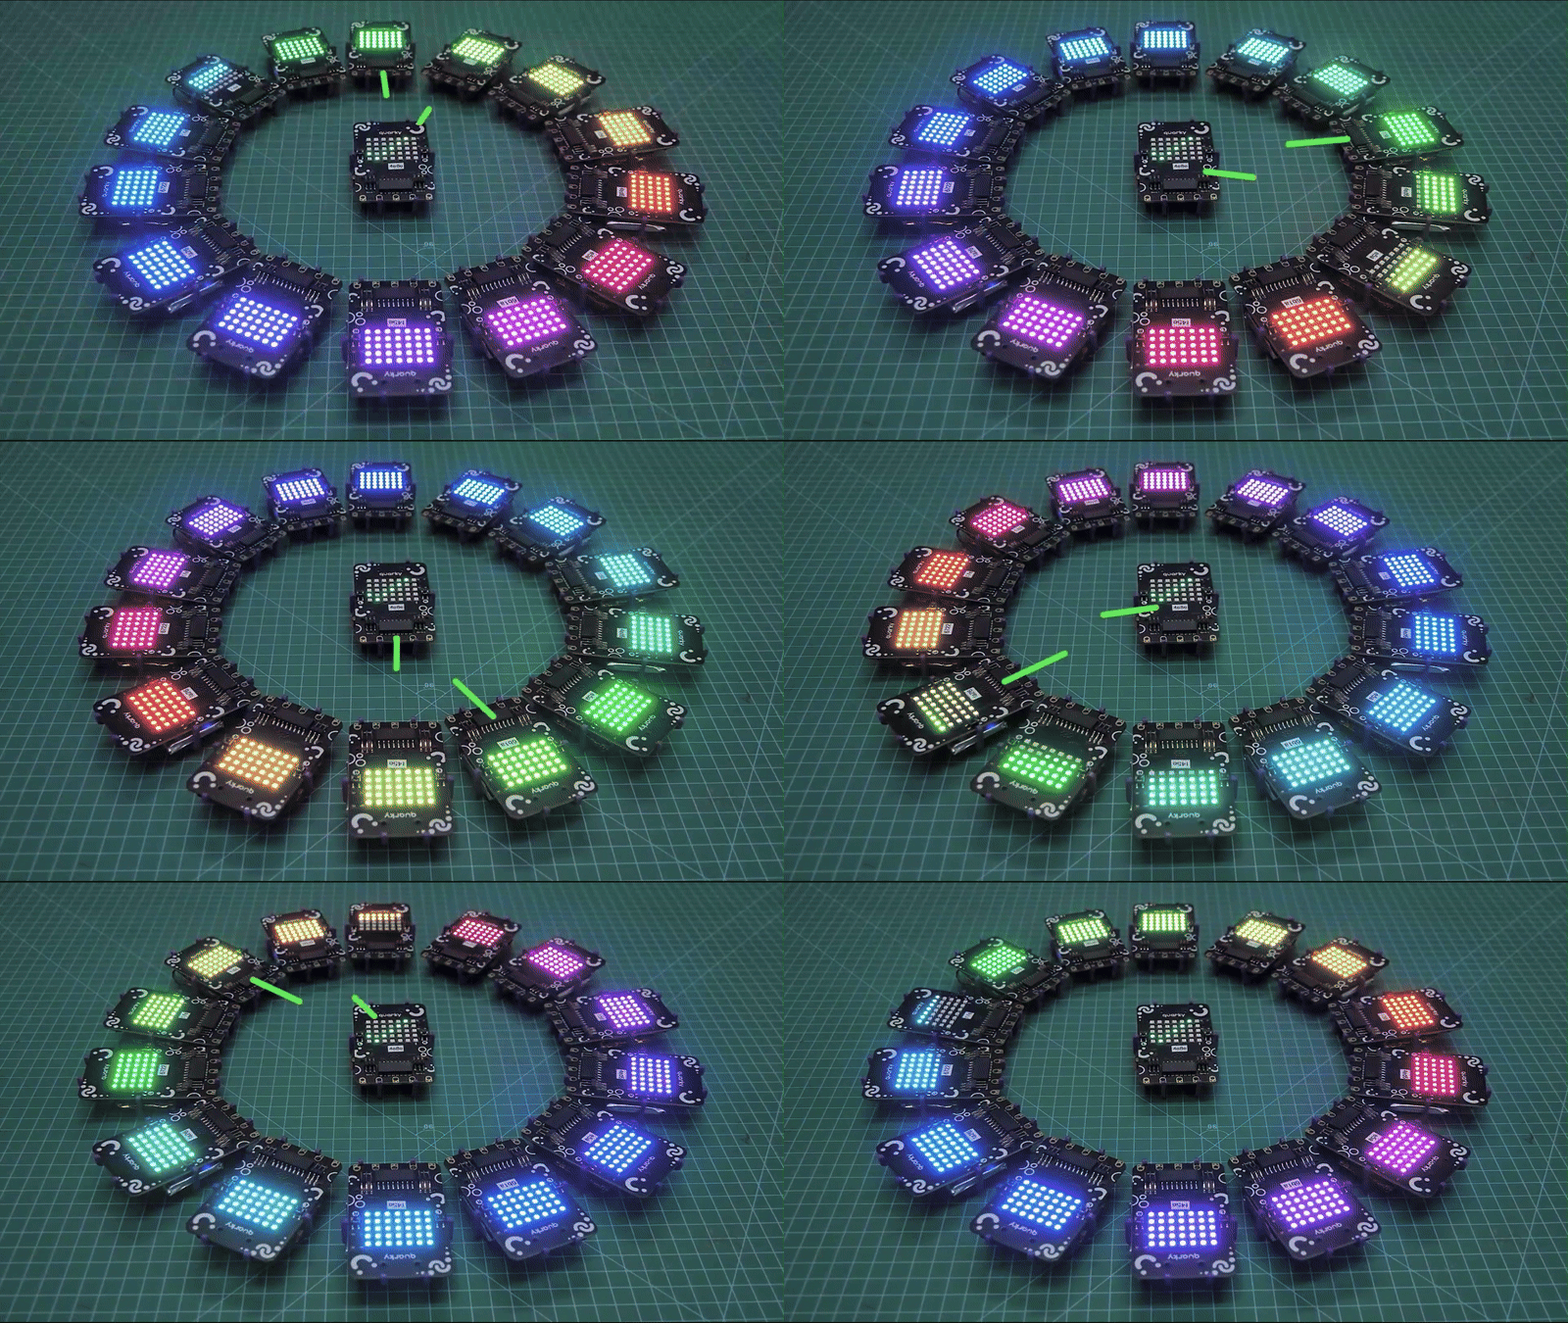
In this example, you will create a colourful digital Rangoli using 15 Peer Quarkys controlled wirelessly by one Master Quarky. The Quarky Connect extension uses ESP-NOW communication, allowing the Quarkys to communicate directly without requiring a Wi-Fi router or internet connection.
The Master Quarky connects to all 15 Peer Quarkys and broadcasts different LED matrix patterns. All the Peer Quarkys display the colours together, creating a synchronised Rangoli effect.
Create Exciting Projects with Quarky Connect!
With Quarky Connect, you can create innovative and exciting projects like:
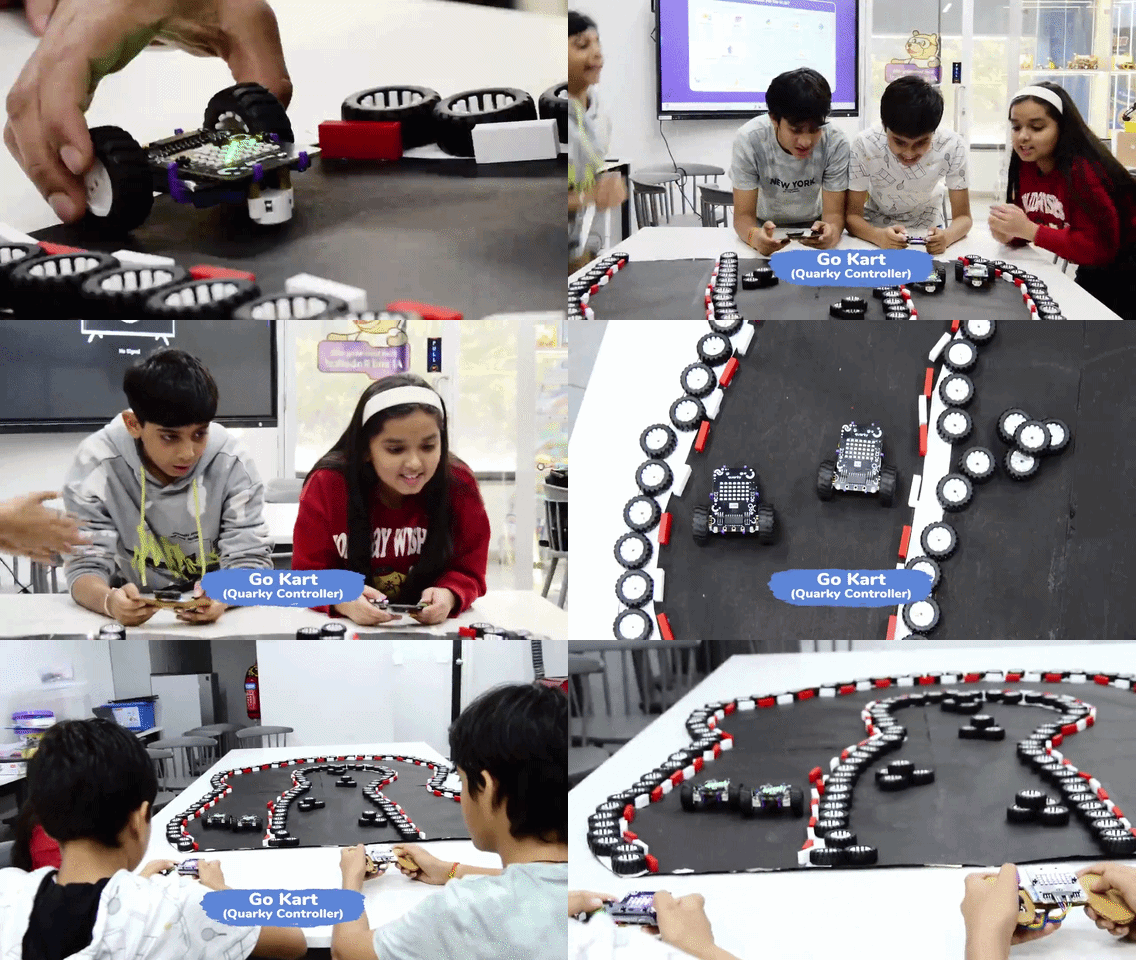
- Go Kart (Quarky Joystick Controller using Quarky Connect): Control multiple Quarky robots in a race to the finish line, where each robot needs to avoid obstacles and follow specific paths.
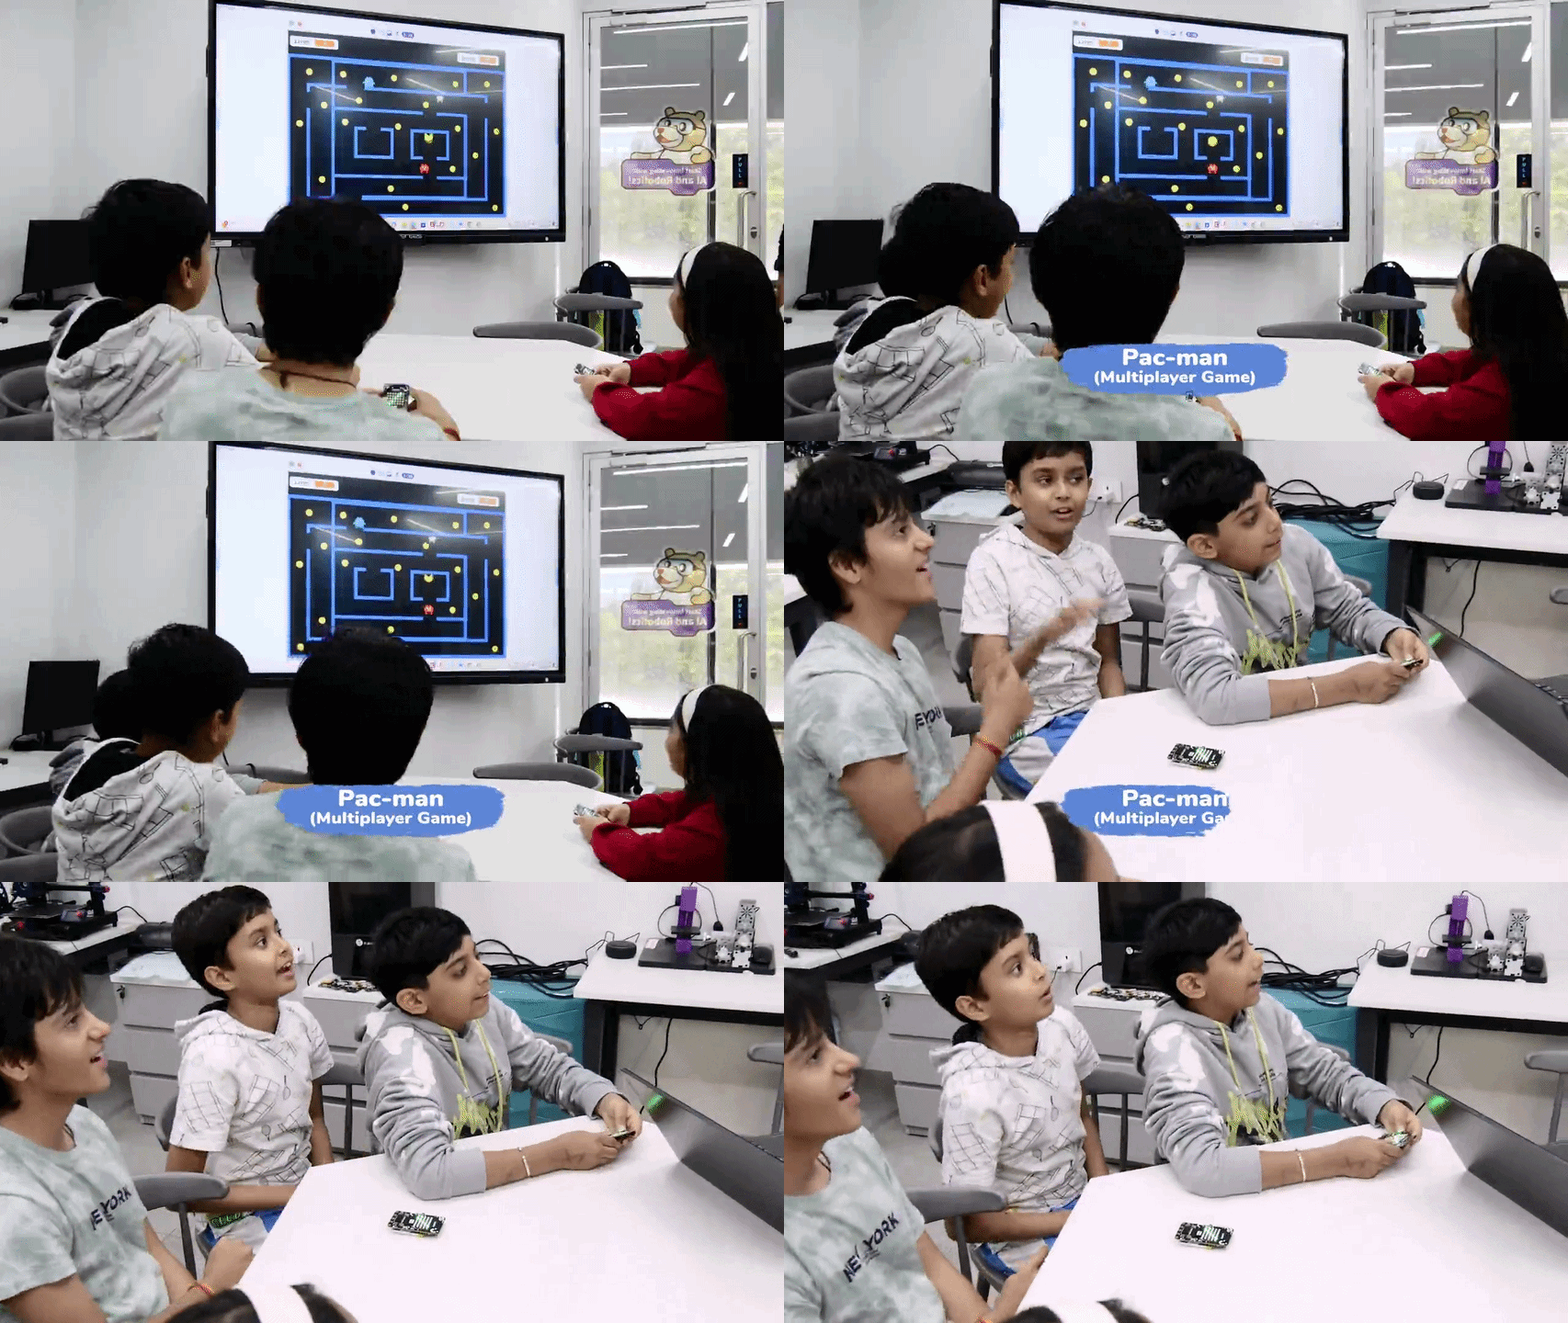
- Pac-Man: Create a multiplayer version of Pac-Man where Quarky robots can act as the ghosts, chasing the main character in a dynamic maze.
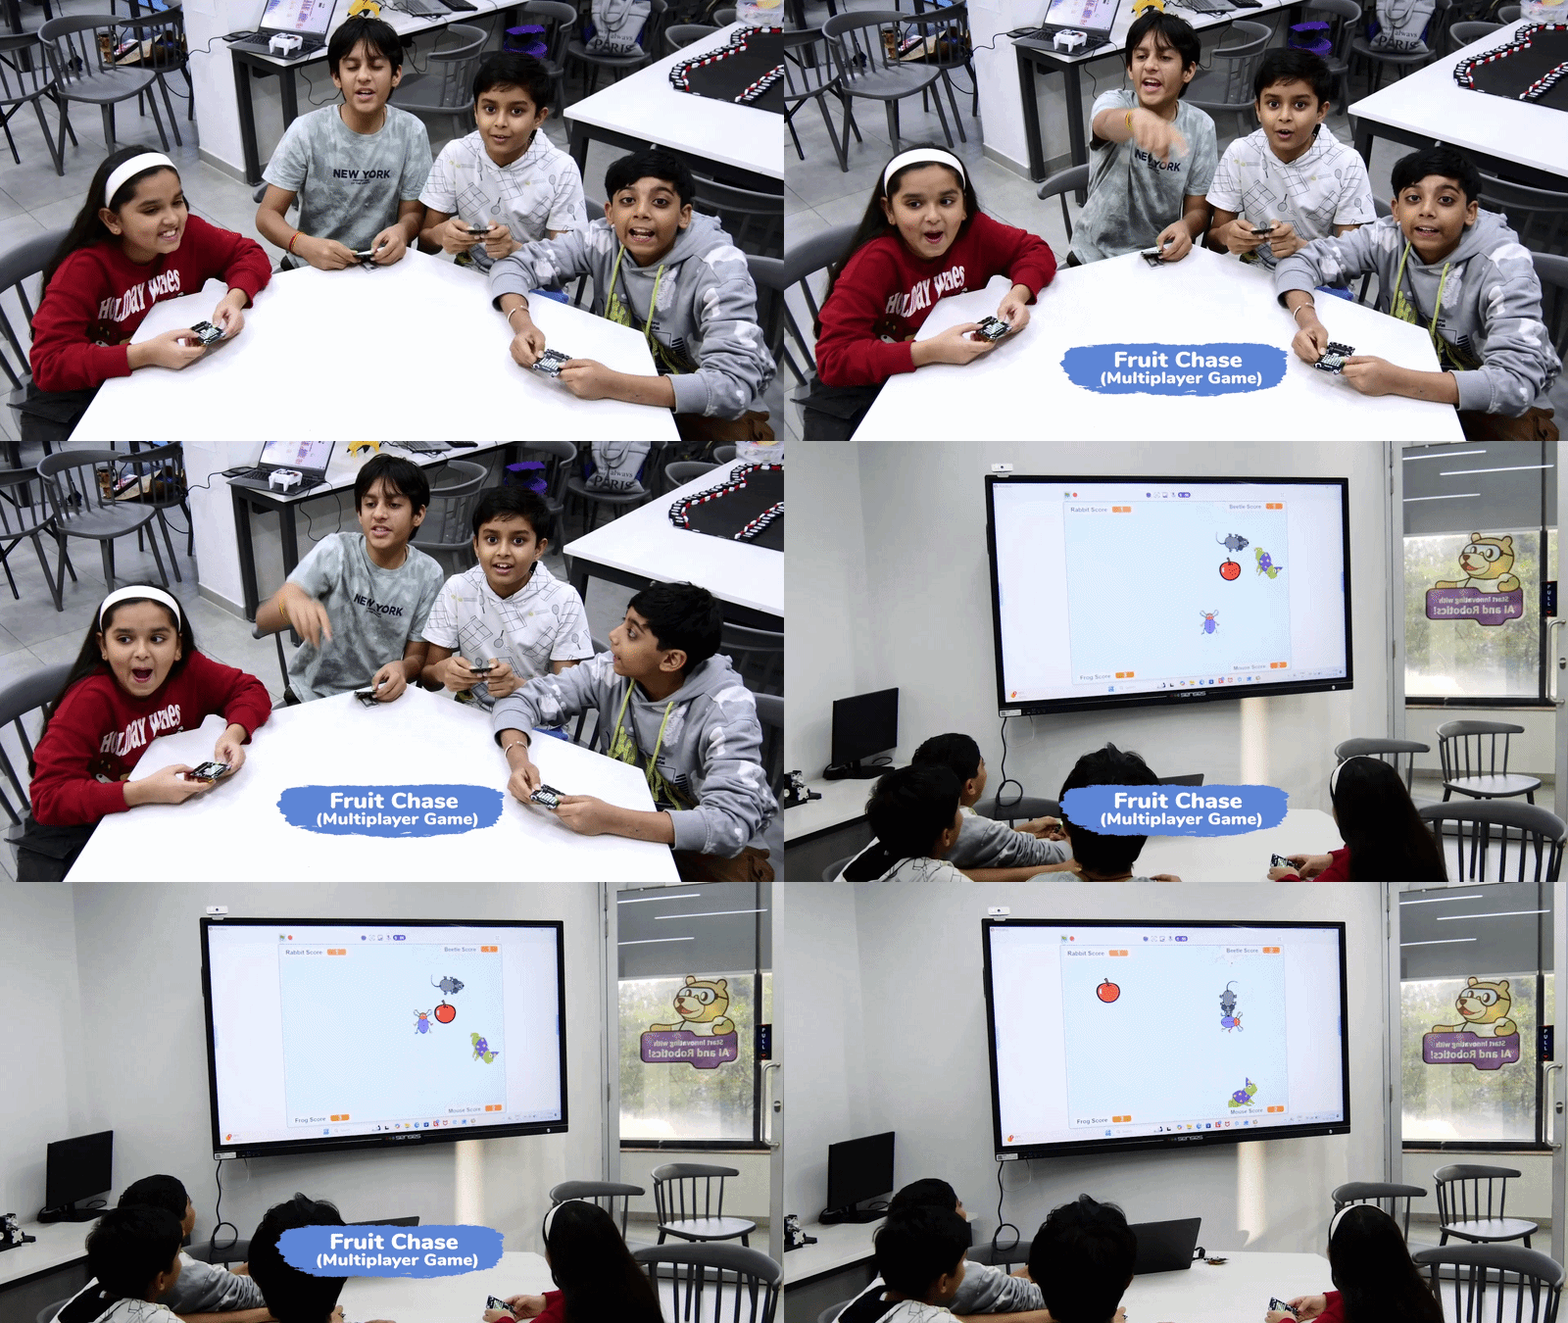
- Fruit Chase: Program Quarky robots to chase and collect virtual fruits on a grid, with each robot moving based on the commands sent by the master robot.
How Does Quarky Connect Work in This Project?
The Rangoli setup follows a Master–Peer communication model:
- One Quarky acts as the Master.
- Fifteen Quarkys act as Peers.
- Each Peer is added to the Master using its unique BLE name.
- The Master sends LED matrix commands to all connected Peer Quarkys.
- The Peers receive these commands and update their displays together.
The Quarky Connect display blocks can broadcast a pattern to all connected Quarkys by selecting the All option.
Hardware and Software Requirements
Hardware
- 1 Master Quarky
- 15 Peer Quarkys
- USB cable
- Computer with PictoBlox
Make sure all Quarkys are sufficiently charged before starting the activity.
Software
- PictoBlox 9.1.0 or later
- Quarky firmware 6.0
- Quarky Connect Extension
The current Quarky Connect documentation specifies PictoBlox 9.1.0 or later and Quarky firmware 6.0 for Quarky Connect support.
Peer and Master sb3 Files
You can download the Quarky Connect Rangoli Master and Peer code by clicking here.
Updating Quarky Firmware
Before using the Quarky Connect extension, ensure that your Quarky is updated to the latest firmware version (greater than 6.0).
Follow the steps below to upload the latest firmware:
Step 1: Make sure PictoBlox is installed on your device.
Please make sure to use PictoBlox version 9.1.0 or later for Quarky Connect Extension support. Click Download PictoBlox to visit the download page, select your operating system, and follow the on-screen instructions to install the latest version.
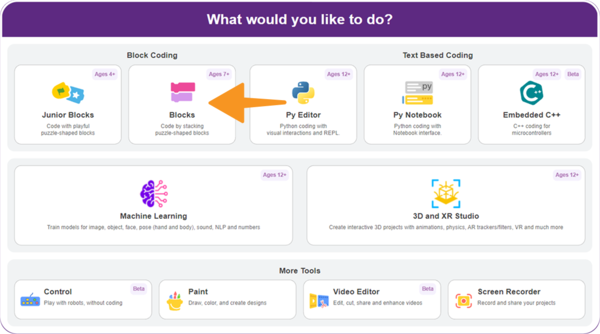
Step 2: Open PictoBlox and select the Block Coding environment.
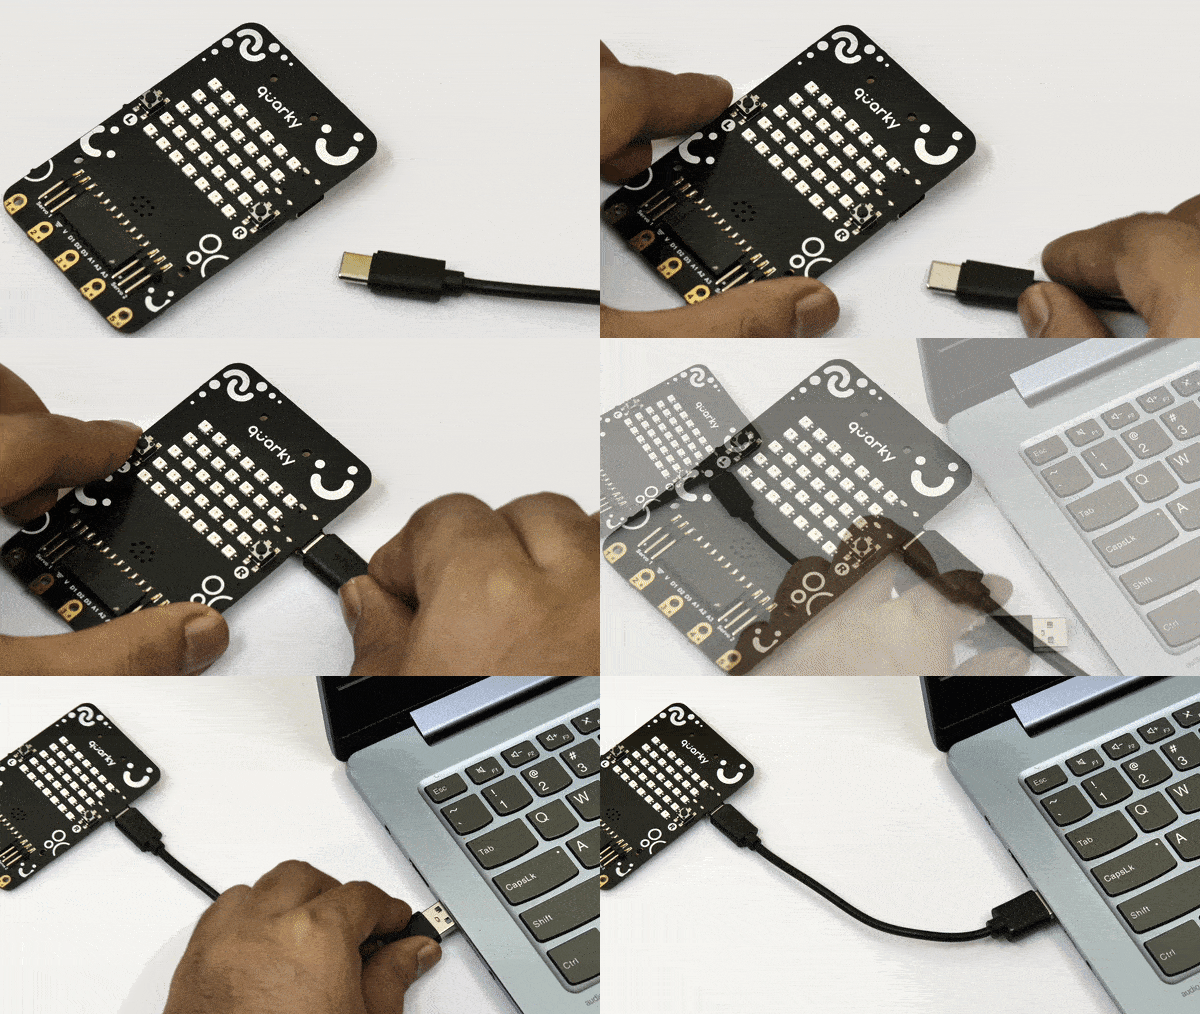
Step 3: Connect your Quarky to your computer using a USB cable.
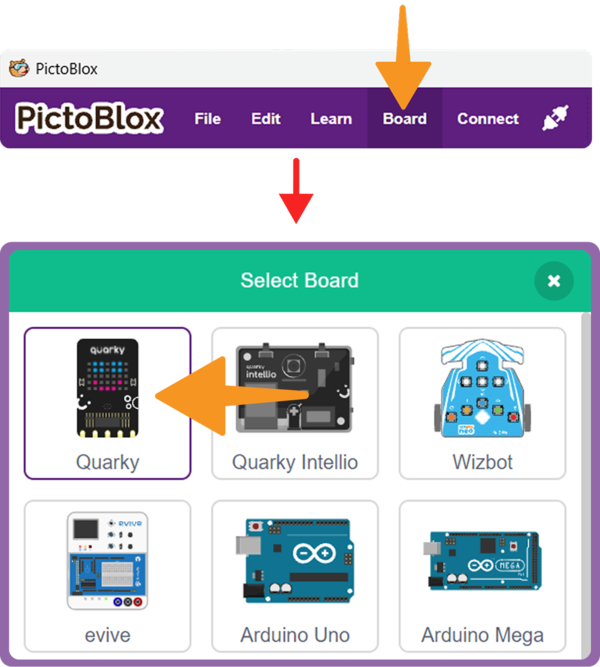
Step 4: Click on the Board button from the toolbar and select Quarky.
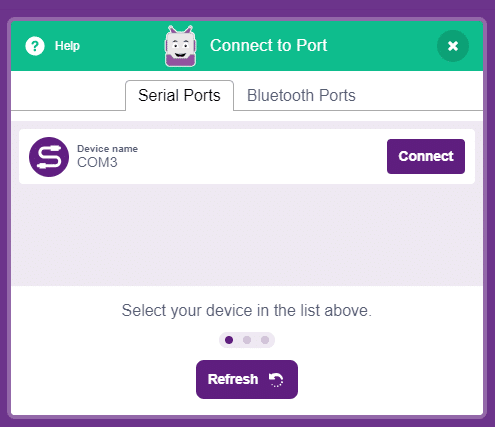
Step 5: Select the appropriate Serial Port and click Connect.
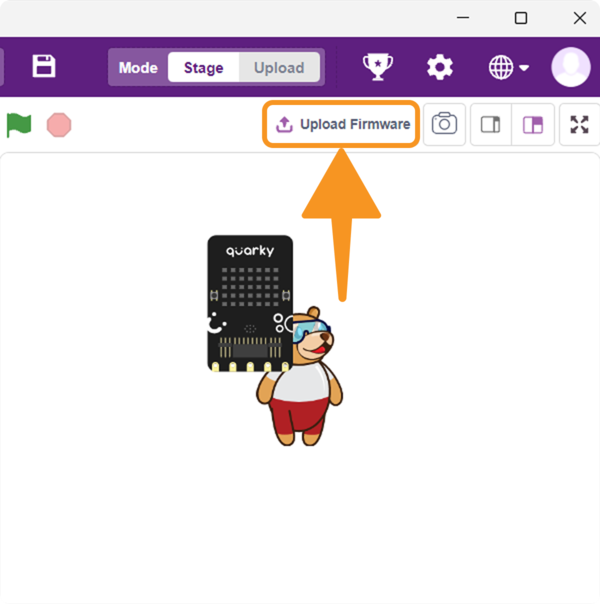
Step 6: In the upper right corner of the PictoBlox window, you will see the Upload Firmware button. Click it, and a status window will open.
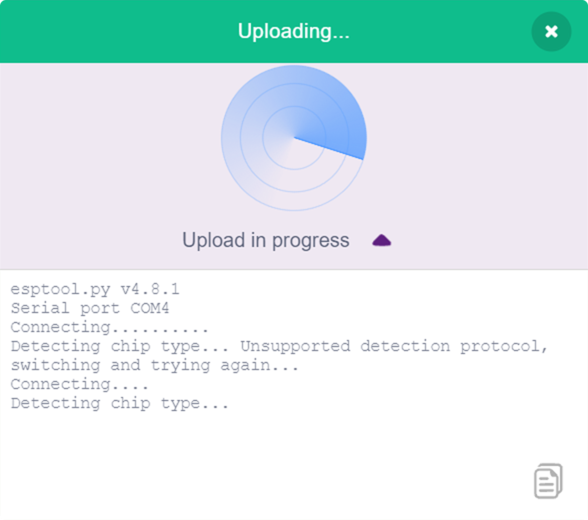
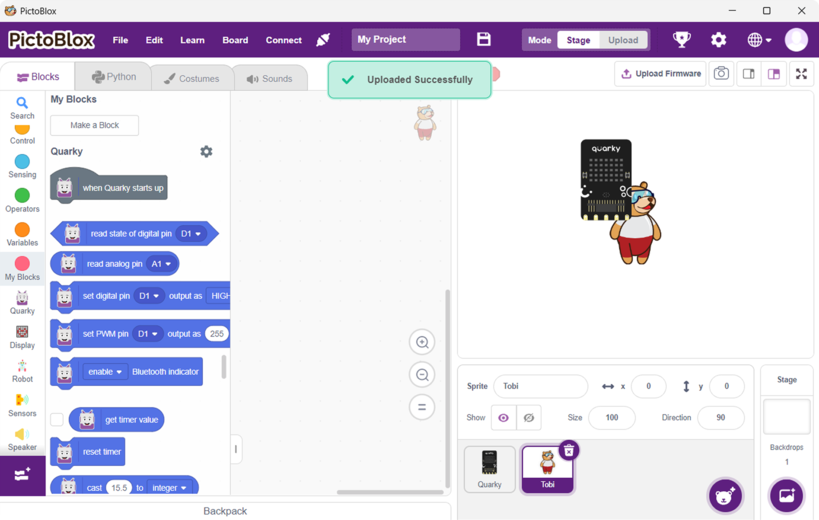
Step 7: Wait for the confirmation message on the screen.
Accessing Quarky Connect in Block Coding
Follow these steps to use the Quarky Connect extension:
Step 1: Create a new project.
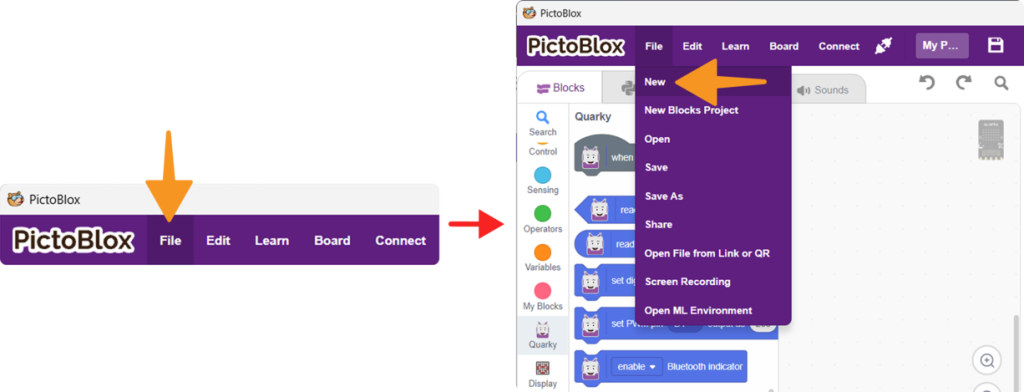
Step 2: Select the Block Coding environment.
Step 3: Select the Quarky Board.
Step 4: Click on Add Extension.
Step 5: Select and add the Quarky Connect extension.
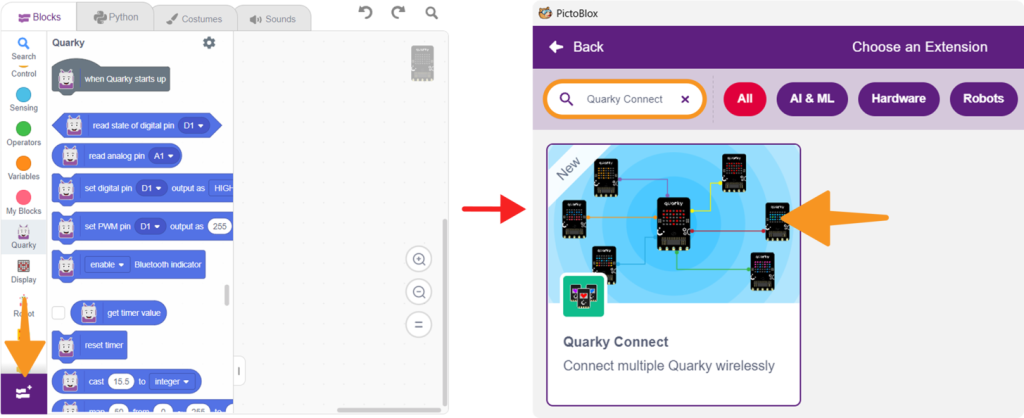
Step 6: You can now access all Quarky Connect blocks.
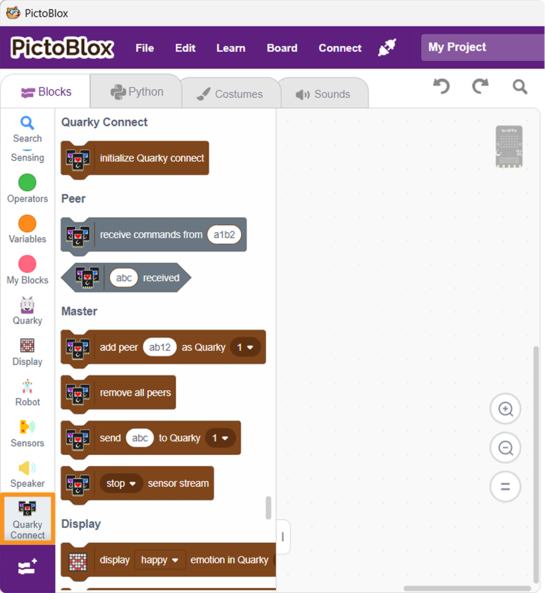
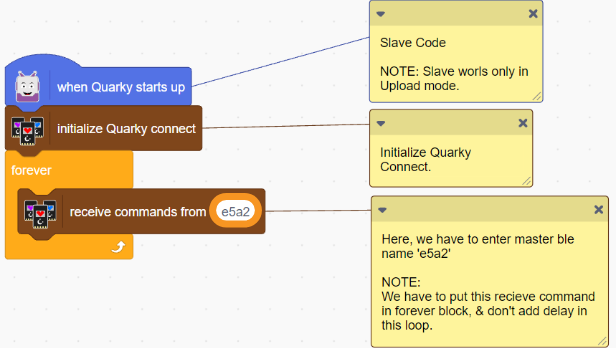
Peer Receiver Quarky Setup
The Peer Quarkys listen for commands sent by the Master and execute the received display commands.
Note: Peer Quarkys work only in Upload Mode.
The same Peer code can be uploaded to all 15 Peer Quarkys
Step 1: Open the Peer Code
Open the Peer Code (.sb3) file in PictoBlox.
Step 2: Upload the Peer Program
Switch to Upload Mode and upload the code to the first Peer Quarky.
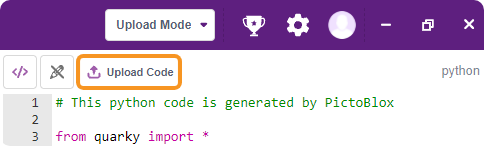
Repeat this process for all 15 Peer Quarkys.
After uploading, keep all Peer Quarkys powered on and ready to receive commands.
Master Controller Quarky Setup
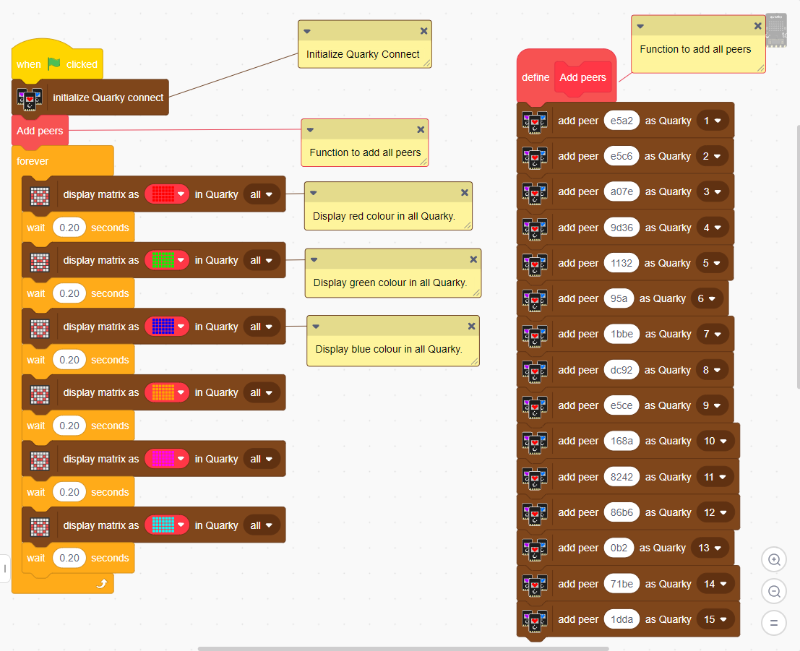
The Master Quarky controls all 15 Peer Quarkys.
Its program performs three main tasks:
- Initialises Quarky Connect.
- Registers all 15 Peer Quarkys.
- Broadcasts LED matrix patterns to all connected Peers.
The Master side of Quarky Connect can operate in either Stage Mode or Upload Mode, depending on the project setup.
Step 1: Open the Master Code
Open the Rangoli Master Code (.sb3) file in PictoBlox.
Arrange the Quarkys
Once all Quarkys are programmed:
- Power on all 15 Peer Quarkys.
- Arrange them physically in your chosen Rangoli design.
- Keep their LED matrices facing upward and clearly visible.
- Power on and Connect the Master Quarky.
- Run the Master program.
You can arrange the Peer Quarkys in a:
- Circular pattern
- Flower pattern
- Diamond
- Grid
- Custom symmetrical Rangoli design
The physical arrangement of the 15 Quarkys combines with the changing LED colours to create the complete Rangoli effect.
Testing the Rangoli
Start the Master program and observe the Peer Quarkys.
Check that:
- All 15 Peer Quarkys are powered on.
- All Peers are connected to the Master.
- Each Peer changes its LED matrix colour.
- The colours change approximately together across all Quarkys.
- The colour sequence repeats continuously.
Expected Output
The 15 Peer Quarkys should display changing LED matrix colours together, producing a synchronised digital Rangoli pattern controlled by the Master Quarky.