The function sets the RGB LED matrix to the pattern specified in Pictoblox. The parameter passed is a 35 char string where each char corresponds to a color in the color palette.
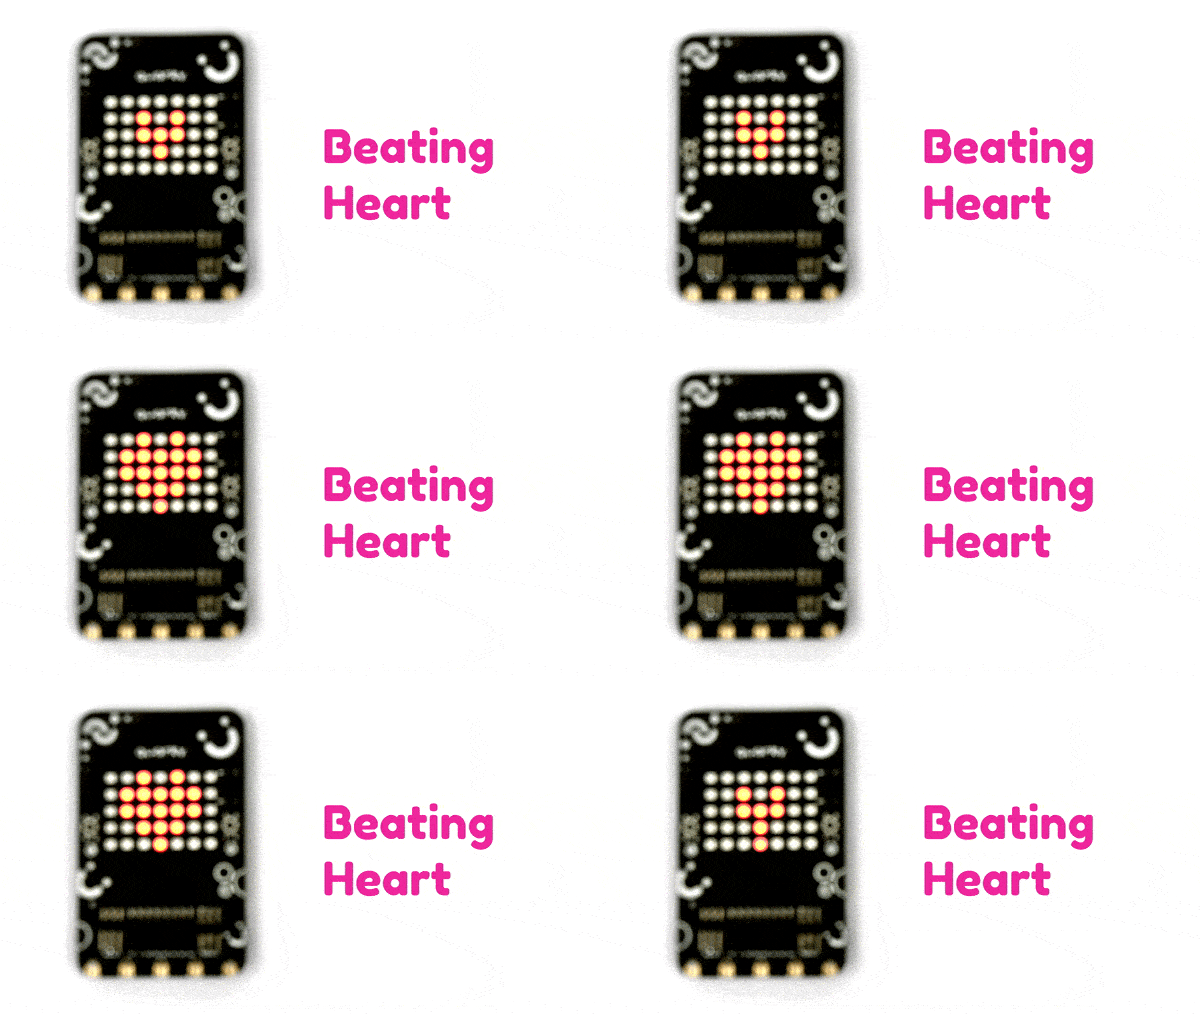
Function Definition: drawpattern(pattern = "aaaaaaaaaaaaaaaaaaaaaaaaaaaaaaaaaaa")
| Name | Type | Description | Expected Values | Default Value |
|---|---|---|---|---|
| pattern | string | the 35 char string where each char corresponds to a color in the color palette. | String | "aaaaaaaaaaaaaaaaaaaaaaaaaaaaaaaaaaa" |
The function sets the RGB LED matrix to the pattern specified in Pictoblox. The parameter passed is a 35 char string where each char corresponds to a color in the color palette.


sprite = Sprite('Tobi')
quarky = Quarky()

import time

while True:
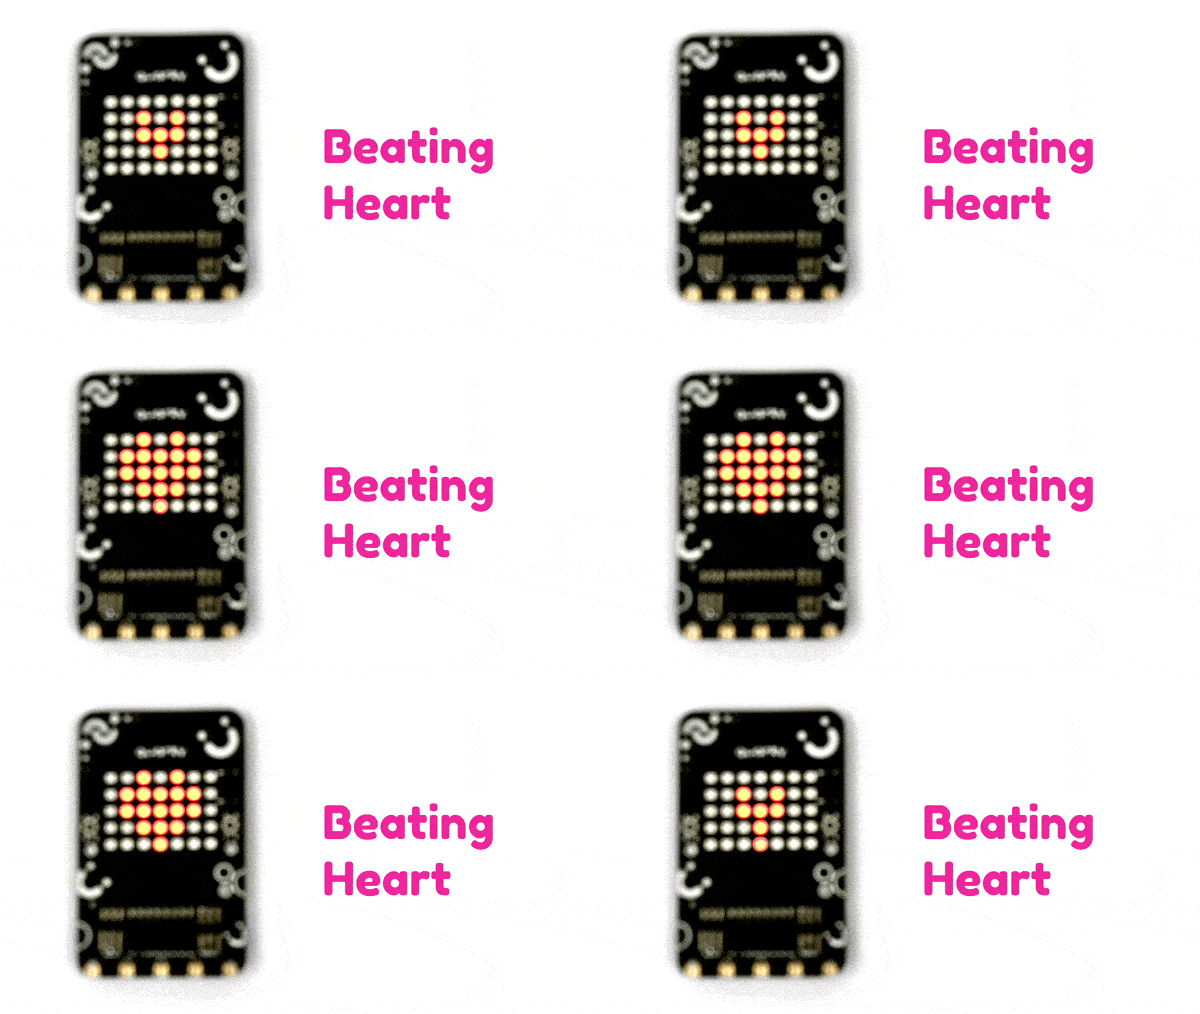
	quarky.drawpattern("jjbjbjjjbbbbbjjbbbbbjjjbbbjjjjjbjjj")
	time.sleep(0.4)
	quarky.drawpattern("jjjjjjjjjbjbjjjjbbbjjjjjbjjjjjjjjjj")
	time.sleep(0.4)

from quarky import *
import time

while True:
	quarky.drawpattern("jjbjbjjjbbbbbjjbbbbbjjjbbbjjjjjbjjj")
	time.sleep(1)
	quarky.drawpattern("jjjjjjjjjbjbjjjjbbbjjjjjbjjjjjjjjjj")
	time.sleep(1)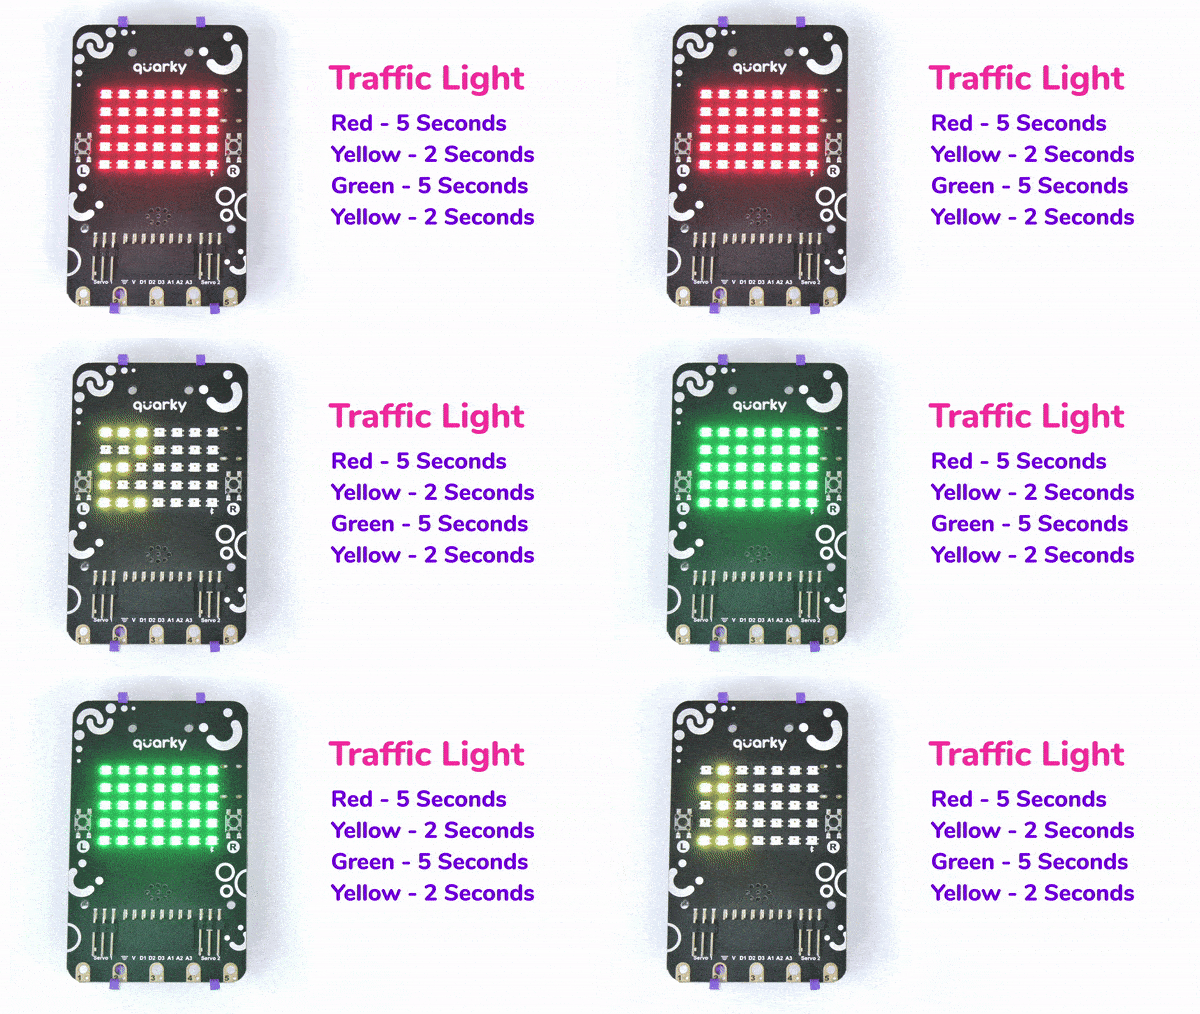
sprite = Sprite('Tobi')
quarky=Quarky()

import time

quarky.setbrightness(15)

while True:
	quarky.drawpattern("bbbbbbbbbbbbbbbbbbbbbbbbbbbbbbbbbbb")
	time.sleep(5)
	quarky.showtext("2", [255,233,0])
	time.sleep(1)
	quarky.showtext("1", [255,233,0])
	time.sleep(1)
	quarky.drawpattern("ccccccccccccccccccccccccccccccccccc")
	time.sleep(5)
	quarky.showtext("2", [255,233,0])
	time.sleep(1)
	quarky.showtext("1", [255,233,0])
	time.sleep(1)
sprite = Sprite('Tobi')
quarky = Quarky()

while True:
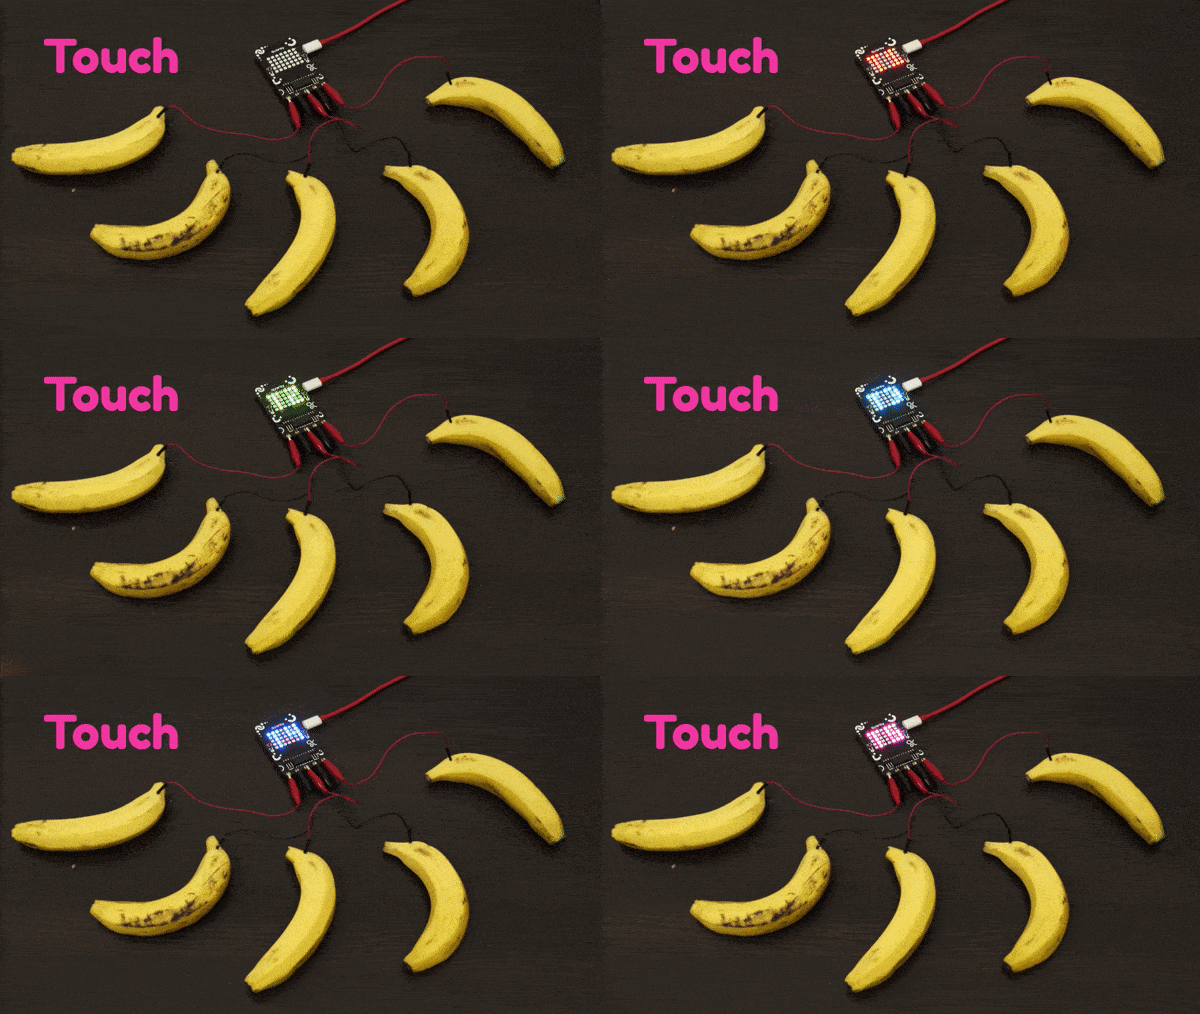
  if quarky.ispadtouched("T1"):
    quarky.drawpattern("bbbjjbjjbjjbbjjbjjjbjjbjjjbjjbjjbbb")
    quarky.playtone("C4", 8)

  if quarky.ispadtouched("T2"):
    quarky.drawpattern("cccjcccjcjjjjcjcjjcccjcjjcjjjcjjccc")
    quarky.playtone("D4", 8)

  if quarky.ispadtouched("T3"):
    quarky.drawpattern("fffjfffjfjjjjfjfjjfffjfjjjjfjfjjfff")
    quarky.playtone("E4", 8)

  if quarky.ispadtouched("T4"):
    quarky.drawpattern("dddjdjdjdjjdjdjdjjdddjdjjjjdjdjjjjd")
    quarky.playtone("F4", 8)

  if quarky.ispadtouched("T5"):
    quarky.drawpattern("gggjgggjgjjgjjjgjjgggjgjjjjgjgjjggg")
    quarky.playtone("G4", 8)
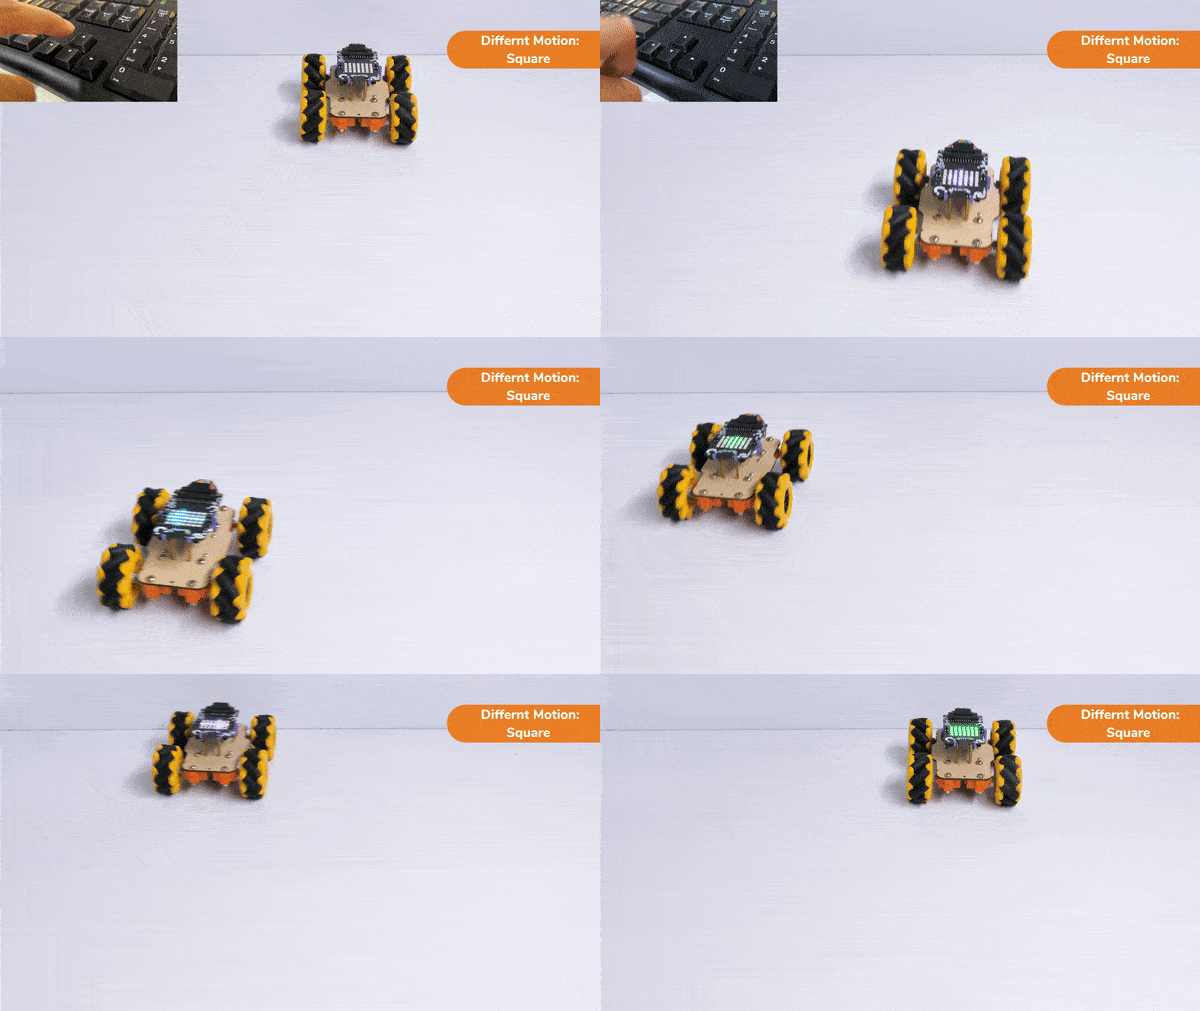
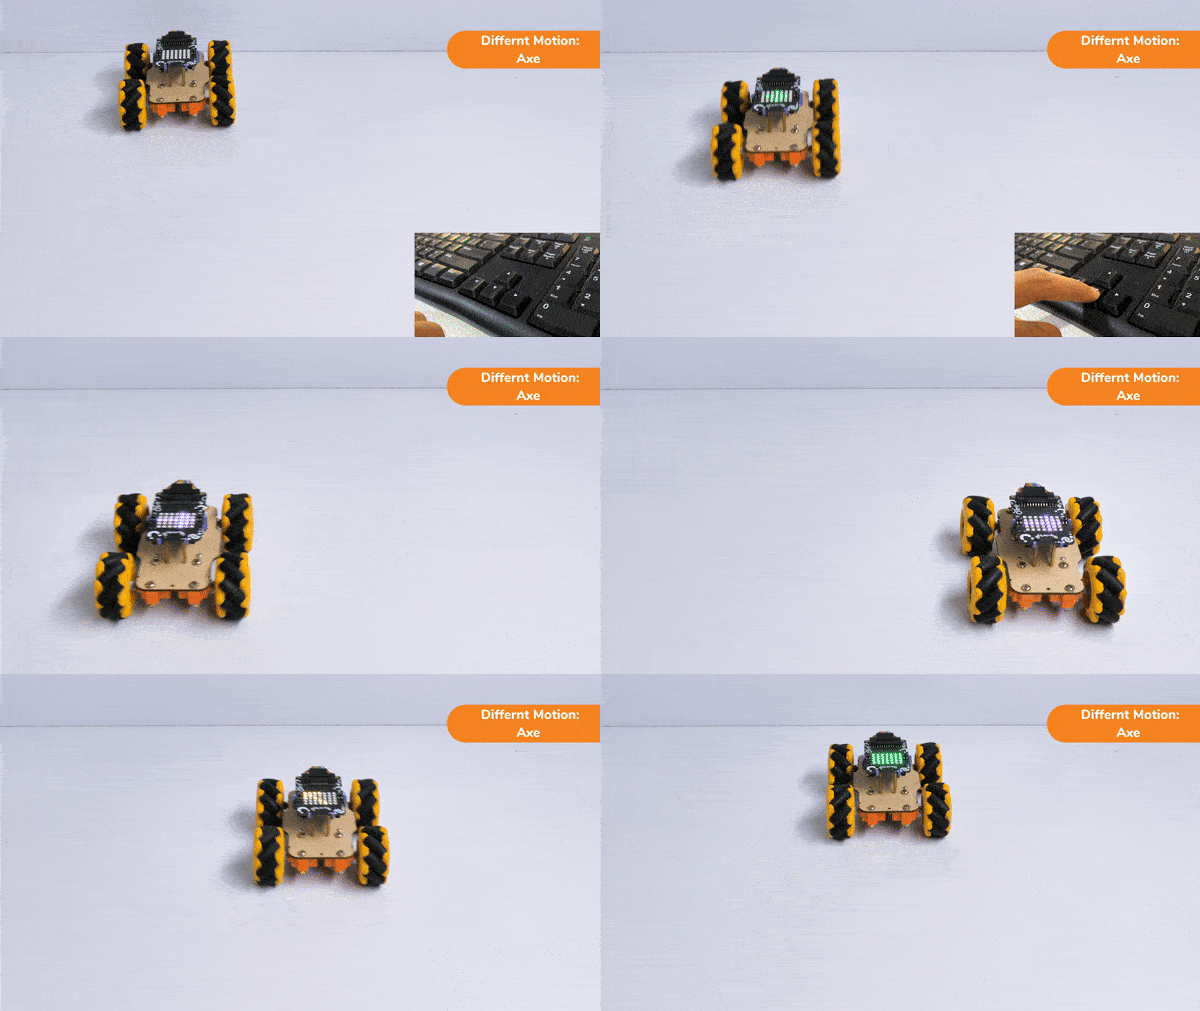
In this activity, we will create a custom activity where you will be able to move the Mecanum robot in a square effortlessly along with making an Axe type figure.
The Quarky Mecanum Wheel Robot is a type of robot that uses a special type of wheel to move. The wheel is made of four rollers mounted at 45- degree angles to the wheel’s hub. Each roller has its own motor and can spin in either direction. This allows the wheel to move in any direction, making it an ideal choice for navigating around obstacles.
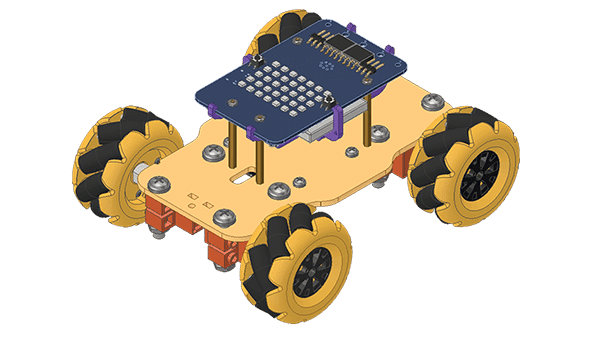
Follow the steps:
The main steps would include to display the lights in arrow forms before implementing the specific move. The moves would be implemented in the following order:
Forward -> Lateral Right -> Backward -> Lateral Left.
def Square():
    quarky.drawpattern("jjjgjjjjjgggjjjgggggjjjjgjjjjjjgjjj")
    meca.runtimedrobot("forward",Speed,1)
    quarky.drawpattern("jjjjfjjjjjjffjfffffffjjjjffjjjjjfjj")
    meca.runtimedrobot("lateral right",Speed,1)
    quarky.drawpattern("jjjcjjjjjjcjjjjcccccjjjcccjjjjjcjjj")
    meca.runtimedrobot("backward",Speed,1)
    quarky.drawpattern("jjgjjjjjggjjjjgggggggjggjjjjjjgjjjj")
    meca.runtimedrobot("lateral left",Speed,1)
    quarky.drawpattern("ccccccccccccccccccccccccccccccccccc")
    time.sleep(1)
quarky.cleardisplay()The main steps would include to display the lights in arrow forms before implementing the specific move. The moves would be implemented in the following order:
Forward ( 2 steps ) -> Lateral Left ( 1 step ) -> Backward Right ( 1 step ) -> Backward ( 1 step )
We will display the arrows with the help of Quarky LED’s and implement the code.
def Axe():
    quarky.drawpattern("jjjcjjjjjcccjjjcccccjjjjcjjjjjjcjjj")
    meca.runtimedrobot("forward",Speed,2)
    quarky.drawpattern("jjgjjjjjggjjjjgggggggjggjjjjjjgjjjj")
    meca.runtimedrobot("lateral left",Speed,1)
    quarky.drawpattern("jjhjjjjjjjhjjjjjjjhjhjjjjjhhjjjhhhh")
    meca.runtimedrobot("backward right",Speed,1)
    quarky.drawpattern("jjjdjjjjjjdjjjjdddddjjjdddjjjjjdjjj")
    meca.runtimedrobot("backward",Speed,1)
    quarky.drawpattern("ccccccccccccccccccccccccccccccccccc")
    time.sleep(1)
quarky.cleardisplay()Now we will keep a specific condition on when to activate the Square Motion and when to activate the Axe Motion.
We will use the if-else conditions where on pressing the “up” arrow key, we will initiate the Square Motion and on pressing the “down” arrow key, we will initiate the Axe Motion with the help of Mecanum Robot.
sprite = Sprite('Tobi')
quarky=Quarky()
import time

def Square():
    quarky.drawpattern("jjjgjjjjjgggjjjgggggjjjjgjjjjjjgjjj")
    meca.runtimedrobot("forward",Speed,1)
    quarky.drawpattern("jjjjfjjjjjjffjfffffffjjjjffjjjjjfjj")
    meca.runtimedrobot("lateral right",Speed,1)
    quarky.drawpattern("jjjcjjjjjjcjjjjcccccjjjcccjjjjjcjjj")
    meca.runtimedrobot("backward",Speed,1)
    quarky.drawpattern("jjgjjjjjggjjjjgggggggjggjjjjjjgjjjj")
    meca.runtimedrobot("lateral left",Speed,1)
    quarky.drawpattern("ccccccccccccccccccccccccccccccccccc")
    time.sleep(1)
    quarky.cleardisplay()

def Axe():
    quarky.drawpattern("jjjcjjjjjcccjjjcccccjjjjcjjjjjjcjjj")
    meca.runtimedrobot("forward",Speed,2)
    quarky.drawpattern("jjgjjjjjggjjjjgggggggjggjjjjjjgjjjj")
    meca.runtimedrobot("lateral left",Speed,1)
    quarky.drawpattern("jjhjjjjjjjhjjjjjjjhjhjjjjjhhjjjhhhh")
    meca.runtimedrobot("backward right",Speed,1)
    quarky.drawpattern("jjjdjjjjjjdjjjjdddddjjjdddjjjjjdjjj")
    meca.runtimedrobot("backward",Speed,1)
    quarky.drawpattern("ccccccccccccccccccccccccccccccccccc")
    time.sleep(1)
    quarky.cleardisplay()


meca=Mecanum(1,2,7,8)


Speed = 100
quarky.drawpattern("jjjjjjjjjjjjjjjjjjjjjjjjjjjjjjjjjjj")
while True:
  if sprite.iskeypressed("up arrow"):
    Square()
  else:
    if sprite.iskeypressed("down arrow"):
Axe()Square Motion:

Axe Motion:
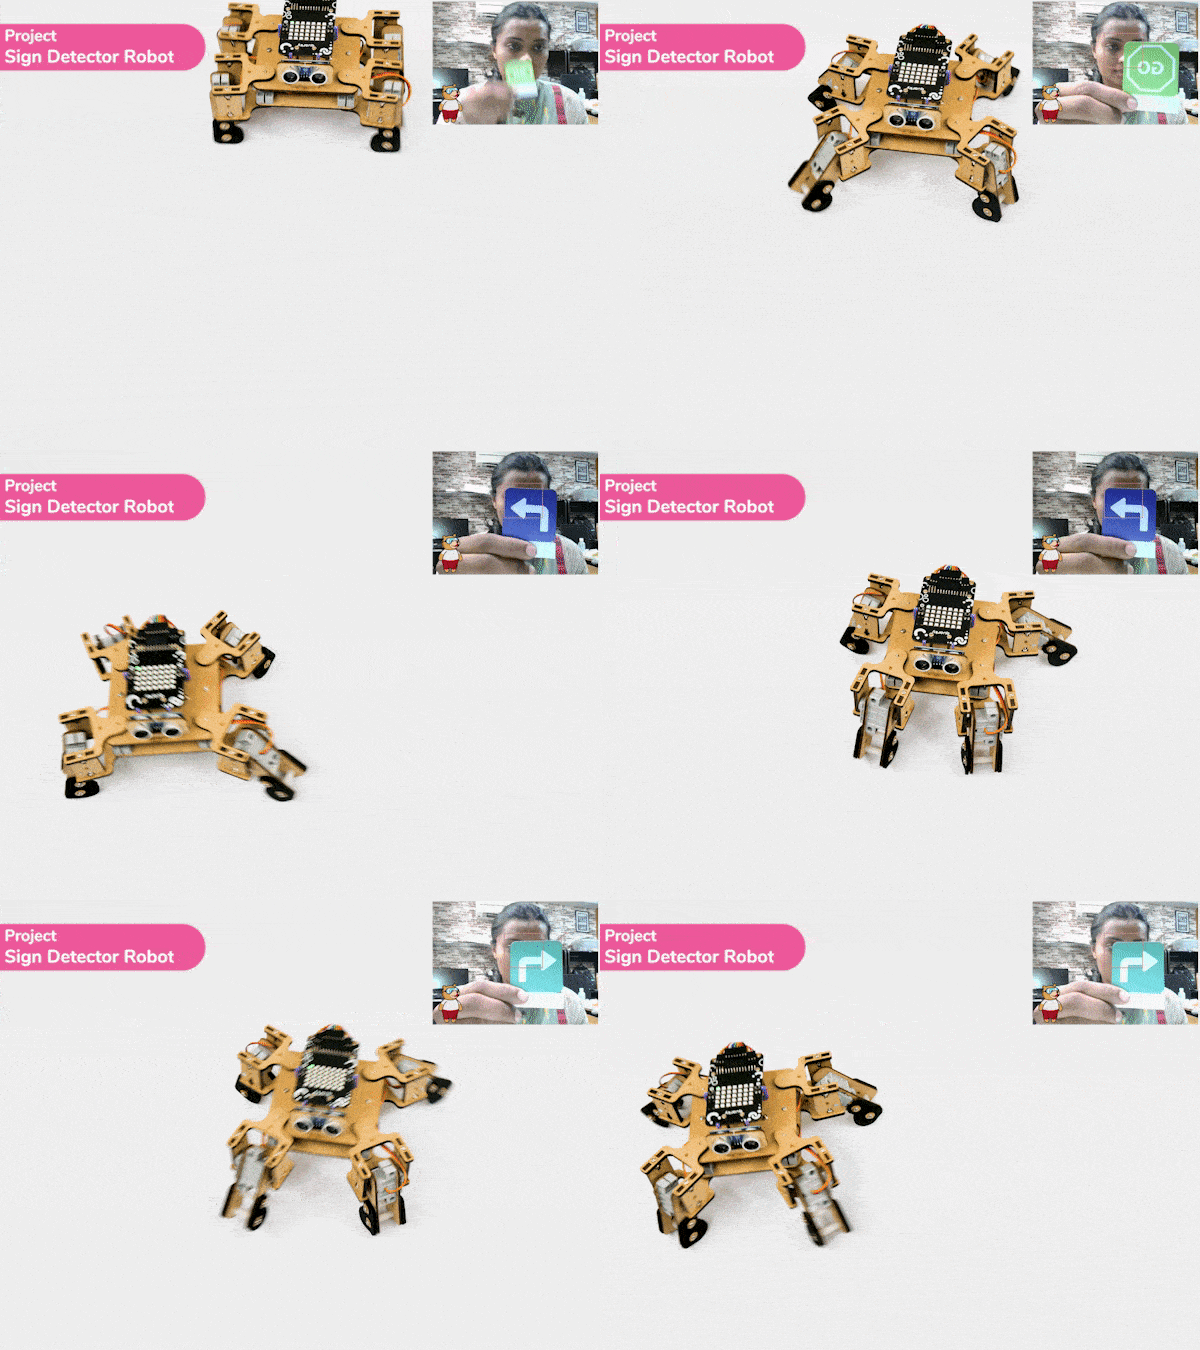
Sign detection is being performed using a camera and a RecognitionCards object. The RecognitionCards object is set up with a threshold value and is enabled to draw a box around the detected object. The robot uses sensors, cameras, and machine learning algorithms to detect and understand the sign, and then performs a corresponding action based on the signal detected.
These robots are often used in manufacturing, healthcare, and customer service industries to assist with tasks that require human-like interaction and decision-making.
sprite = Sprite('Tobi')
quarky = Quarky()

import time
quad=Quadruped(4,1,8,5,3,2,7,6)

recocards = RecognitionCards()
recocards.video("on flipped")
recocards.enablebox()
recocards.setthreshold(0.6)
quad.home()
while True:
  recocards.analysecamera()
  sign = recocards.classname()
  sprite.say(sign + ' detected')

  if recocards.count() > 0:
    if 'Go' in sign:
      quarky.drawpattern("jjjijjjjjiiijjjiiiiijjjjijjjjjjijjj")
      quad.move("forward",1000,1)


    if 'Turn Left' in sign:
      quarky.drawpattern("jjjddjjjjjdddjdddddddjjjdddjjjjddjj")
      quad.move("lateral right",1000,1)


    if 'Turn Right' in sign:
      quarky.drawpattern("jjggjjjjgggjjjgggggggjgggjjjjjggjjj")
      quad.move("lateral left",1000,1)


    if 'U Turn' in sign:
      quarky.drawpattern("jjjbjjjjjjbjjjjbbbbbjjjbbbjjjjjbjjj")
      quad.move("backward",1000,1)


    else:
      quad.home()

Copyright 2024 – Agilo Research Pvt. Ltd. All rights reserved – Terms & Condition | Privacy Policy
