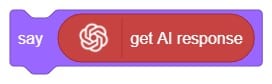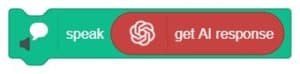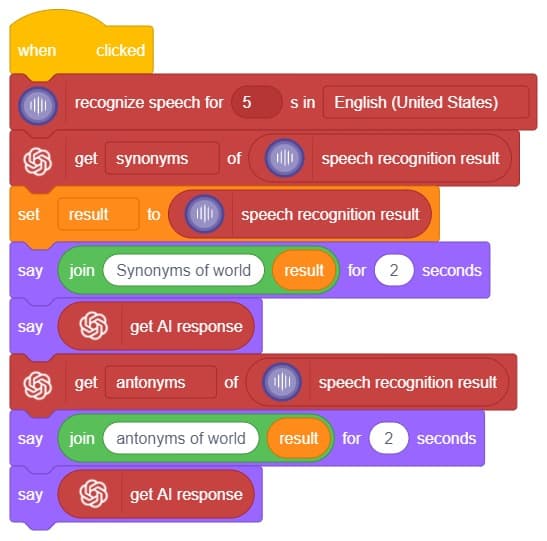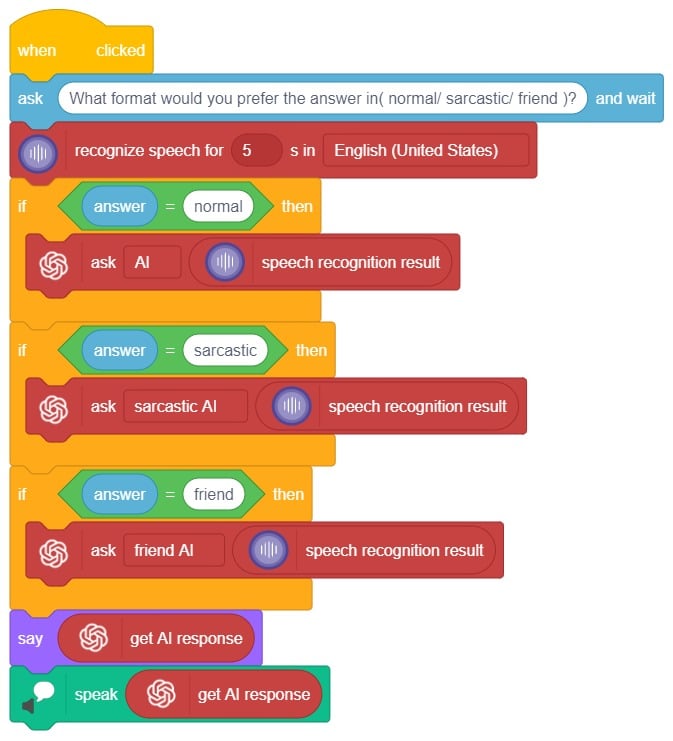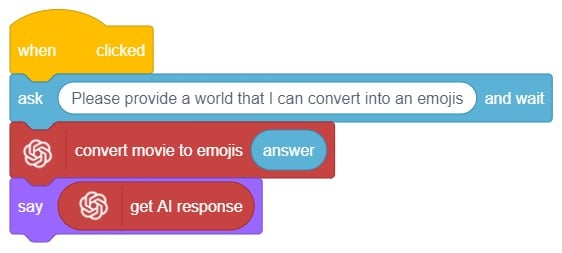


The block stores and reports the latest response from the ChatGPT.
Introduction
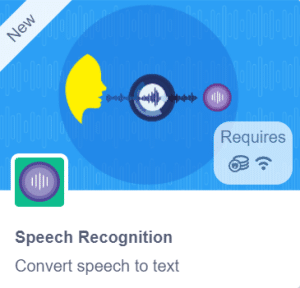
The Language Translator with ChatGPT and Speech Recognition is a system that helps people communicate across languages by providing real-time translation and conversation support. It combines language translation, chatbot capabilities, and speech recognition to facilitate multilingual communication.
Language Translator Using ChatGPT is a project that trains the ChatGPT language model with multilingual data to enable it to understand and translate text between different languages. It utilizes ChatGPT’s natural language processing abilities to generate human-like responses, making it ideal for building a language translation system. The training data includes sentence pairs in different languages and their corresponding translations.
Logic
Initially, two characters engage in a conversation. One character asks a question, and the other character converts it into a different language before answering it and providing a response.
- Open PictoBlox and create a new file.
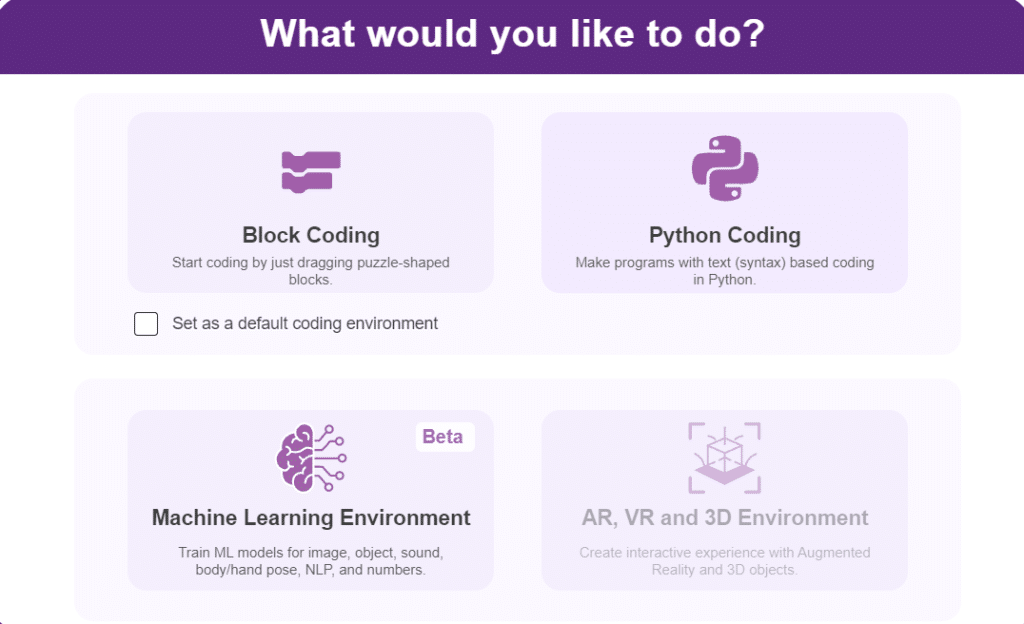
- Select the environment as appropriate Block Coding Environment.
- To add the ChatGPT extension, click on the extension button located as shown in the image. This will enable the ChatGPT extension, allowing you to incorporate its capabilities into your project.

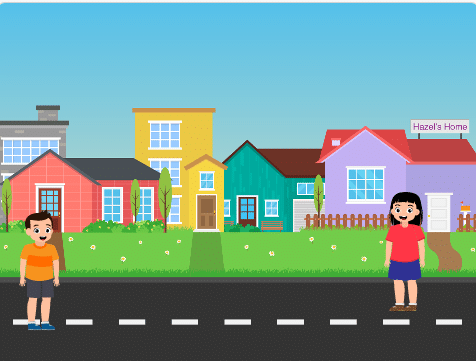
- To begin, select two sprites Hazel and John from the sprite options in the bottom left corner, as shown in the image.
- To upload a backdrop, use the “Choose Backdrop” option, which allows you to select and set a background image or scene for your activity. Backdrops are used as the type of background in our activity.
- To create a script, select a different sprite and then add various block scripts to customize its behavior.
- Let’s use the sprites Hazel and Joan for our script.
- For Hazel, navigate to the costumes section and enable the “Flip Horizontal” option to add a mirror effect. Set the positions of both sprites as if they are talking to each other.
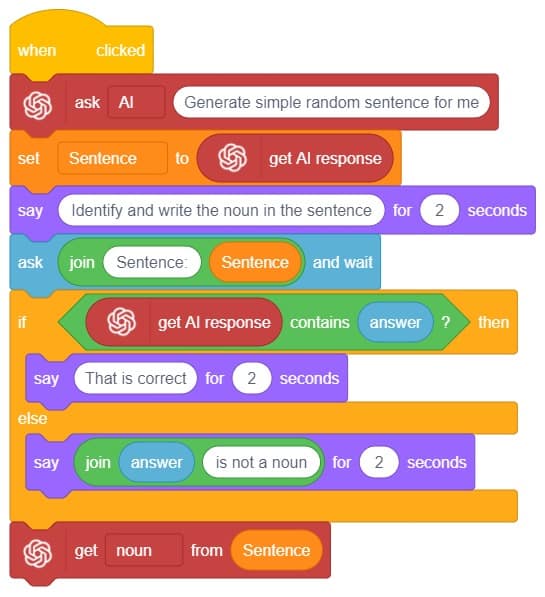
- Click on John’s Sprite first. We will now begin writing a script as shown in the image.
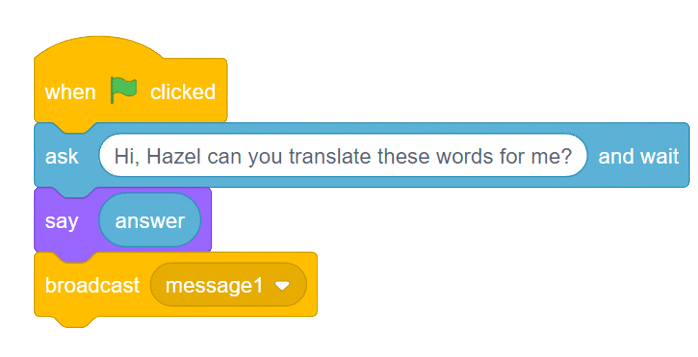
- First, we will prompt the user to input a sentence. and using the say() method, the sprite will verbally repeat the same answer provided by the user.
- Next, by using the broadcast() block, we can send the translated answer to the second sprite to ensure that both sprites have the same response.
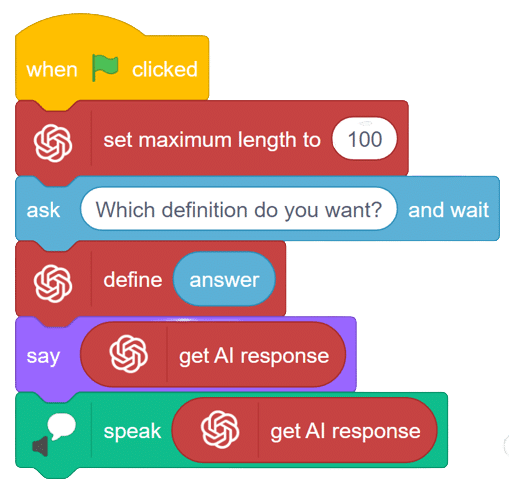
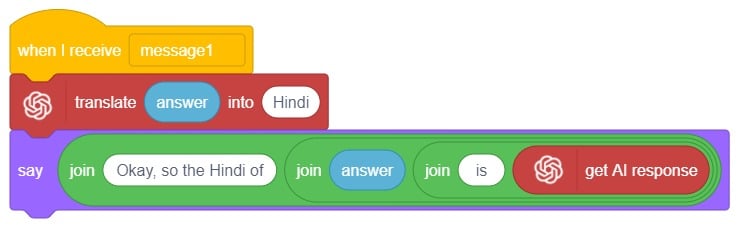
- select the second Hazel’s sprite and begin with the when I receive a () block. This block will initiate the action when the second sprite receives a message from the first sprite.
- Drag and drop the “translate() into()” function into the block. This block will translate any language of your choice. In this example, we are writing in Hindi language.
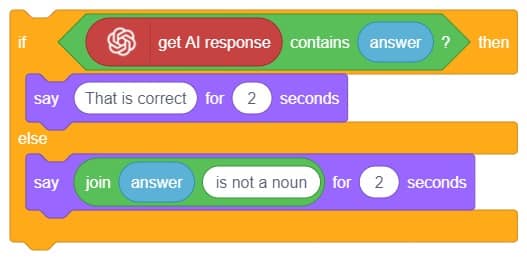
- We utilize the get AI Response block to obtain a response from ChatGPT. Then, using the say() method, Hazel, the sprite, will deliver the answer in translated sentences.
- To begin the script, simply click on the green flag button.
Output
![]()