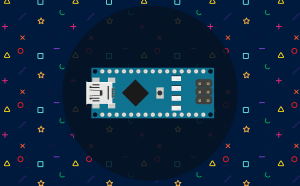

Arduino Nano is a compact microcontroller board commonly used in electronics, robotics, and embedded-system projects. It offers many of the features of larger Arduino boards while taking up less space.
PictoBlox makes Arduino Nano programming easier through a block coding environment. Instead of writing code manually, you can drag and drop blocks to control digital pins, analog pins, PWM outputs, tones, and timers.
In this documentation, you will learn about the Arduino Nano extension and how to connect Arduino Nano to PictoBlox.
Follow these steps to connect Arduino Nano to PictoBlox.
Step 1: Connect Arduino Nano
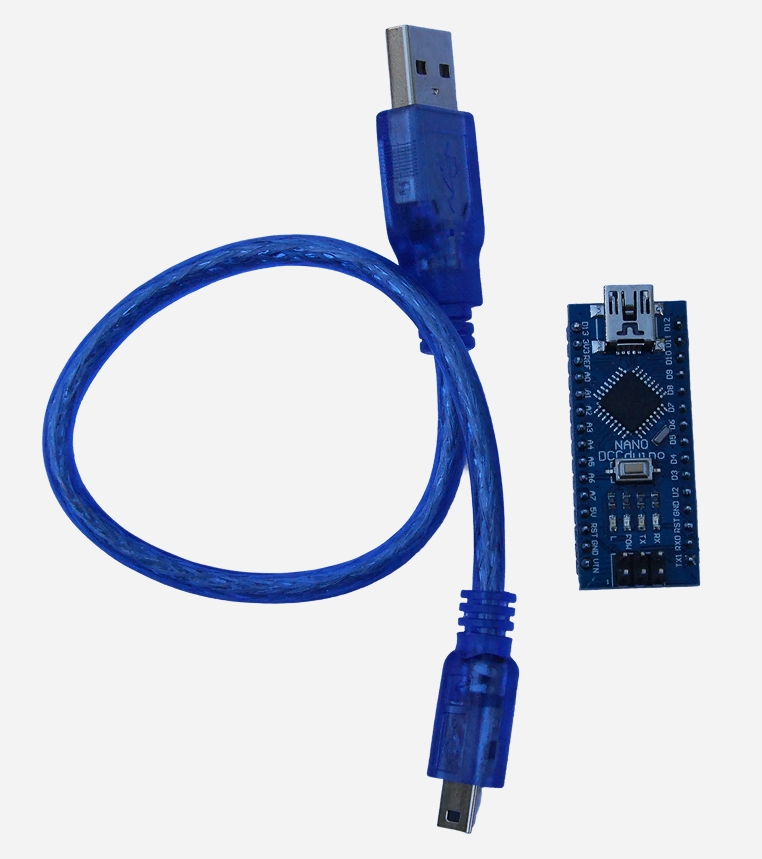
Connect the Arduino Nano board to your computer using a compatible USB cable. Make sure the board’s power LED turns ON.
Step 2: Select Arduino Nano Board
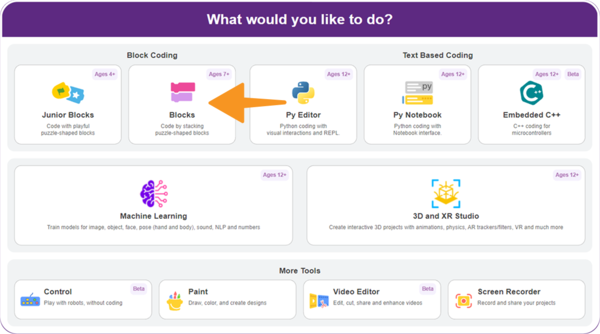
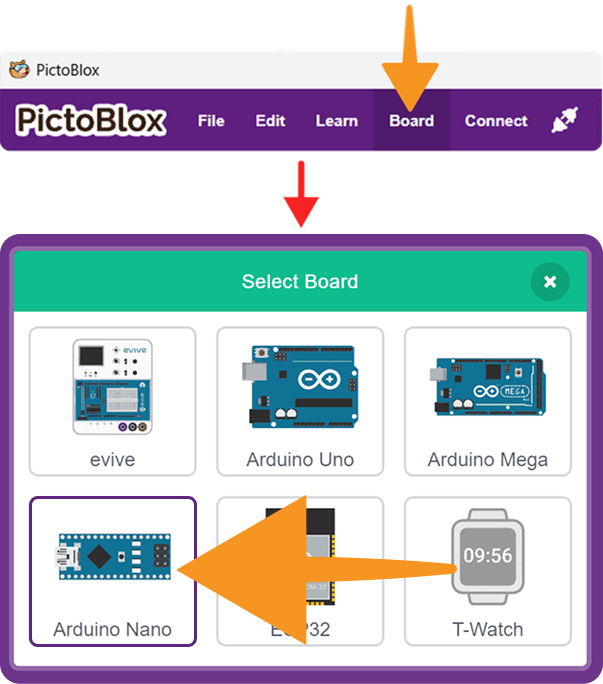
Step 3: Select the Serial Port
From the available serial ports, select the port corresponding to the connected USB Arduino Nano device. The serial port may appear as a COM port on Windows. Then click Connect.
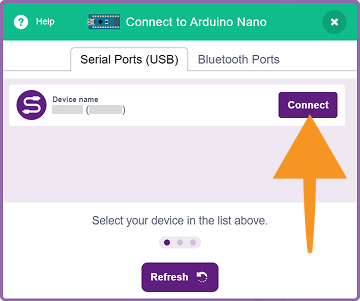
Step 4: Select the Arduino Nano Variant
PictoBlox will display three Arduino Nano board or processor options.
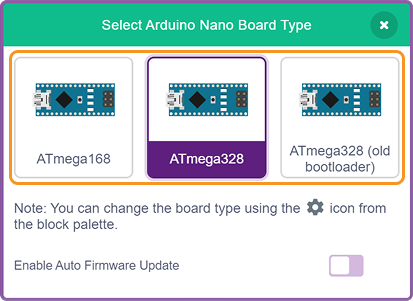
Select the option that matches your Arduino Nano board.
The correct option may depend on the processor and bootloader used by your board. If the board does not connect or upload correctly, try another available Arduino Nano option.
Step 5: Confirm the Connection
After selecting the correct Arduino Nano option, PictoBlox will connect to the board.
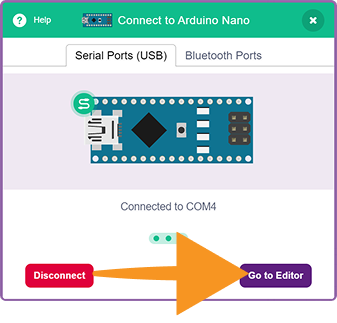
A successful connection message will appear, and the connection status will show that the board is connected.
Click Go to Editor to open the coding workspace and start programming your Arduino Nano.
1. Stage Mode
2. Upload Mode