



Introduction
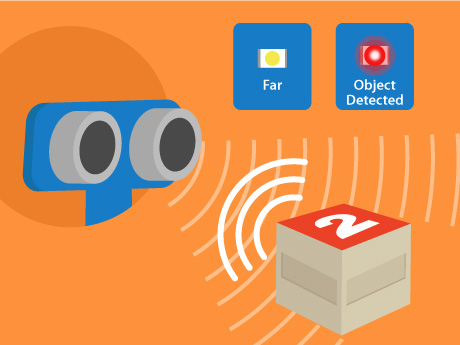
Ultrasonic sensors are used to measure the distance between the sensor and an object without physical contact. They work by sending ultrasonic waves and receiving the reflected echo. In this activity, we will use an Ultrasonic Sensor to detect nearby objects and control the Arduino’s built-in LED based on the measured distance.
Setting Up the Hardware
- Open PictoBlox
- Create a new project in Block Coding
- Keep the default sprite Tobi on the stage
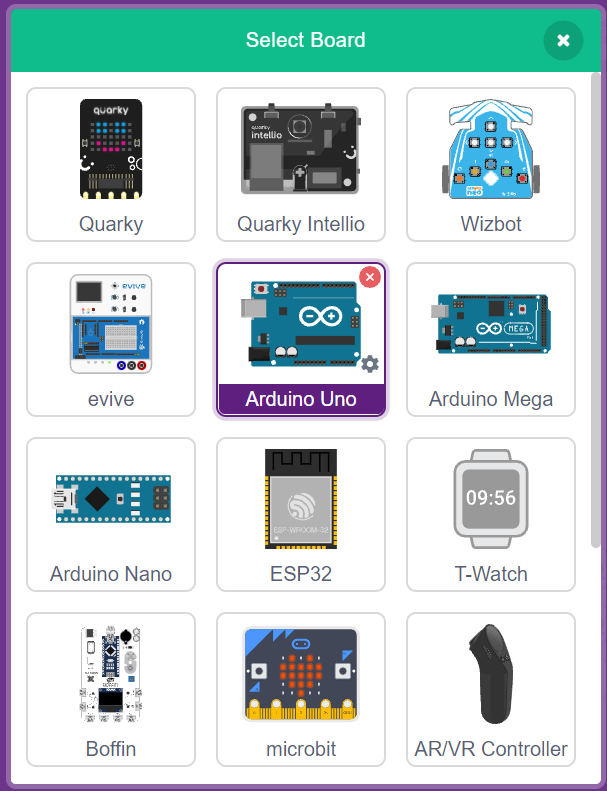
- Go for the board and select the board Arduino UNO
- Connect the Arduino board to the computer using a USB cable.
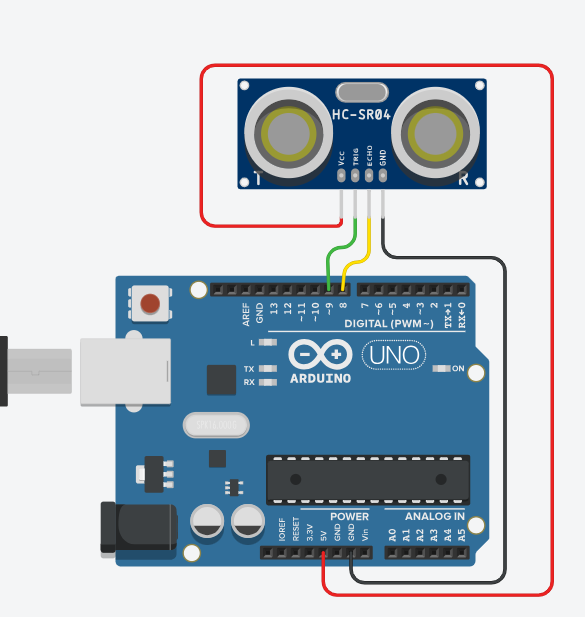
- Connect the Ultrasonic Sensor to the Arduino board.
- Connect the Trig pin(Green) to ~9 and the Echo(Yellow) pin to 8 according to the circuit diagram.
- Connect the VCC pin to 5V and the GND pin to GND on the Arduino.
- The built-in LED connected to Digital Pin 13 will be used as the output indicator.
- Ensure all connections are secure before uploading the program.
Step-by-Step Block Coding Guide
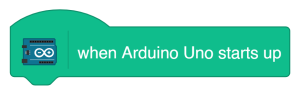
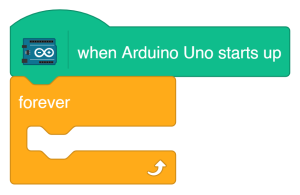
- Add the Arduino Start Block
- Add a Forever Loop from the control pallet
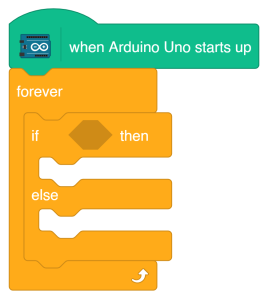
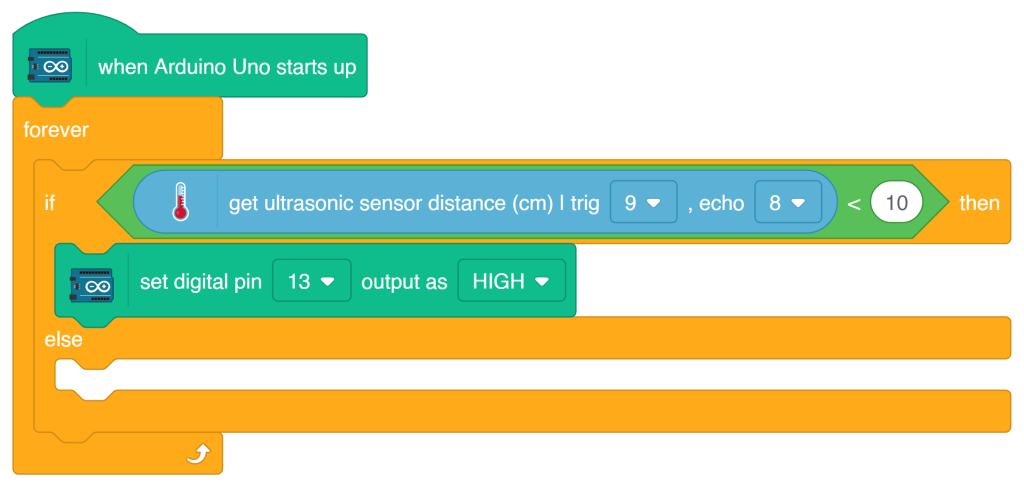
- Add the If-Else Block from the control pallet
- Add the comparison operator (<) and set the value to 10.
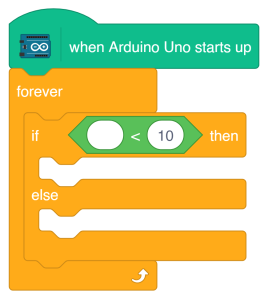
- The Arduino checks whether an object is less than 10 cm from the Ultrasonic Sensor.
- From the Arduino category, drag the “get ultrasonic sensor distance (cm)” block and place it in the condition section of the if-else block.
- Trig Pin = 9
- Echo Pin = 8
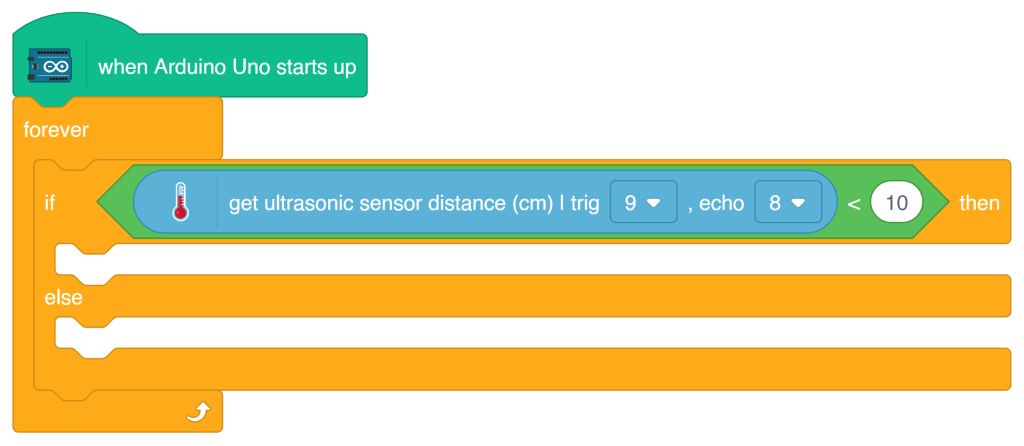
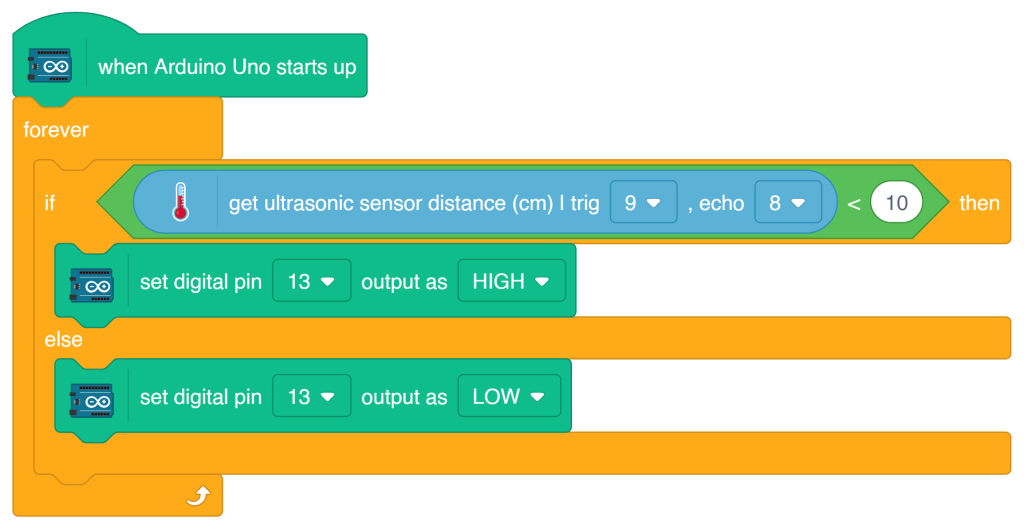
- When an object is detected less than 10 cm, the LED connected to Pin 13 turns ON.
- From the Arduino category, drag the “set digital pin output as” block.
- Digital Pin = 13
- Output = HIGH
- Add another “set digital pin output as” block inside the else section.
Digital Pin = 13
Output = HIGH
- Connect the Arduino board to the computer and upload the block code.
- Move an object closer to the Ultrasonic Sensor and observe the built-in LED.
Output
Conclusion
In this activity, we learned how to use an Ultrasonic Sensor to measure distance and control the Arduino’s built-in LED based on the detected distance. This project demonstrates how sensors can be used to detect objects and make automated decisions in robotics and smart systems.