



Introduction
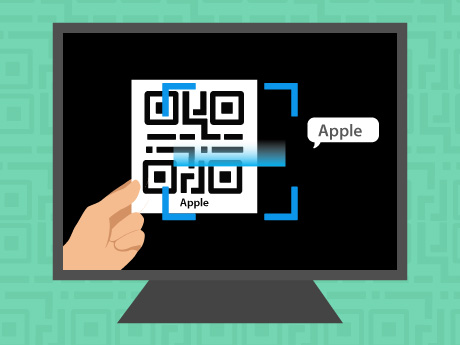
QR (Quick Response) codes are versatile two-dimensional barcodes utilised across various industries—from digital payments to inventory management—to store diverse data such as text, URLs, and contact details. In this practical project, learners will explore the fundamentals of computer vision and real-time image processing by utilising the QR Code Scanner extension in PictoBlox. By leveraging a webcam, students will create a program that can not only detect, read, and decode QR code data, but also track the code’s spatial position and rotation angle on the stage. Ultimately, the project culminates in using a digital sprite to display the extracted information on screen, providing a comprehensive, hands-on introduction to scanning technology.
Setting Up the Stage / Sprite
Step 1: Setup
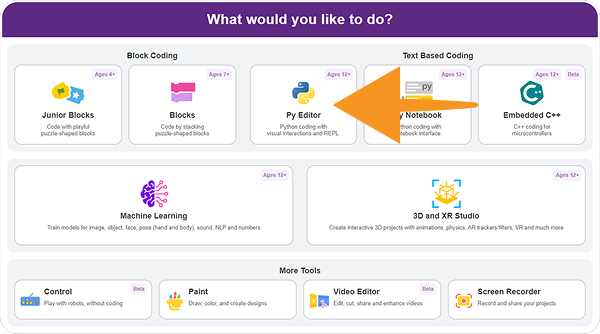
- Open PictoBlox and click on “Py Editor”.
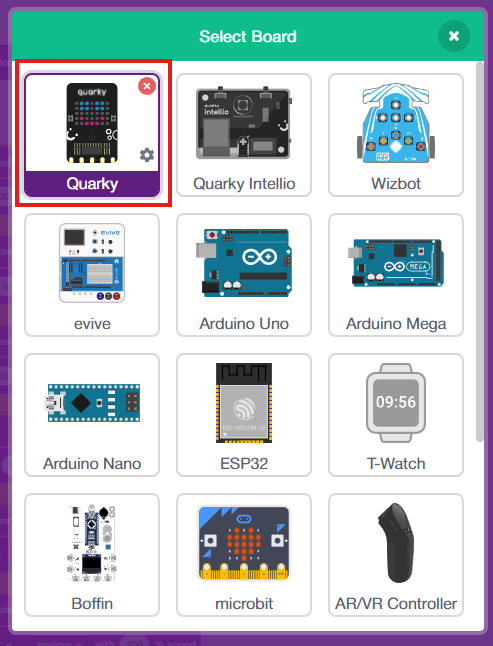
- Click on the Board tab on the top navigation bar and select Quarky.
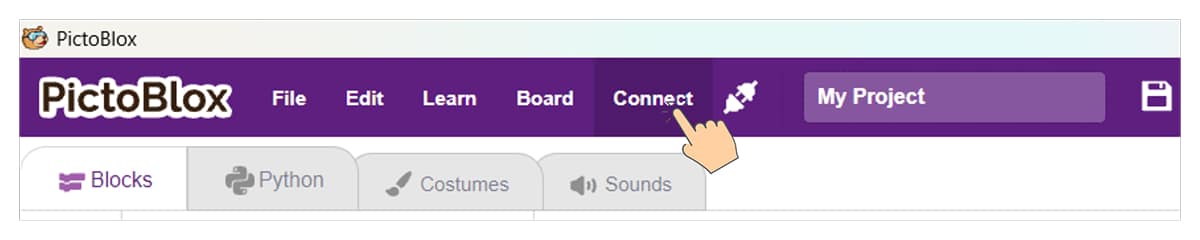
- Now, click on connect and choose Bluetooth.
- Your Quarky has a unique code mentioned on it. Select your Quarky from the list and click on Connect.
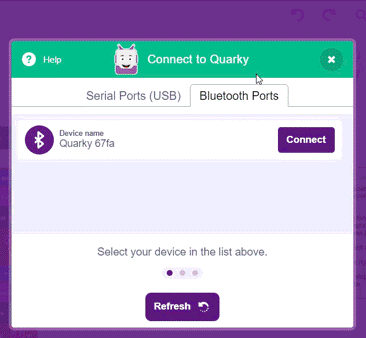
- Quarky plays a confirmation sound on connecting. Voila! Your Quarky is now connected to PictoBlox!
Step 2: Add a Sprite
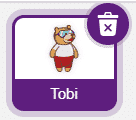
- Delete the existing “Tobi” Sprite.
- Click Choose a Sprite.
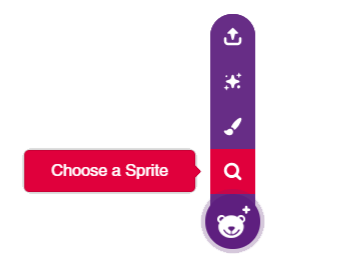
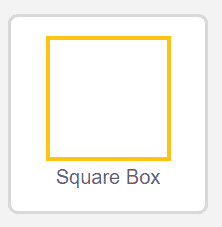
- Select the Square Box sprite.
Step 3: Add the QR Code Scanner Extension
- Click on Add Extension.
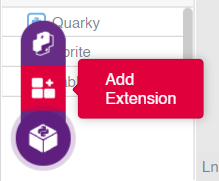
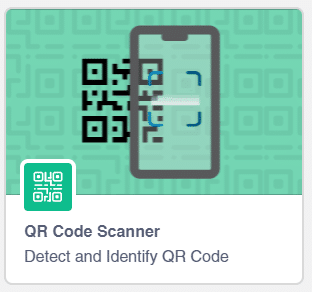
- Search and add the QR Code Scanner extension.
Python Code
sprite = Sprite('Square Box')
qr = QRCodeScanner()
qr.video("on flipped", 0)
qr.disablebox()
while True:
    qr.analysecamera()
    if qr.isdetected():
        sprite.setx(qr.xpos("center"))
        sprite.sety(qr.ypos("center"))
        sprite.setdirection(qr.angle())
        sprite.say(qr.codedata())
        sprite.show()
    else:
        sprite.hide()
Code Explanation
Creating the Sprite: Creates a sprite object that will interact with the detected QR code.
sprite = Sprite('Square Box')Initialising the QR Scanner: Creates an instance of the QR Code Scanner.
qr = QRCodeScanner()Starting the Camera: Turns on the webcam feed and displays it in mirrored mode.
qr.video("on flipped", 0)Hiding the Detection Box: Disables the default detection boundary box displayed around the QR code.
qr.disablebox()Continuously Analysing the Camera Feed: Continuously scans each frame captured by the webcam.
while True:
    qr.analysecamera()
Checking for QR Code Detection: Checks whether a QR code is currently visible.
if qr.isdetected():Tracking QR Code Position: Moves the sprite to the centre position of the detected QR code.
sprite.setx(qr.xpos("center"))
sprite.sety(qr.ypos("center"))
Tracking QR Code Rotation: Rotates the sprite according to the QR code’s orientation angle.
sprite.setdirection(qr.angle())Displaying QR Code Data: Shows the decoded information stored inside the QR code.
sprite.say(qr.codedata())Showing or Hiding the Sprite: Displays the sprite when a QR code is detected and hides the sprite when no QR code is visible.
sprite.show()sprite.hide()Conclusion
This project successfully demonstrates real-time QR code detection and decoding using Python in PictoBlox. Learners gain hands-on experience with computer vision concepts, coordinate tracking, angle detection, and data extraction. The project serves as an excellent foundation for developing advanced AI and vision-based applications such as smart attendance systems, inventory management tools, and interactive learning solutions.