



Introduction
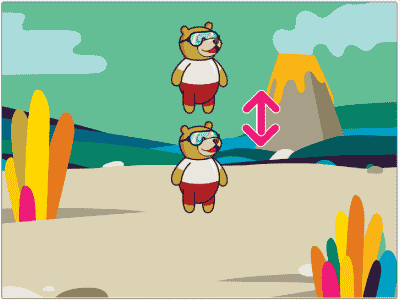
Have you ever wondered how animated characters in games jump and move smoothly? In this project, we will program Tobi to jump using the Evive controller and PictoBlox. By using keyboard events and motion blocks, we can create an engaging jumping animation that reacts instantly to user input.
Prerequisites
- Evive device (powered on)
- USB cable for connecting Evive
- PictoBlox installed on your computer
- Basic understanding of block coding
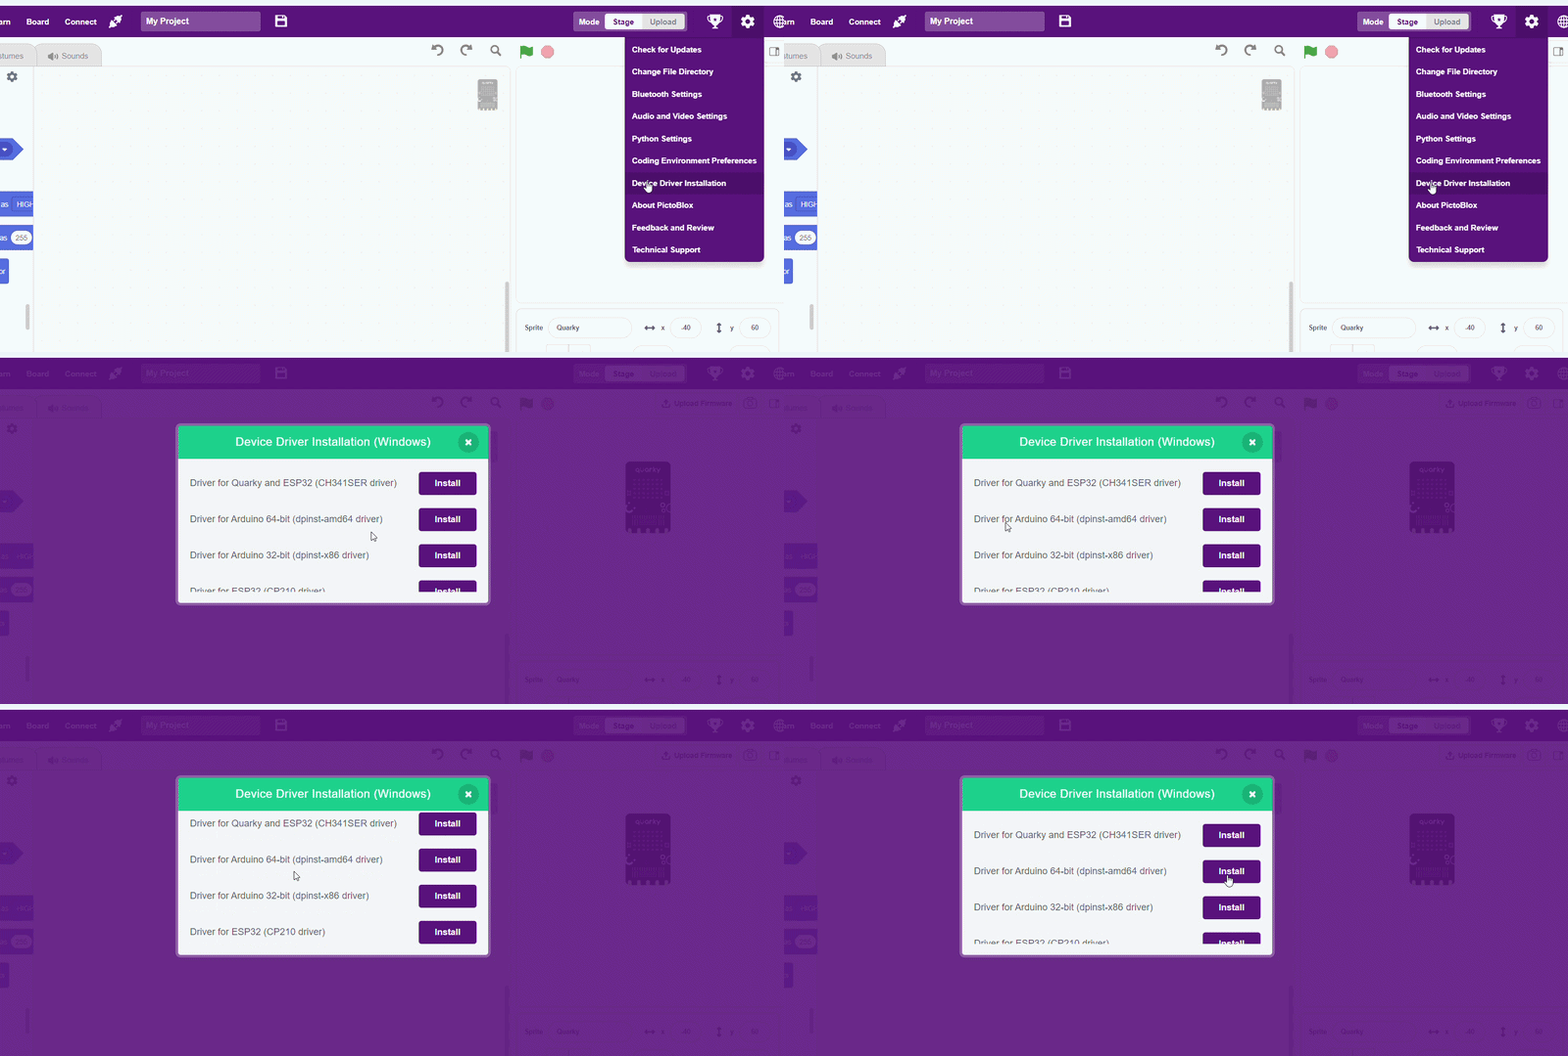
- Note: Before connecting Evive to PictoBlox, ensure that the Arduino/CH340 device driver is installed properly.
Connecting Evive to PictoBlox.
- First, open PictoBlox.
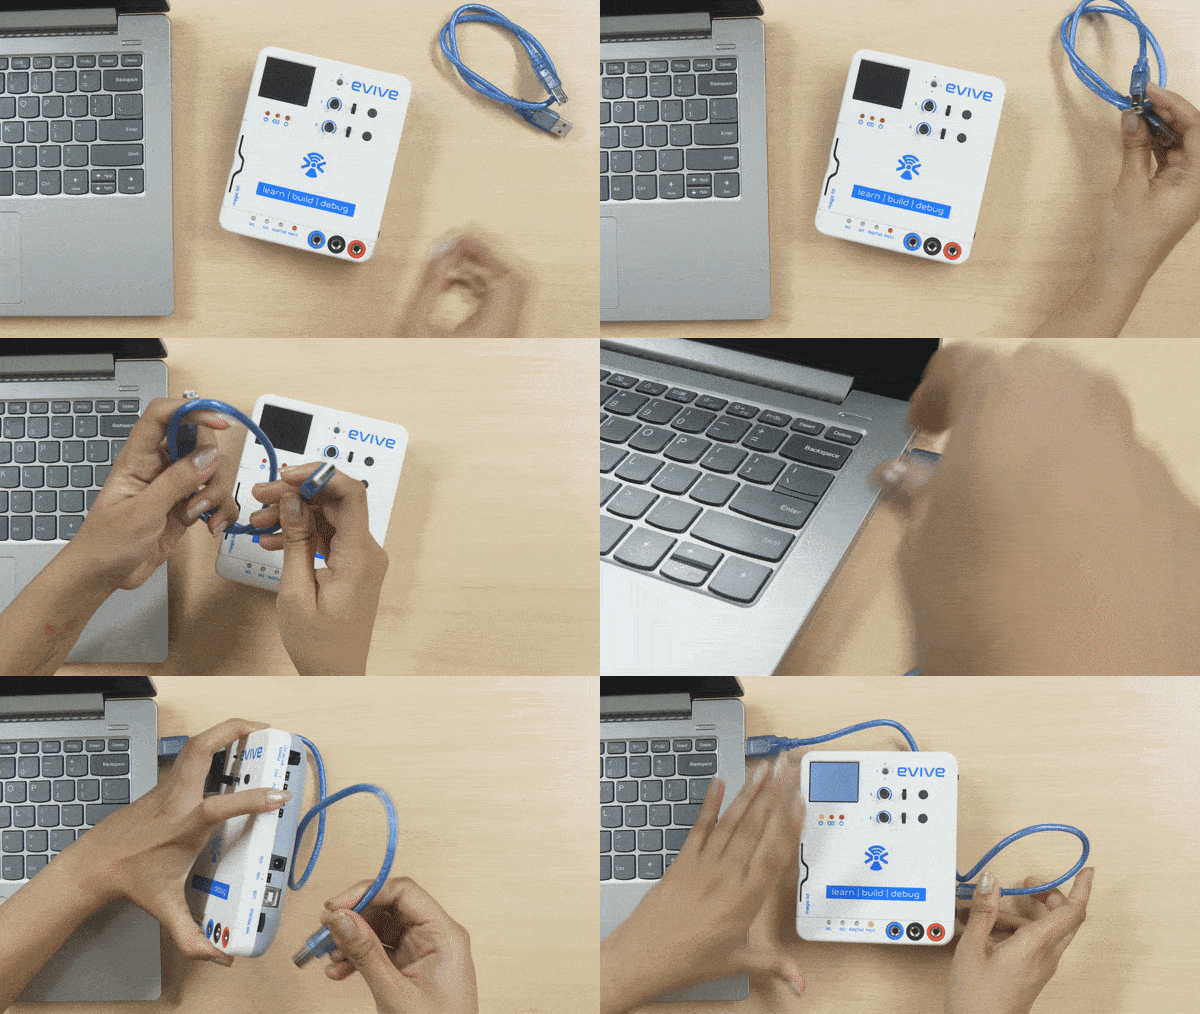
- Then, connect Evive to your computer via a USB cable.
- Click on the Board button in the toolbar. A list of the boards that are compatible with PictoBlox will appear in the drop-down. Select evive from the option.

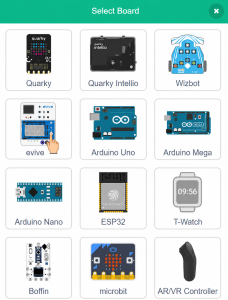
Select evive from the drop-down. Next, click on the connect button.
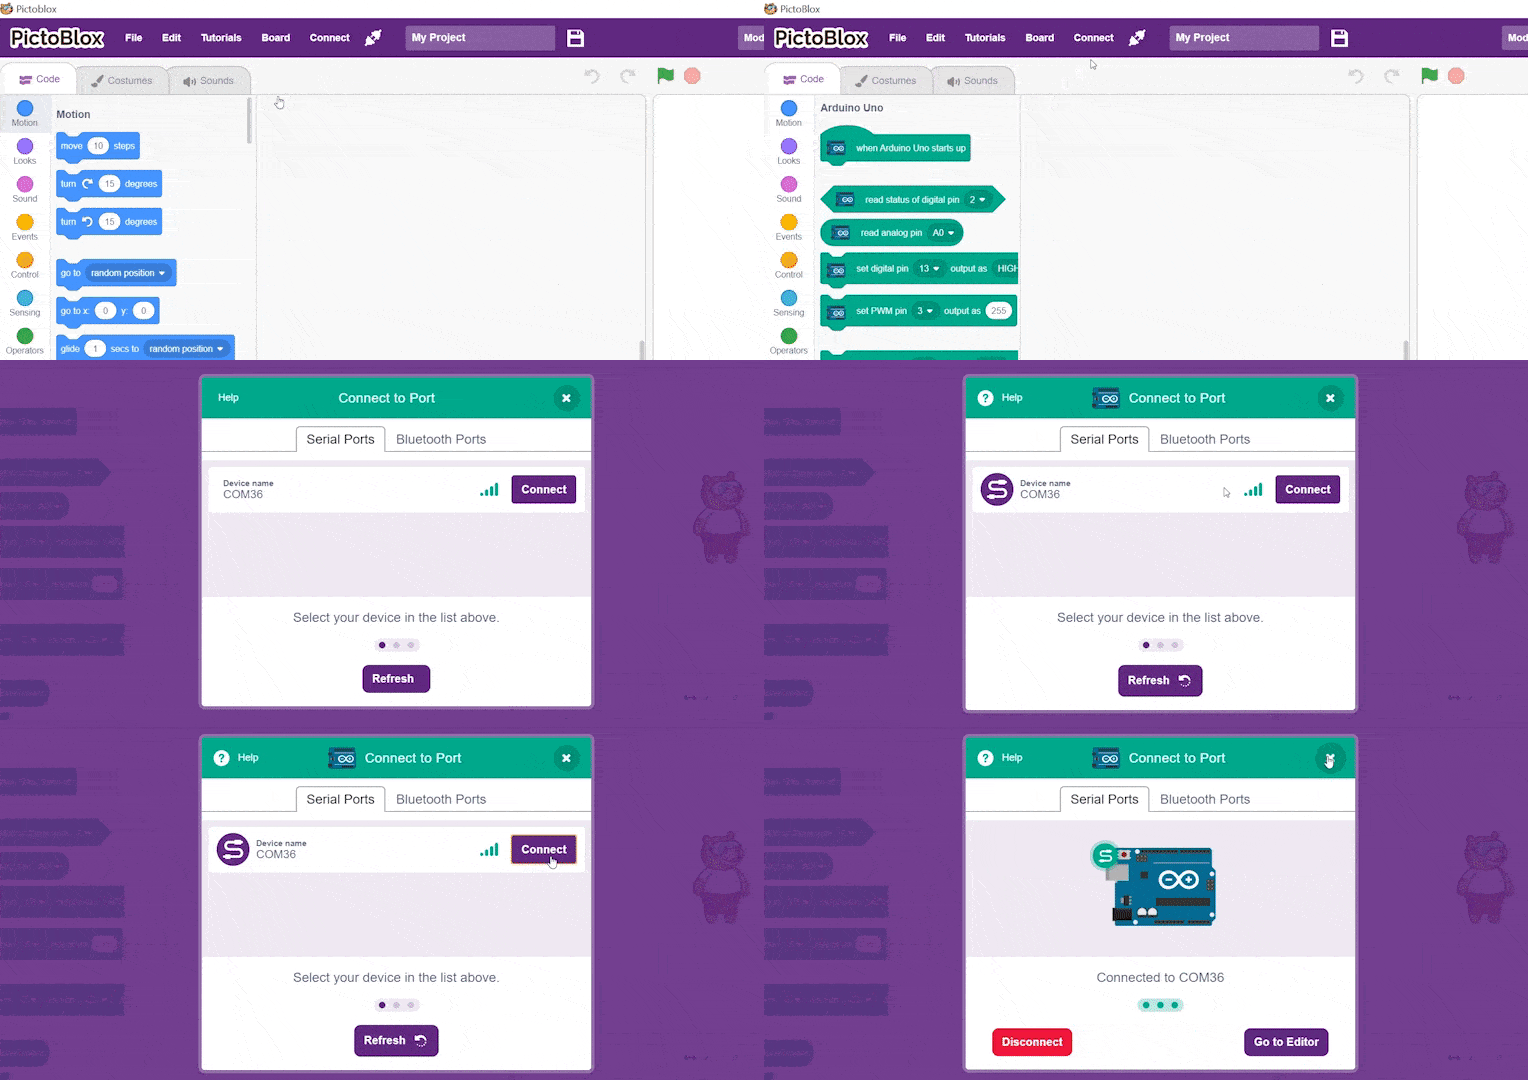
You’ll notice new extensions added in the palette. You can interact with evive using the blocks in these palettes.
Since we’re going to work in Stage mode, we must upload the firmware to the board. It will ensure real-time communication between the board and the computer. Uploading the firmware is a one-time process. To do so, click on the Upload Firmware button. Observe that while doing so, the LED starts blinking.
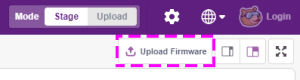
To check whether the firmware has successfully been uploaded or not observe evive’s screen. If evive’s logo appears on the screen, it indicates success. Otherwise, retry the process.
Step-by-Step Block Coding Guide
Now, let’s create a script to make Tobi, our sprite in PictoBlox, jump using evive’s tactile switch.
- First, let’s change the backdrop. Click on the choose a backdrop button and choose the Blue Sky backdrop from the library.
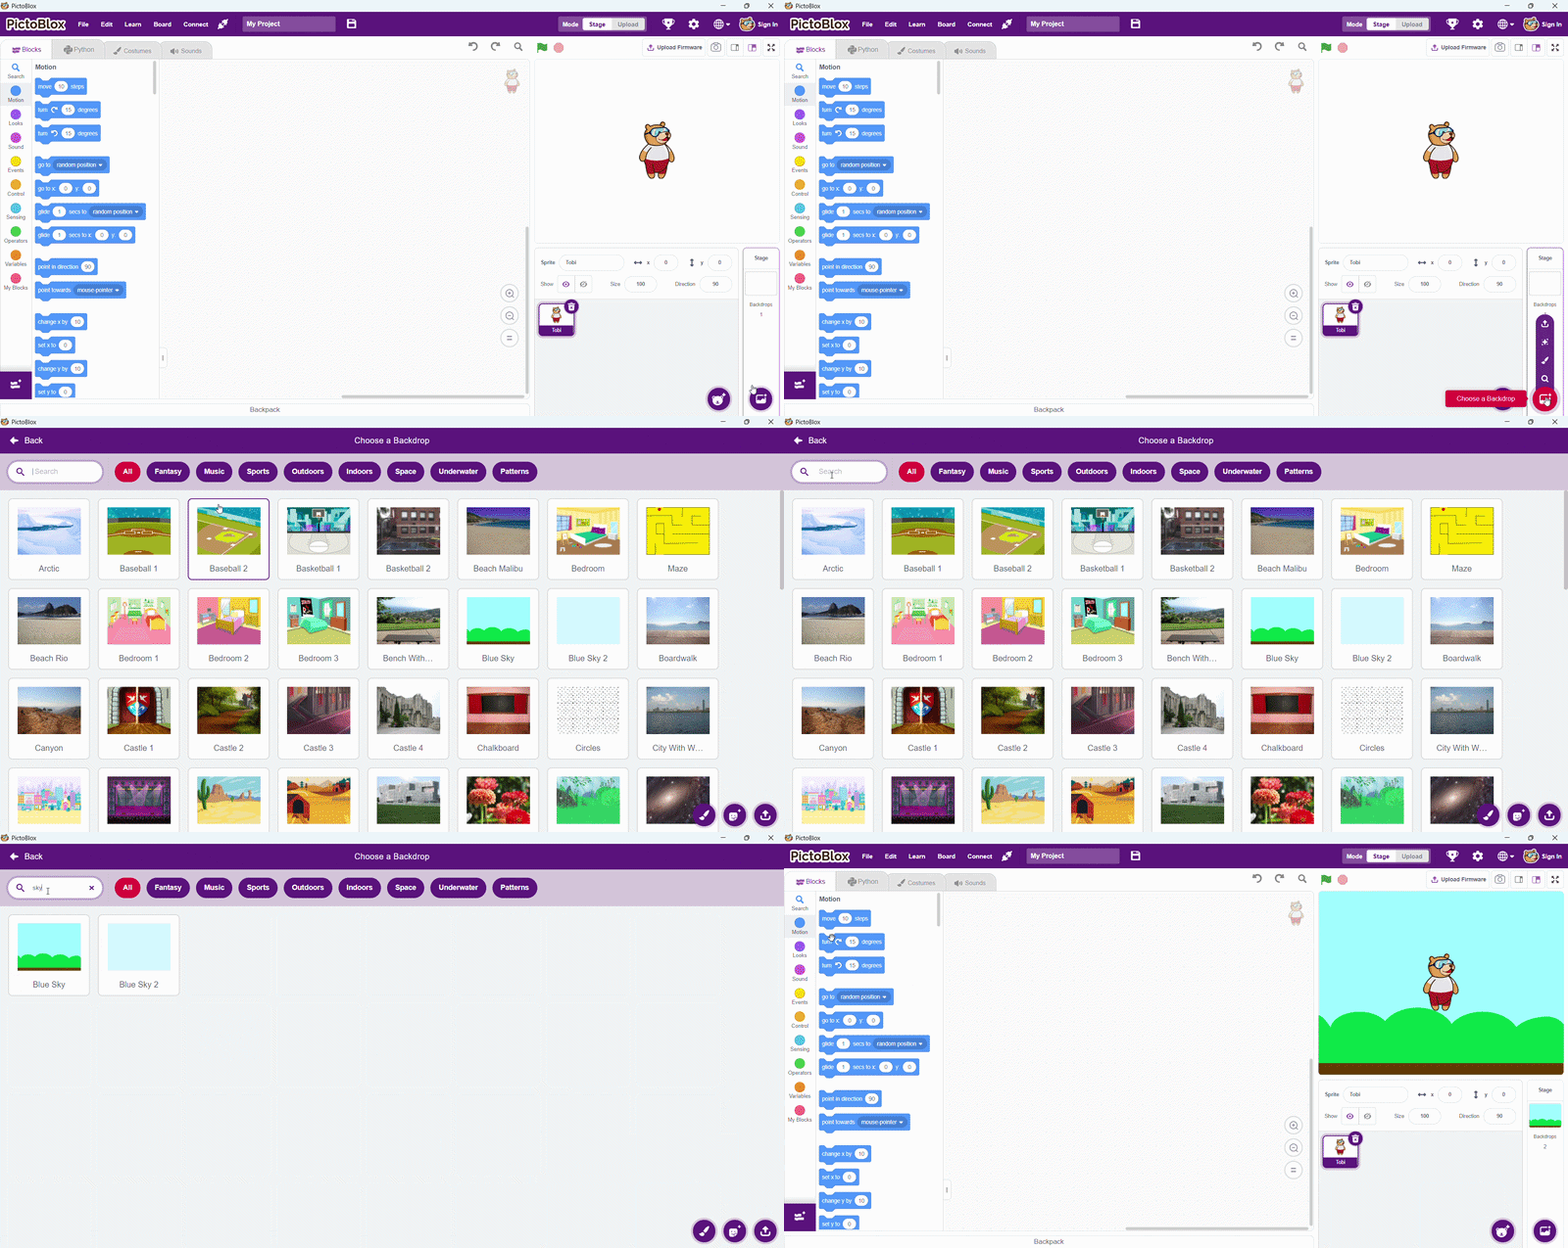
- Now, select Tobi from the sprite palette to create his script.
- You’ll notice that Tobi is standing in the center of the stage. And we want him to be near the bottom edge. For doing so, change his y coordinate to -110 in the sprite palette.
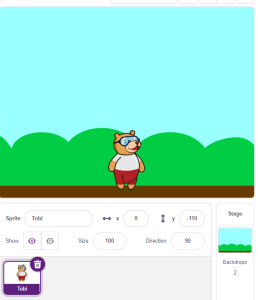
- Now, go to the Motion palette, drag and drop the glide () secs to x () y () block. Set the gliding time as 0.5 secs and x and y as 0. With this Tobi glides in the upward direction.
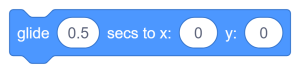
- Now, to bring him back to his initial position, we need another glide block. So, duplicate the block by right-clicking on it and drop it below the previous block; change y to -110, Tobi’s initial y coordinate. Tobi can now jump!
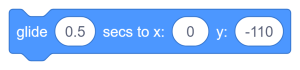
- But, how do we make Tobi jump using evive’s tactile switch? By using the tactile switch () pressed? block from evive palette.

- To check whether the tactile switch has been pressed or not, we’re going to use an if block from the Control palette. Drop it around the glide blocks.
- Then, drag and drop the tactile switch () pressed? block inside the hexagonal space of the if arm.
- Now, drag and drop the forever block around the if arm to run the script forever. The Forever block continuously checks whether the tactile switch has been pressed, allowing Tobi to respond at any time
- Finally, to trigger the script, drag and drop the when flag clicked block above the entire script.
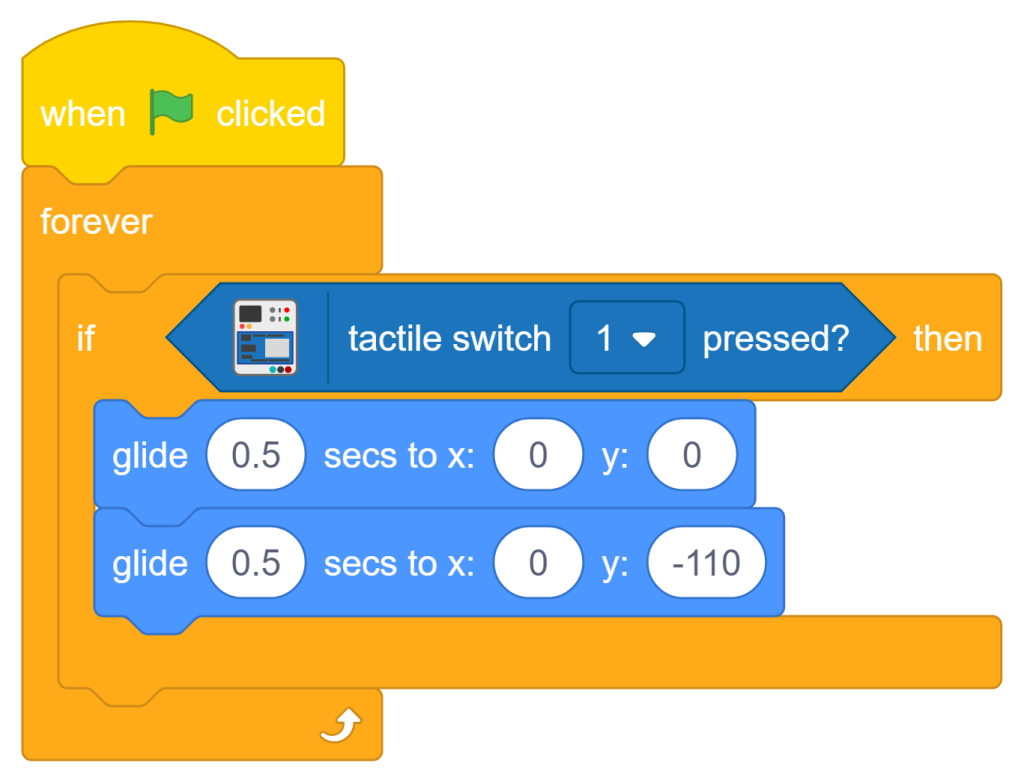
- Maximize the Stage and click on the flag to run the script. Press tactile switch 1 on evive and watch Tobi jump!
Output
Observe that as soon as you click on the green flag, the LED starts blinking which shows that the communication is taking place properly. If it is not the case, stop the script, disconnect evive from the computer, then reconnect it and run the script again.
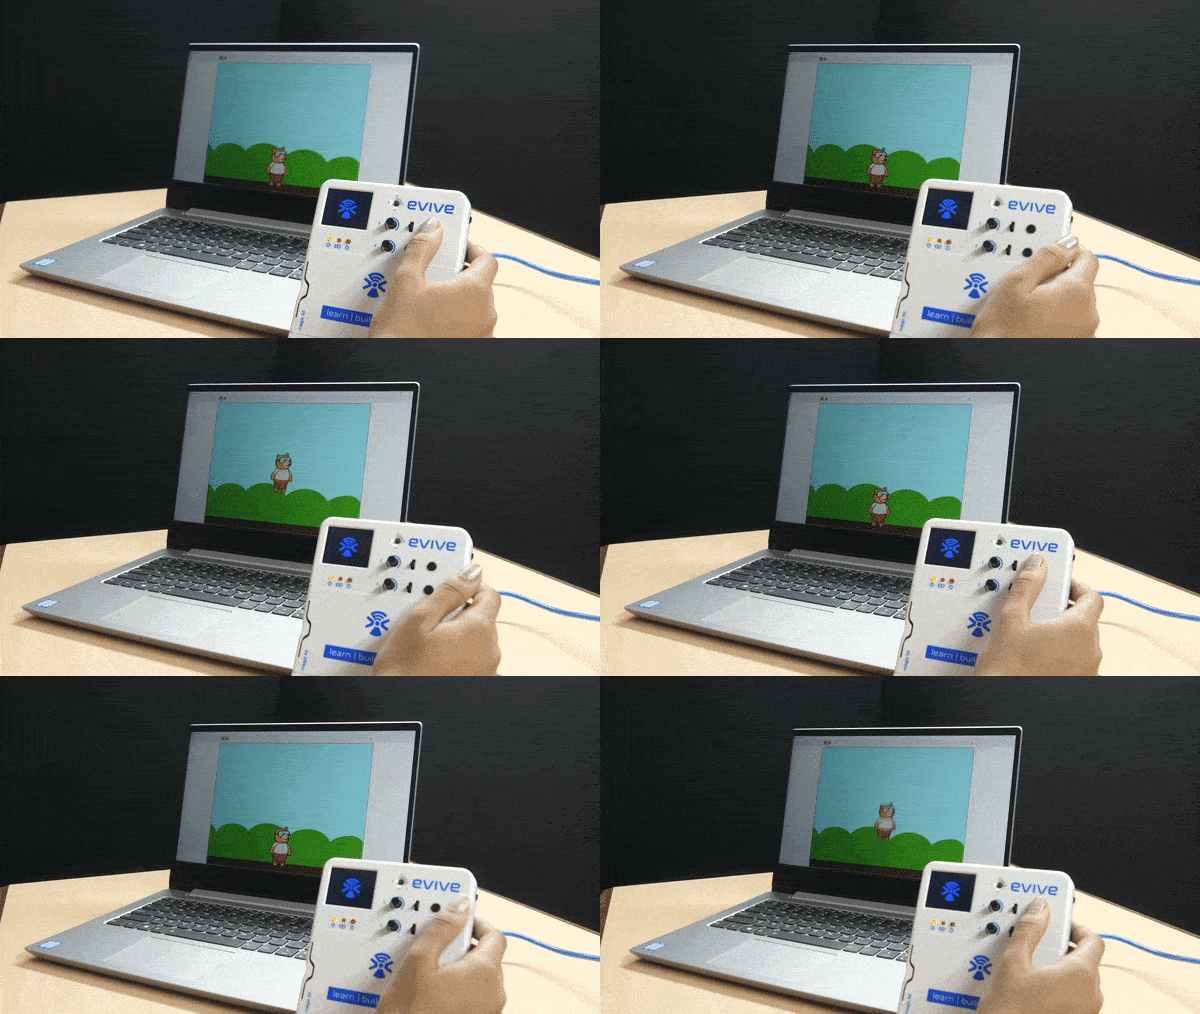
Conclusion
Congratulations! You have successfully created a jumping animation using Tobi and evive in PictoBlox. Through this project, you learned how events, motion, timing, and sound work together to create interactive animations.