


The block pauses its script for the specified amount of seconds — the wait can also be a decimal number.
Script
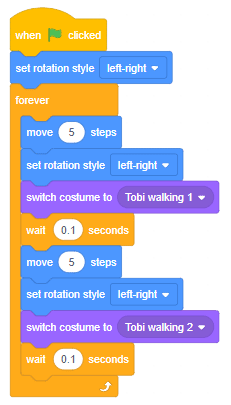
Output
The block pauses its script for the specified amount of seconds — the wait can also be a decimal number.
In this activity, we will create a custom activity where you will be able to move the Mecanum robot in a square effortlessly along with making an Axe type figure.
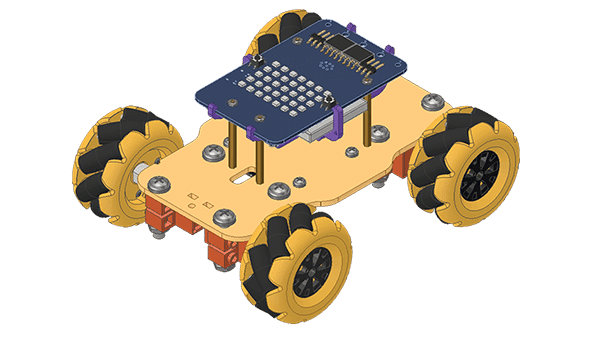
The Quarky Mecanum Wheel Robot is a type of robot that uses a special type of wheel to move. The wheel is made of four rollers mounted at 45- degree angles to the wheel’s hub. Each roller has its own motor and can spin in either direction. This allows the wheel to move in any direction, making it an ideal choice for navigating around obstacles.
Follow the steps:
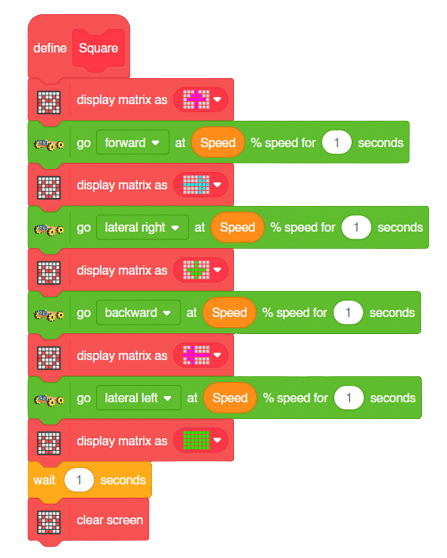
The main steps would include to display the lights in arrow forms before implementing the specific move. The moves would be implemented in the following order:
Forward -> Lateral Right -> Backward -> Lateral Left.
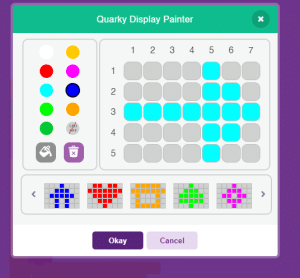
We will display the arrows with the help of Quarky LED’s and implement the code.
Example of arrow:
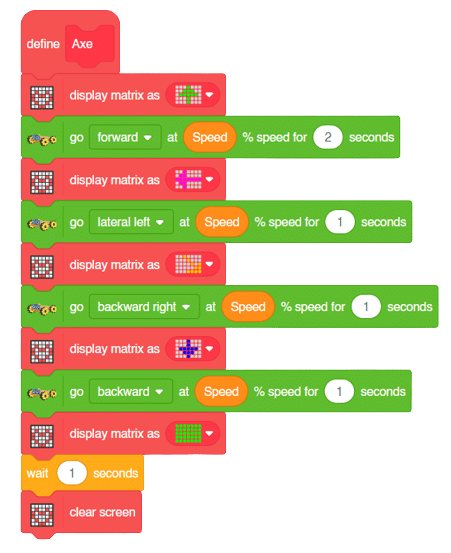
The main steps would include to display the lights in arrow forms before implementing the specific move. The moves would be implemented in the following order:
Forward ( 2 steps ) -> Lateral Left ( 1 step ) -> Backward Right ( 1 step ) -> Backward ( 1 step )
We will display the arrows with the help of Quarky LED’s and implement the code.
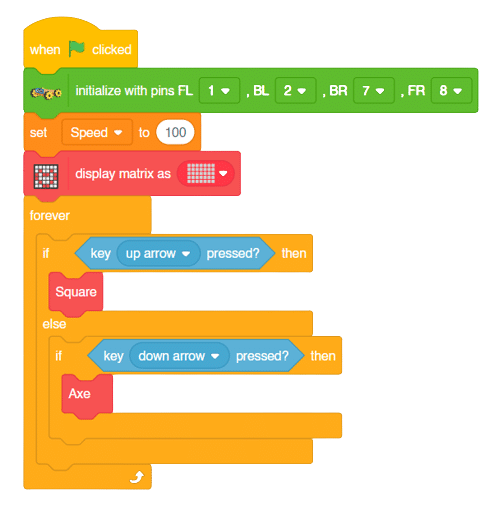
Now we will keep a specific condition on when to activate the Square Motion and when to activate the Axe Motion.
We will use the if-else conditions where on pressing the “up” arrow key, we will initiate the Square Motion and on pressing the “down” arrow key, we will initiate the Axe Motion with the help of Mecanum Robot.
Square Motion:
Axe Motion:
A Sound-Based Humanoid with Machine Learning refers to a Humanoid robot that can perceive and interact with its environment through sound-based sensing and uses machine-learning techniques to process and analyze the auditory data it receives.
Humanoid robots with machine learning have the potential to greatly enhance the way we interact with machines and each other, making communication more natural and intuitive while also enabling new applications in fields such as healthcare, education, and entertainment.
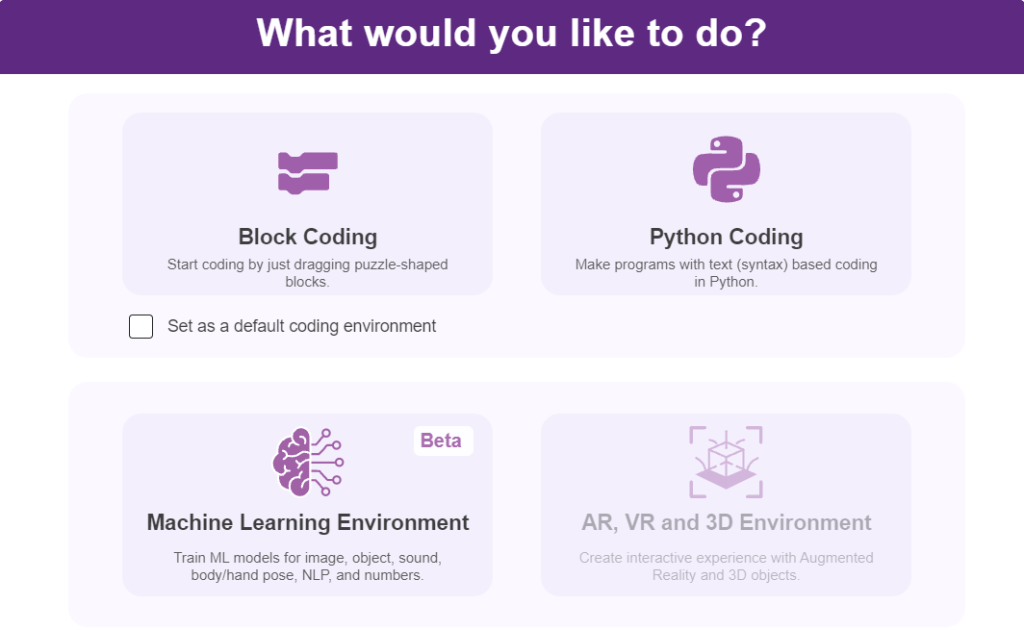
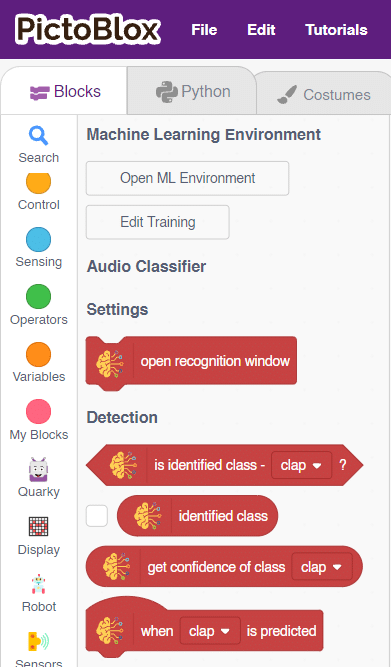
In this activity, we will use the Machine Learning Environment of the Pictoblox Software. We will use the Audio Classifier of the Machine Learning Environment and create our custom sounds to control the Humanoid.
Follow the steps below to create your own Audio Classifier Model:

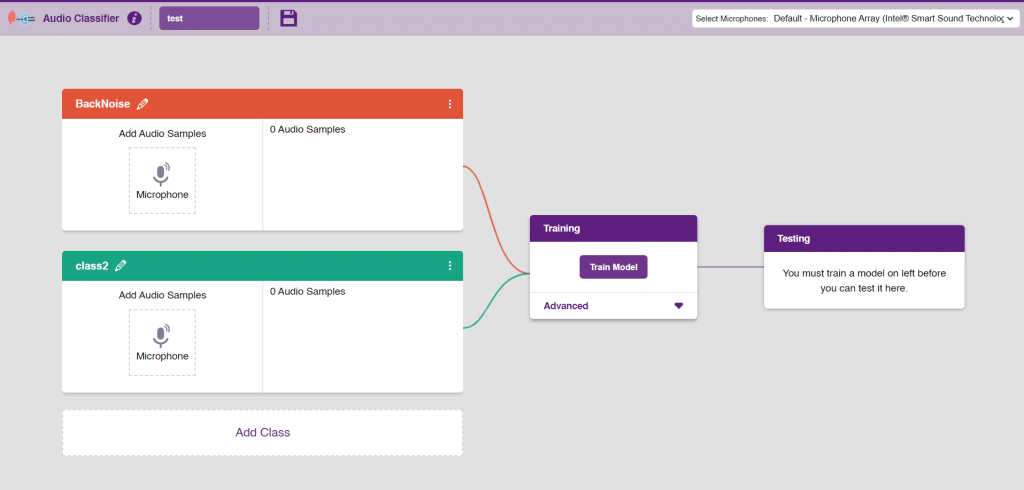
Note: You can add more classes to the projects using the Add Class button.
You can perform the following operations to manipulate the data into a class.

Note: You will only be able to change the class name in the starting before adding any audio samples. You will not be able to change the class name after adding the audio samples in the respective class.
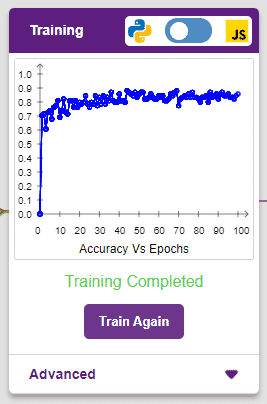
After data is added, it’s fit to be used in model training. To do this, we have to train the model. By training the model, we extract meaningful information from the hand pose, and that in turn updates the weights. Once these weights are saved, we can use our model to make predictions on data previously unseen.

The accuracy of the model should increase over time. The x-axis of the graph shows the epochs, and the y-axis represents the accuracy at the corresponding epoch. Remember, the higher the reading in the accuracy graph, the better the model. The range of accuracy is 0 to 1.
To test the model simply, use the microphone directly and check the classes as shown in the below image:
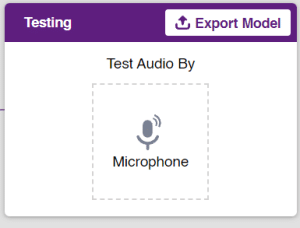
You will be able to test the difference in audio samples recorded from the microphone as shown below:
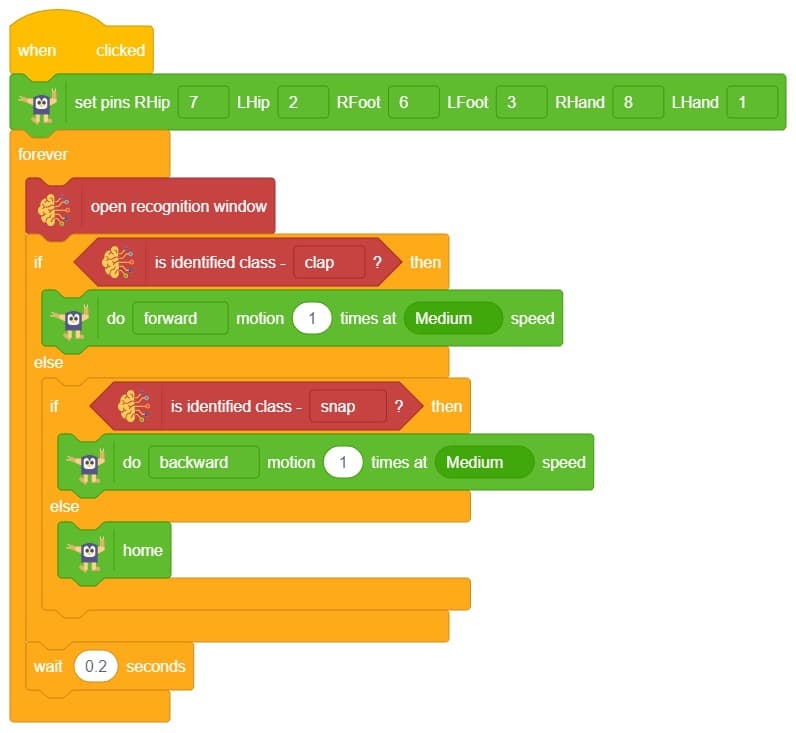
Click on the “Export Model” button on the top right of the Testing box, and PictoBlox will load your model into the Block Coding Environment if you have opened the ML Environment in the Block Coding.
The Humanoid will move according to the following logic:
 Note: You can add even more classes with different types of differentiating sounds to customize your control. This is just a small example from which you can build your own Sound Based Controlled Humanoid in a very easy stepwise procedure.