Introduction
In this example project, we are going to create a machine learning model that can count the number of jumping jack activities from the camera feed.
Pose Classifier in Machine Learning Environment
The pose Classifier is the extension of the ML Environment used for classifying different body poses into different classes.
 The model works by analyzing your body position with the help of 17 data points.
Pose Classifier Workflow
- Open PictoBlox and create a new file.

- You can click on “Machine Learning Environment” to open it.
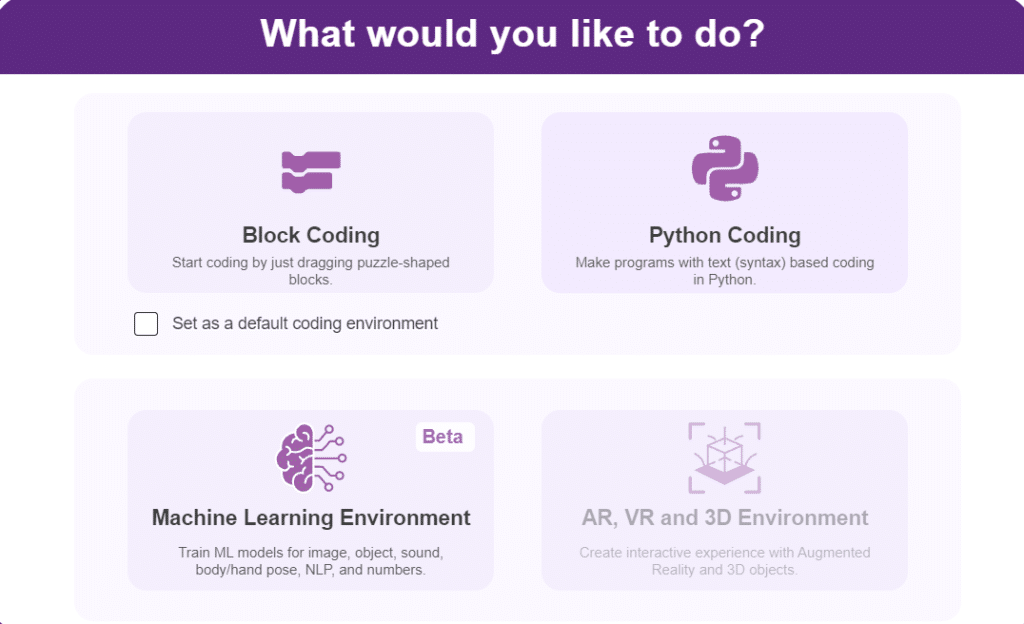
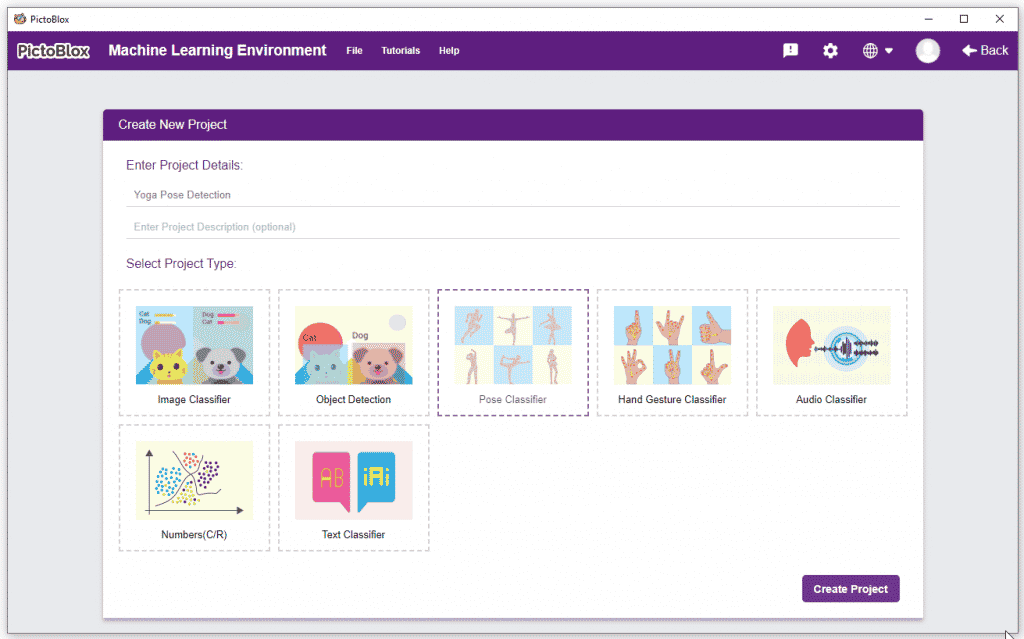
- Click on “Create New Project“.
- A window will open. Type in a project name of your choice and select the “Pose Classifier” extension. Click the “Create Project” button to open the Pose Classifier window.
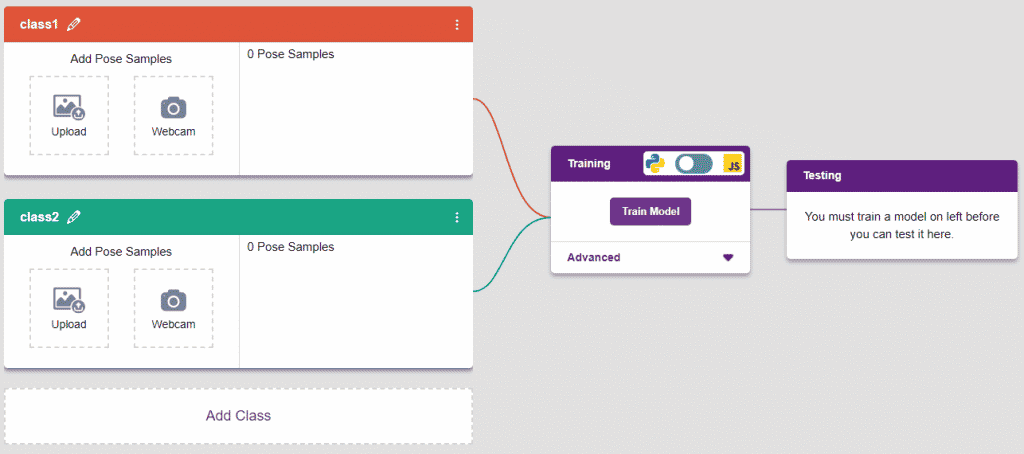
- You shall see the Pose Classifier workflow with two classes already made for you. Your environment is all set. Now it’s time to upload the data.
Class in Pose Classifier
Class is the category in which the Machine Learning model classifies the poses. Similar posts are put in one class.
There are 2 things that you have to provide in a class:
- Class Name: The name to which the class will be referred.
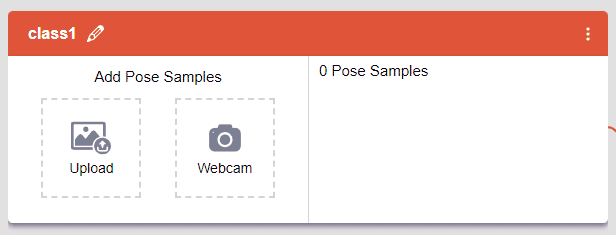
- Pose Data: This data can be taken from the webcam or uploaded from local storage.
Adding Data to Class
You can perform the following operations to manipulate the data into a class.
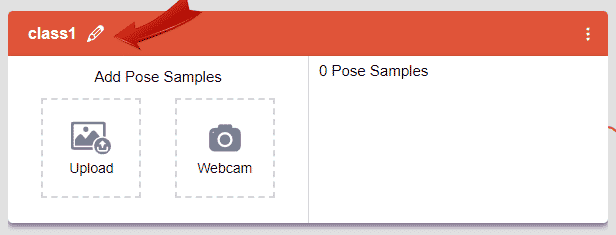
- Naming the Class: You can rename the class by clicking on the edit button.
- Adding Data to the Class: You can add the data using the Webcam or by Uploading the files from the local folder.
- Webcam:
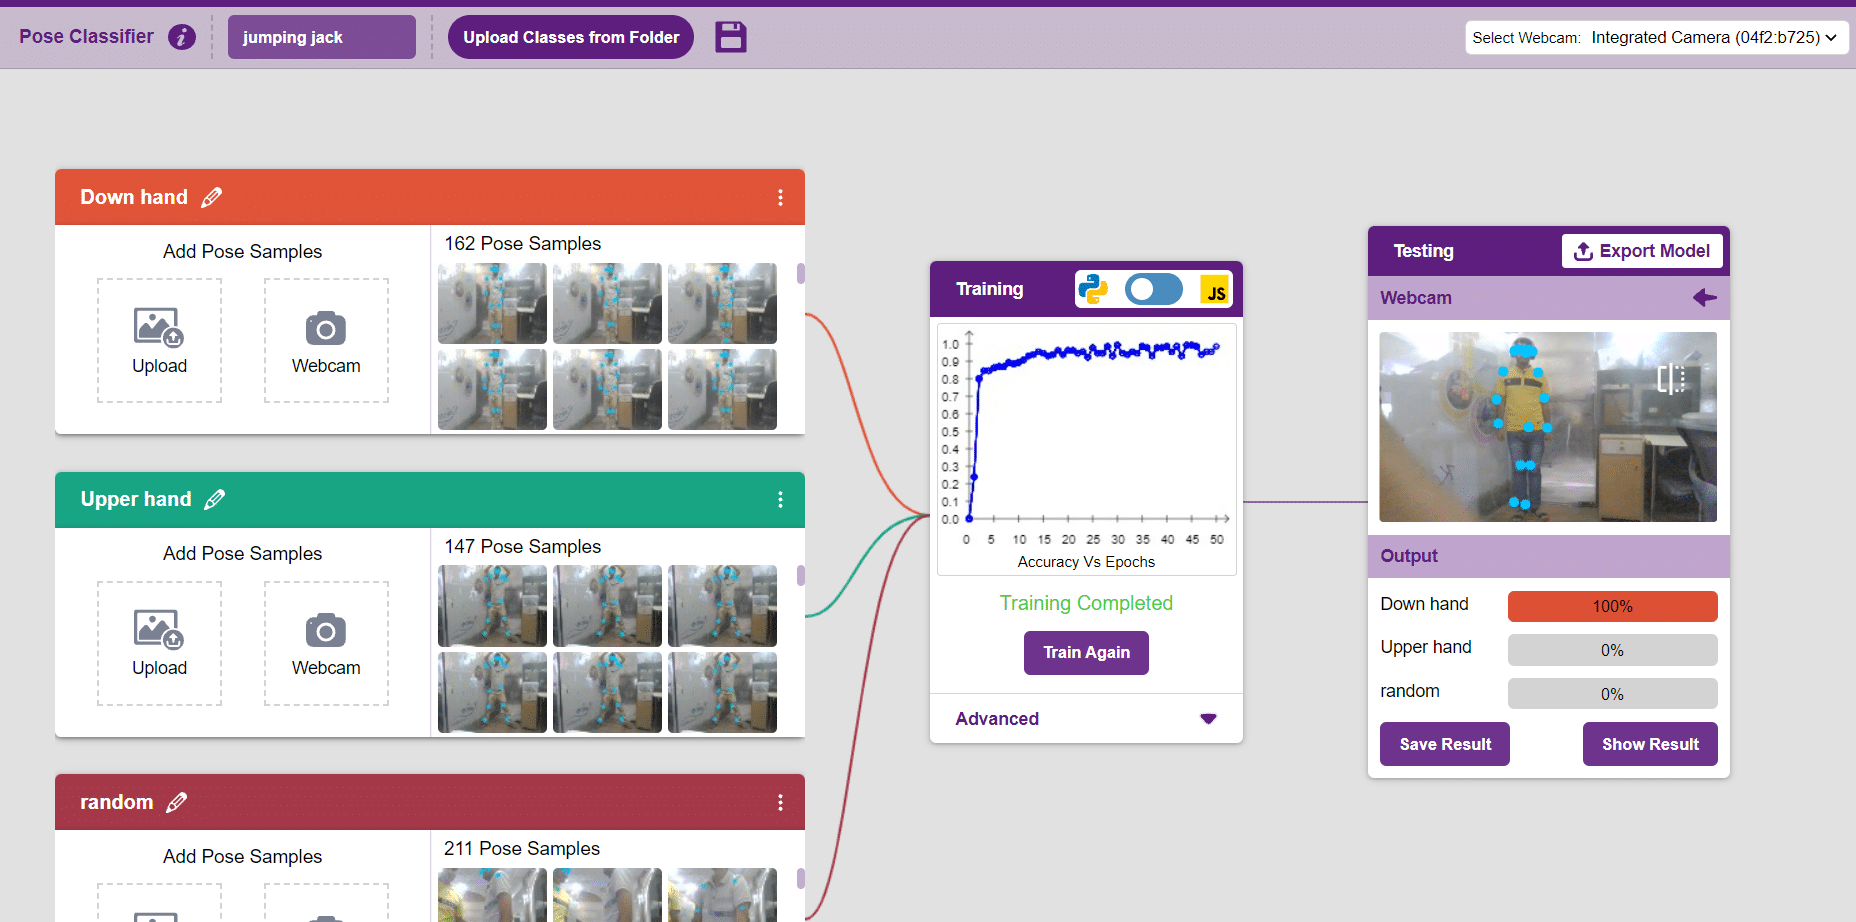
Training the Model
After data is added, it’s fit to be used in model training. To do this, we have to train the model. By training the model, we extract meaningful information from the hand pose, and that in turn updates the weights. Once these weights are saved, we can use our model to predict previously unseen data.

The accuracy of the model should increase over time. The x-axis of the graph shows the epochs, and the y-axis represents the accuracy at the corresponding epoch. Remember, the higher the reading in the accuracy graph, the better the model. The range of accuracy is 0 to 1.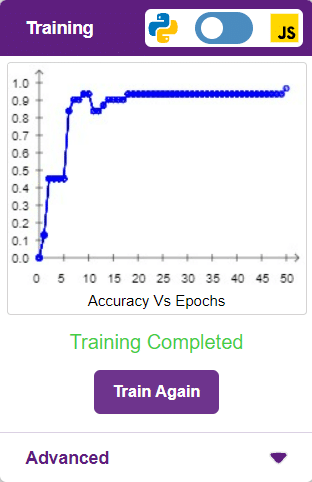
Testing the Model
To test the model, simply enter the input values in the “Testing” panel and click on the “Predict” button.
The model will return the probability of the input belonging to the classes.
Export in Block Coding
Click on the “Export Model” button on the top right of the Testing box, and PictoBlox will load your model into the Block Coding Environment if you have opened the ML Environment in the Block Coding.
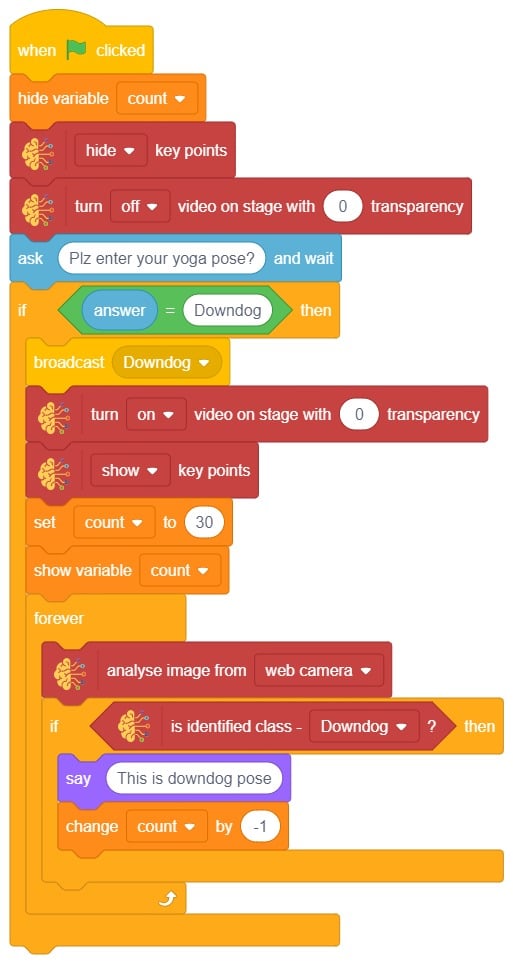
Script
The idea is simple, after running code we will do jumping jack activity in front of camera and tobi sprite will say counting of jumping jack.
- Select the Tobi sprite.
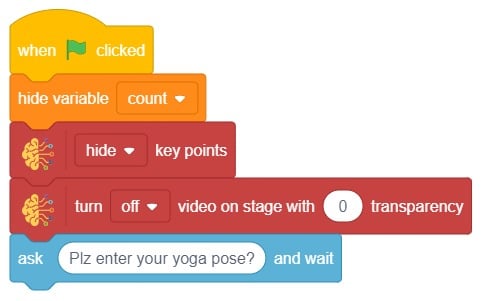
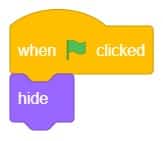
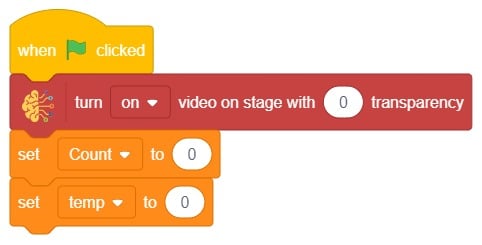
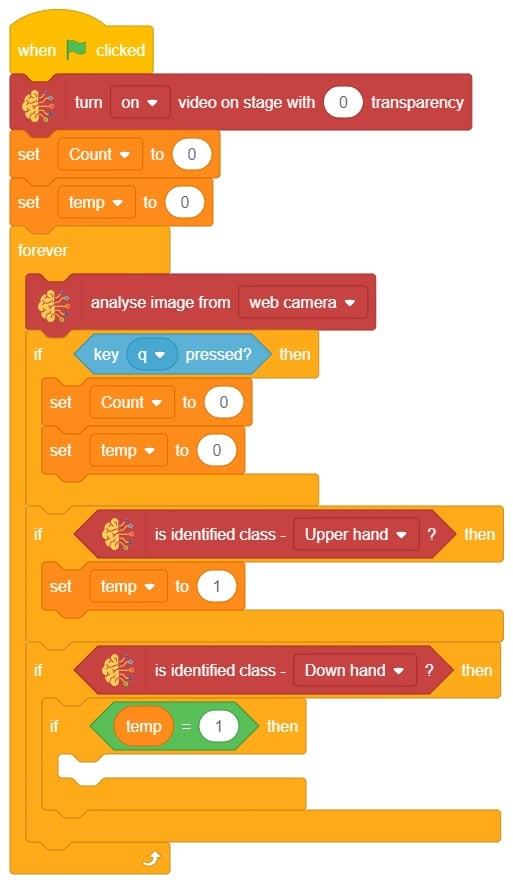
- We’ll start by adding a when flag clicked block from the Events palette.
- We made the new variable “count” by choosing the “Make a Variable” option from the Variables palette.
- Also we made the new variable “temp” by choosing the “Make a Variable” option from the Variables palette.
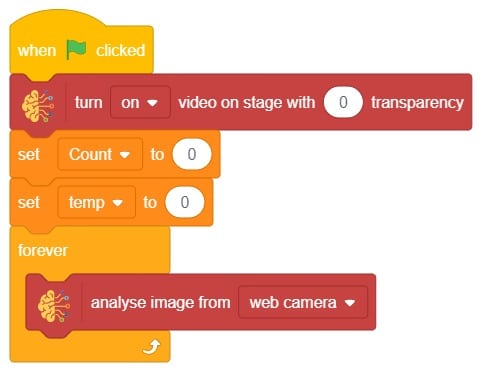
- Add “forever” from the Control palette.
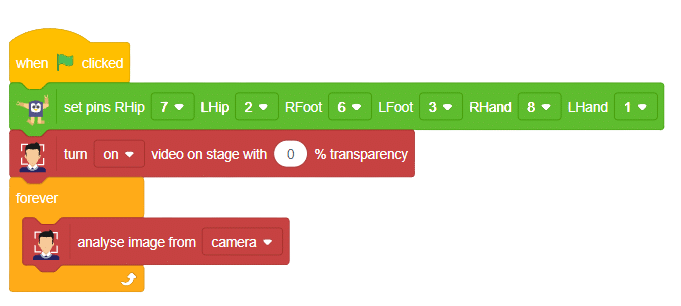
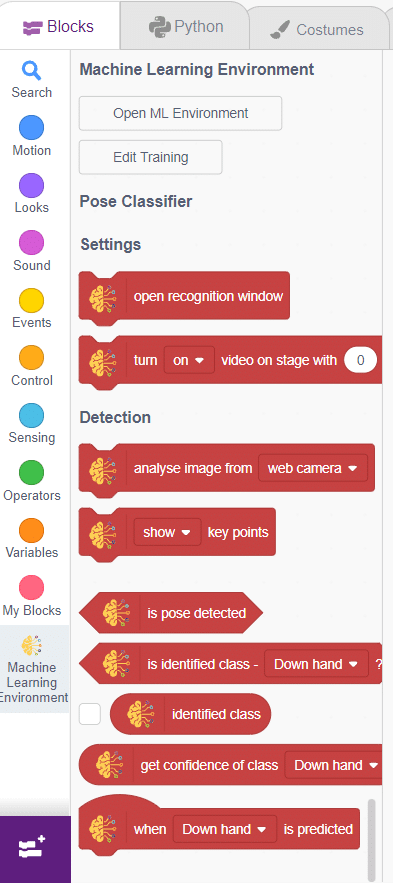
- Inside the “forever” block, add an “analysis image from ()” block from the Machine Learning palette. Select the Web camera option.
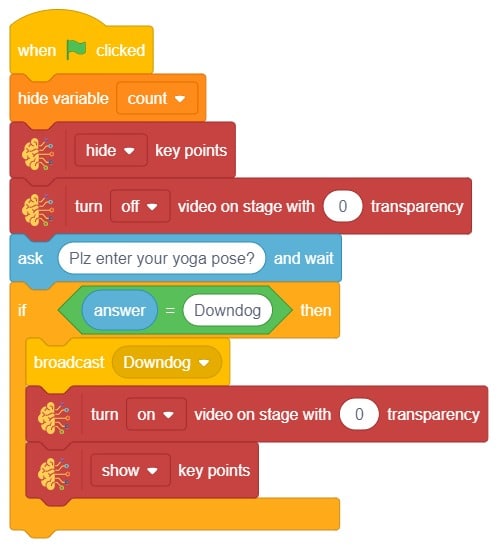
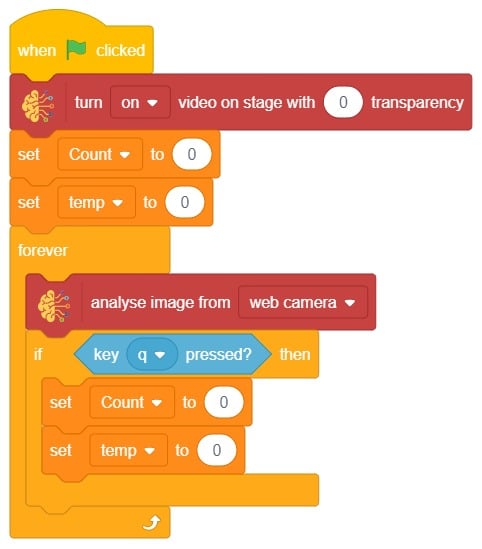
- Inside the “forever” block, add an “if () then” block from the Control palette.
- In the empty place of the “if () then” block, add an “key () pressed?” block from the Sensing palette. Select the ‘q’ key from the options.
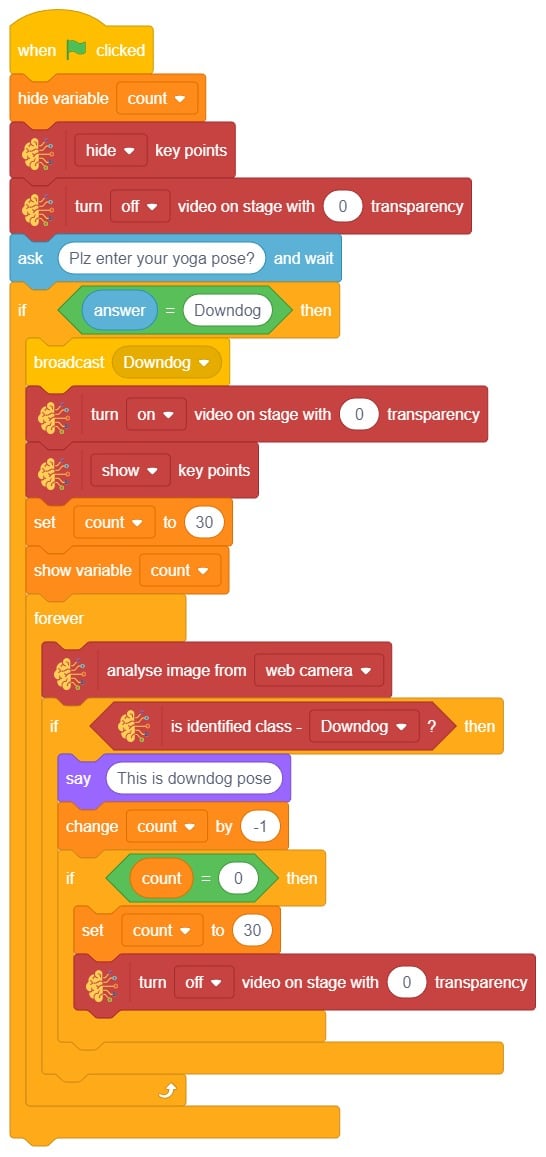
- Inside the “if () then” block, add the “Set () to ()” block from the Variables palette. Select the count option at the first empty place, and for the second, write a 0 value.
- Also add the “Set () to ()” block from the Variables palette. Select the temp option at the first empty place, and for the second, write a 0 value.
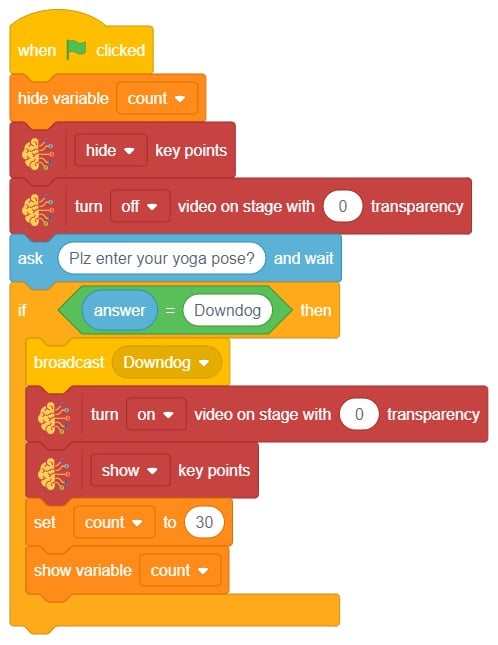
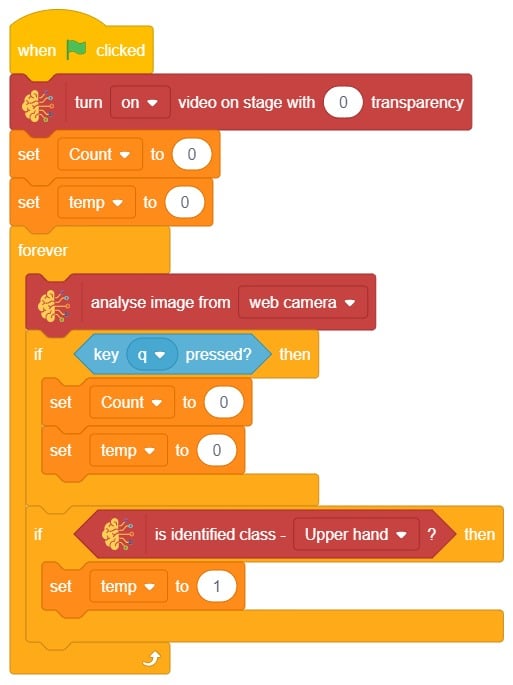
- Inside the “forever” block, add an new “if () then” block from the Control palette.
- In the empty place of the “if () then” block, add an “is identified class ()” block from the Machine Learning palette. Select the ‘Upper hand‘ option from the options.
- Inside the “if () then” block, add the “Set () to ()” block from the Variables palette. Select the temp option at the first empty place, and for the second, write a 1 value.
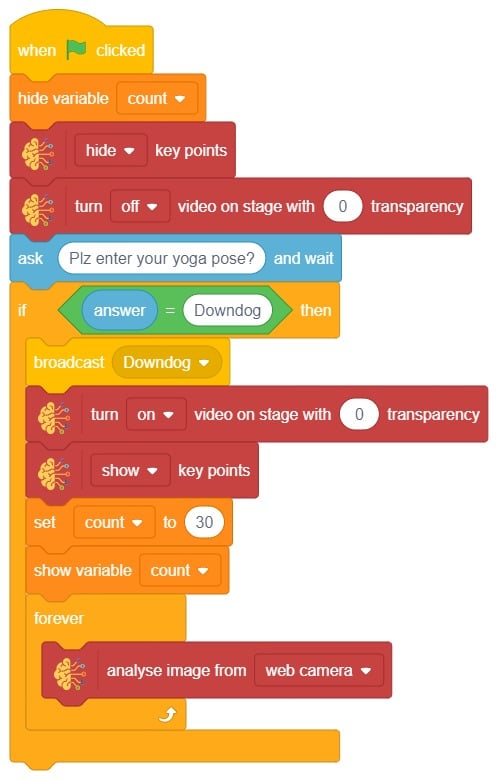
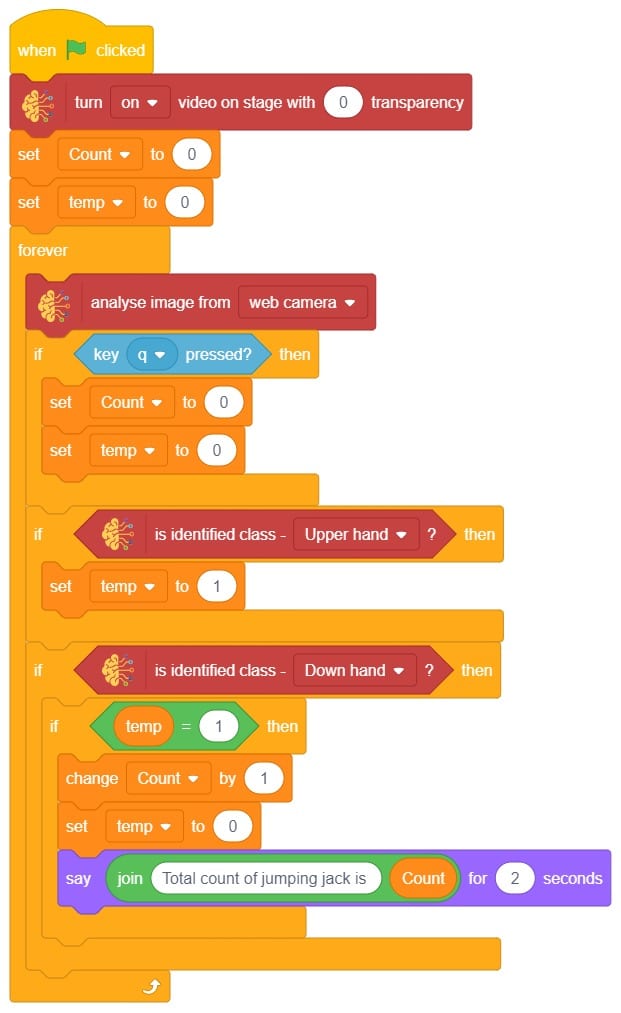
- Inside the “forever” block, add an new “if () then” block from the Control palette.
- In the empty place of the “if () then” block, add an “is identified class ()” block from the Machine Learning palette. Select the ‘Down hand‘ option from the options.
- Inside the “if () then” block, add the another “if () then” block from the Control palette.
- In the empty place of the “if () then” block, add a condition checking block from the operators palette block. At the first empty place, put the temp variable from the variables palette, and at the second place, write a 1 value.
- Inside the “if () then” block, add the “Set () to ()” block from the Variables palette. Select the count option at the first empty place, and for the second, write a 1 value.
- Also add the “Set () to ()” block from the Variables palette. Select the temp option at the first empty place, and for the second, write a 0 value
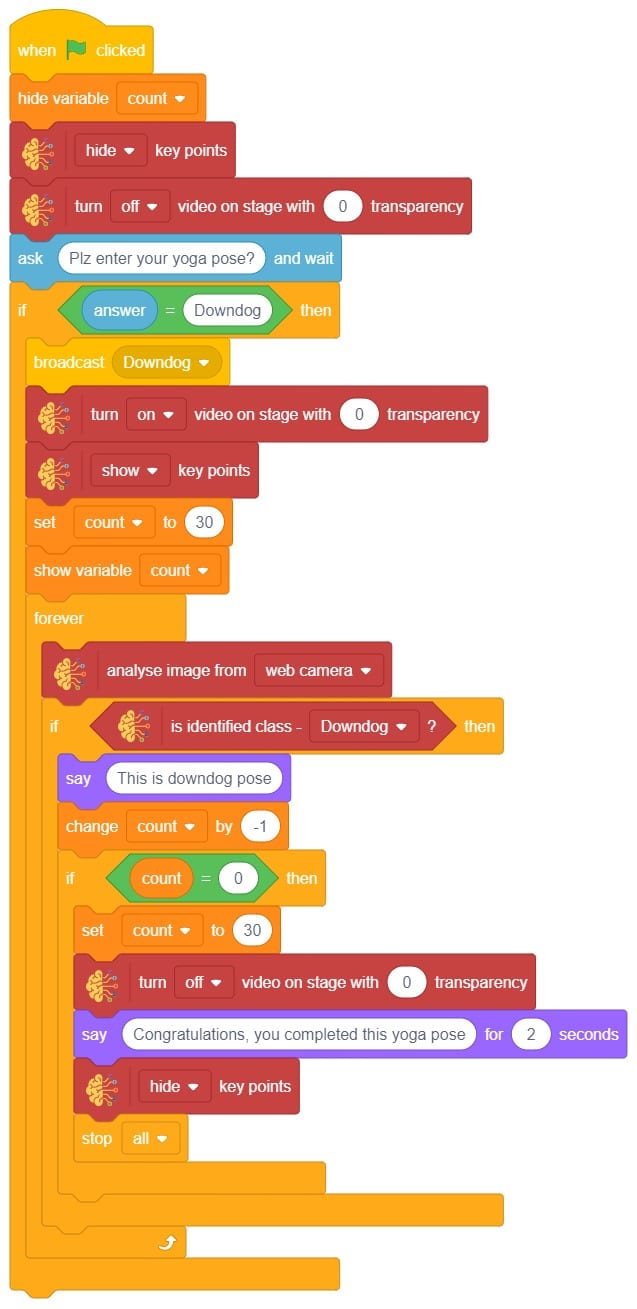
- Inside the “if () then” block, add an “say () for () seconds” block from the Looks palette block. At the first empty place, add the “join () ()” block from operator palette and at the second place, write a 2 value.
- Inside “join () ()” block at the first empty place, write the appropriate statement and at the second place, add count variable from Variables palette.
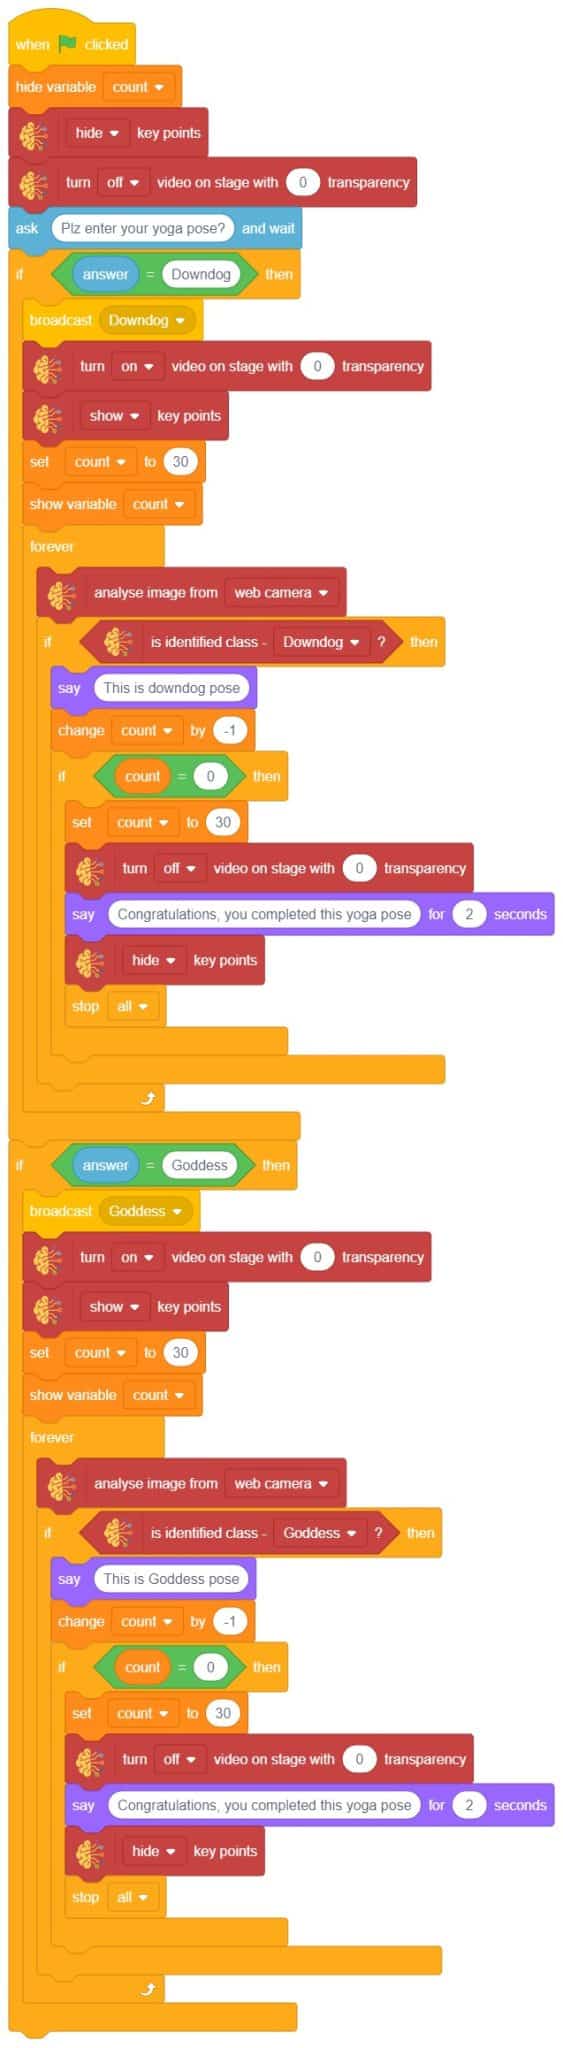
Final Output