


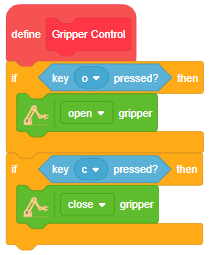
This block is used to open and close the gripper on a robotic arm by setting the gripper servo motor to specific opening and closing angles set by the user. It requires a drop-down input parameter to choose between the open or close action.
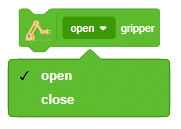
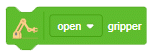
This block is used to open and close the gripper on a robotic arm by setting the gripper servo motor to specific opening and closing angles set by the user. It requires a drop-down input parameter to choose between the open or close action.

The gripper is used to pick and place any object. We are going to learn how to control it in this example.
The gripper has 2 states:
Now there are many methods to control the gripper. We will discuss 2 methods:
Let’s see how they work.
Logic
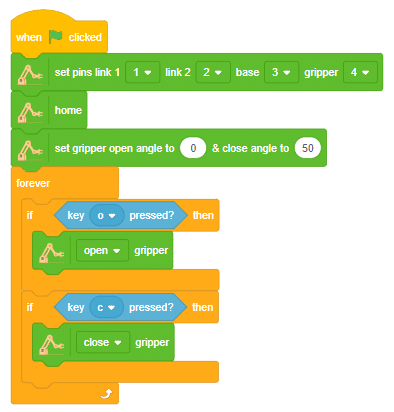
Run the code to check the working of the gripper:
Logic
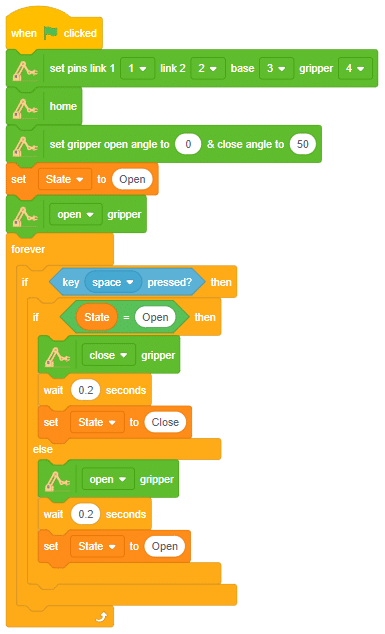
In this project, we learned how to control the gripper using two different methods. The first was 2-key control, which activated when either the ‘o’ or ‘c’ key was pressed. The second was 1-key control, which activated when the ‘space’ bar was pressed. Both were able to accurately open and close the gripper and can be used in robotics applications.
Are you looking for a way to make a robotic arm that can be controlled wirelessly? If so, you’ve come to the right place! This tutorial will teach you how to control a Quarky robotic arm using the Bluetooth communication extensions of Quarky and PictoBlox. With this technique, you’ll be able to provide precise control over its movement and actions from a remote location.
The robotic arm can be used for various tasks, such as picking up objects or manipulating tools. It can also be used for applications like manufacturing, medical, research, and exploration. This type of robotic arm will increase the productivity and safety of operations that would otherwise be too hazardous or inaccessible for humans.
Let’s get started learning how to create a wirelessly controlled robotic arm.
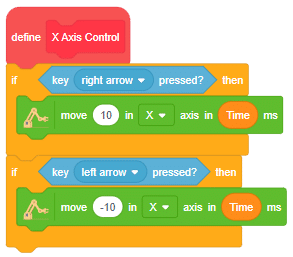
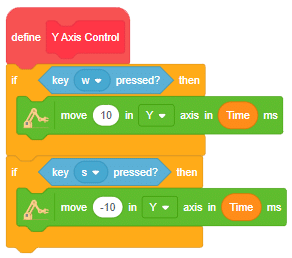
In this project, we are making Quarky Robotic Arm to be controlled wirelessly using keyboard inputs. Following are the controls we will program:
Following is the code to implement the project:
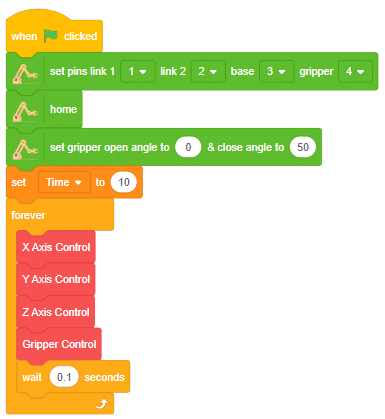

Run the program to test the code.
You can explore doing pick and place using the robotic arm.