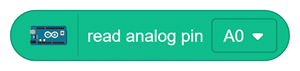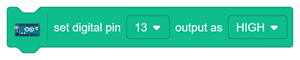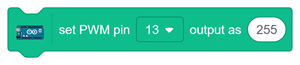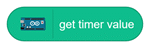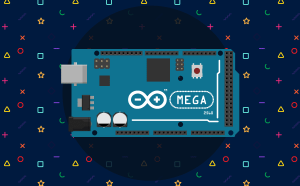

Arduino Mega is a microcontroller board designed for electronics, robotics, automation, and projects that require many input and output connections. Its larger number of pins makes it suitable for controlling multiple sensors, motors, displays, LEDs, and other electronic components.
PictoBlox makes programming the Arduino Mega easier through its block-coding environment. Instead of writing code manually, you can drag and connect blocks to control digital pins, analog pins, PWM outputs, tones, and timers.
In this documentation, you will learn about the Arduino Mega extension, connect Arduino Mega to PictoBlox, and understand the purpose of each Arduino Mega block.
Follow these steps to connect your Arduino Mega board to PictoBlox.
Step 1: Connect Arduino Mega
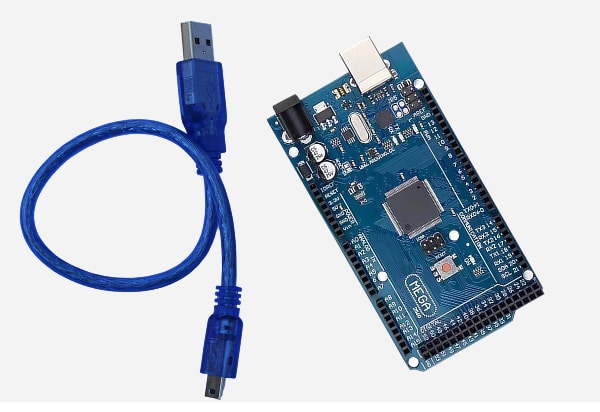
Connect the Arduino Mega board to your computer using a compatible USB cable. Make sure the board’s power LED turns ON after connecting it.
Step 2: Open PictoBlox
Open PictoBlox on your computer. Select the Block Coding environment.
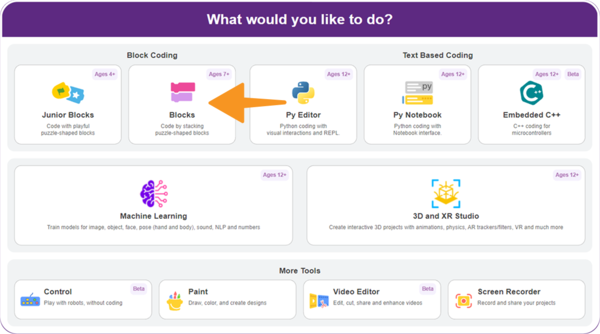 Step 3: Select Arduino Mega Board
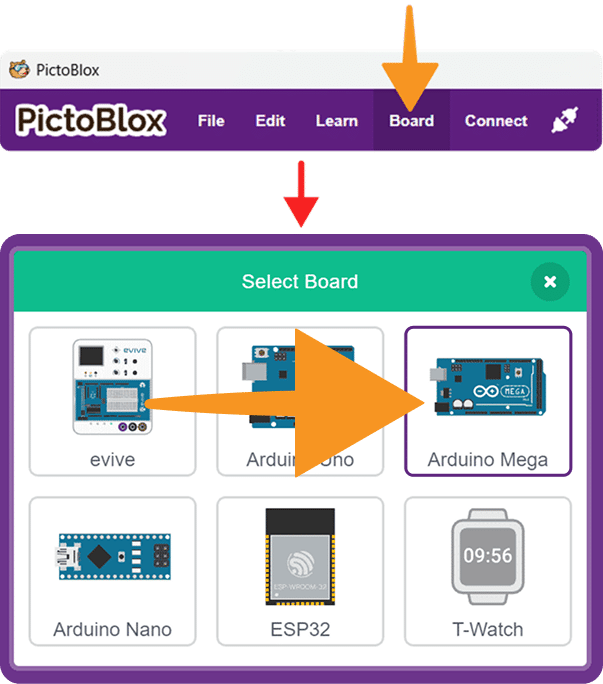
Step 4: Select the Serial Port
Click on the Connect menu. Under Serial Ports (USB), find the port connected to the Arduino device.
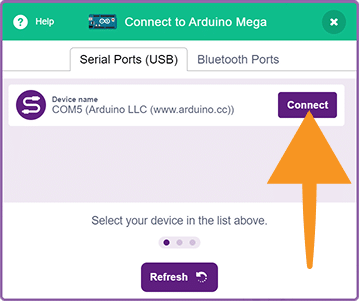 Click Connect beside the correct device.
Step 5: Confirm the Connection
Wait while PictoBlox establishes communication with the Arduino Mega. After a successful connection, the screen will display the connected serial port, such as:
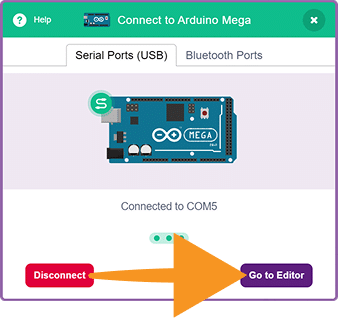
Click Go to Editor to open the coding workspace and start programming your Arduino Mega.
Step 6: Check Arduino Mega Blocks
After connecting the board, select the Arduino Mega category from the block palette.
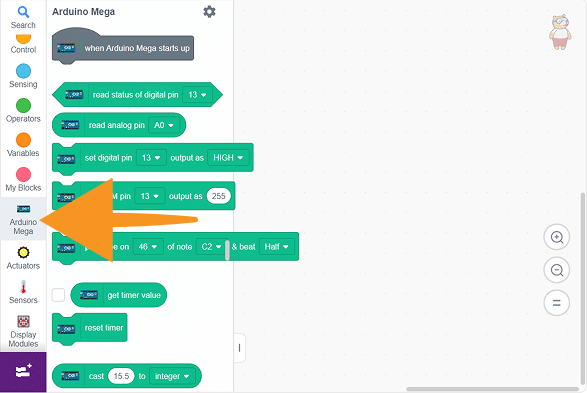
You should see the following blocks:
These blocks allow you to control the built-in functionalities of Arduino Mega using PictoBlox.
1. Stage Mode
2. Upload Mode