


Introduction
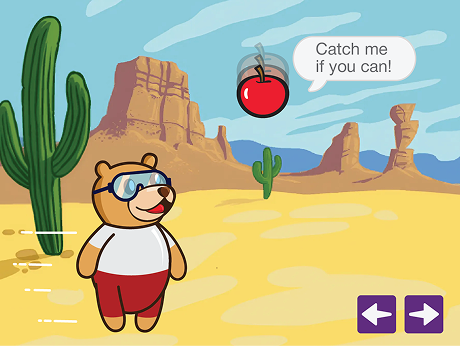
In this project, we are going to create a Catching the apple game in PictoBlox Junior Blocks! The aim of the game is to help Tobi catch the falling apples before they hit the ground.
We are going to use Motion blocks to make the apple fall from the sky and Events to move Tobi back and forth. You’ll need quick reflexes, because if Tobi misses an apple and it touches the floor, the game is over!
Let’s begin!
Setting Up the Game Scenes
Scene 1 – Gameplay Scene
- Create the first scene; click the backdrop to add the desert backdrop.
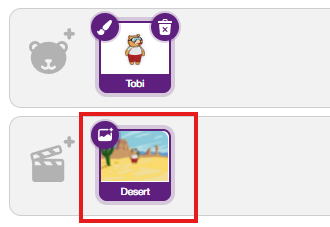
- You already have Tobi; add the Apple sprite in the sprite library. Click the ‘choose a sprite‘ > use the search to find the Apple > select the Apple.
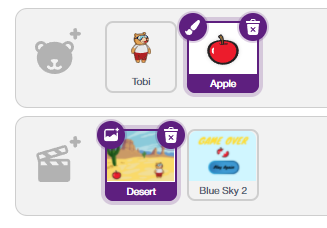
Scene 2 — Game Over Scene
- Now you need to add Scene 2; click the backdrop to add the Blue Sky 2 backdrop.
- Add the Button sprite in the sprite library. Click the ‘choose a sprite’ > use the search to find the apple > select the apple.
- Add the ‘Game Over’ text in the backdrop.
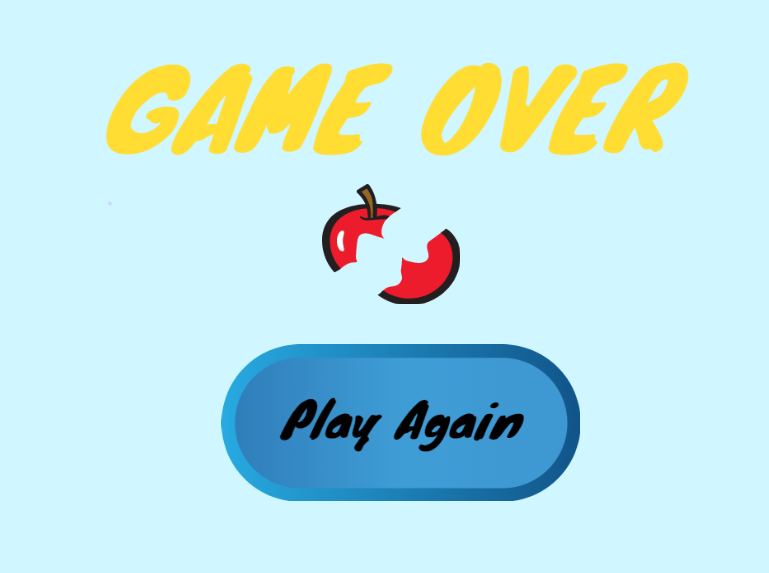
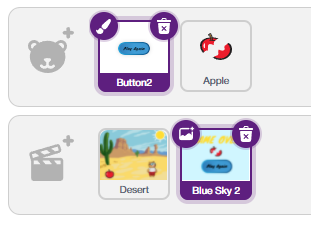
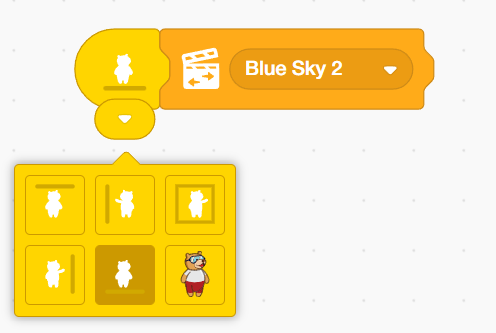
- Add the Apple sprite in the sprite library. Click the brush icon above the apple sprite to customise your broken apple, like the image.
- Remove the Tobi sprite from Scene 2.
Coding Tobi – Player Controls
Scene 1: Tobi sprite
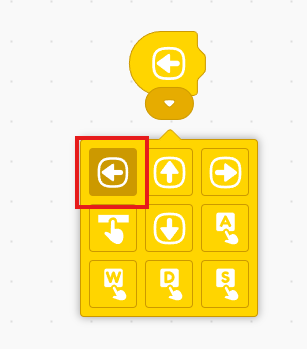
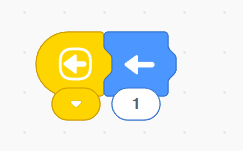
- Add the ‘start on key pressed’ block from the Control palette.
- Change the Left arrow from the dropdown menu.
- Add the Forward block from the Motion palette.
Coding the Apple – Four Scripts
Scene 1: Apple sprite
Script A – Apple fall animation
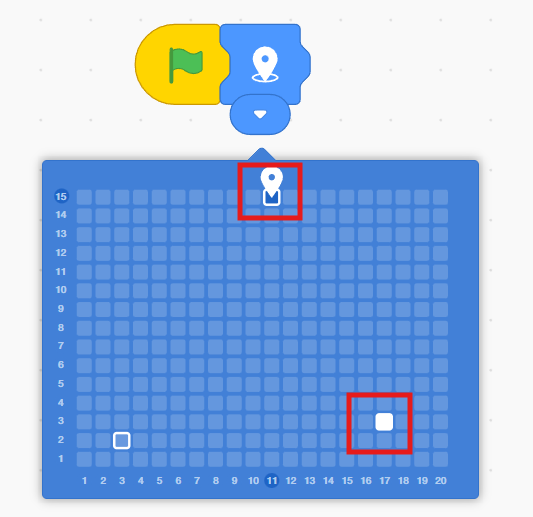
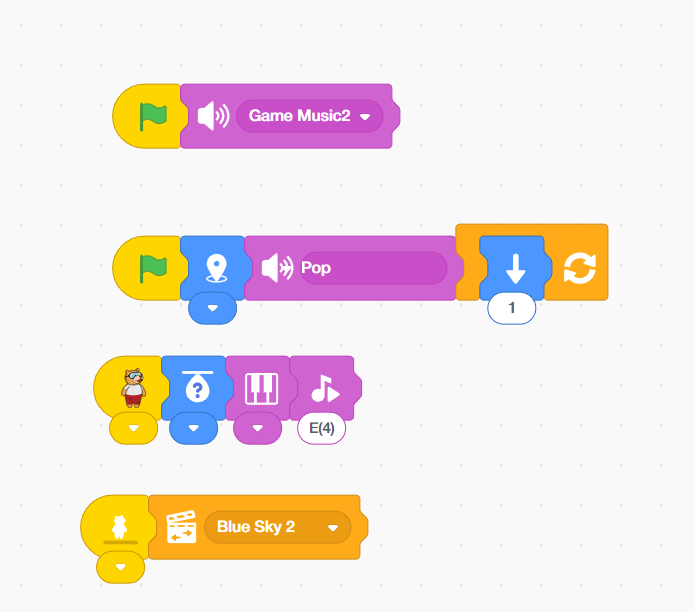
- First the apple falls from top to bottom. Go to Events and drag the Green Flag block into your coding area.
- Add the ‘Move to position’ block from the Motion palette. Set the Start position at the top and the end position at the bottom as mentioned in the image below.
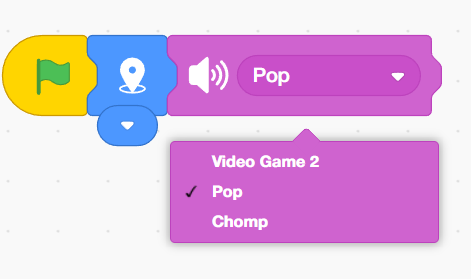
- From the Sound palette, add the play sound block.
- From the Sound palette, click the Add sound (sound icon) to add the music to your project.
- Search ‘Pop’ and ‘Game sound’ and select them for this project.
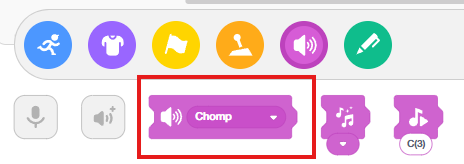
- Change the sound to ‘Pop’ in the dropdown.
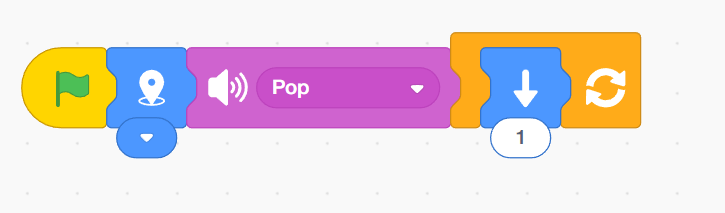
- Add the Repeat forever block from the Control palette.
- Inside the repeat forever block,
- Add the Down block from the motion palette.
- Now, add background sound to the entire game.
Script B – Add background sound
- Go to Events and drag the Green Flag block into your coding area.
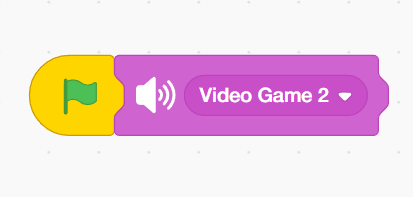
- From the Sound palette, add the play sound block and change the sound into video game 2
Script C – Tobi touching animation
- Add the ‘Start on touching object’ block from the events palette. Change Tobi in the dropdown.

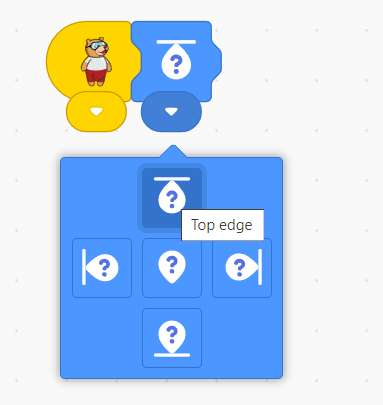
- Add a ‘go to random position’ block from the motion palette. Change to ‘Top edge’ in the dropdown.
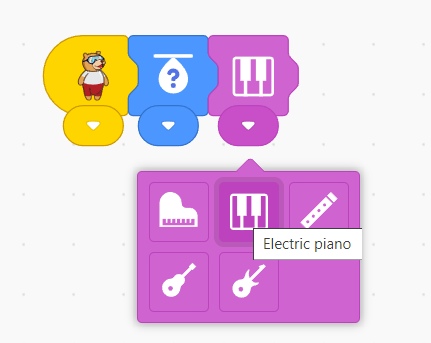
- Add the ‘Set instrument’ block from the Sound palette. Change the instrument to an electronic piano.
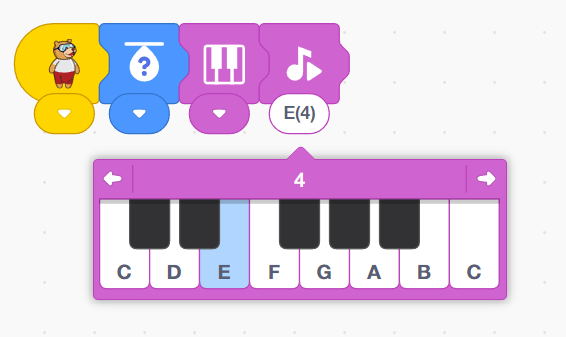
- Add the play note block from sound block, set the play note to E(4).
Script D – Move to next scene
- Add the ‘Start on touching object’ block from the events palette. Change the bottom edge in the dropdown.
- Add the ‘Change scene’ block from the controls palette. Make sure the next scene is Blue Sky 2.
Scene 2: Button sprite
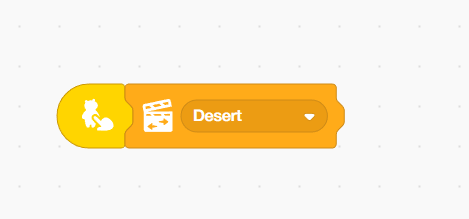
- Add the start on sprite clicked block from the Control palette.
- Add the ‘Change scene’ block from the controls palette. Ensure that the next scene is the desert.
Output
Conclusion
In this project, we learned how to create a Catch the Apple game in PictoBlox Junior Blocks. We required a computer with PictoBlox installed and the sprite library to add the Apple and Button sprites. We used a move to position block to make the apple fall, a repeat forever loop to keep it falling, and touching object events to detect when Tobi catches the apple or when it reaches the ground. We also set up two scenes — a gameplay Desert scene and a Game Over Blue Sky 2 scene — with a Play Again button to restart. With this project, kids and learners will have a better understanding of game design, collision detection, scene switching, and how to use events and loops to build interactive games in PictoBlox.