


Introduction
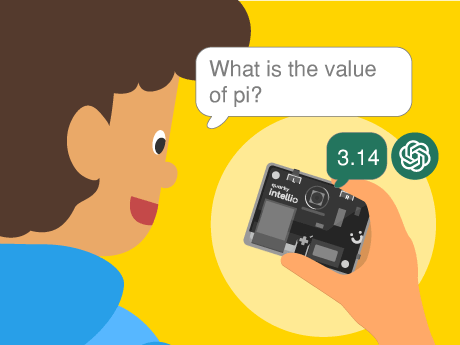
Every time you talk to a virtual assistant, whether it is Google Assistant, Amazon Alexa, or Apple Siri a chain of AI processes springs into action in milliseconds. Your voice is captured and converted to text by a speech recognition model; that text is understood and processed by a language model, and a spoken response is delivered back to you. This entire pipeline is called a voice AI system.
In this project, we are going to build our very own simplified version of this pipeline inside PictoBlox — the Scratch-based AI and robotics programming platform by STEMpedia. Using just a few powerful block-coding extensions, students will experience firsthand how the same core AI technologies that Power the world’s most advanced voice assistants can be assembled, understood, and personalised in a visual programming environment. By the end of this project, you will have a working voice-activated AI chatbot that listens to you, thinks, and talks back — and you will understand exactly why it does so at each step of the AI pipeline.
Setting Up Your PictoBlox Voice AI Project
Step 1: Open PictoBlox and Log In
- Open PictoBlox.
- Both the Speech Recognition extension and the ChatGPT extension require an active internet connection.
Step 2: Add the Required AI Extensions
Click the Add Extension button (the purple icon at the bottom left). Add the following three extensions:
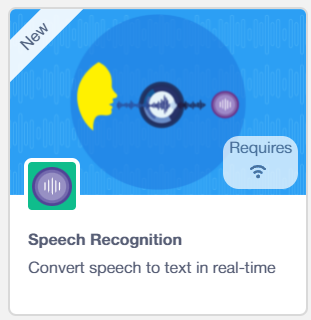
- Speech Recognition — provides the ASR engine that listens to your microphone.
- ChatGPT — provides the Generative AI blocks for querying a language mode.

Step 3: Select Your Sprite
You can use any sprite for this project — Tobi is a great choice, as it provides a friendly visual face for your AI assistant. Click on your chosen sprite before adding the blocks below.
Step 4:
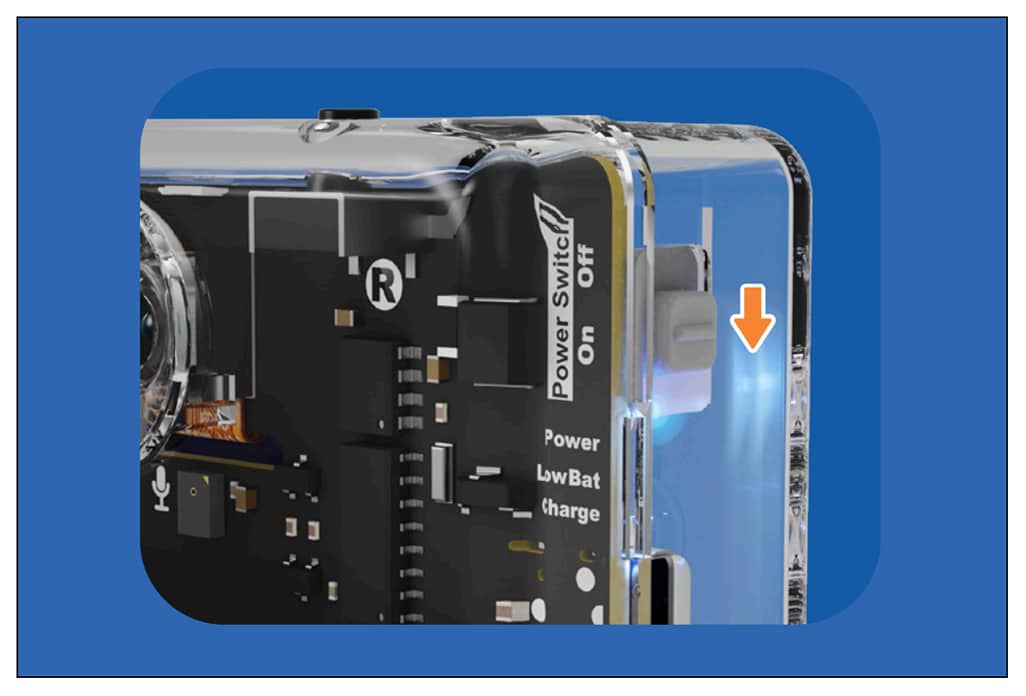
- Slide up the power switch to turn on Quarky Intellio. A blue light will turn on – that means the Intellio is ON.
- Click on Board at the top of your screen. Select Quarky Intellio!
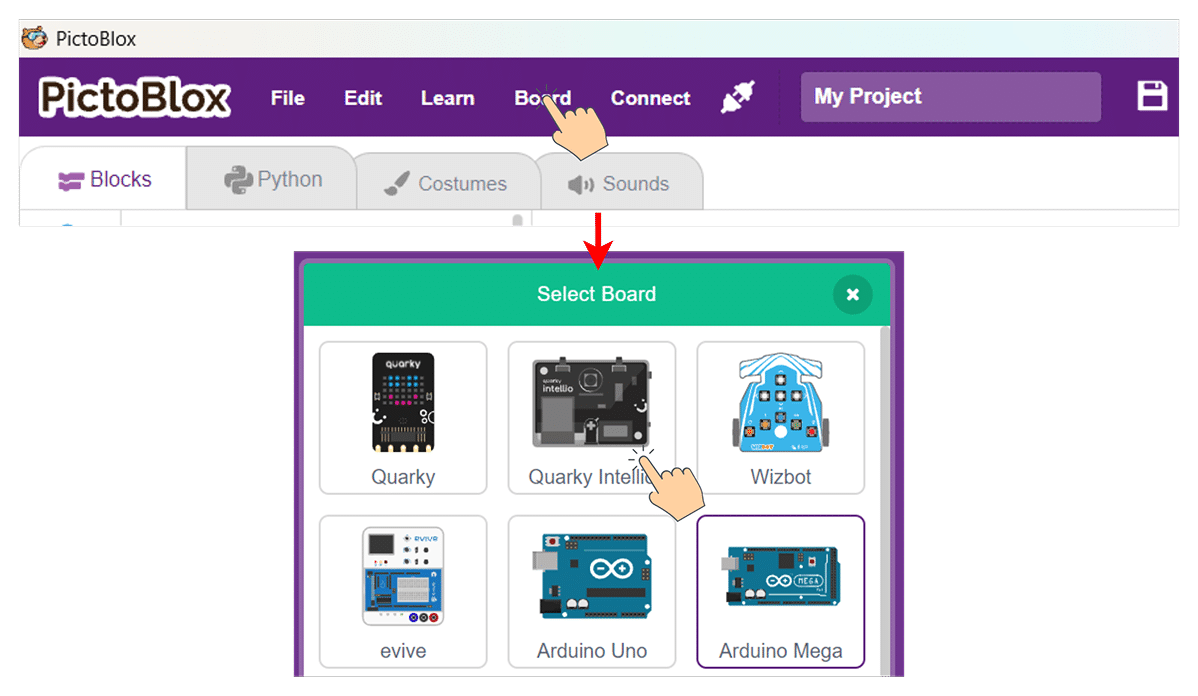
- Click on Board at the top of your screen and select Quarky Intellio.
- Click the Connect tab in the top menu to connect with the serial port (USB). Be sure to Upload Firmware (top-right corner) for Intellio.
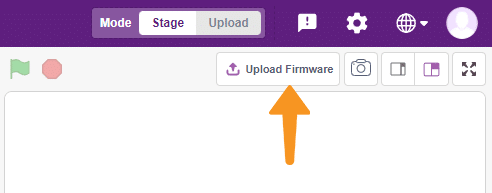
- Once the Upload Firmware is done, choose the Wi-Fi tab to connect Intellio with PictoBlox.
- Check out the Connection guide for Wi-Fi method – https://ai.thestempedia.com/docs/quarky-intellio/quarky-intellio-getting-started/quarky-intellio-connection-guide/#method2
Building the Voice AI Script: Step-by-Step Block Coding Guide
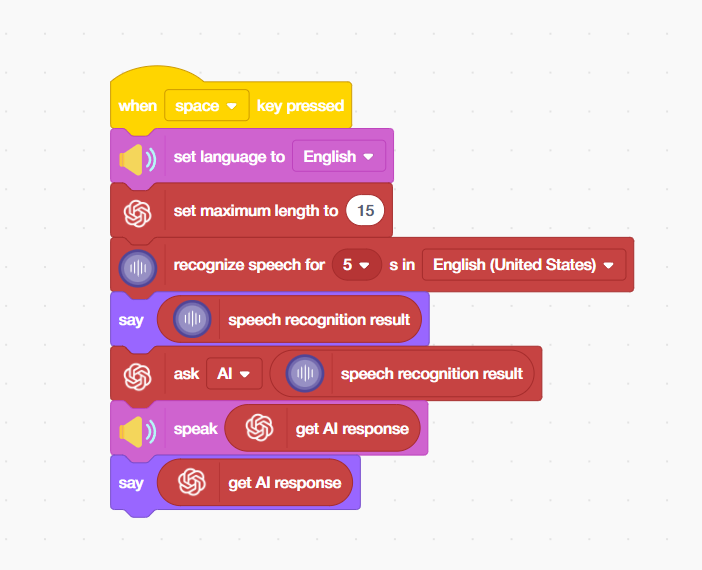
- From the Events palette, place a ‘when [space] key pressed’ hat block at the top of your script. This is the activation trigger for your AI assistant — pressing the spacebar starts the entire voice AI pipeline.
- From the Speaker palette, add a ‘set language to [English]’ block. This configures the Automatic Speech Recognition (ASR) model to use its English acoustic model and language model, optimising it for recognising English phonemes, words, and sentence patterns.
- From the ChatGPT extension, add a ‘set maximum length to [15]’ block. This is a critical AI model parameter — it sets the maximum number of tokens (roughly equivalent to words or word-parts) the Generative AI model is allowed to produce in its response.
- From the Speech Recognition extension, add a ‘recognize speech for [5] s in [English (United States)]’ block. When this block executes, PictoBlox activates your computer’s microphone and streams the audio to the AI speech recognition service for 5 seconds. The AI model analyses the audio signal in real-time, applies noise reduction, identifies speech, and converts it into a text transcript.
- From the Looks palette, add a say [speech recognition result] block. This displays the text that the AI speech-recognition model heard and transcribed – giving the user visual confirmation of what the system understood. This is similar to the live captions feature in Google Meet or Microsoft Teams, where ASR output is shown in real time.
- From the ChatGPT extension, add an ‘ask [AI] [speech recognition result]’ block. This is the most powerful block in the entire script — it takes the transcribed speech text and sends it as a prompt to the connected Generative AI language model (powered by ChatGPT / OpenAI technology).
- From the Speaker palette, add a ‘speak [get AI response]’ block. This converts the AI’s text response back into spoken audio, completing the voice AI loop. Your AI assistant now speaks its answer out loud!
- From the Looks palette, add a ‘say [get AI response]’ block. This displays the AI’s response as a speech bubble on the screen — giving users both an audible and a visual output. Providing multi-modal output (voice + text) is a best practice in AI UX design, making the assistant accessible to users in different environments and with different needs.
Output
Conclusion
In this AI and STEM project, we built a complete voice AI assistant pipeline in PictoBlox – integrating Automatic Speech Recognition (ASR), a Generative AI Large Language Model (LLM), and Text-to-Speech (TTS) synthesis into a seamless voice-in, voice-out AI system using simple block coding.
We learnt how each AI technology in the pipeline works — from how deep learning ASR models transcribe speech, to how LLMs like ChatGPT generate intelligent text responses, to how neural TTS engines convert that text back into spoken language. We also explored important AI engineering concepts like token limits, language model configuration, event-driven activation, and multi-modal output design.
This project is an outstanding hands-on AI literacy activity for students in schools, Atal Tinkering Labs (ATLs), STEM coding labs, and home learning environments. The same technologies you have worked with today — ASR, LLMs, and TTS — are the building blocks of some of the most transformative AI applications in the world. Now you know exactly how they work and how to use them.