


Introduction
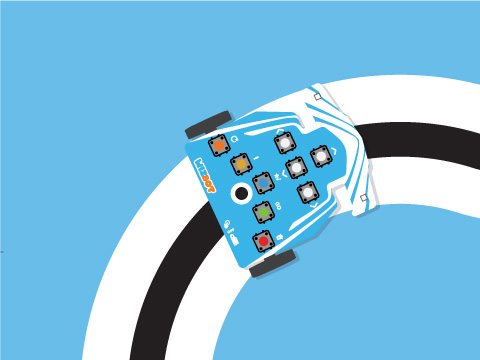
In this project, you will program a robot to autonomously follow a line on the floor using its IR (infrared) sensors. The robot continuously tracks the line and, upon reaching a checkpoint, performs a special forward movement before resuming line-following. This project introduces key robotics concepts such as sensor calibration, conditional logic, and the use of custom robot blocks in PictoBlox.
Prerequisites
- Wizbot Neo robot (fully charged).
- A computer with PictoBlox installed and Bluetooth enabled.
- Track Arena (line following).
Connecting your Wizbot to Pictoblox Blocks
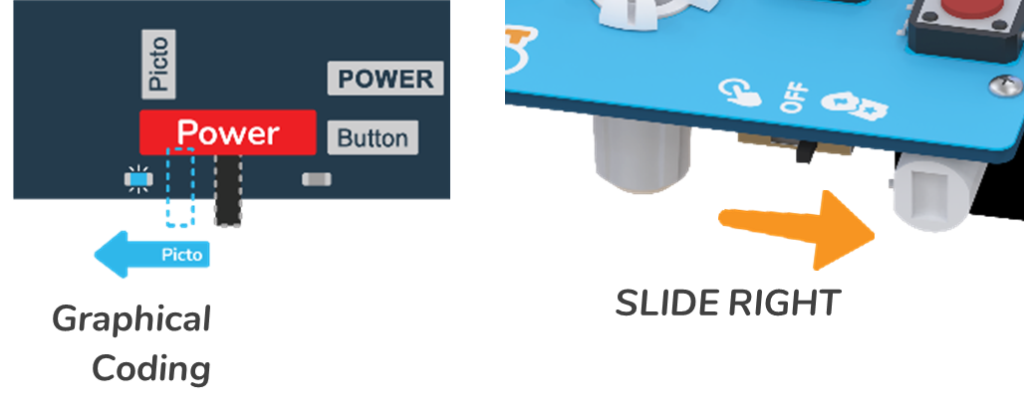
- Wizbot needs to be turned on; slide the 3-way power switch towards Picto coding. When you slide to PictoBlox Coding, a blue light will glow on the back side with a ‘troo-tooi’ sound.
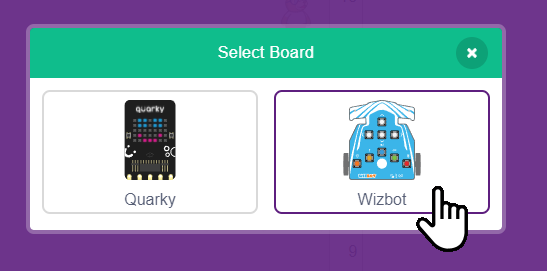
- Click on the Board tab on the top navigation bar and select Wizbot Neo.
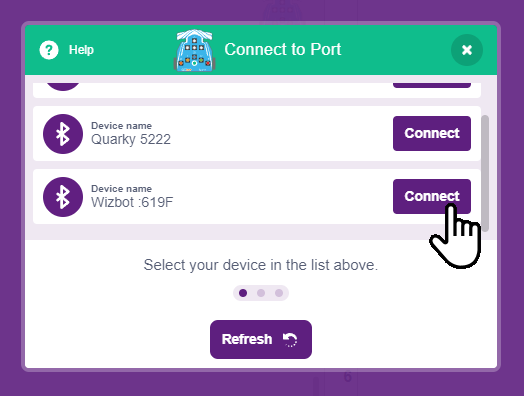
- Now, click on connect and choose Bluetooth.
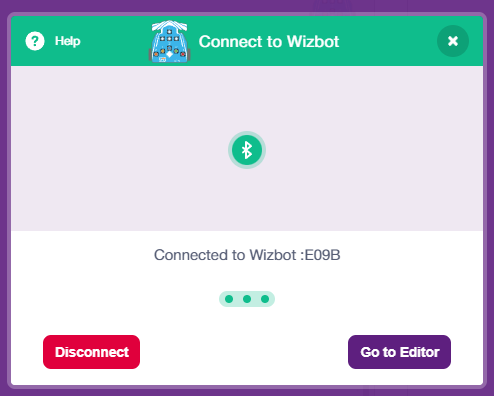
- Your Wizbot has a unique code mentioned on it. Select your Wizbot from the list and click on Connect.
- Wizbot plays a confirmation sound on connecting.
- Voila! Your wizbot is now connected to PictoBlox!
- Remove the Tobi sprite.
Block-by-Block Explanation
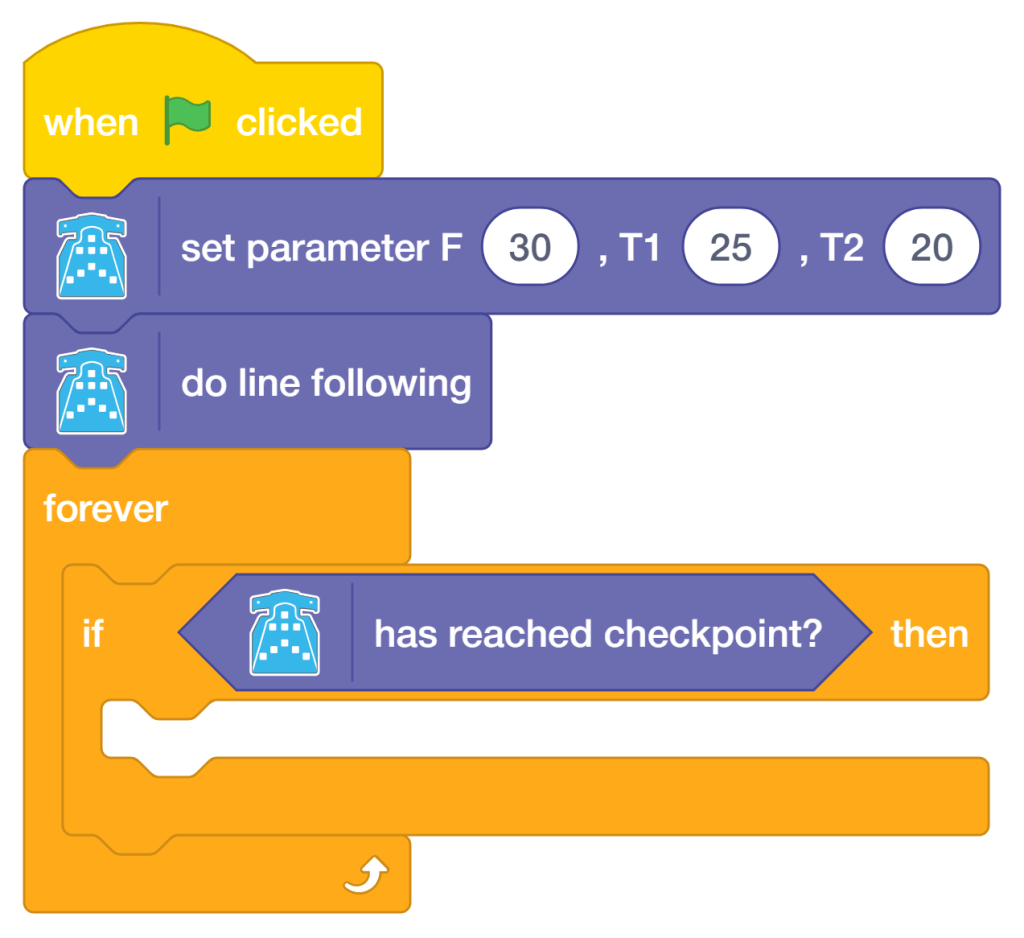
These blocks run once when the green flag is clicked to configure the robot before any movement begins.
- Go to the Events palette and drag the ‘when green flag clicked’ block into the scripting area.
- Add the ‘set parameters F (30), T1 (25), and T2 (20)’ block from Wizbot. Configures three internal parameters used by the line-following algorithm. F (30) sets the base forward speed, and T1 (25) and T2 (20) set the left/right correction thresholds that determine how aggressively the robot steers to stay on the line.
- Add “do line following” block from Wizbot. It activates the built-in line-following behaviour immediately after parameters are set, so the Wizbot starts tracking before entering the main loop.
Forever Loop — Checkpoint Detection
After initialisation, the script enters a ‘forever’ loop that runs continuously for the duration of the program.
- Add the ‘forever’ block from the Wizbot block; it creates an infinite loop. All blocks placed inside will repeat indefinitely until the stop button is clicked from the stage.
Inside the forever block,
- Add ‘if <> then’ from the Controls palette, add ‘has reached checkpoint?’ block WizBot’s palette inside the if block. Checks the WizBot’s checkpoint sensor (typically an additional IR sensor or a specific line pattern detector) on every loop iteration. If a checkpoint is detected, the indented blocks below execute.
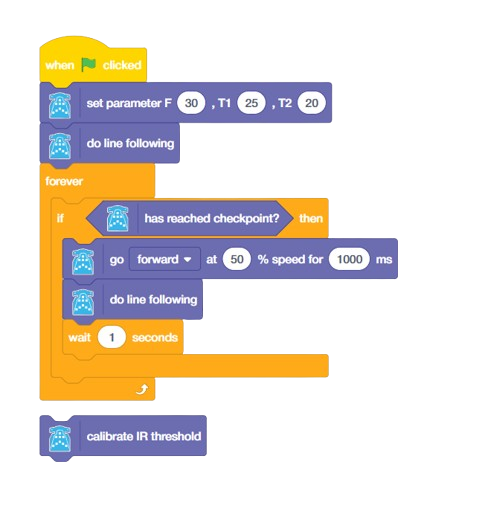
- From the Wizbot palette, ‘go forward at (50)% speed for (1000) ms’ Inside the if-block, it drives the Wizbot straight forward at 50% of its maximum speed for 1000 milliseconds (1 second). This is the checkpoint response action, e.g., crossing an intersection or pausing at a station.
- Add the ‘do line following’ block from the Wizbot palette. After the forward movement, re-engage the line-following algorithm so the robot picks the line back up and continues tracking.
- Add a ‘wait (1) seconds’ block from the control palette; it pauses for 1 second after resuming the following line. This gives the Wizbot time to stabilise the line before the loop checks for another checkpoint.
Calibration Block (Separate Script)
This block appears below the main script and is run independently before starting the main programme.
- Add a ‘calibrate IR threshold’ block from the Wizbot palette. It triggers an automatic calibration routine that scans the IR sensor readings over the current surface. The Wizbot typically needs to be moved back and forth over the line during calibration so it can determine the correct black/white threshold values. Always run this routine before the main script if the surface or lighting conditions have changed.
Output
Conclusion
In this project, we learned how to program the Wizbot Neo to autonomously follow a line using IR sensors in PictoBlox Blocks. We required a Wizbot Neo robot, a Bluetooth-enabled computer, and a black line track. We used the set parameter block to configure speed and steering thresholds, the do line following block to activate autonomous tracking, and a forever loop with checkpoint detection to handle intersections. We also ran the IR calibration script before the main programme to ensure accurate sensor readings. With this project, kids and learners will have a better understanding of sensor-driven robotics, conditional logic, and how real-world autonomous robots navigate their environment.