


Introduction
The time has come to create something fun and heartwarming! We are going to design an animated birthday card in PictoBlox! In this activity, your character will celebrate with a cheerful animation, play a birthday song, and display a special message on the screen. We will use simple blocks to control the character, switch costumes for animation, and add sound effects to make the celebration lively.
Let’s begin and bring your birthday card to life!
Setting Up the Stage
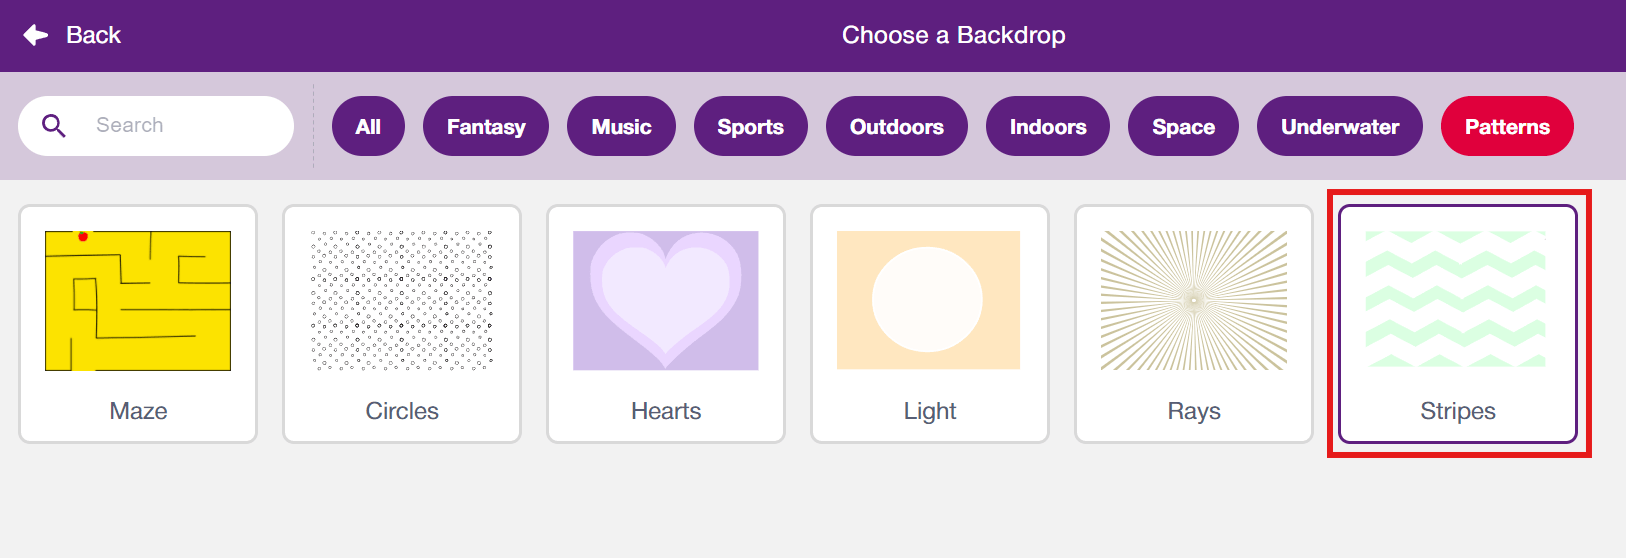
Since this card will have some pattern, we need a backdrop that looks like a patterned background. Click on ‘Choose a Backdrop‘ and select the ‘Pattern’ tag in the menu. Choose the Stripes backdrop from the library.
Adding the Sprites
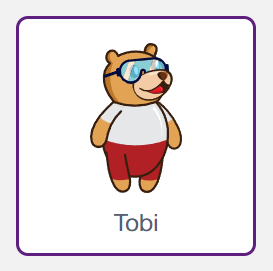
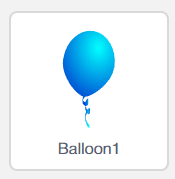
For this animation, we need three sprites: our Tobi, Cake and balloon, and make something celebration mode. Click on the Choose a Sprite button and add the three sprites one by one from the library.
![]()
Make Animation with Tobi
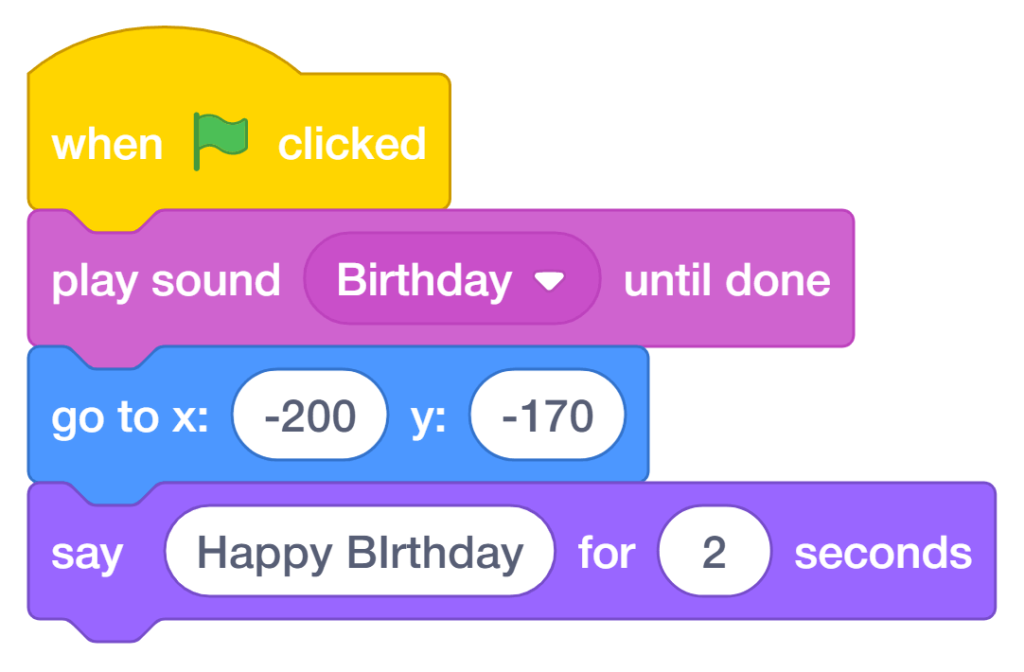
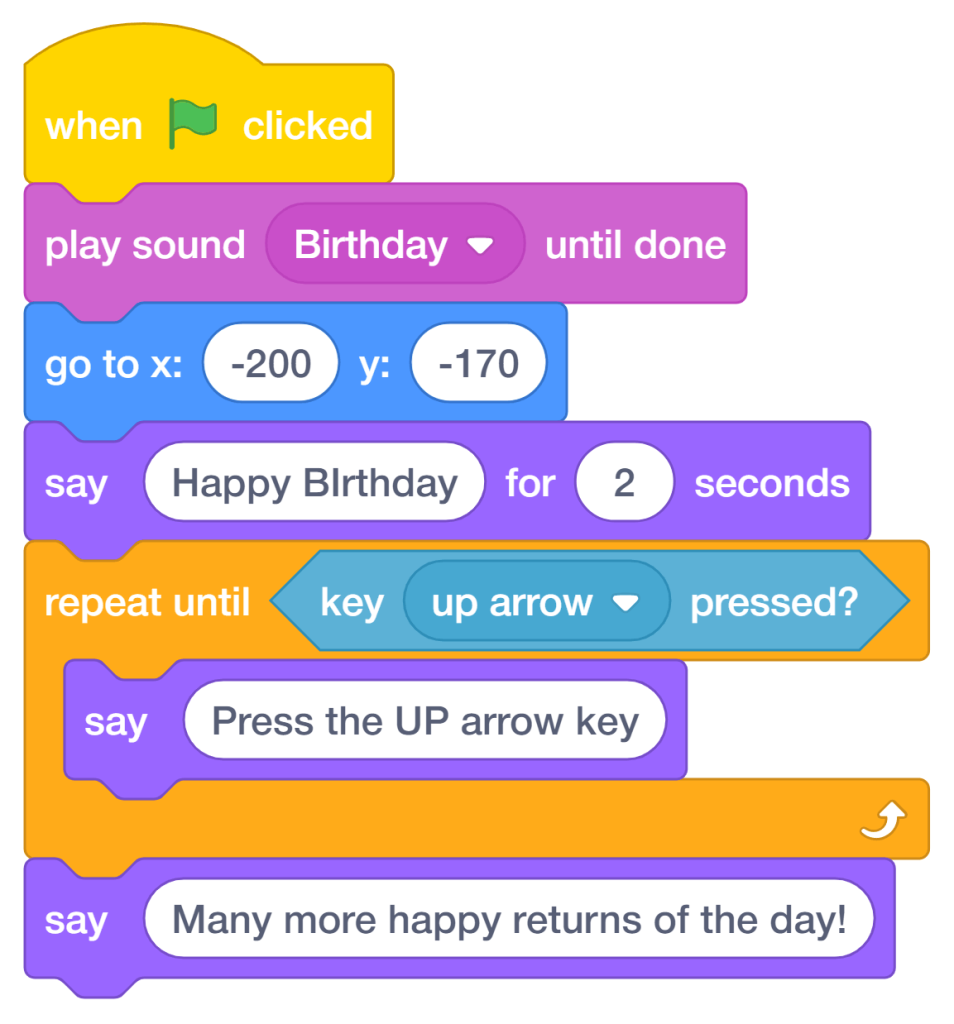
Let’s create the script for Tobi (greeting/character sprite). This script handles both the birthday audio and the on-screen messages.
- Go to the Events palette and drag the “when green flag clicked” block into the scripting area.
- From the Sound palette, add the “play sound [ ] until done” block and set the sound to “birthday“. This plays the full birthday soundtrack.
- From the Motion palette, add the “go to x: y:” block and set the position to x: -200, y: -170. This places the sprite in the lower-left corner of the stage.
- From the Looks palette, add the “say [ ] for 2 seconds” block.
- Type “Happy Birthday” in the text box.
- Go to the Controls palette and add the “repeat until” block.
- From the Sensing palette, place the “key (space) pressed?” block inside it and change the key to Up Arrow. This keeps the message loop running until the up arrow key is pressed.
- Inside the repeat until loop: Add a “say [ ]” block and type: “Press the UP arrow key.”
- Add another “say [ ]” block and type “Many more happy returns of the day” outside the repeat-until loop.
Cake Animation Script
![]()
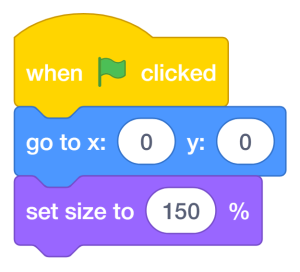
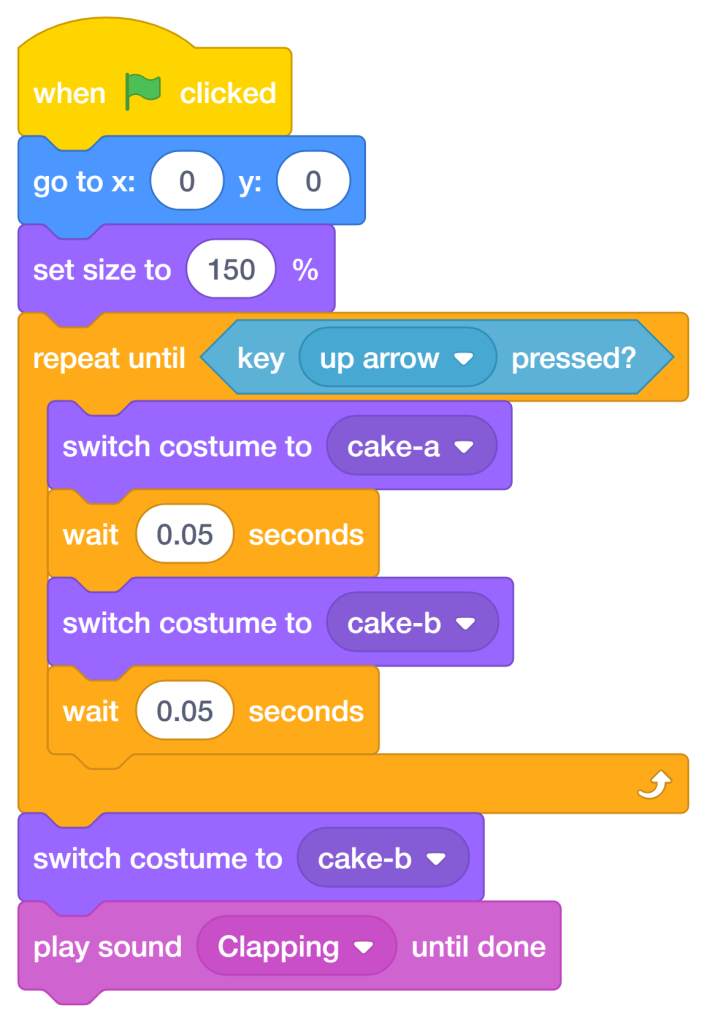
Let’s create the script for the cake:
- Go to the Events palette and drag the “when green flag clicked” block into the scripting area.
- From the Motion palette, add the “go to x: 0 y: 0” block. This centers the cake sprite on the stage.
- From the Looks palette, drag the “set size to 100%” block and change the value to 150% to enlarge the cake for better visibility.
Add Animation Condition
- Go to the Controls palette and add the “repeat until” block.
- From the Sensing palette, place the “key (space) pressed?” block inside it and change the key to Up Arrow.
→ This will keep the animation running until the Up Arrow key is pressed. - Create Cake Animation
Create Cake Animation
- Inside the repeat until loop:
- Add “switch costume to [cake-b]” from the Looks palette (candles lit).
- Add a “wait 0.05 seconds” block from Controls for smooth animation timing.
- Add “switch costume to [cake-a]” (candles flicker/blow effect).
- Add another “wait 0.05 seconds” block.
Add Celebration Sound
- Add Celebration Sound
- After the loop, add “play sound [birthday] until done” from the Sound palette.
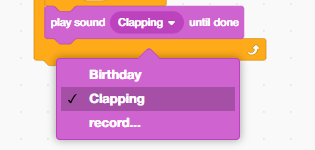
- Go to the Sounds tab at the top.
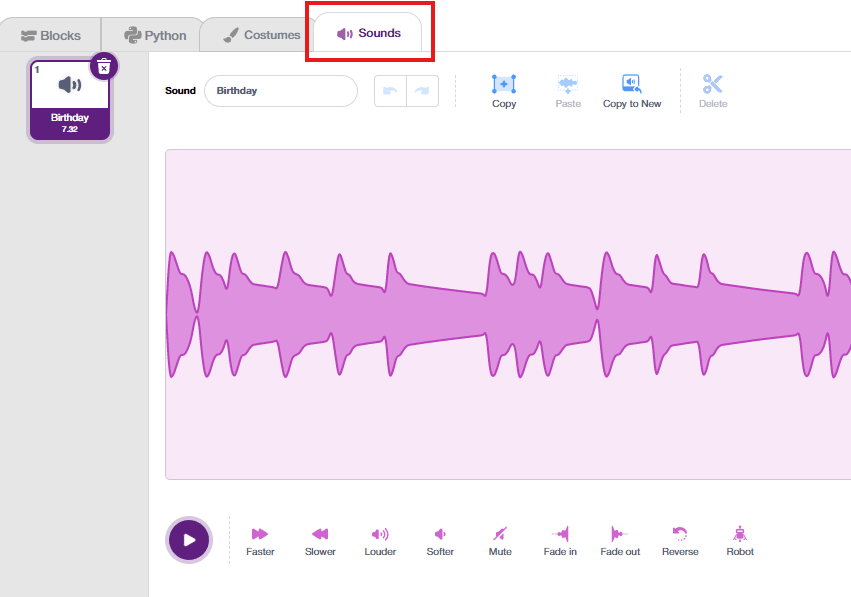
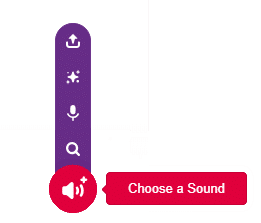
- Click “Choose a Sound” and add a clapping sound from the library.
- Return to the scripting area and change the sound in the block to clapping.
Flying Balloon — Clone-Based Confetti Effect
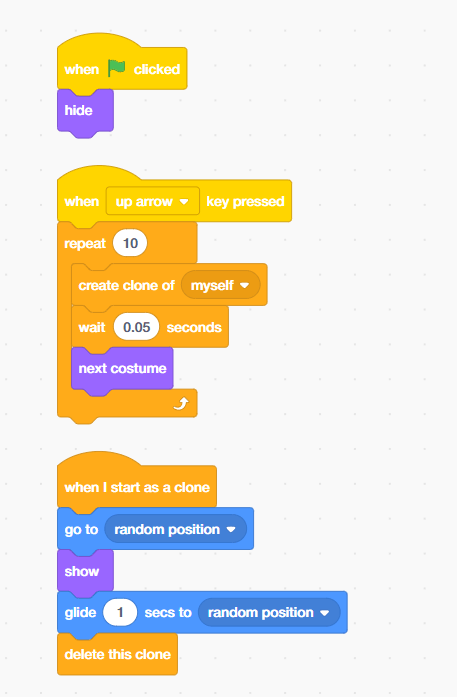
The balloon sprite uses clone feature to create a burst of multiple balloon pieces flying across the screen when the Up Arrow key is pressed. There are two separate scripts on this sprite.
Script A – Hidden on Start
- Go to the Events palette and drag the “when green flag clicked” block into the scripting area.
- Add the hide block from the looks palette.
Script B – Up Arrow Triggers Balloon
- Add the “when [space] key pressed” block from the Events palette; change the key into the up arrow.
- Add the “repeat” block and add the number 10. Runs the following blocks 10 times to create 10 balloon clones.
- Inside the repeat block, add the “create clone of [myself]” from the control palette. Inside the loop spawns a new clone of the balloon sprite.
- Adds a tiny delay between each clone creation for a staggered burst effect. From the control palette, add “wait 1 seconds”, change the seconds to 0.05 seconds.
- From the Looks palette, next costume – change through different balloon costumes/colours for visual variety.
Script C – Clone Behaviour
- Each clone, when it is created, automatically runs. Add the “when I start as a clone” block from the Controls palette.
- Add the “go to [random position]” block from the Motion palette. It teleports the clone to a random location on the stage.
- Add a “show” from the Looks palette; it makes the clone visible.
- Add “glide 1 sec to [random position]”; it smoothly glides the clone to another random position over 1 second, creating a floating balloon effect.
- Add the “delete this clone” from the control palette; it removes the clone from the stage after it finishes gliding.
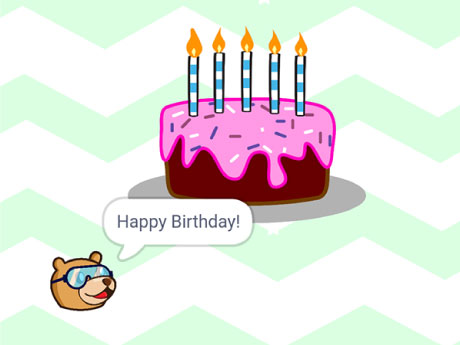
Output
Conclusion
In this project, we learned how to create an animated birthday card in PictoBlox using Blocks. We required a computer with PictoBlox installed and the sprite library to add Tobi, Cake, and Balloon1. We used costume switching and sound blocks to animate the cake, repeat-until loops to display interactive messages, and the clone feature to create a balloon confetti burst. In the end, we wrote three sets of scripts — for Tobi’s greeting, the cake animation, and the flying balloons. With this project, kids and learners will have a better understanding of sprite animation, event-driven programming, and how to build interactive scenes in PictoBlox Blocks.