introduction
if you are here by your own will, this means you already know about programming and project-making. in all the programming languages need some data from the user and also we are required to display some useful information for the user. in the same way, while writing the codes for Arduino and making projects, we are dealing with a lot of useful information. this data is called serial data and sending this data to the user or receiving data from the user is called serial communication. for Arduino, we are having Serial monitor from where we can show whatever the data we want to display or receive from the user.
in this example, we learn how to read the Serial input for Arduino using the communication extension of Pictoblox.
Extension
Go to extension and add communication extension.

Now change the mode from stage to upload.
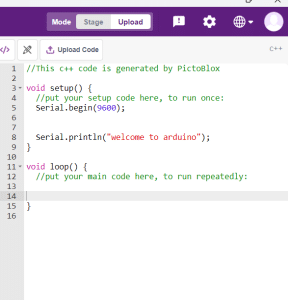
Code
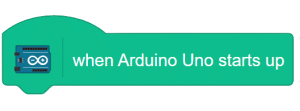
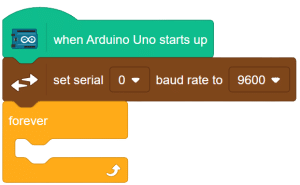
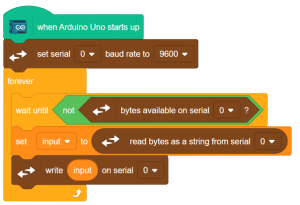
- from Arduino palette add when Arduino starts-up.
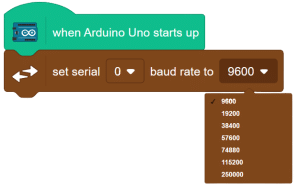
- from communication palette enable the Serial communication using Set Serial() baud rate() block and from drop-down set the baud rate as 9600.
- From controls add forever block.
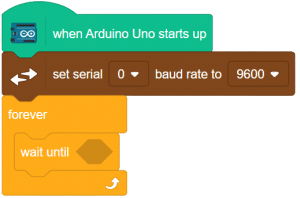
- from the control palette add wait until () block in forever block.
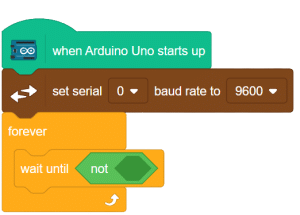
- from operators add not operator in wait until() block.
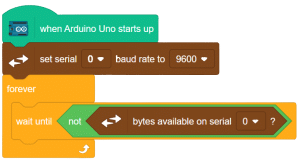
- now we will wait until user enters any input and we will take that input and move further otherwise, we continue to wait there. for this add bytes available on serial ()? block in not operator.
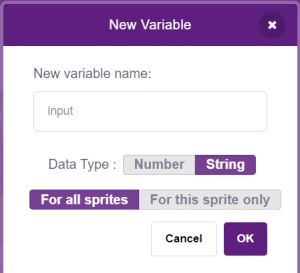
- create a variable of type string and name it as input.
- now store the user data in input variable.

- now use the write () on serial () block to print user data on the serial monitor.
Script
Output
here you can see that the null spaces are gone now.