Introduction
Quarky is a powerful microcontroller that allows for custom programming of projects, ranging from basic to advanced levels. With various built-in features such as sensors, actuators, and a speaker, Quarky becomes the perfect companion for those venturing into the world of robotics and AI. Its compact size and plug-and-play functionality make it an ideal choice for students eager to learn and experiment with robotics.
![]()
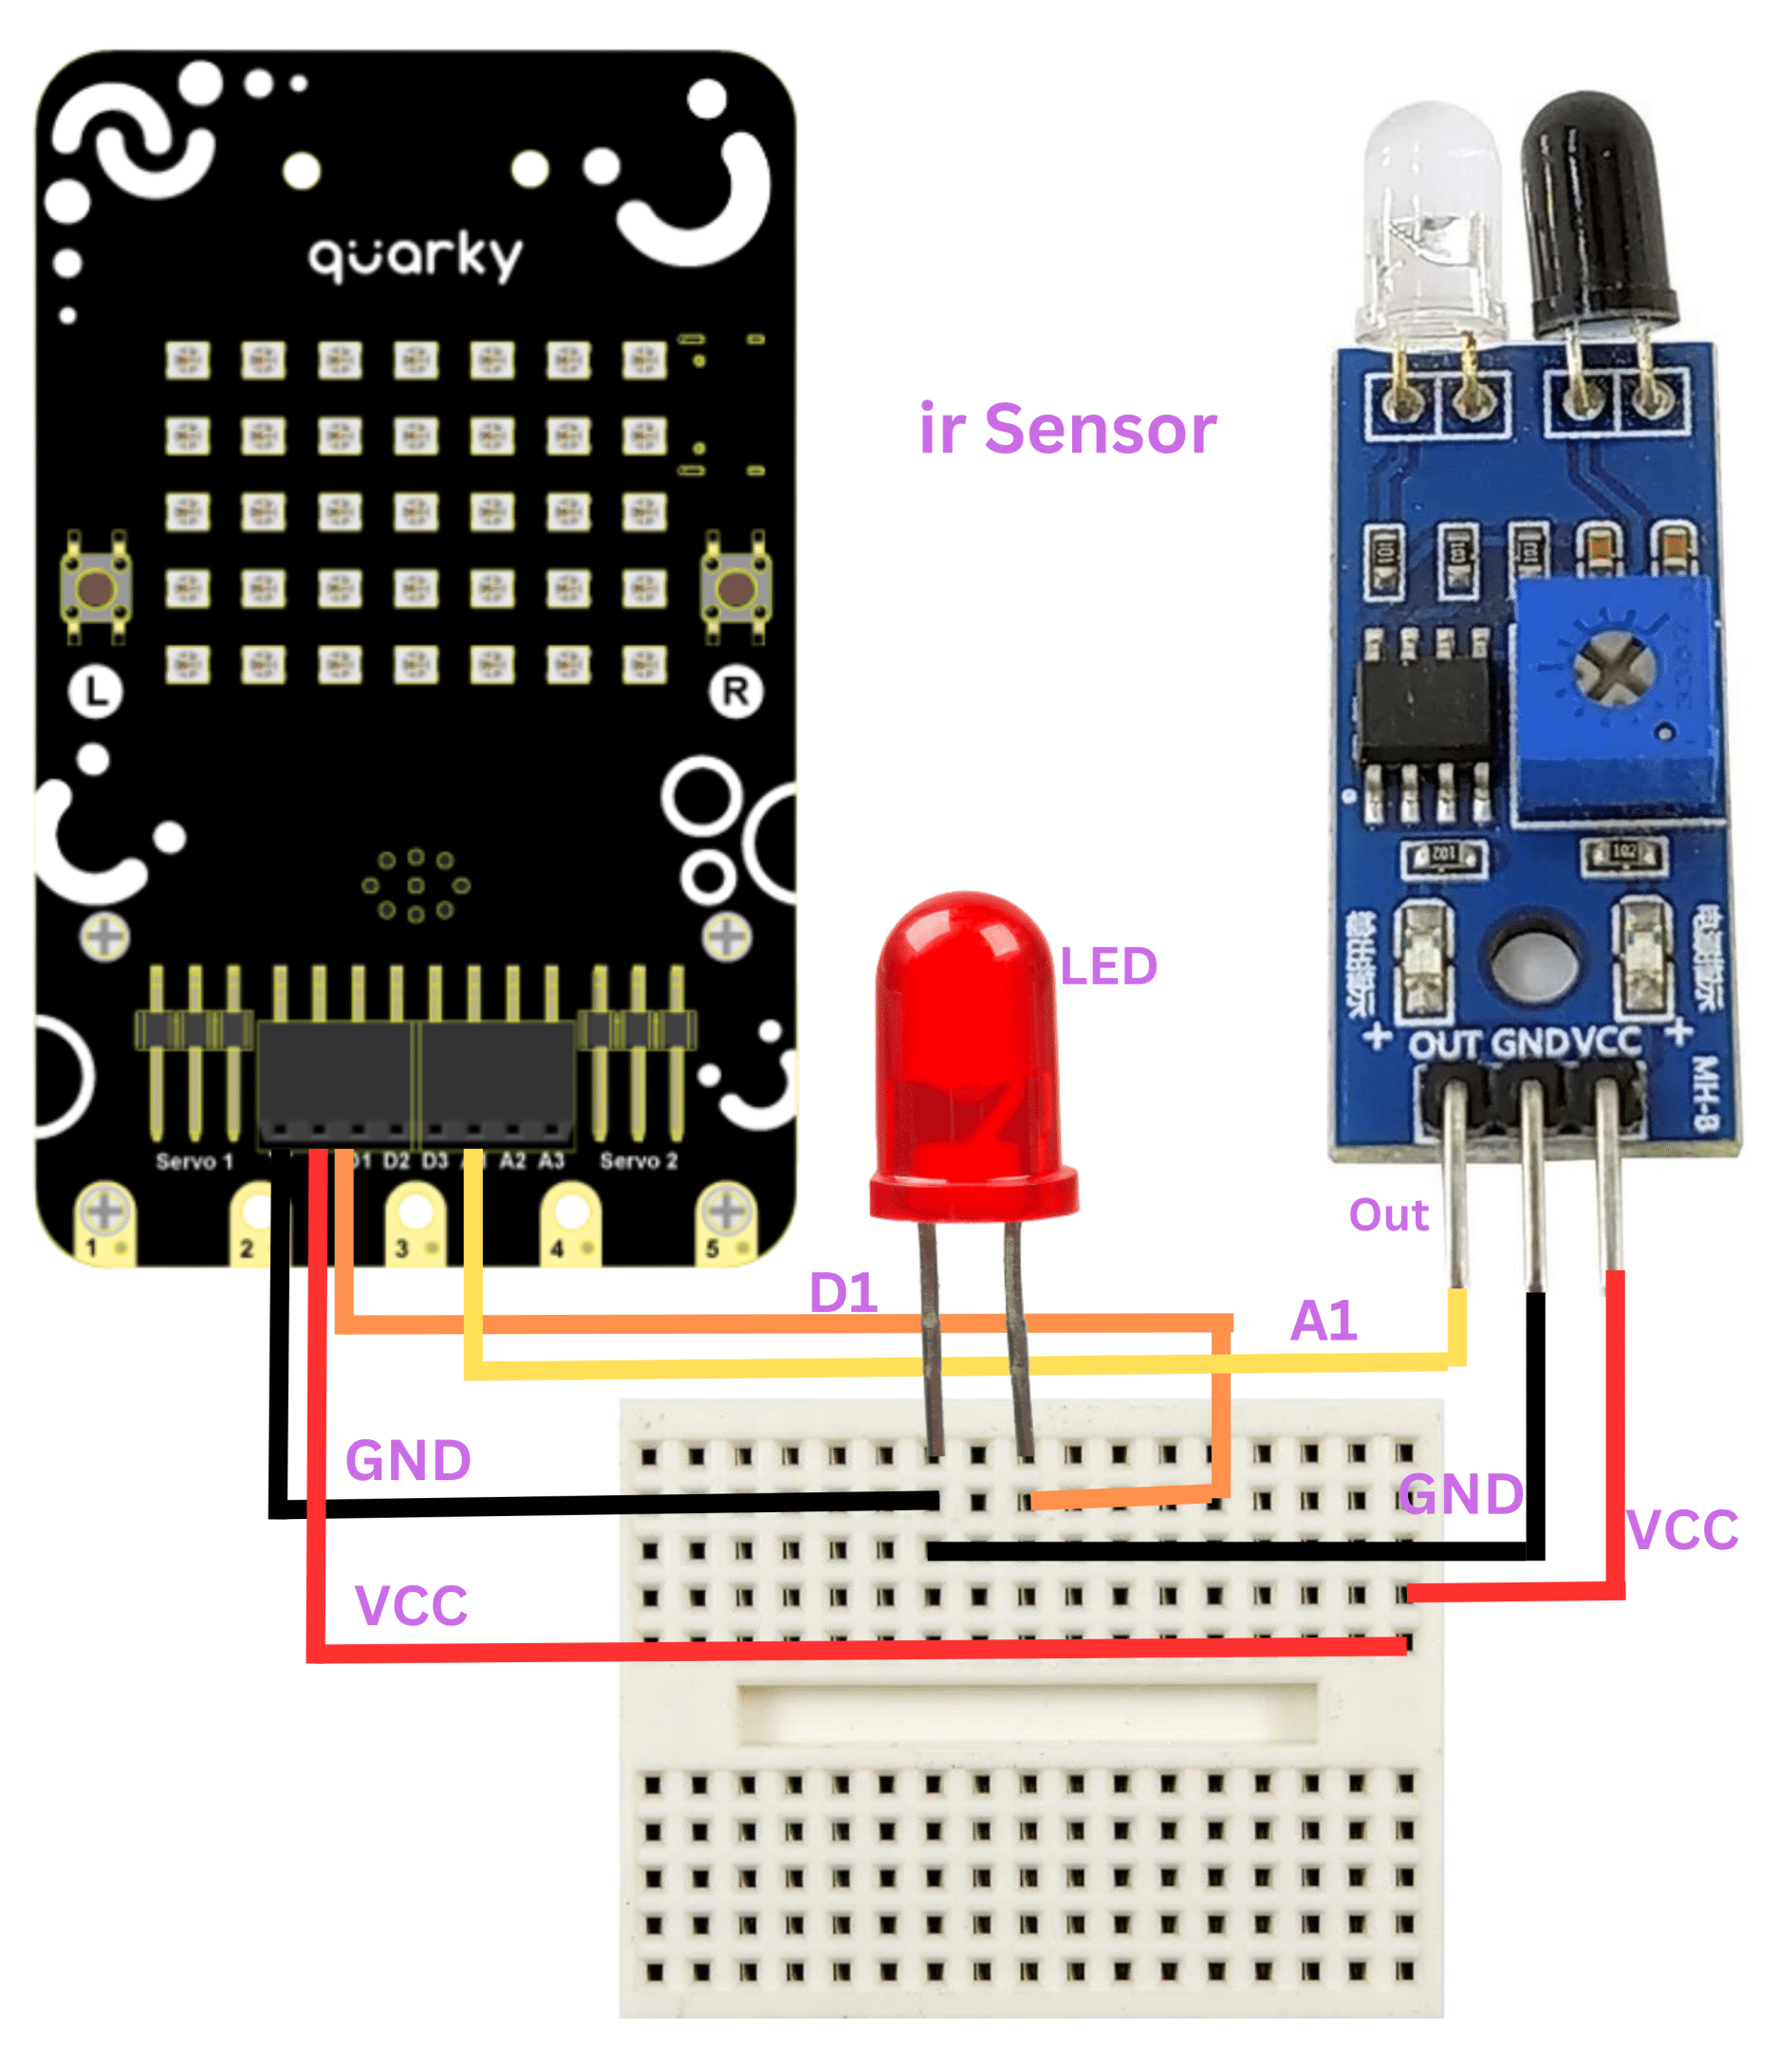
Circuit Diagram:
Code:
Follow these steps to implement the code using Pictoblox for Quarky to control the LED based on the IR sensor’s readings:
- Open Pictoblox and create a new file in block coding.
- Go to boards and select Quarky.
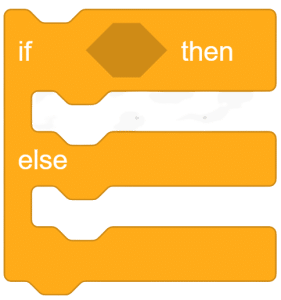
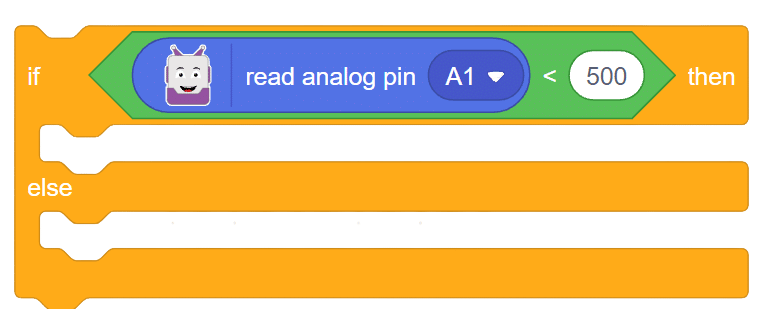
- Add an if-then-else block from the event palette.
- From the operators, add the “less than” operator in the conditional space.
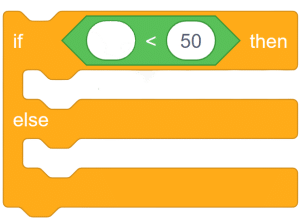
- Go to Quarky and add the “read analog pin ()” block into the first space of the “less than” operator. Change the value to 500.
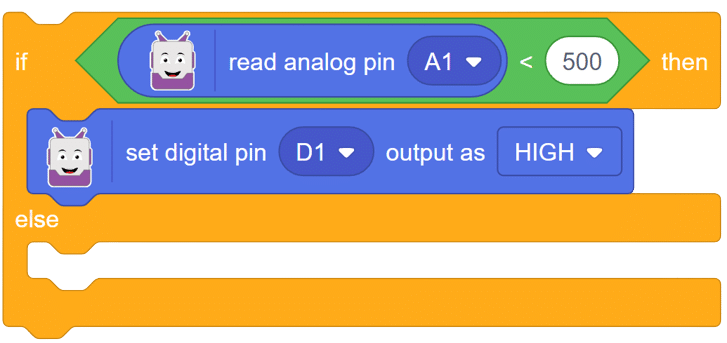
- Use the “set digital pin () as ()” block from Quarky to turn ON the LED connected at D1 if the value is less than 500.
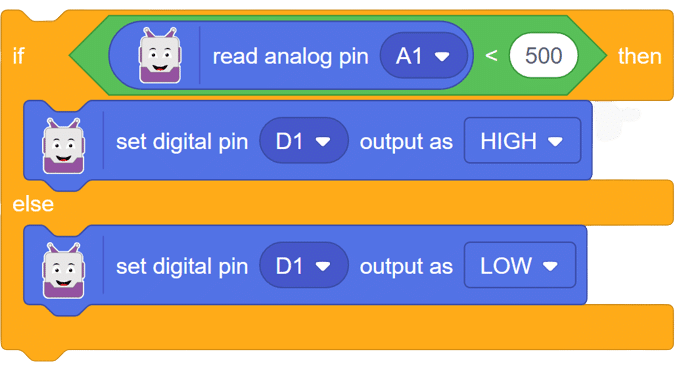
- If the value is above the set value (500), then the LED must turn OFF.
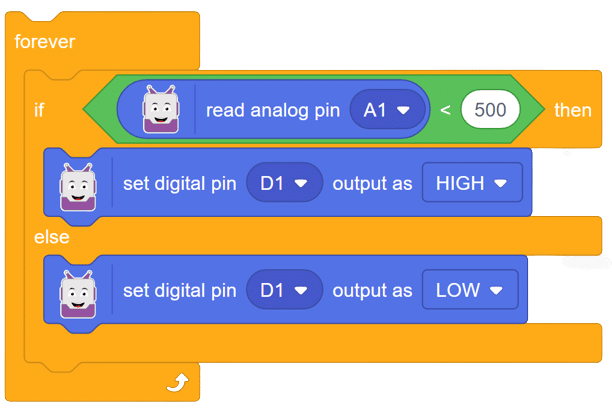
- Place the above set of code in the “forever” loop.
- Now add “when flag clicked” at the start in the script.
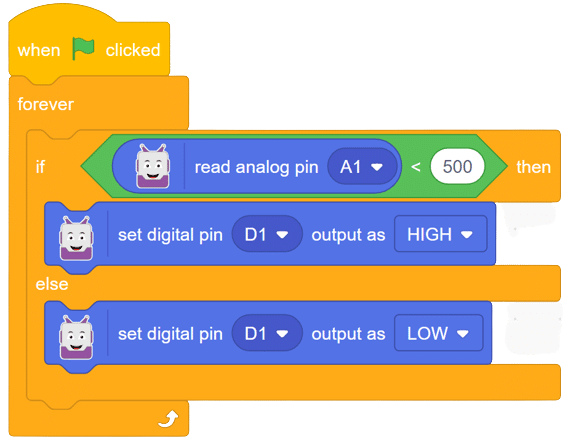
Script:
Output:
In this comprehensive introduction, you have learned about Quarky, the versatile microcontroller, and its potential in robotics and AI projects. Explore its various features, sensors, and plug-and-play functionality. Follow our step-by-step guide to set up the circuit with the IR sensor and LED, and program Quarky using Pictoblox’s block coding. Witness the successful implementation through the final script and output, experiencing the magic of Quarky in action!