Introduction
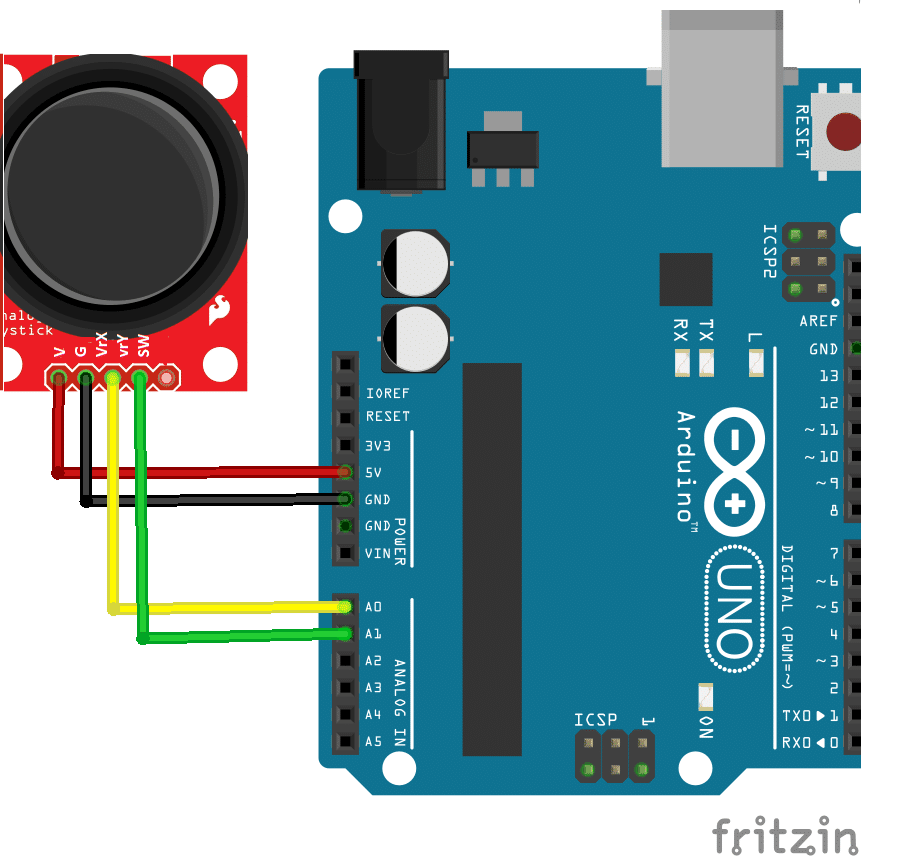
Joystick Is Basically Input Device That Will Be Used TO Control The Robotics And It Has Been Also Used In Gaming. The Joystick Are Different Types And Uses In Different Purposes. The Above Images Shows The Pins That Will Be Used For Interfacing With Hardware. We Know About The First Two Pin That Is Basic Pins Which Is Used In Every Hardware. That Is +5V And Another Is Ground. Another Three Pins Are Input And Output Pins. The VRx And VRy Are The Input Pin And SW Is The Output Pines Will Briefly Understand About The Interfacing Joystick With Arduino.
Circuit Diagram
Code
- Open PictoBlox and create a new file.
- Change the scripting mode from “stage” mode to “upload” mode.
- Click on the extension button and add the communication extension.
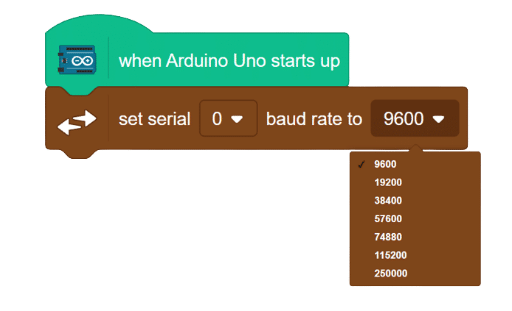
- From the Arduino palette, drag the “when Arduino starts up” block into the scripting area.
 click on communication extensions and drag “set serial () baud rate to () ” into the scripting area.
- Set the baud rate to 9600.
- From the controls palette, add the “forever” block.

- add all the blocks that you have created inside the forever block
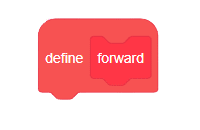
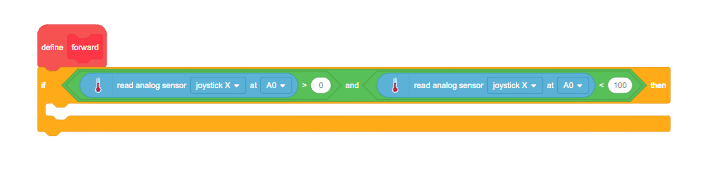
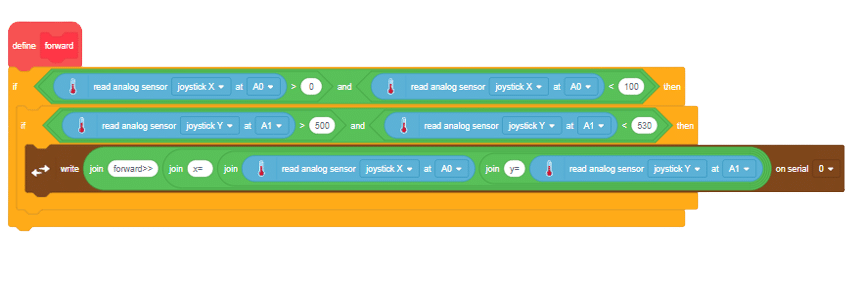
- From controls palette, define forward block.
- from the control pallet select AND block
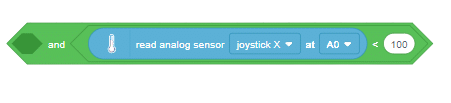
 Again from the operator palette drag less then operator and insert in second space if the AND operator.
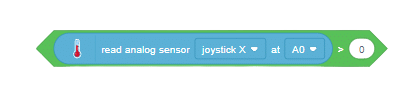
- From sensor palette of Quarky, insert read analog sensor () at pin (). in first space of the less than operator and change the value from 0 to 100.
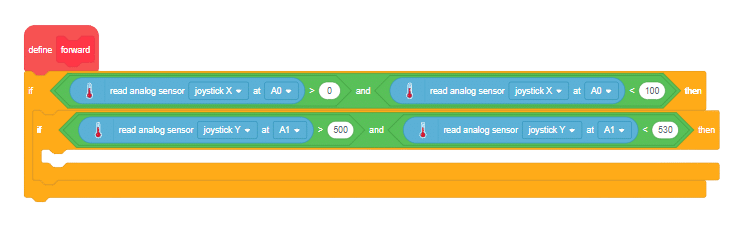
- his time change joystick X to joystick Y and pin from A1 to A2, as shown below.

- Add all these blocks
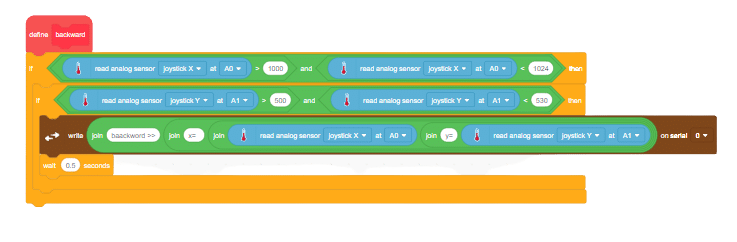
- for backward
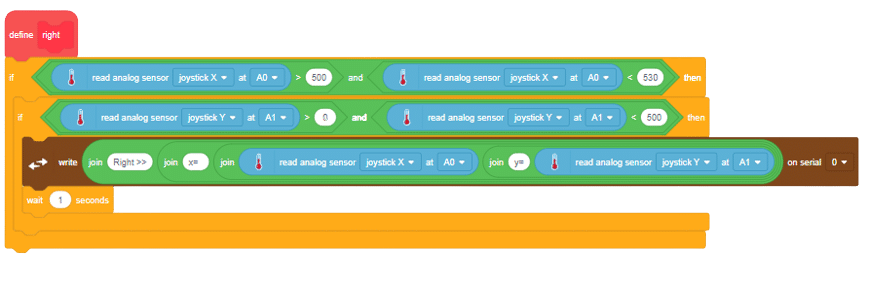
- for right
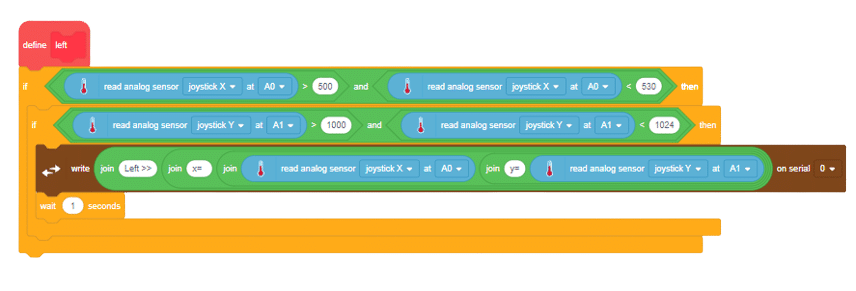
- for left
Output