Introduction
he IR (Infrared) sensor, a remarkable obstacle detection sensor, relies on the fundamental principle of light reflection. Within its compact module, the IR LED emits infrared radiation forward into its environment. As these radiant waves encounter any object along their path, they bounce back toward the sensor module. The photodiode, often identified by its black color, plays a crucial role in detecting these reflected rays.

Circuit
connection
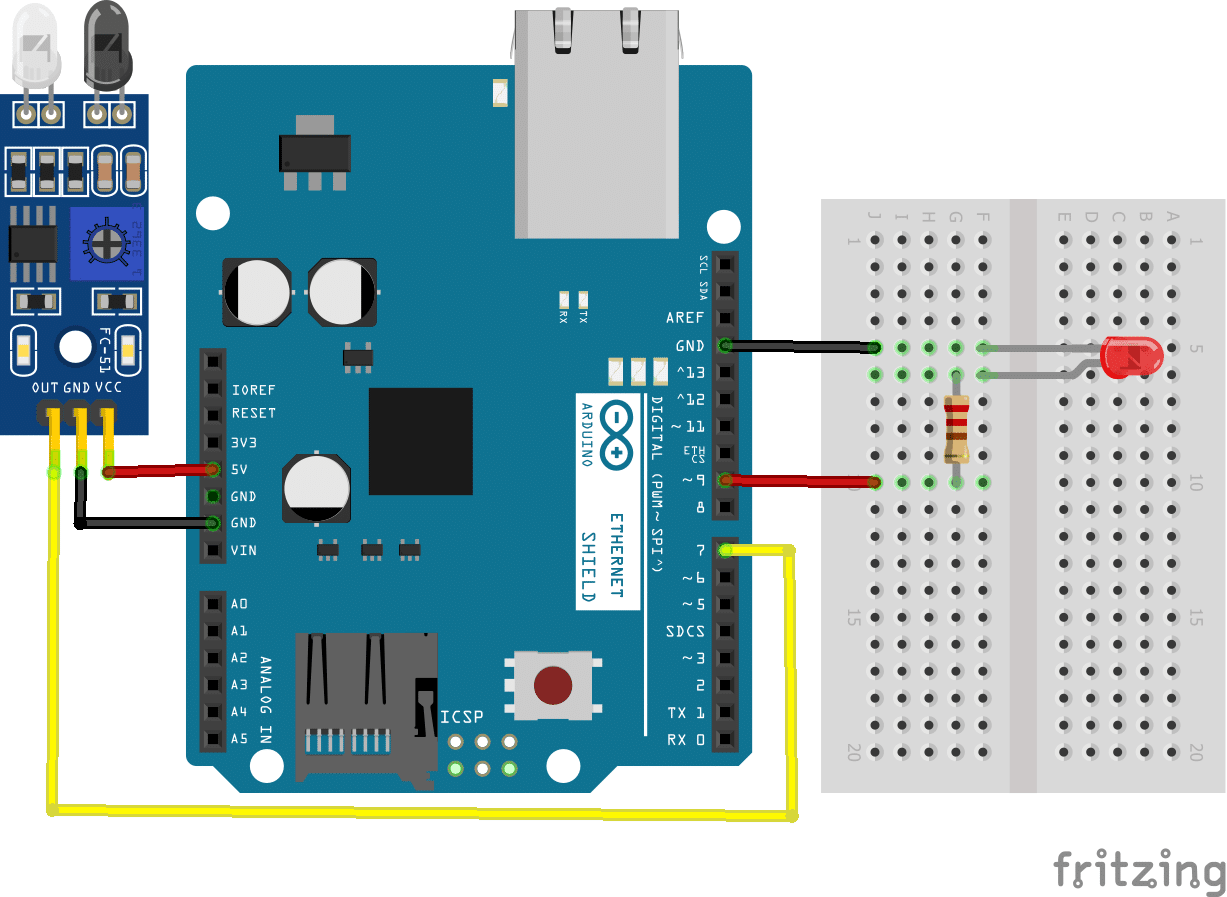
IR_VCC – 5v
IR_GND – GND
IR_OUTPUT – D7
LED+ to D9
LED- to GND
Resistance -270
Code
create a circuit on the breadboard as per the above circuit diagram
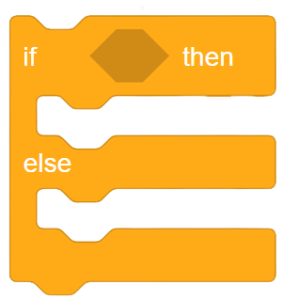
- From control drag if -else block.
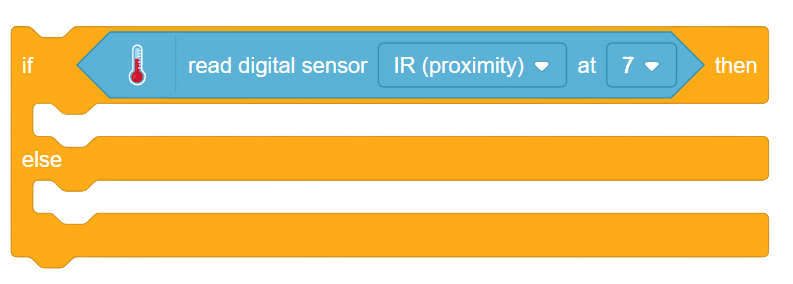
- From the Arduino sensor palette, add a “read digital sensor () at ()” block. Choose “proximity” as the sensor type and select pin 7.
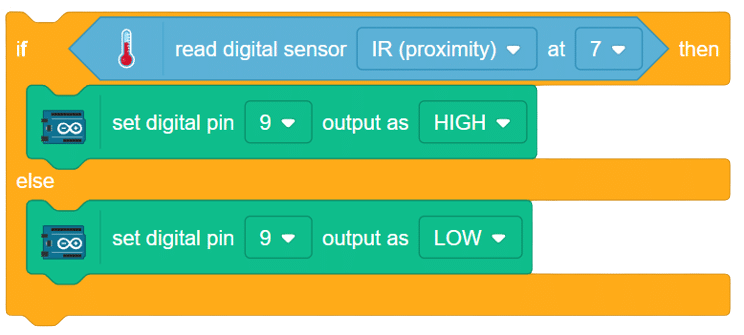
- The sensor’s detection of an object will alter the status of pin 7 from LOW to HIGH. In response to object detection, add the “set digital pin () output as ()” block from the Arduino palette within the “if” block.
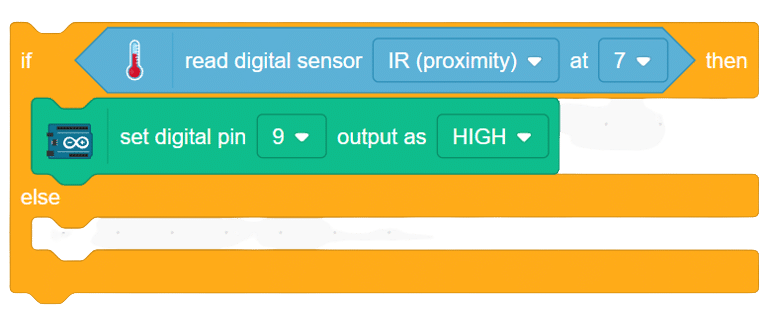
- For the “else” part, ensure the LED turns off when no object is in front of the sensor.
- Drag a “forever” block from the controls palette and place the above set of blocks inside it.

- finally, add when flag clicked block from events palette
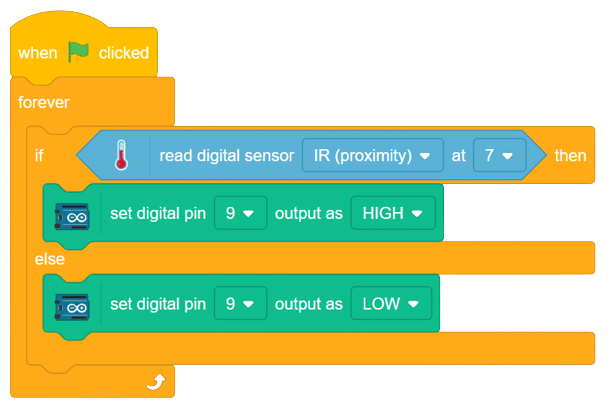
Script
Output