INTRODUCTION
The flex sensor is an ingenious device employing carbon on a plastic strip to serve as a variable resistor. As the sensor bends in one direction, its resistance varies accordingly. The more it bends, the higher the resistance becomes. This unique property makes it an ideal choice for applications where detecting bending or flexing is necessary.
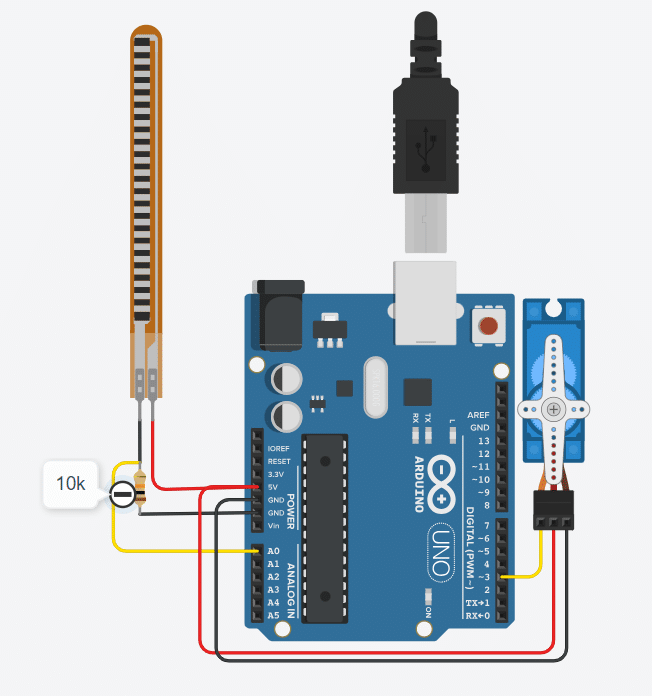
Circuit Diagram
Code
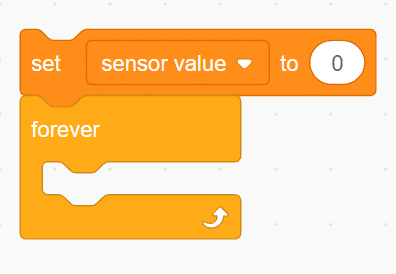
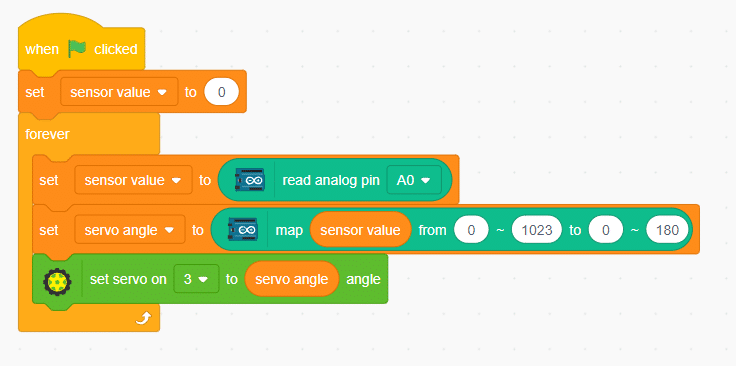
- Create a variable called “sensor value” and set it to 0
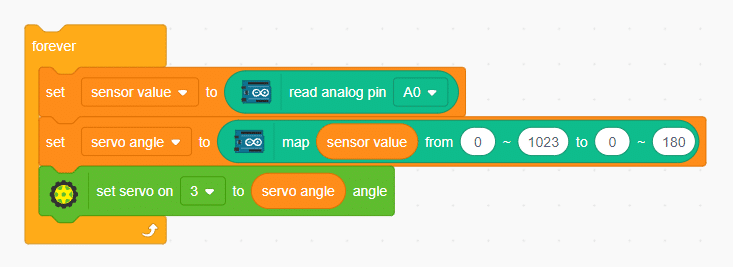
- Add a “forever” block from the control palette.
- Inside the “forever” block, set “sensor value” to read analog sensor at A0.

- Since the Arduino’s ADC channel is 8-bit, the generated value will range from 0 to 1023. To convert this range to 0-180 for controlling the servo motor, use the “map” block from the Arduino palette.

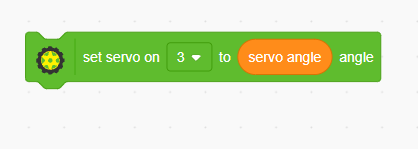
- Set the mapped value as the angle for the servo motor.

- connect servo at pin 3 and fed variable servo angle as for the servo motor.
- Add these three blocks inside the “forever” block to continuously read the flex sensor’s value and control the servo motor’s angle accordingly.
- Finally, add a “when flag clicked” event to complete the script and initiate the servo control with the flex sensor.
OUTPUT