


- Utilize the “Add 3D Geometry” tool in the navbar to create one cube box that will house the human body anatomy design.

- The Lab apparatus and other objects can be incorporated by either designing them using “Create a Sketch” functionality from the Navigation bar or by utilizing 3D objects from the library.
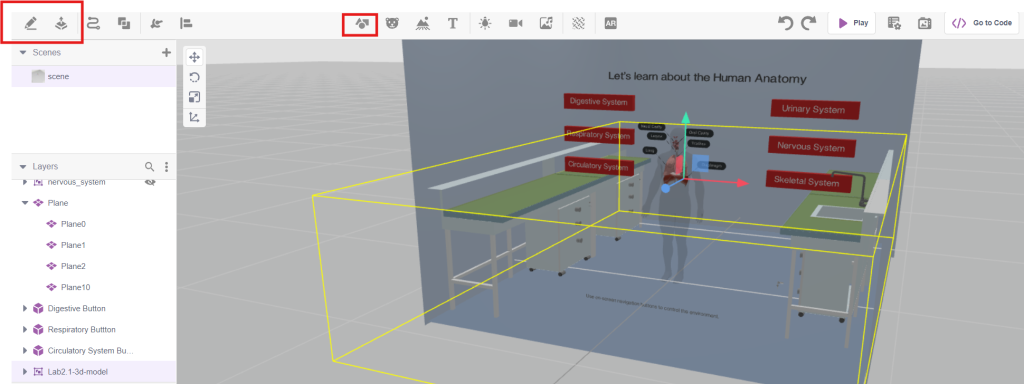
- The next step involves incorporating a human skeleton or body utilizing the 3D Objects Library.

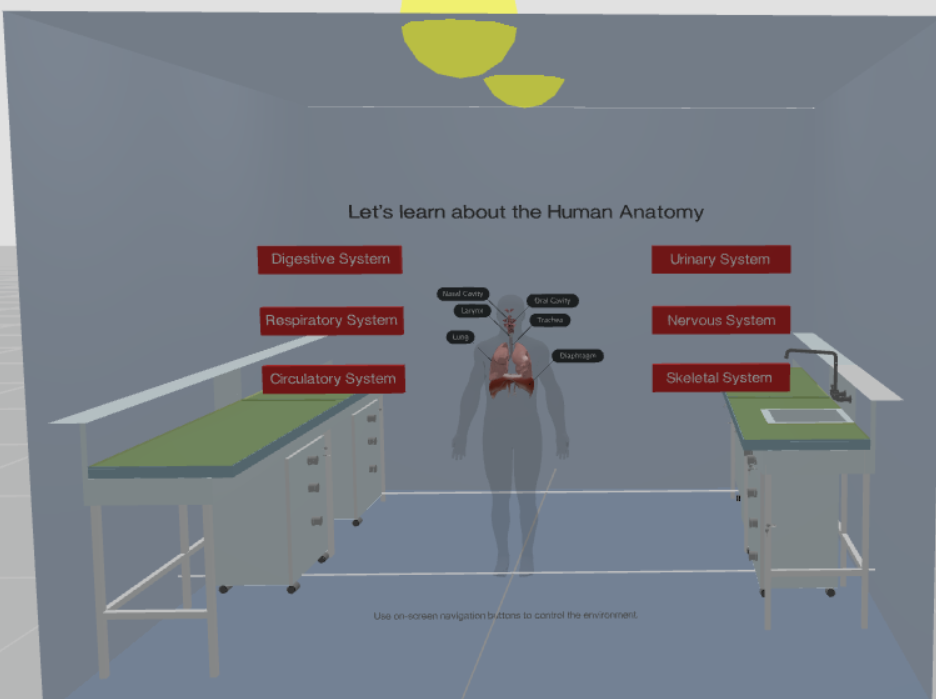
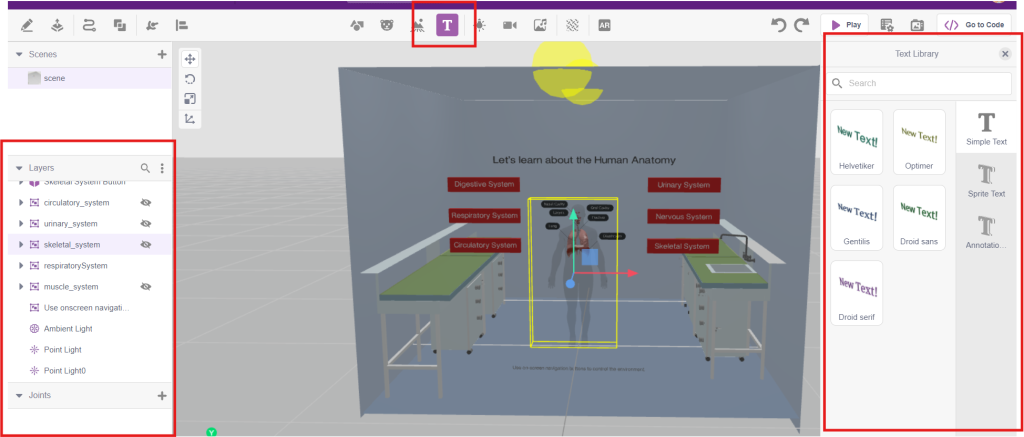
- Utilize the Text Annotation tool from the Text Library to label the various human body systems, such as the respiratory and nervous systems. After labeling, organize these annotations into separate layers within the layers panel. This will prevent any visual overlap and maintain a clear and organized presentation.
- Utilize the 3D Geometry Library and the “Extrude the Sketch” tool from the Navbar to create 3D buttons for all the systems of the human body.
- Use the blocks environment to create a script that combines design elements with other aspects of the creative process, like text annotation.
Script
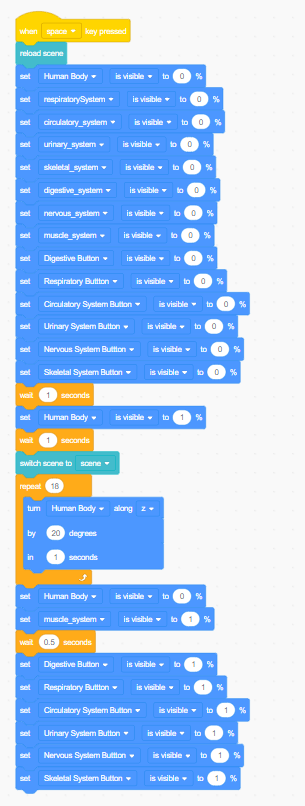
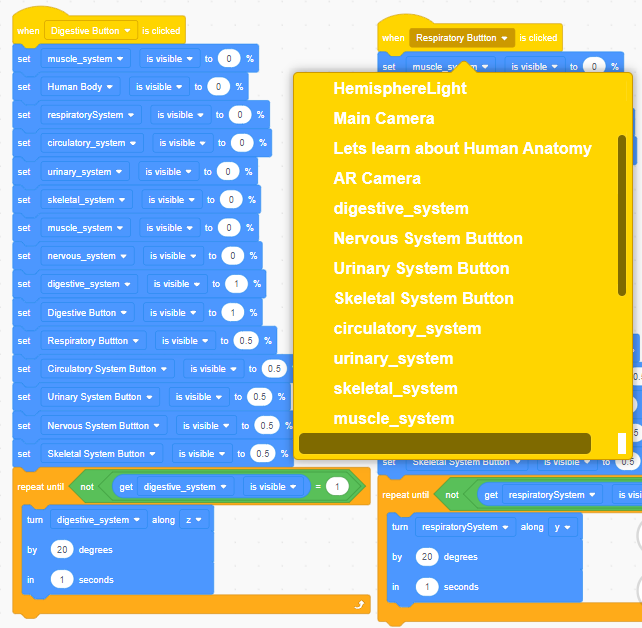
The 0 and 1 values should be adjusted according to how you want to show and hide different objects, with 0 being hide and 1 being show. The same script can be used for the Skeletal, Urinary, Nervous, and Circulatory buttons.