


In this example, we are going to make a colored switch in Adafruit IO. Then we will make Python code for Quarky that will retrieve the color information from the cloud and make the Quarky lights ON and OFF with the selected color on the cloud.
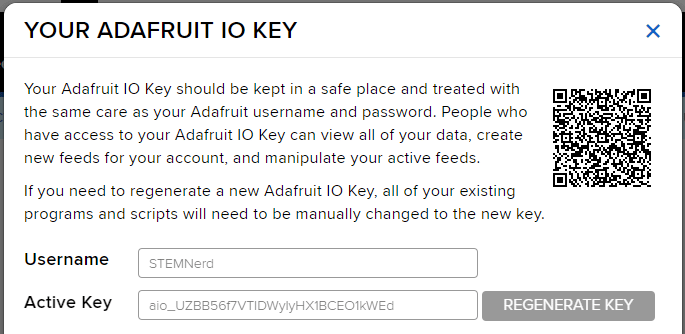
Adafruit IO Key
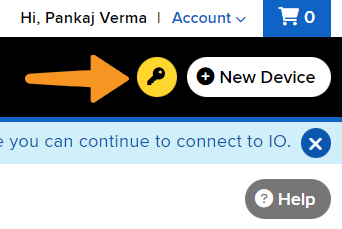
You can find the information about your account once you log in from here:

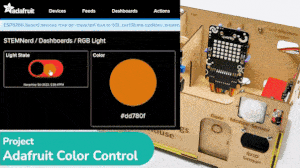
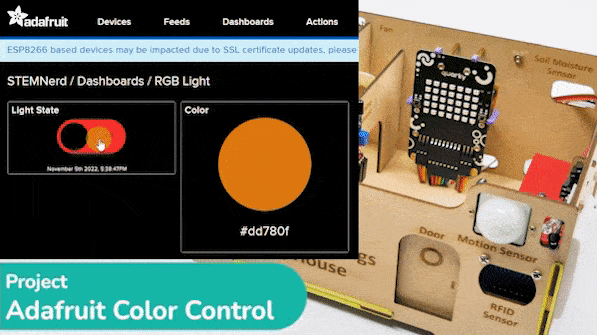
Creating the Dashboard for the Color Switch
- Create two new Feeds named Light and Color.
- Create a new Dashboard named RGB Light.
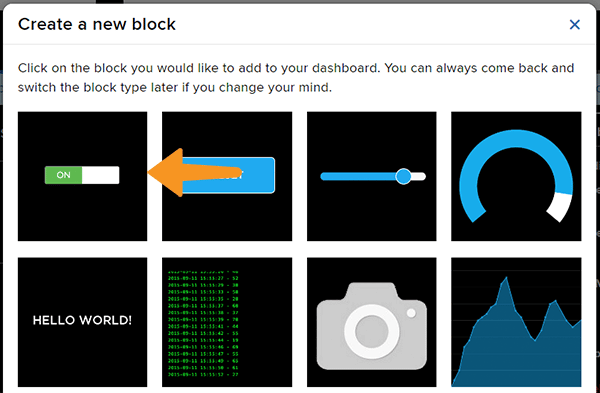
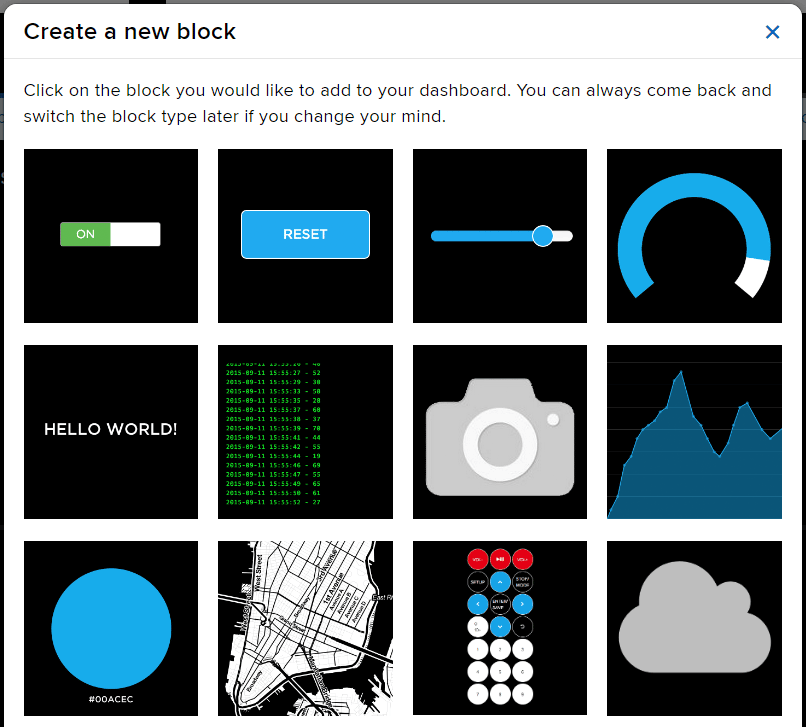
- Edit the Dashboard and add a Toggle Block.
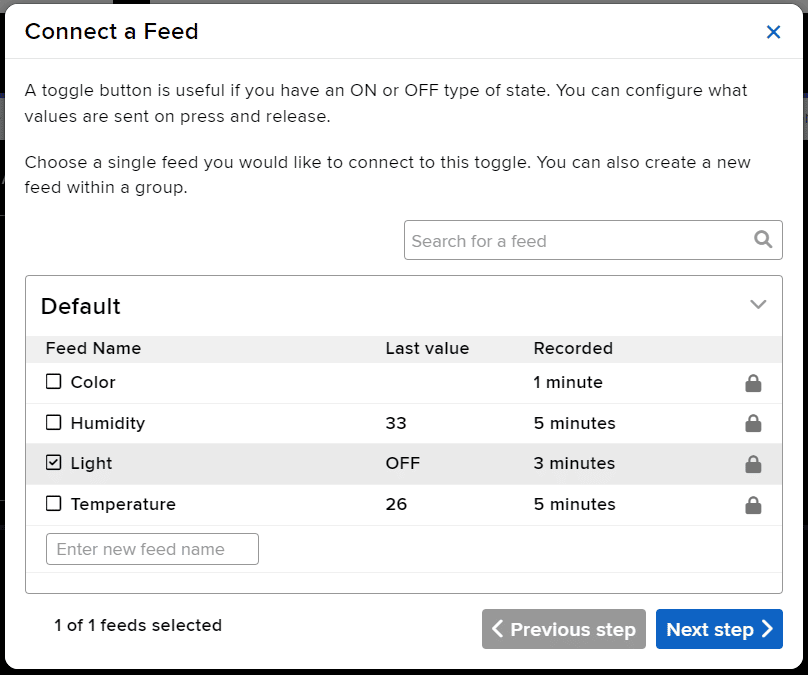
- Connect the Light feed to the block and click on Next Step.
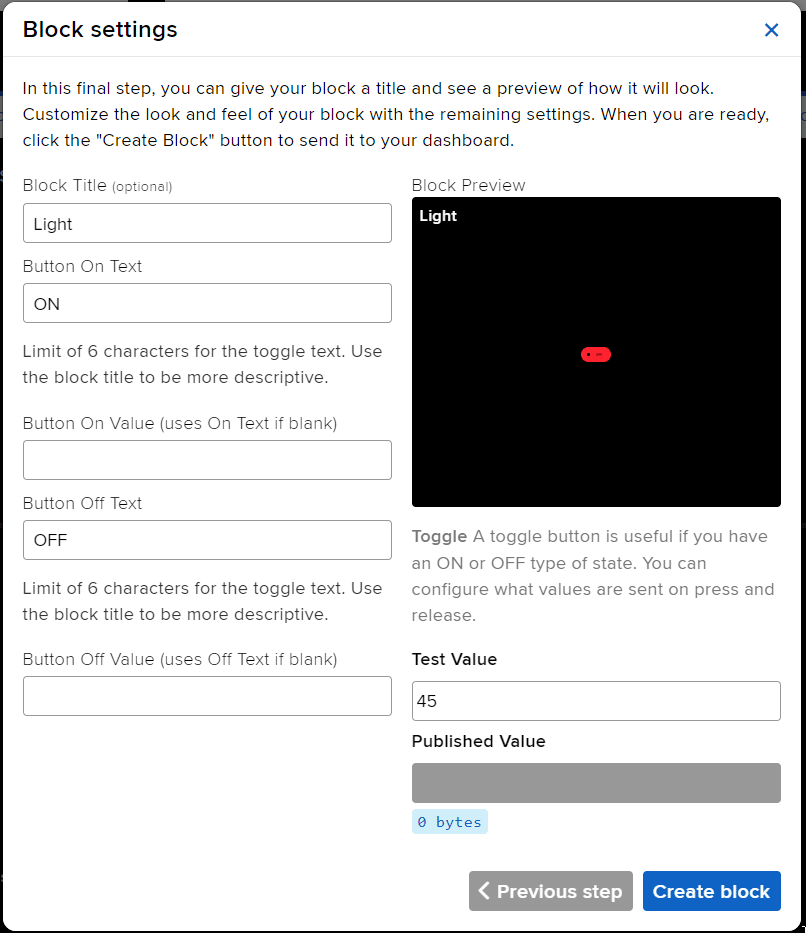
- Edit the Block Setting and click on Create Block.
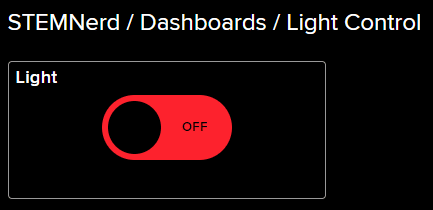
- Block is added. You can try to toggle the switch.
- Next, create another block. This time select Color Picker.
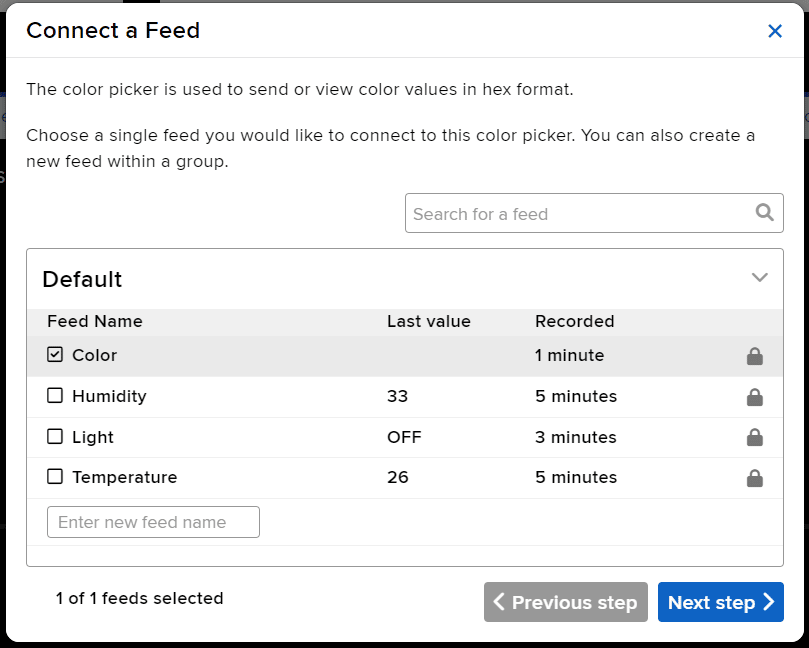
- Connect to Color Feed.
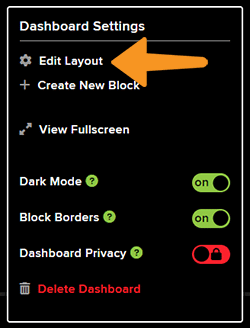
- You will find the blocks on the Dashboard. Edit the layout as per your liking.

Python Code for Stage Mode
This code creates an instance of the Quarky and AdaIO classes and connects to Adafruit IO using credentials. It then creates a loop that checks if the light is on and, if so, sets the LED on the Quarky to the color from the Adafruit IO data. If the light is not on, the display on the Quarky is cleared. The loop pauses for 1 second before repeating.
# Create an instance of the quarky class
quarky = Quarky()

# Import the time library
import time

# Create an instance of the AdaIO class
adaio = AdaIO()

# Clear the display on the quarky
quarky.cleardisplay()

# Connect to Adafruit IO using the given credentials
adaio.connecttoadafruitio("STEMNerd", "aio_UZBB56f7VTIDWyIyHX1BCEO1kWEd")

# Loop forever
while True:
  # Get the data from Adafruit IO to see if the light is on
  if (adaio.getdata("Light") == "ON"):
    # Get the color data from Adafruit IO
    adaio.getcolordata("Color")
    # Get the RGB values from the color data
    Color = [adaio.getRGB(1), adaio.getRGB(2), adaio.getRGB(3)]

    # Loop through the 5 rows and 7 columns on the quarky
    for i in range(1, 6):
      for j in range(1, 8):
        # Set the LED on the quarky to the Color with a brightness of 20
        quarky.setled(j, i, Color, 20)

  # If the light is not on, clear the display on the quarky
  else:
    quarky.cleardisplay()

  # Pause the program for 1 second
  time.sleep(1)
Output
Python Code for Upload Mode
You can also make the script work independently of PictoBlox using the Upload Mode. For that switch to upload mode.

# Create an instance of the quarky class
from quarky import *

# Import the library
import time
import iot

# Connect to a wifi network
wifi = iot.wifi()
wifi.connecttowifi("IoT", "12345678")

# Connect to an adafruit IO account
adaio = iot.AdaIO()
adaio.connecttoadafruitio("STEMNerd", "aio_UZBB56f7VTIDWyIyHX1BCEO1kWEd")

# Clear the display on the quarky
quarky.cleardisplay()

# Loop forever
while True:
  # Check if the wifi is connected
  if wifi.iswificonnected():

    # Get the data from Adafruit IO to see if the light is on
    if (adaio.getdata("Light") == "ON"):
      # Get the color data from Adafruit IO
      adaio.getcolordata("Color")
      # Get the RGB values from the color data
      Color = [adaio.getRGB(1), adaio.getRGB(2), adaio.getRGB(3)]

      # Loop through the 5 rows and 7 columns on the quarky
      for i in range(1, 6):
        for j in range(1, 8):
          # Set the LED on the quarky to the Color with a brightness of 20
          quarky.setled(j, i, Color, 20)

    # If the light is not on, clear the display on the quarky
    else:
      quarky.cleardisplay()

    # Pause the program for 1 second
    time.sleep(1)

  else:
    # Set LED 1 to red
    quarky.setled(1, 1, [255, 0, 0], 100)
Troubleshooting:
- If the Red Cross sign comes, Quarky, Python error has occurred. Check the serial monitor and try to reset the Quarky. Also, ensure that the WiFi you are trying to connect to is available.