Introduction
In this document, you are going to learn how to assemble the drip irrigation system for 2 plants using the Quarky IoT House Addon kit.
Let’s start!
Assembly Steps
Before you start, make sure you have the IoT house assembled and the drip irrigation system created for 1 plant.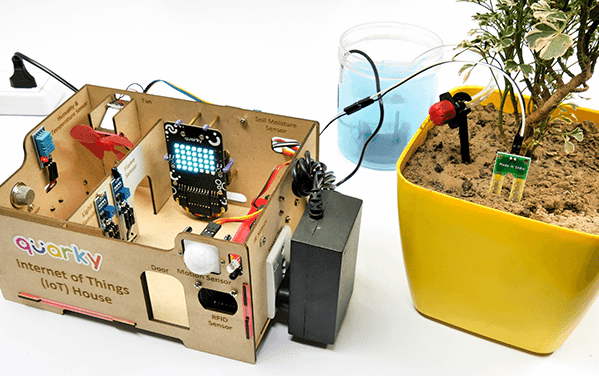

Alert: If you do not have it completed, please follow this document: https://ai.thestempedia.com/docs/iot-house-quarky-addon-kit-documentation/1-plant-drip-irrigation-assembly-iot-house/
Follow the steps:
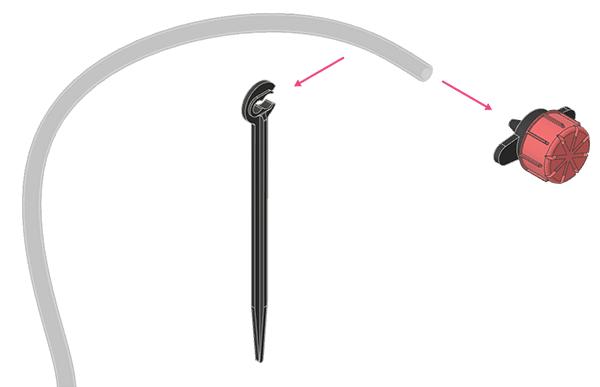
- Remove the Drip Emitter and the Emitter Stake from the Feeder Pipe.
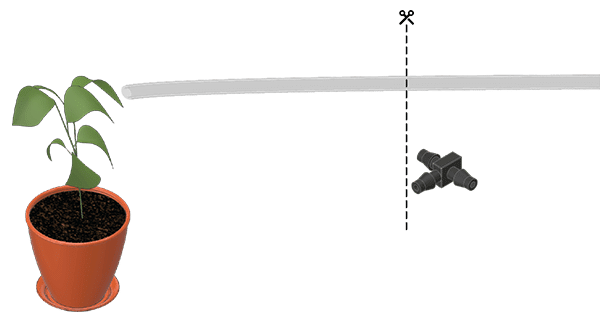
- Insert the T Connector into the open end of the Feeder Pipe.

- Measure the distance between the T Connector and the additional Plant you want to water and cut another piece from the remaining Feeder Pipe accordingly.
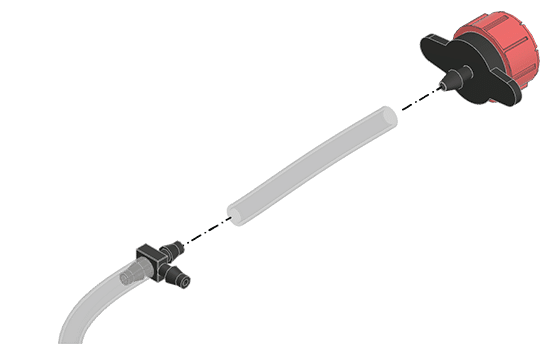
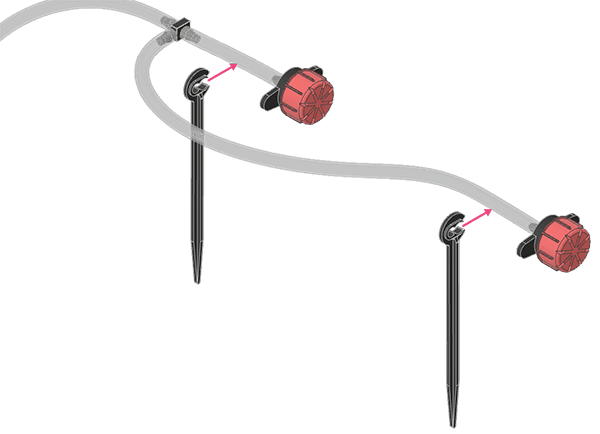
- Attach the Drip Emitter at one end of the Feeder Pipe, and connect the other end of this Feeder Pipe to the T Connector as shown.
- Cut from the remaining Feeder Pipe a piece around 1 inch in length.
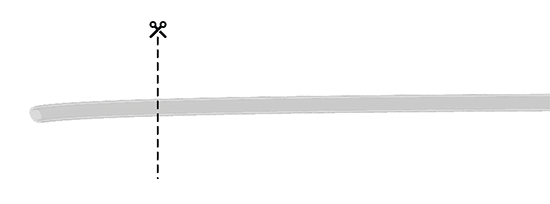
- Attach the Drip Emitter at the end of this Feeder Pipe, and connect the other end of this Feeder Pipe to the T Connector as shown.
- Attach the Emitter Stakes near the Drip Emitters on the Feeder Pipe assembly.
- Fix the Emitter Stakes into the soil near both the plant’s stems.
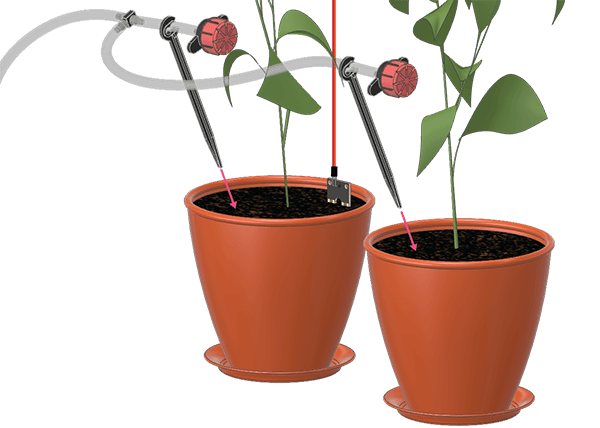
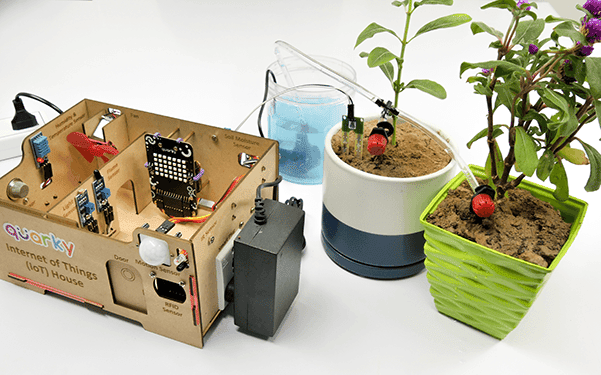
Your two-plant drip irrigation is ready.
Conclusion
You can explore and code the following projects with the drip irrigation system.