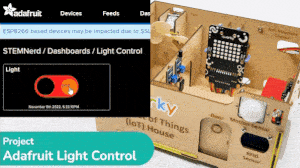


In this example, we are going to understand how to make a feed on Adafruit IO. Later we will write the Python code that will retrieve the information from the cloud and make the Quarky lights ON and OFF.
Adafruit IO Key
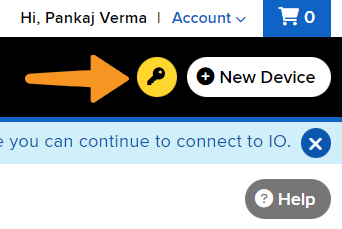
You can find the information about your account once you log in from here:
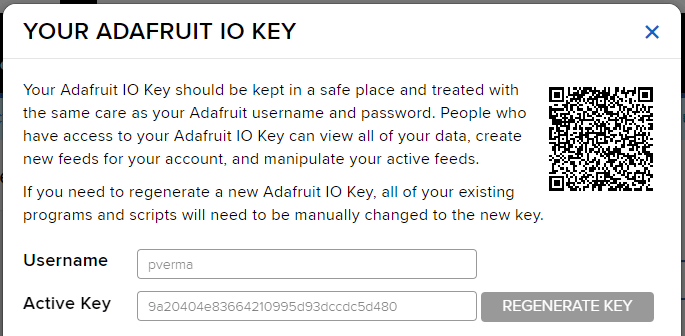

Note: Make sure you are login on Adafruit IO: https://io.adafruit.com/
Creating a Light Switch in Adafruit IO
- Create a new Feed named Light.
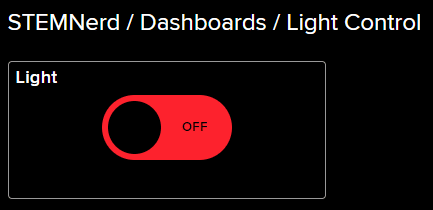
- Create a new Dashboard named Light Control.
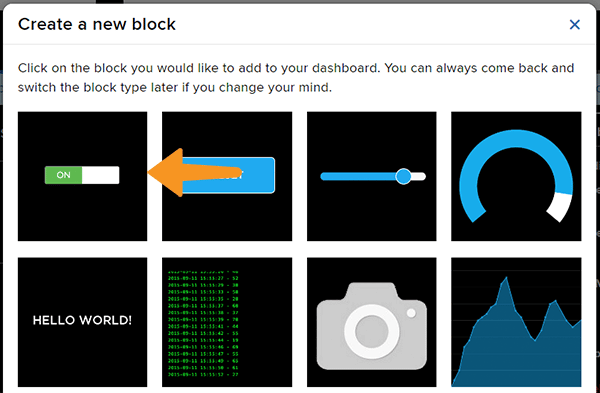
- Edit the Dashboard and add a Toggle Block.
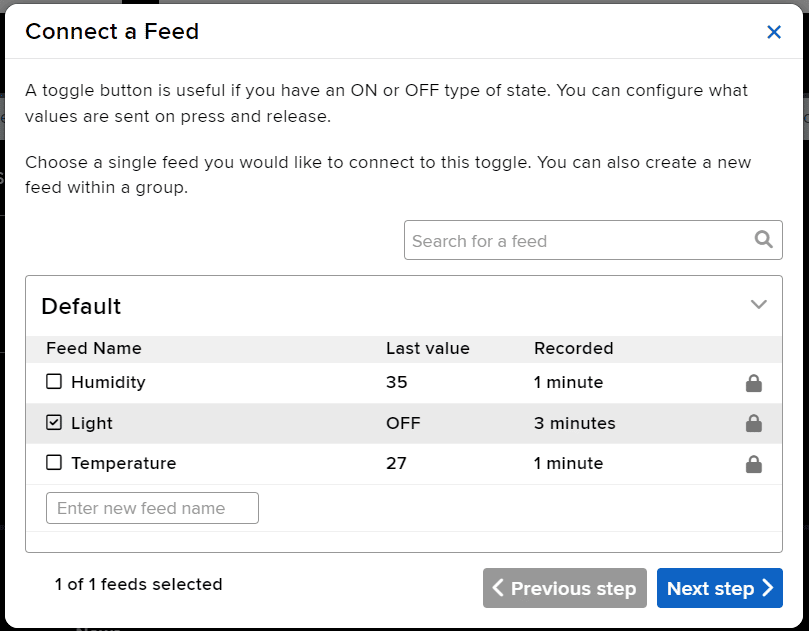
- Connect the Light feed to the block and click on Next Step.
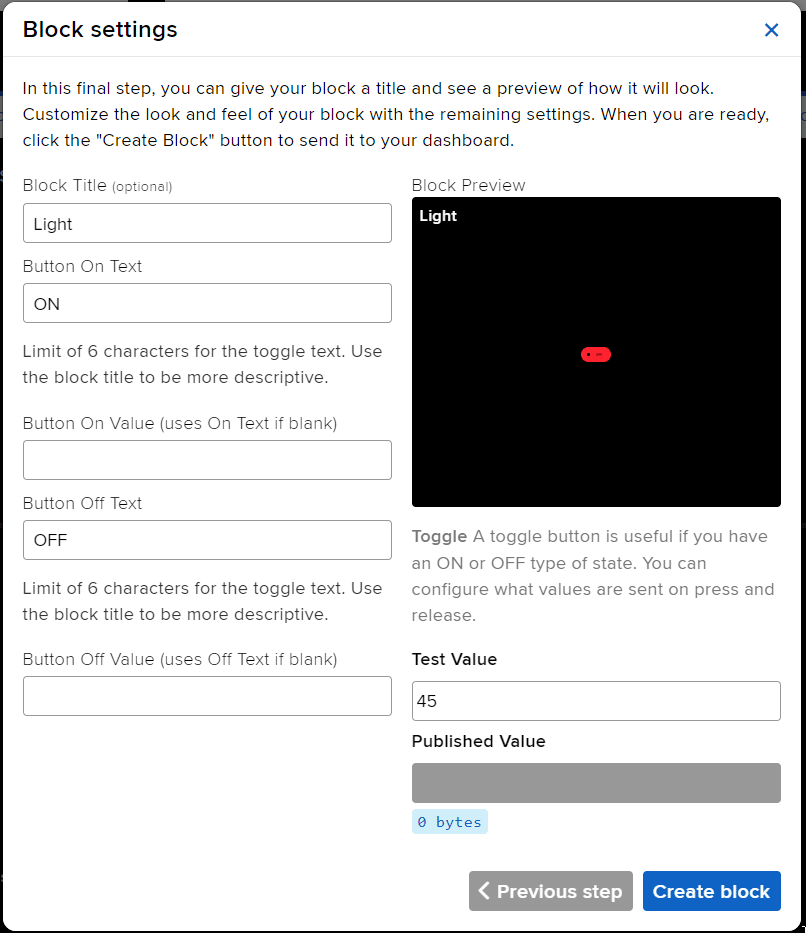
- Edit the Block Setting and click on Create Block.
- Block is added. You can try to toggle the switch.
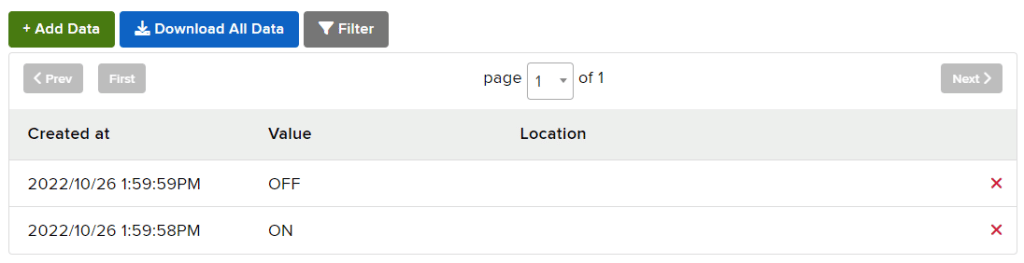
- Go to the Light feed. You will observe the value of the feed changing as we click on the switch on the Dashboard.
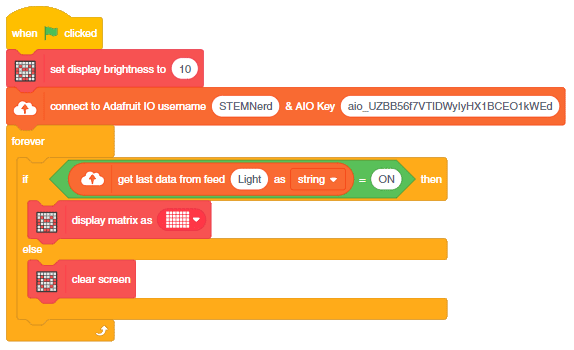
Script
The following script reads the Light feed value and makes the Quarky light up accordingly.
Output
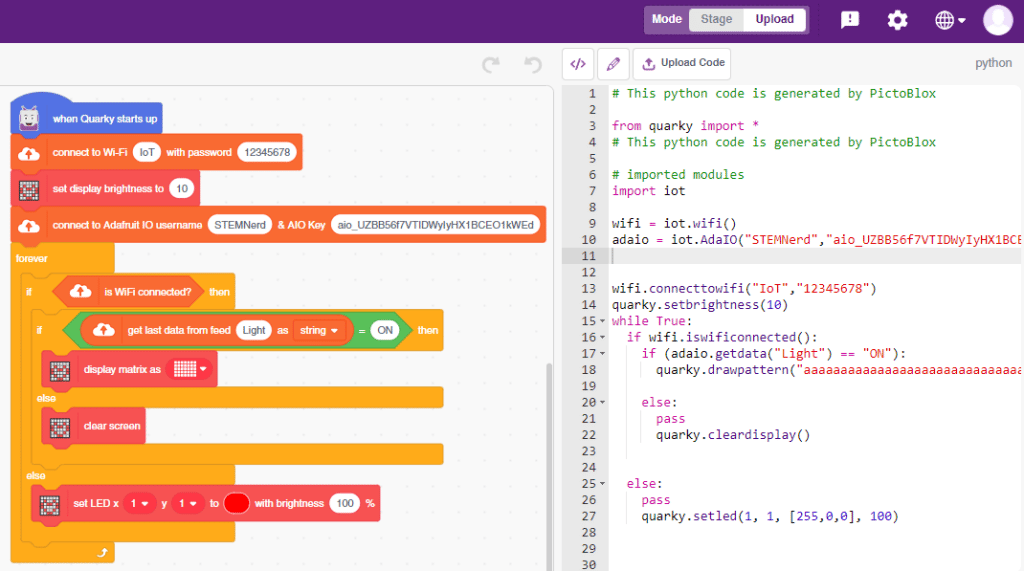
Script for Upload Mode
You can also make the script work independently of PictoBlox using the Upload Mode. For that switch to upload mode and replace the when green flag clicked block with when Quarky starts up block. Add the Wi-Fi connect blocks to connect Quarky to the Internet.

Download Code: https://pictoblox.page.link/HyUTYaW8VXX2XExK9
Troubleshooting:
- If the Green Light comes, your Wi-Fi is connected.
- If the Red Light comes, your Wi-Fi is not connected. Change the Wi-Fi and the password and try again.
- If the Red Cross sign comes, Quarky, Python error has occurred. Check the serial monitor and try to reset the Quarky.