In this example, we are going to learn how to program the Quarky to detect the ambient light reading and make the light turn ON and OFF accordingly.
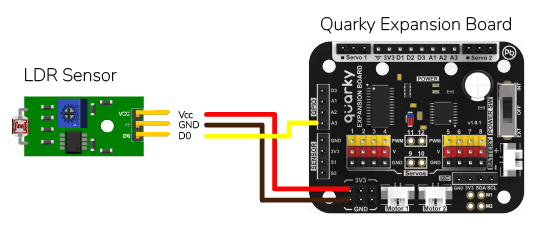
LDR Sensor Connection to Quarky
LDR sensors have 4 pins: GND, VCC, DO, and AO. You have to connect the following 3 pins to the Quarky Expansion Board:
- GND to Ground Pin of Quarky Expansion Board
- VCC to 3.3V or VCC Pin of Quarky Expansion Board
- AO to the A1 (Analog Pin) of the Quarky Expansion Board
Getting Sensor Reading
The following script displays the real-time sensor reading. The reading will vary from 0 to 4095.
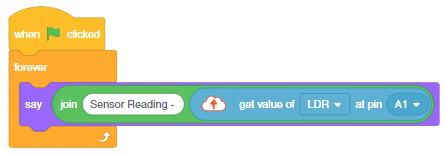
Connect Quarky and you will start getting the readings.

Download PictoBlox Code: https://pictoblox.page.link/8Brek1NuDSeLBSsH9
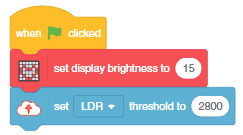
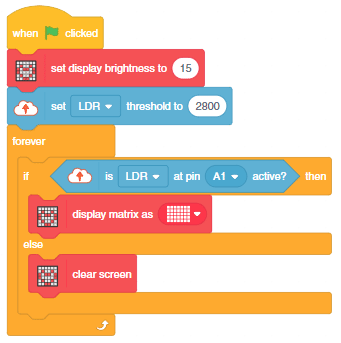
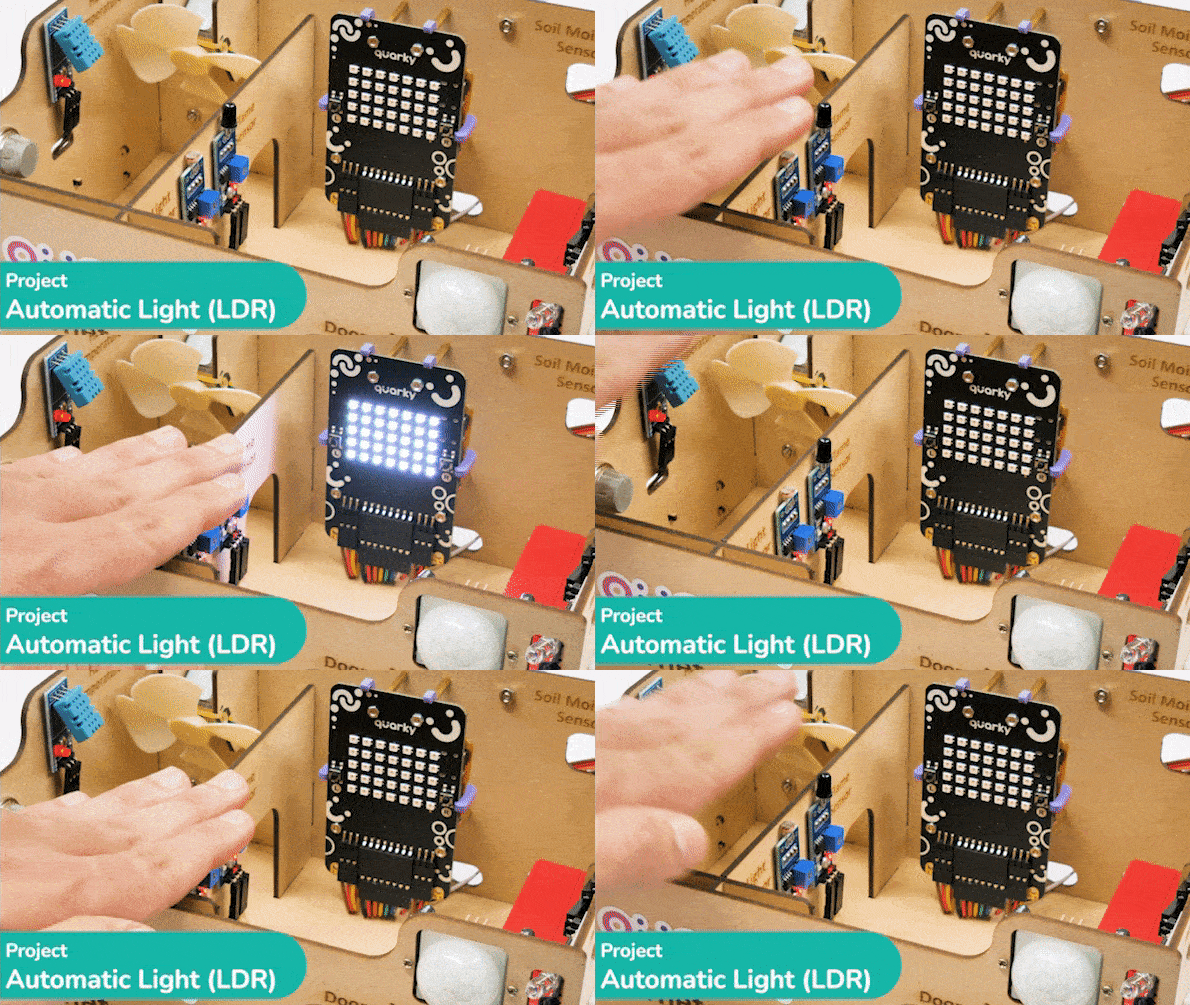
You will notice from the reading that when you put your hands close to the sensor the value is higher. This is because the sensor receives less light and the voltage across the sensor increases. We will create a threshold to identify when the light is low. For the above readings, it will be 2800. Now if the sensor value is greater than 2800, then it is active, meaning that the light is low. We will use it in the next code.
Automatic Light
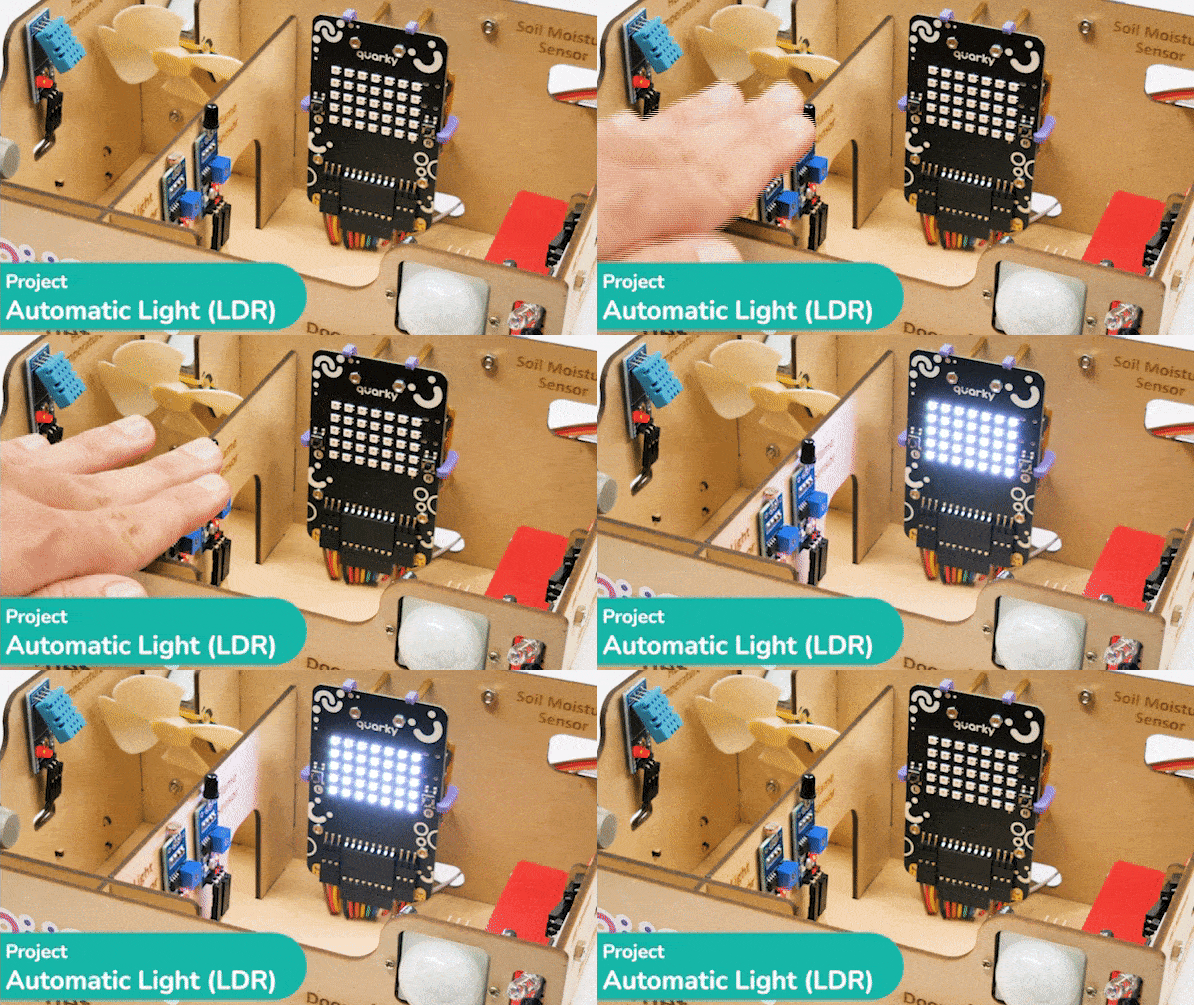
The following code turns the lights ON of the Quarky when the light is low, else the lights are OFF.
Download PictoBlox Code: https://pictoblox.page.link/gS4skqbu9p7LYytYA
Uploading Code
You can also make the automatic lighting work independently of PictoBlox using the Upload Mode. For that switch to upload mode and replace the when green flag clicked block with when Quarky starts up the block.

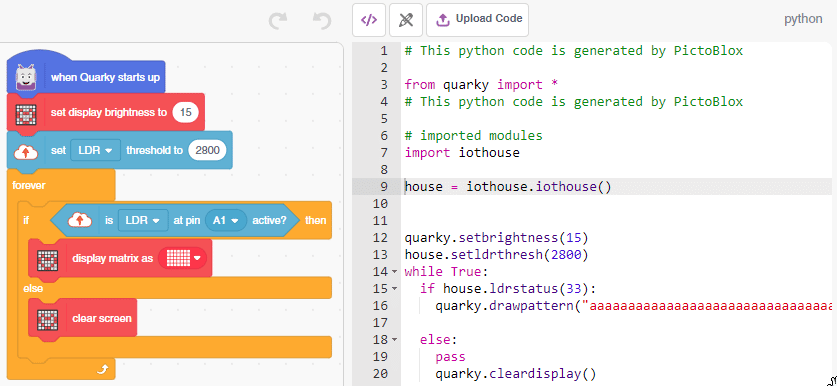
Click on the Upload Code button.
Alternative Code for Stage Mode
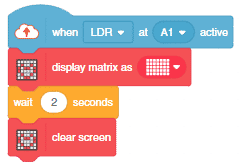
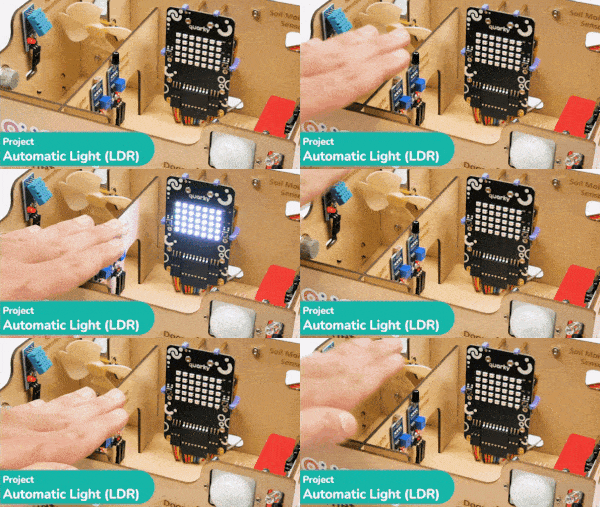
You can also use when () at () active block to make the same program. The hat block activates when the LDR is active. You must set the threshold for the code to work.
