Introduction
evive includes hardware interaction and plug & play interface, which can be used to control many basic utilities like controlling motors, servos, stepper, relays, solenoid valves for pneumatics using tactile switches slide switches and potentiometers. Also, the user can use the inbuilt hardware (switches and potentiometers) to change/define the states of Digital I/O Pins or PWM output. Switches and Potentiometers are internally connected to Arduino MEGA pin for giving control inputs to motor drivers and motor drivers are connected to the output at plug & play interface. The state or values are displayed on the screen.

Through evive’s control submenu, you can control 2 DC Motors or 2 Servo Motors or a Stepper Motor.
Controlling DC Motor from Control Sub-menu
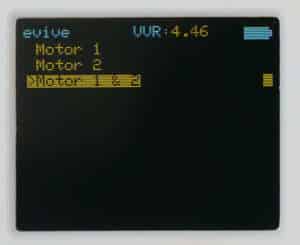
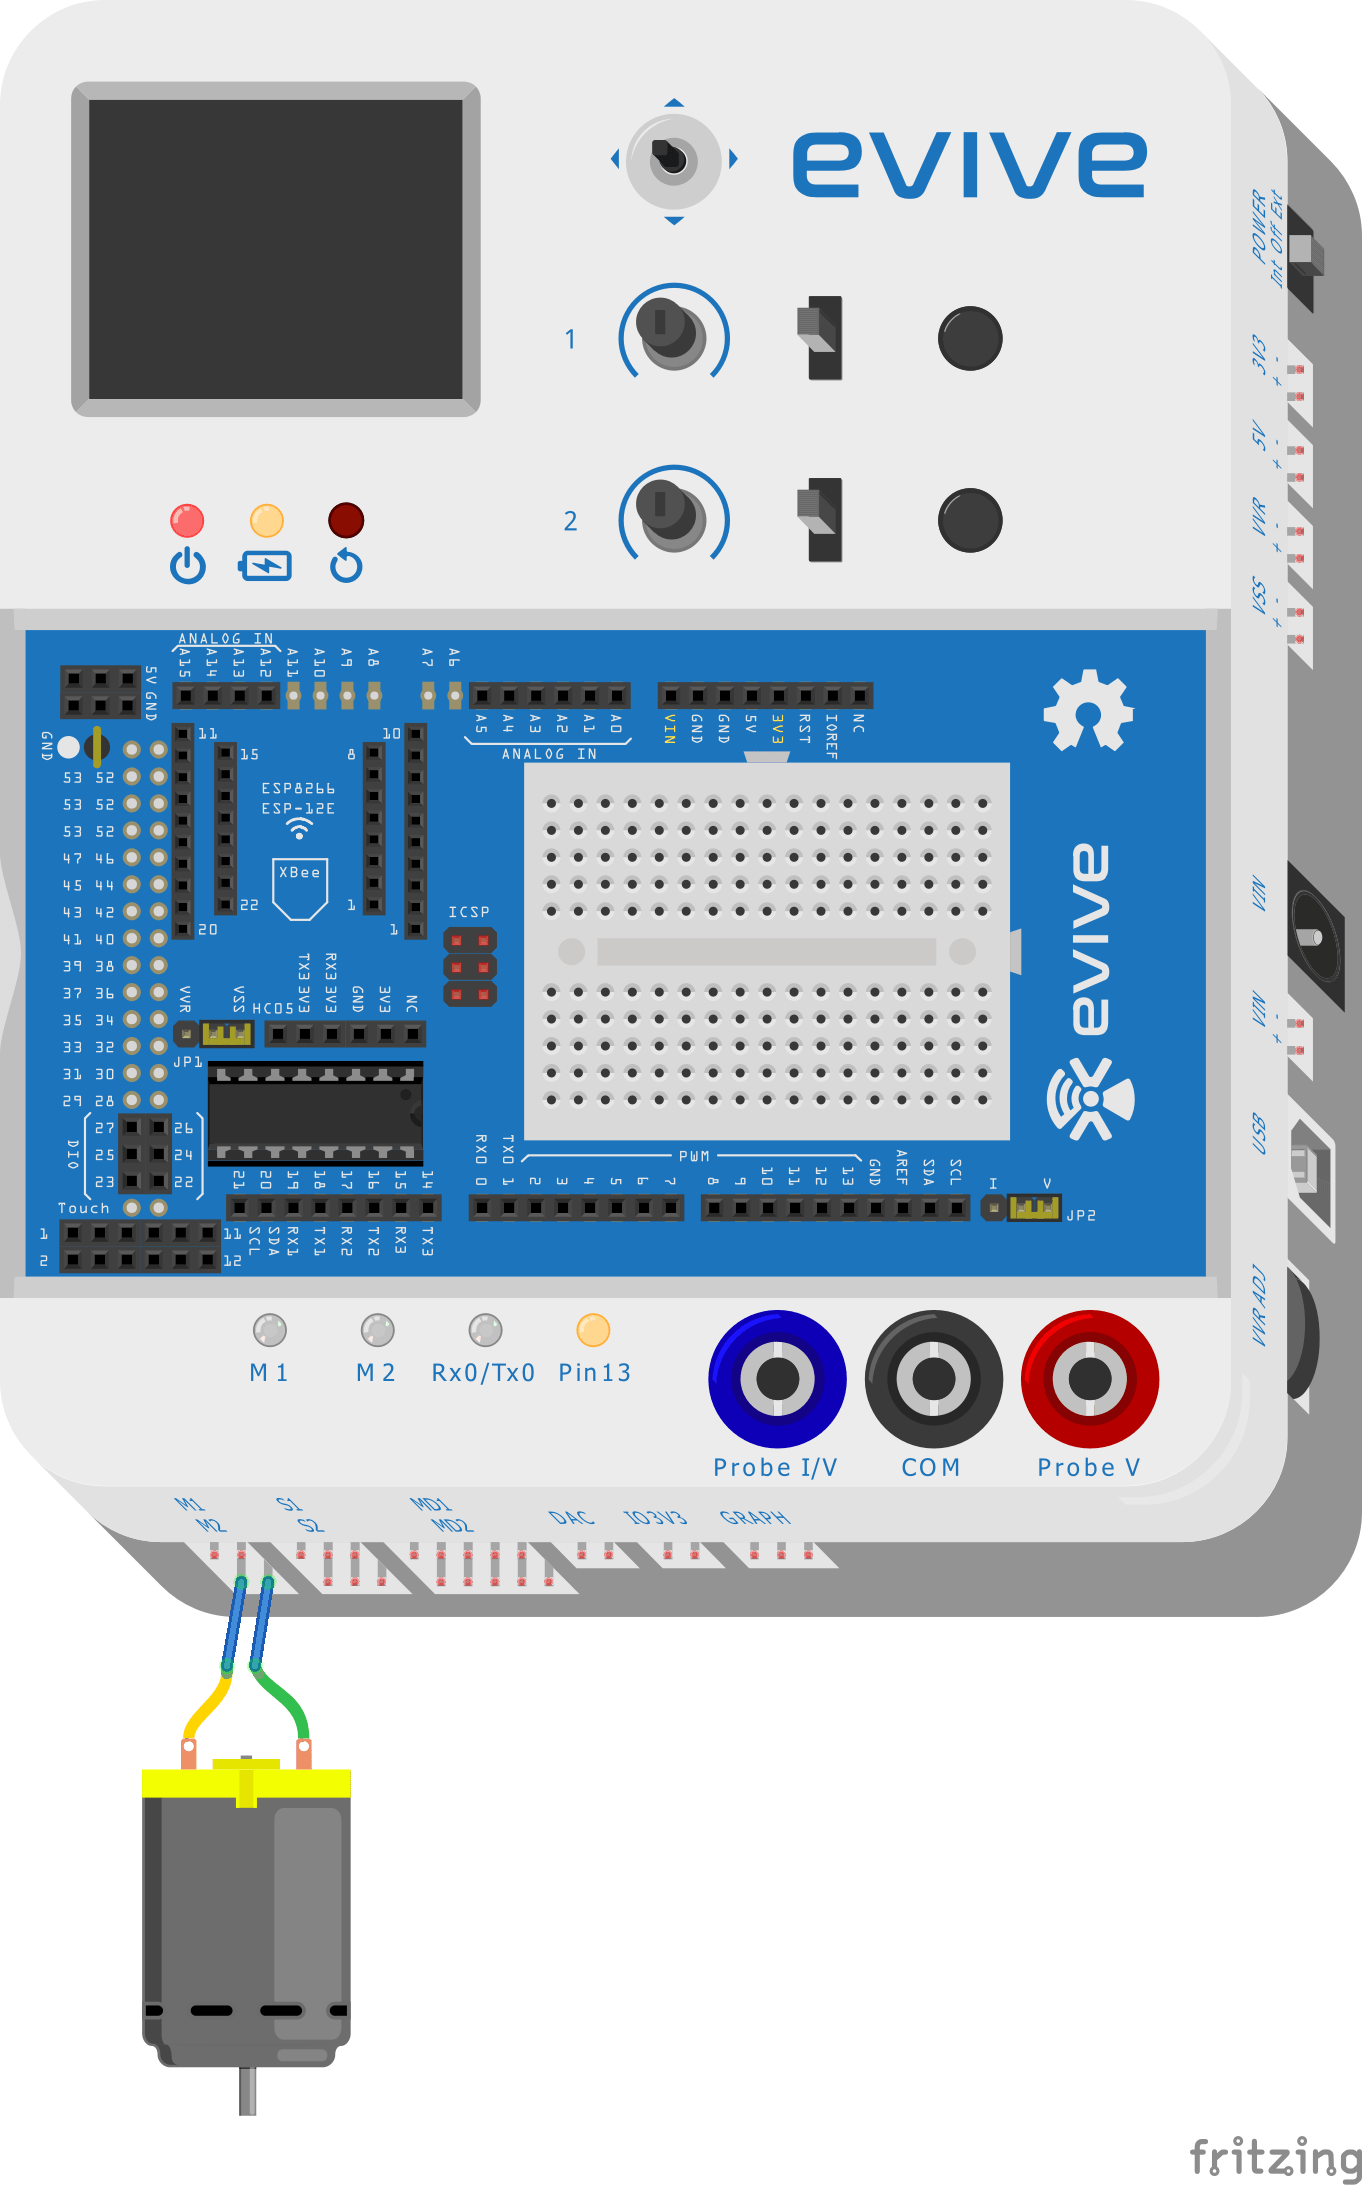
To control a DC motor, the user has to navigate in control, select Motor. Then select whether you want to control the motor through Channel 1 or Channel 2 or both the Channels.
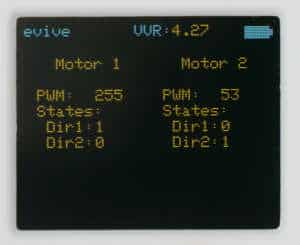
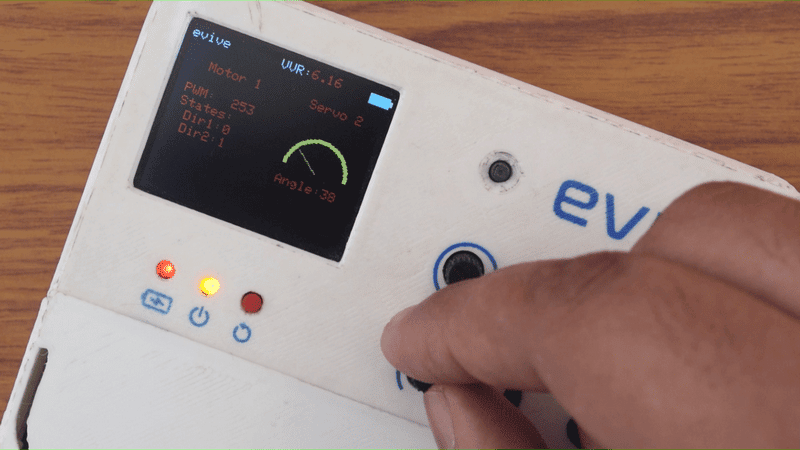
Then you can see the motor control panel, where you can control the direction of the motor using slide switch and the speed (PWM) of the motor using the potentiometer.

Controlling Servo Motor from Control Submenu
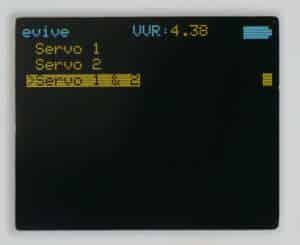
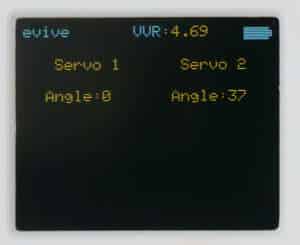
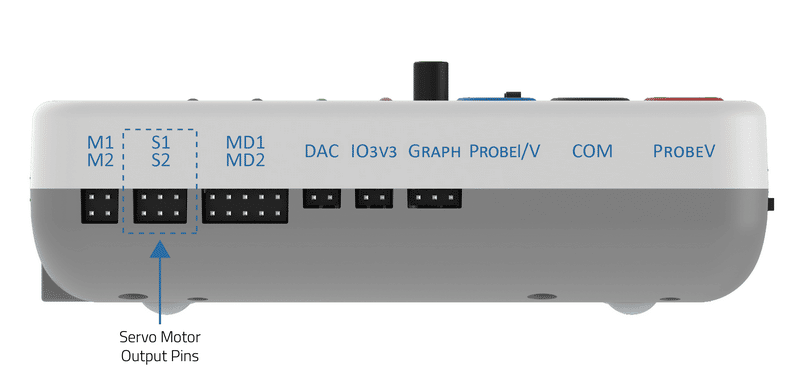
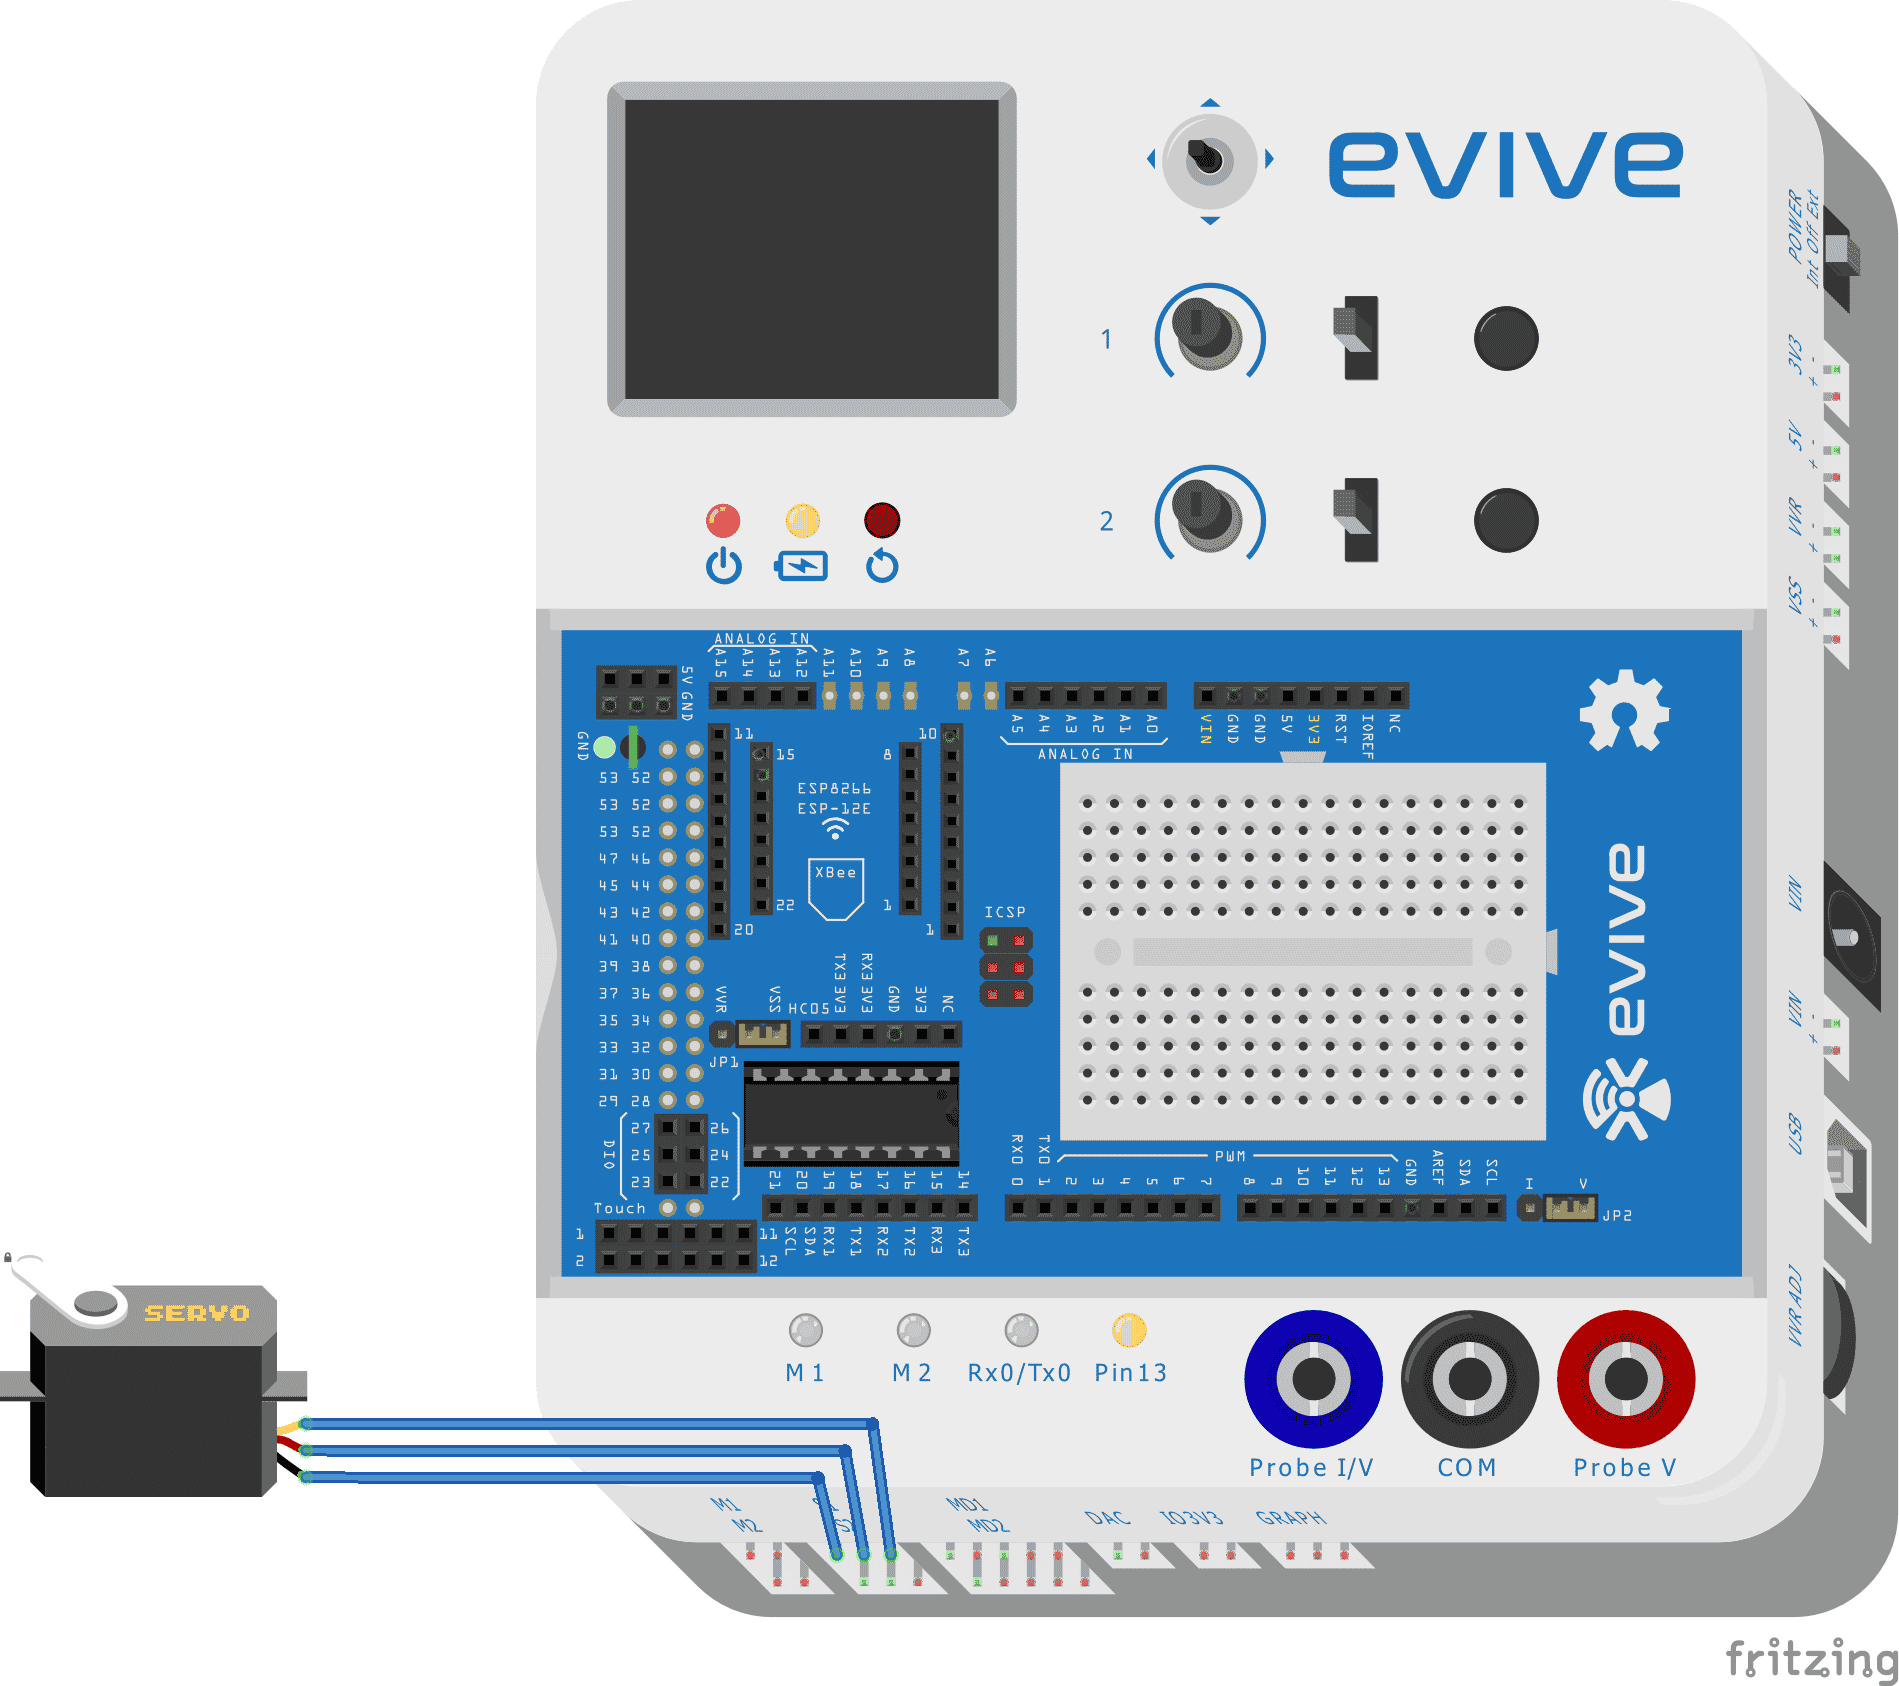
To control an RC servo motor, the user needs to select the servo menu and it will open the servo control option showing the current angle. The angle of the servo motor can be controlled using the potentiometers.
Controlling Stepper Motor from Control Submenu
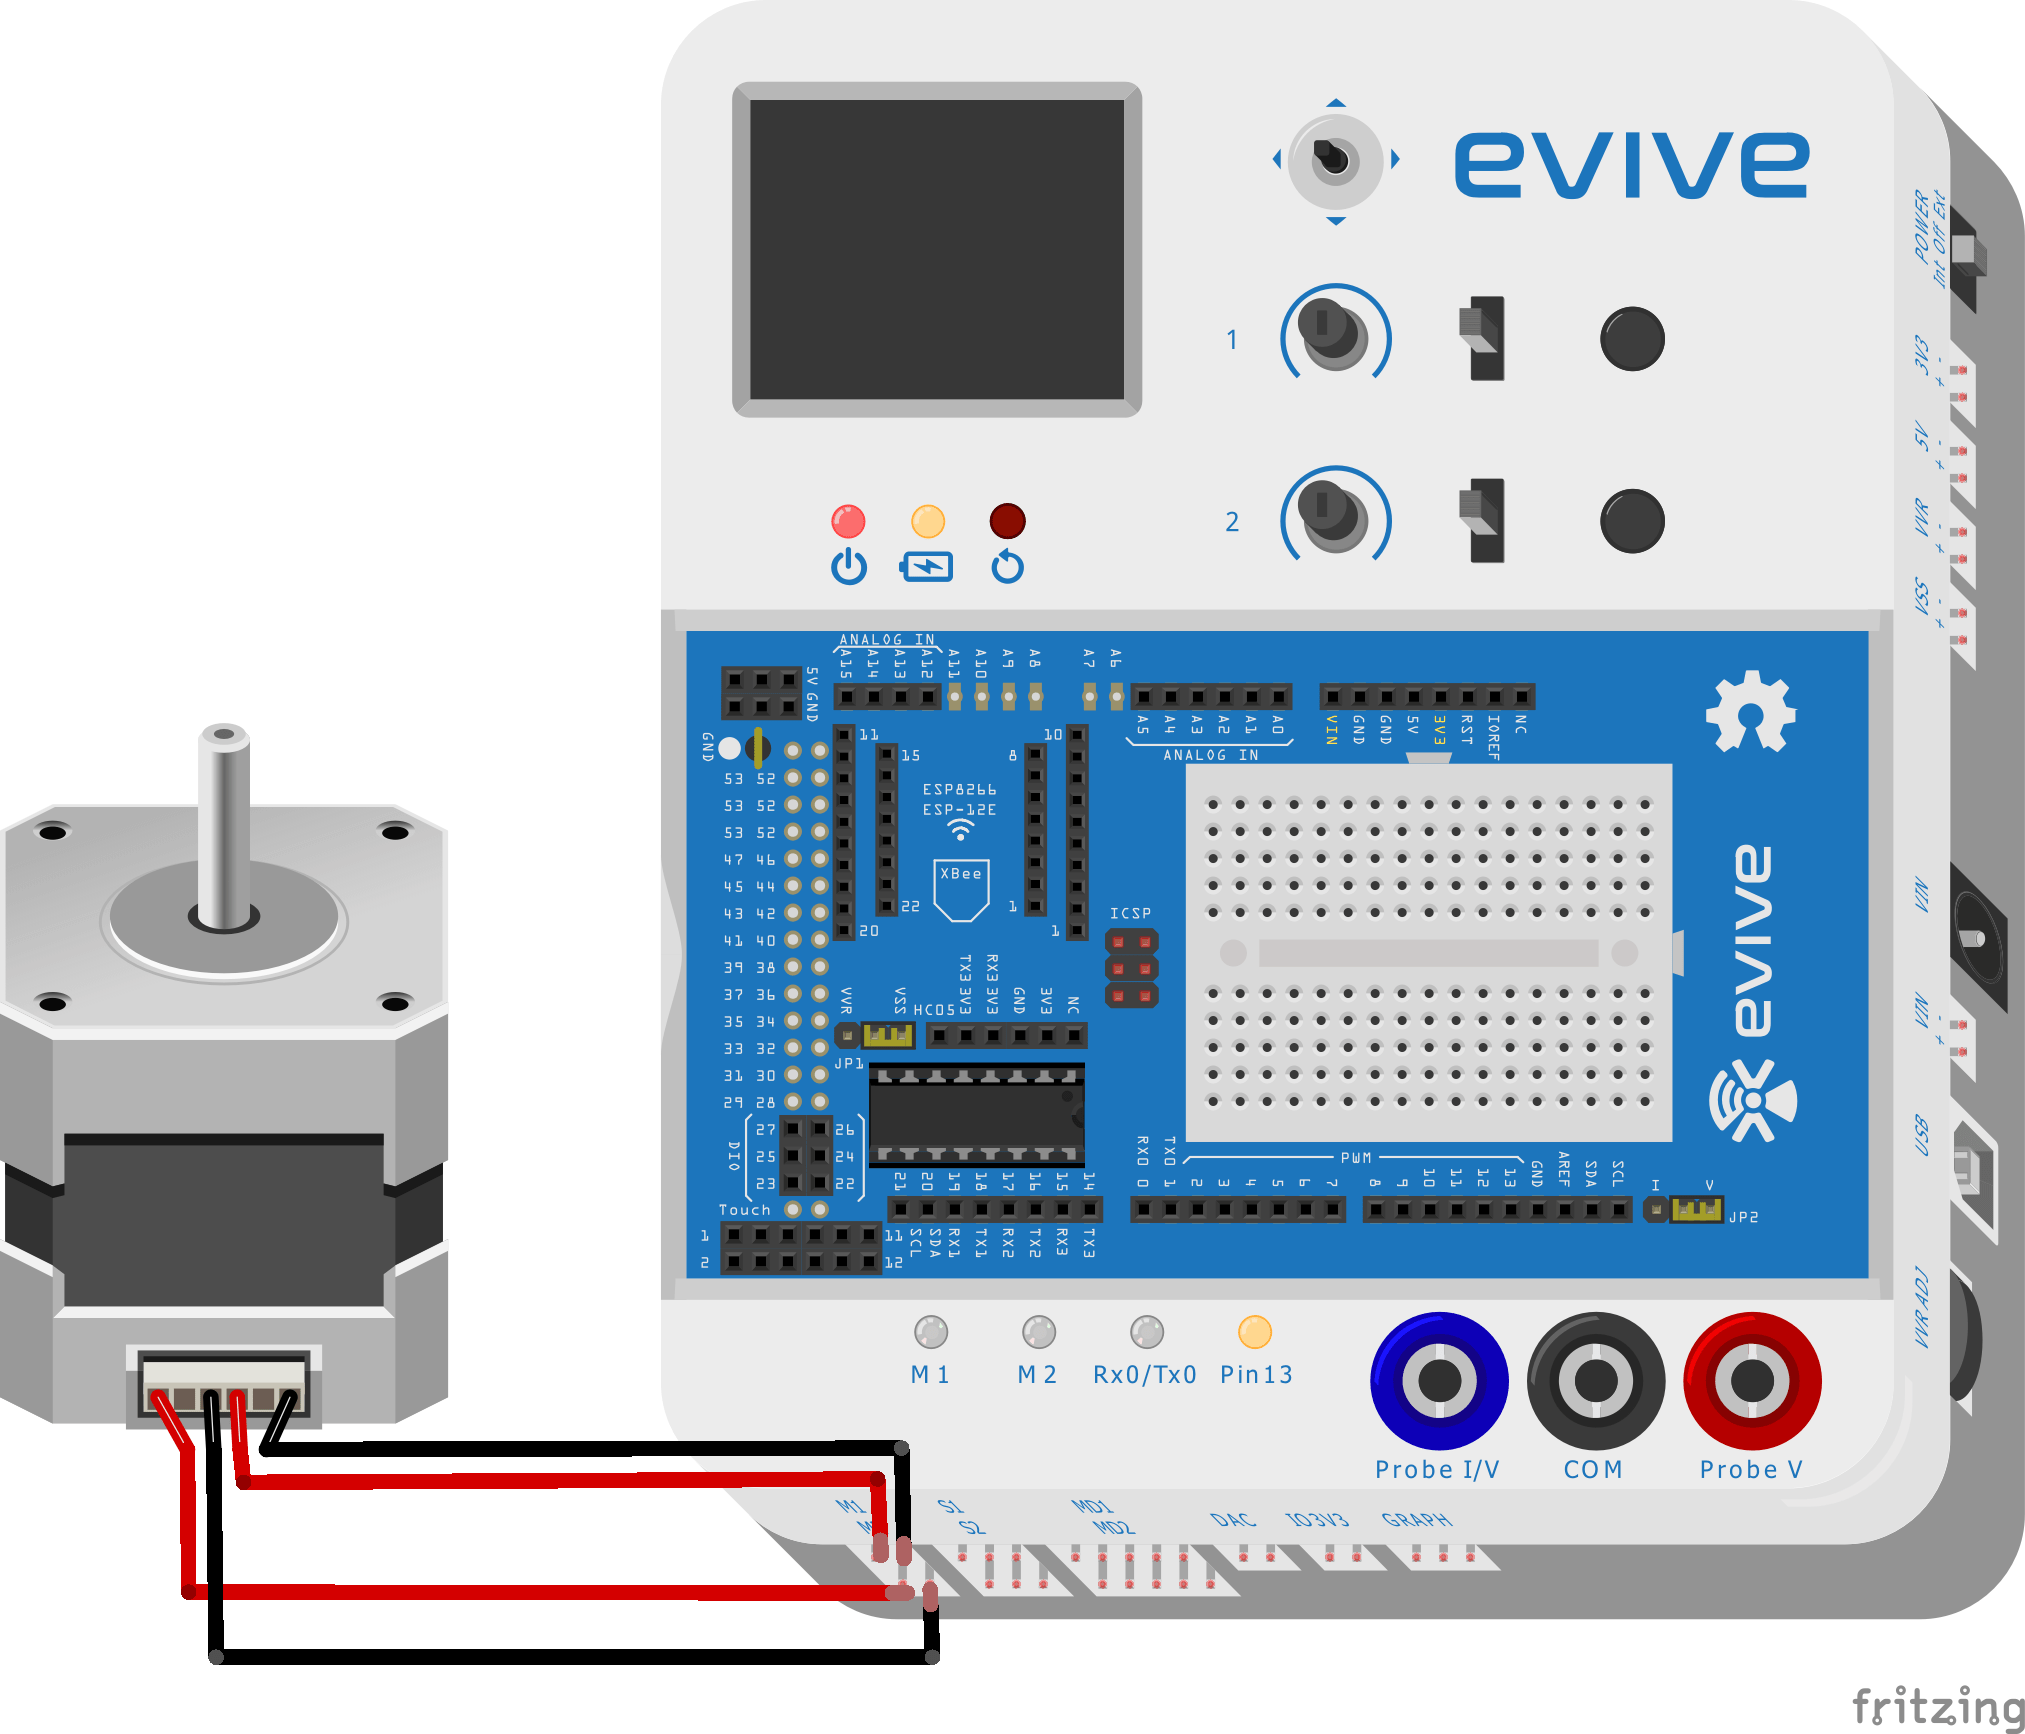
To control a stepper motor, the user needs to select the stepper menu and it will open the stepper control panel where you can control the stepper motor using slide switch and potentiometer.
Uses
This submenu can be used to test, calibrate and debug actuators or components in your projects or use them to get desired output states at digital I/O pins for your custom needs.
Conclusion
In conclusion, evive‘s Control Submenu is a great tool for controlling motors, servos, and stepper motors. It‘s easy to use, and allows users to quickly and easily control the direction, speed, and angle of the motor they‘re connected to. With this submenu, users can test, calibrate, and debug components and actuators in their projects, and use the digital I/O pins to get the desired output states for their custom needs.