Introduction
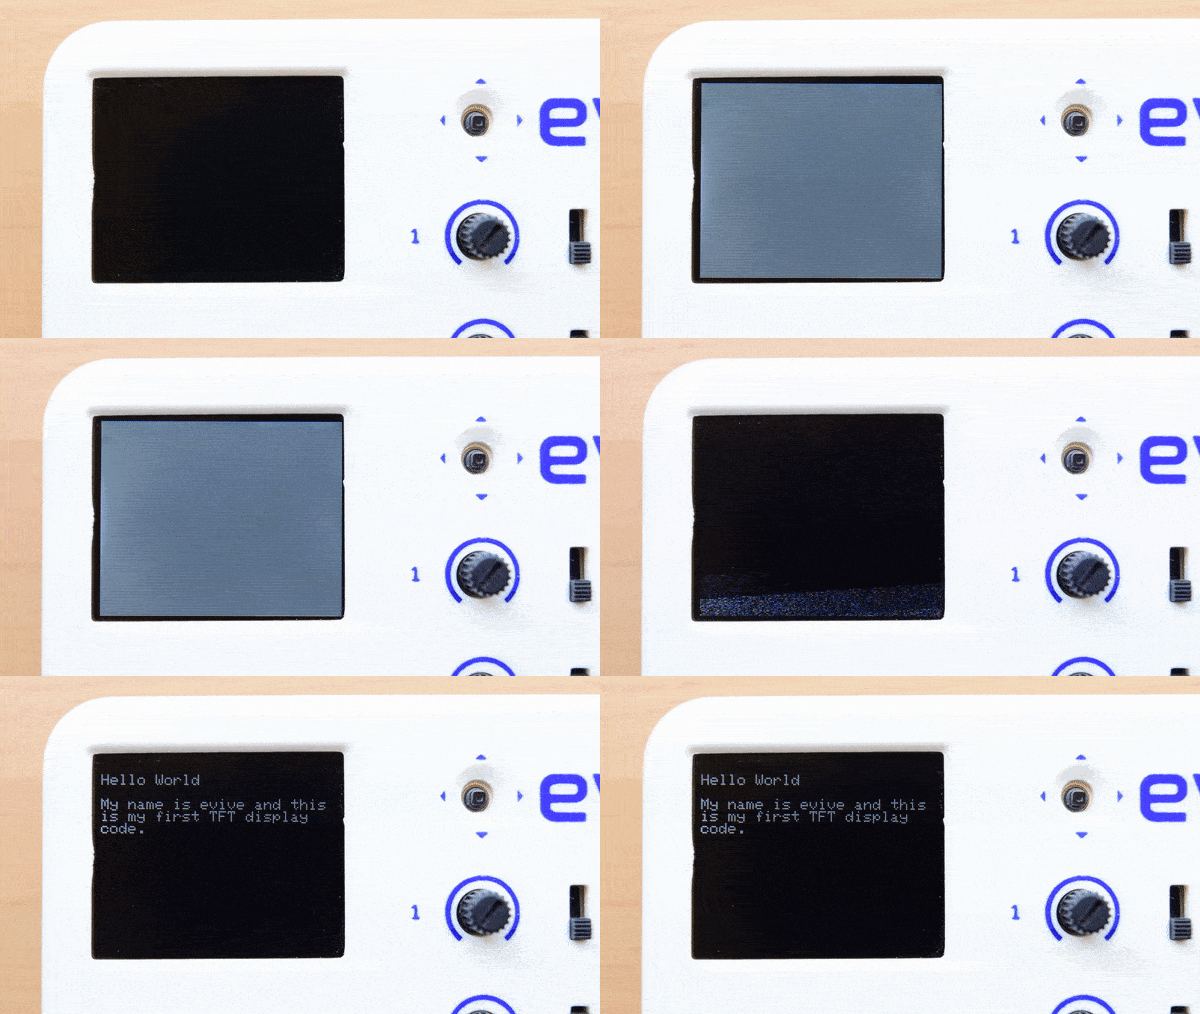
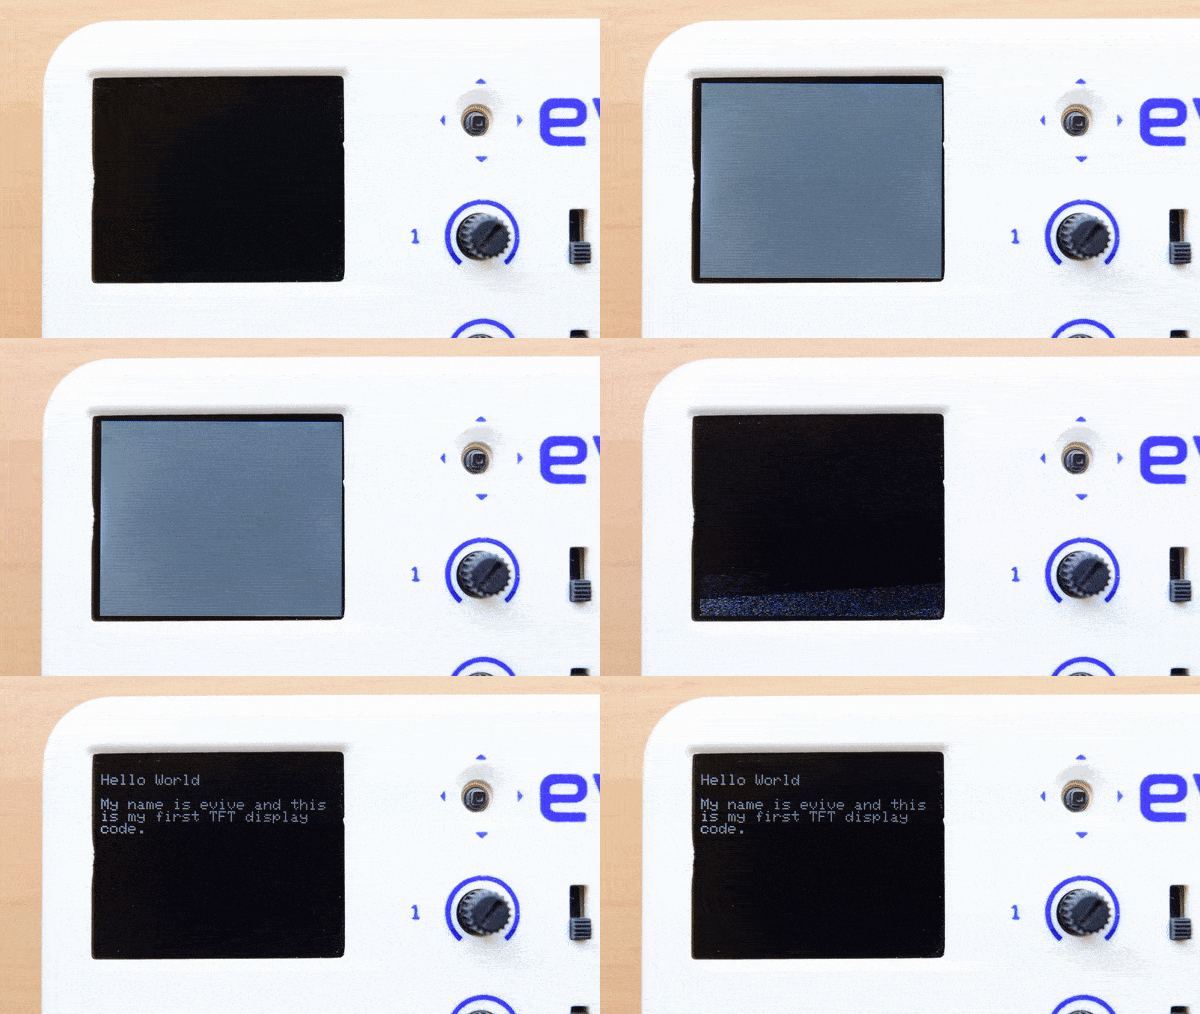
evive has a TFT display for visual feedback. Visual feedback is very useful for electronics projects and prototyping. It helps you with
- debugging your code
- displaying data
- asking for user feedback
- giving an aesthetic appearance to your project
evive has a 1.8″ TFT Display with 128 x 160 color pixel. This TFT uses ST7735R TFT driver to display 18-bit color (262,144 shades).
The TFT is already integrated in the evive library.

How to write text on TFT
Follow the steps below to write ‘Hello World’ on the TFT screen:
- Connect evive to your laptop/PC, and select the appropriate port.
- Add evive library in your Arduino IDE; it has a lot of functions for TFT display. To initialize the TFT, you must add the function tft_init(INITR_BLACKTAB); in the beginning of the program. This function initializes the TFT screen with a black background.
- To write on TFT, you must first set the cursor at the point where you want to write. For this, write the statement tft.setCursor (x,y); , where x and y are the coordinates on the screen. The top left corner on the TFT Screen is (1, 1). When you move to the right on the screen, x increases, and when you move down, y value increases.
- To display the text use either tft.print(“Hello World!”); or tft.println(“Hello World”); .

tft.print(): When this function is used to write text, the cursor remains in the same line. If you use this function the second time to write something new, it displays it immediately next to the previously written text. E,g, if you write tft.print(“Hi”); two times, the output on the screen will be HiHi.
tft.println(): This function adds a new line after the text is displayed on the screen. If you use this function to write something new, it will display the net in the new line. E.g. if you write tft.println(“Hi”); twice, the output on the screen will be
Hi
Hi
| Function | Description |
|---|---|
| setCursor(int16_t x, int16_t y) | Set cursor to a location |
| print(string) | Display input string on TFT |
| println(string) | Display input string on TFT and move to next line |
| tft_init(); | initialize TFT display Pass "INITR_BLACKTAB" in agrument while using this function i.e like tft_init(INITR_BLACKTAB) in order to initialize tft with background. |
| tft.fillScreen(ST7735_BLACK); | this fills display with black colour |
| tft.setTextColor(); | this function sets color of text to color passed as argument in this function. For example tft.setTextColor(ST7735_WHITE) sets text color to white. |
Example: Hello World!
/*
  Using TFT Display

  This code shows how to use TFT display attached on evive.
  Explore more on:https://thestempedia.com/tutorials/tft-hello/
*/

#include <evive.h>
void setup() {
tft_init(INITR_BLACKTAB); // this is used to initialize TFT display
tft.setRotation(1); // this rotates screen by 90 degree
tft.fillScreen(ST7735_BLACK); // this filles display with black colour
tft.setCursor(0,10); // this sets corser to write on (0,10) location
tft.setTextColor(ST7735_WHITE);
tft.println("Hello World!"); //print function
tft.println("");
tft.print("My name is evive and this is my first TFT display code.");

// put your setup code here, to run once:
}

void loop() {
// put your main code here, to run repeatedly:

}
Conclusion
This lesson has provided an overview of the evive TFT display and how to use it. It introduced the ST7735R TFT driver and how to use it to display 18-bit color. It also provided an example of how to write ‘Hello World’ on the TFT screen. Finally, it discussed the differences between the tft.print() and tft.println() functions. With the knowledge gained from this lesson, you should now be able to use the evive TFT display to give your project plenty of visual feedback and aesthetic appeal.


