Robotics for Kids – Level 1 is a middle school STEM robotics curriculum designed by curriculum experts for teaching kids robotics with hands-on robotics activities such as assembling a basic mobile robot, building a Smartphone-controlled robot, a Follow Me robot, etc. With its clear explanations and a variety of exciting simple yet exciting robotics projects for school students, Robotics for Kids – Level 1 is the perfect way to learn to build robots.
Prerequisites: Completed Physical Computing for Kids – Level 1
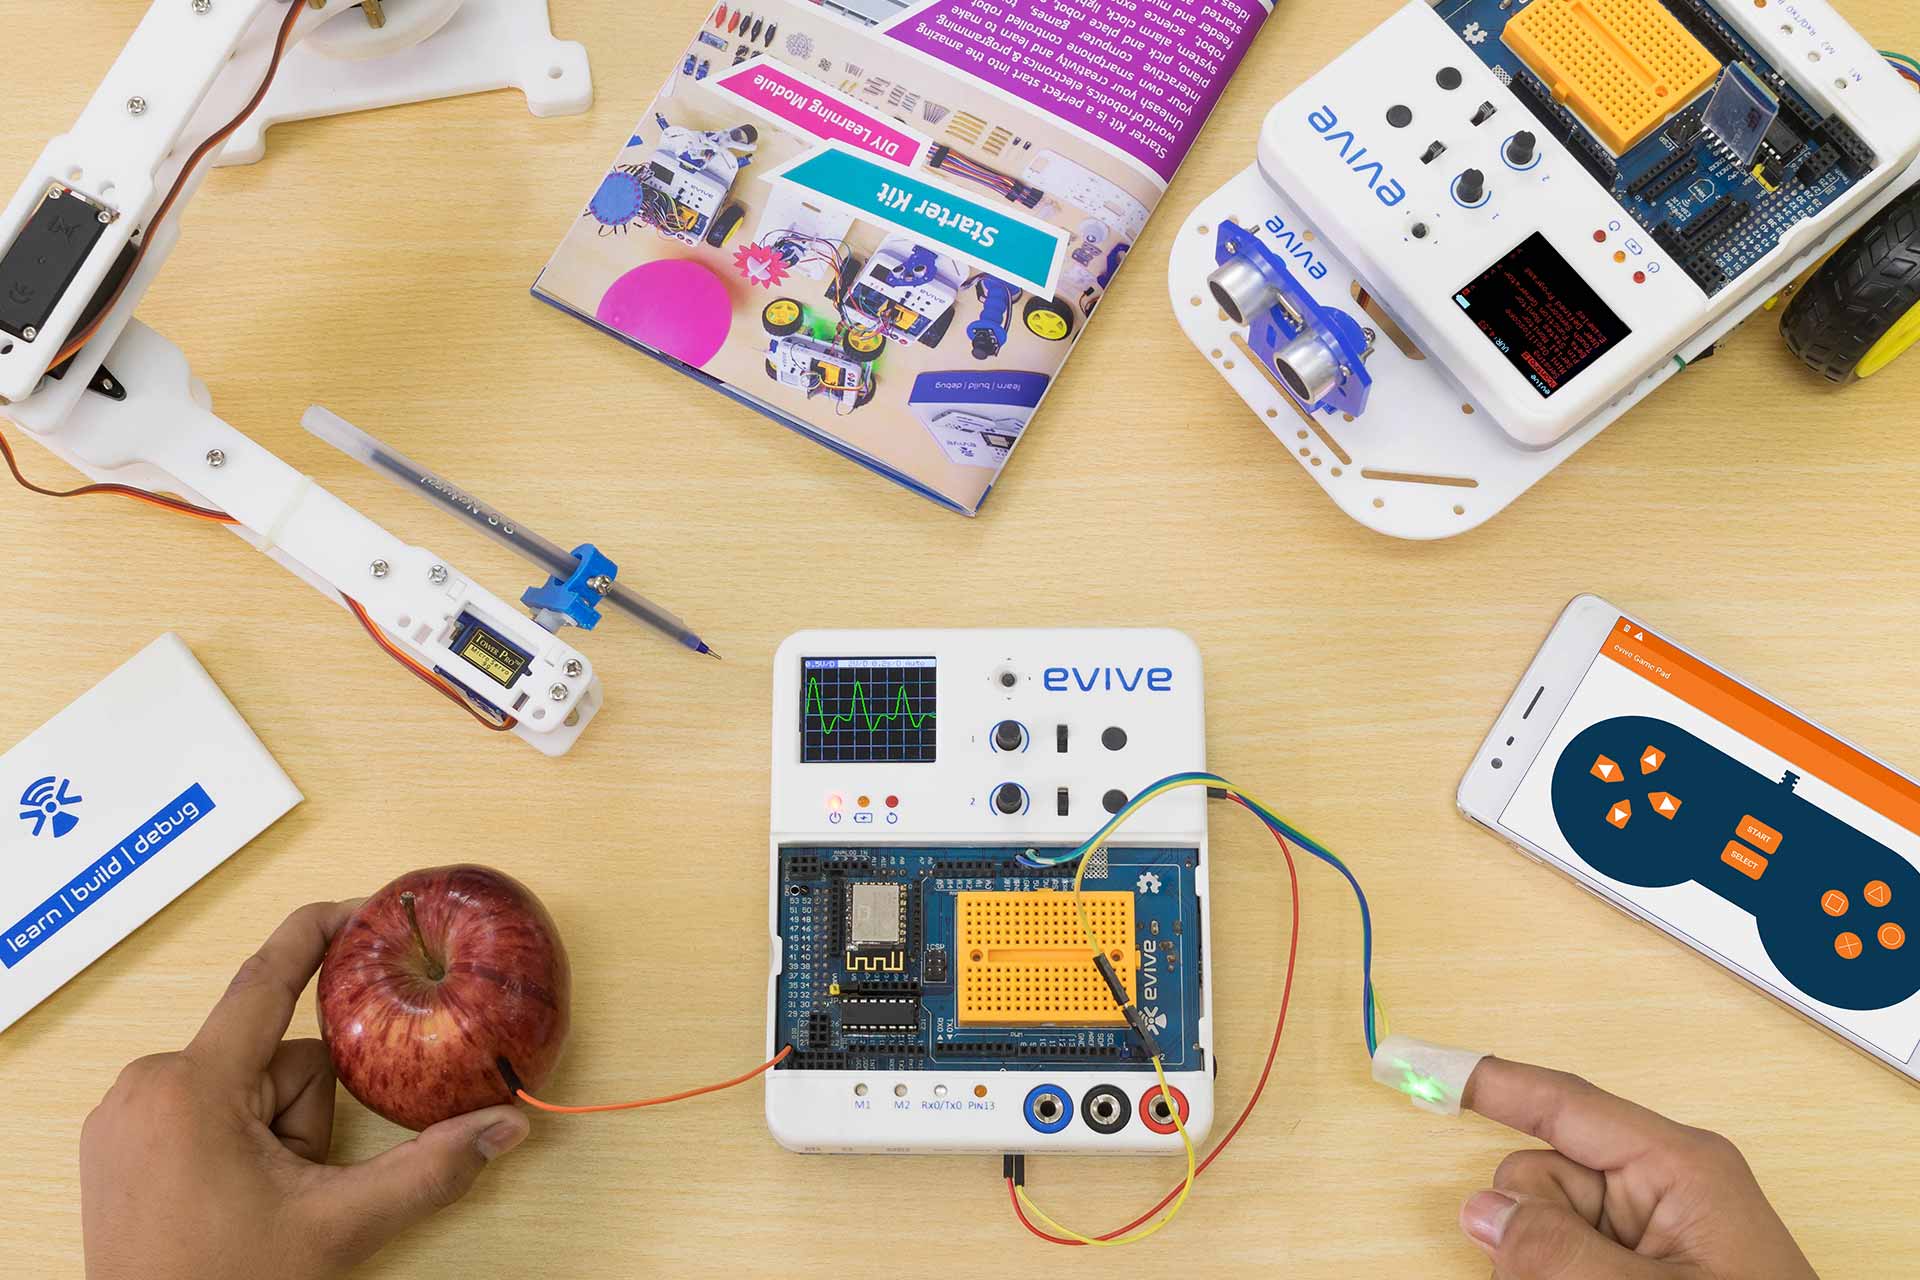
Kits Required: Evive
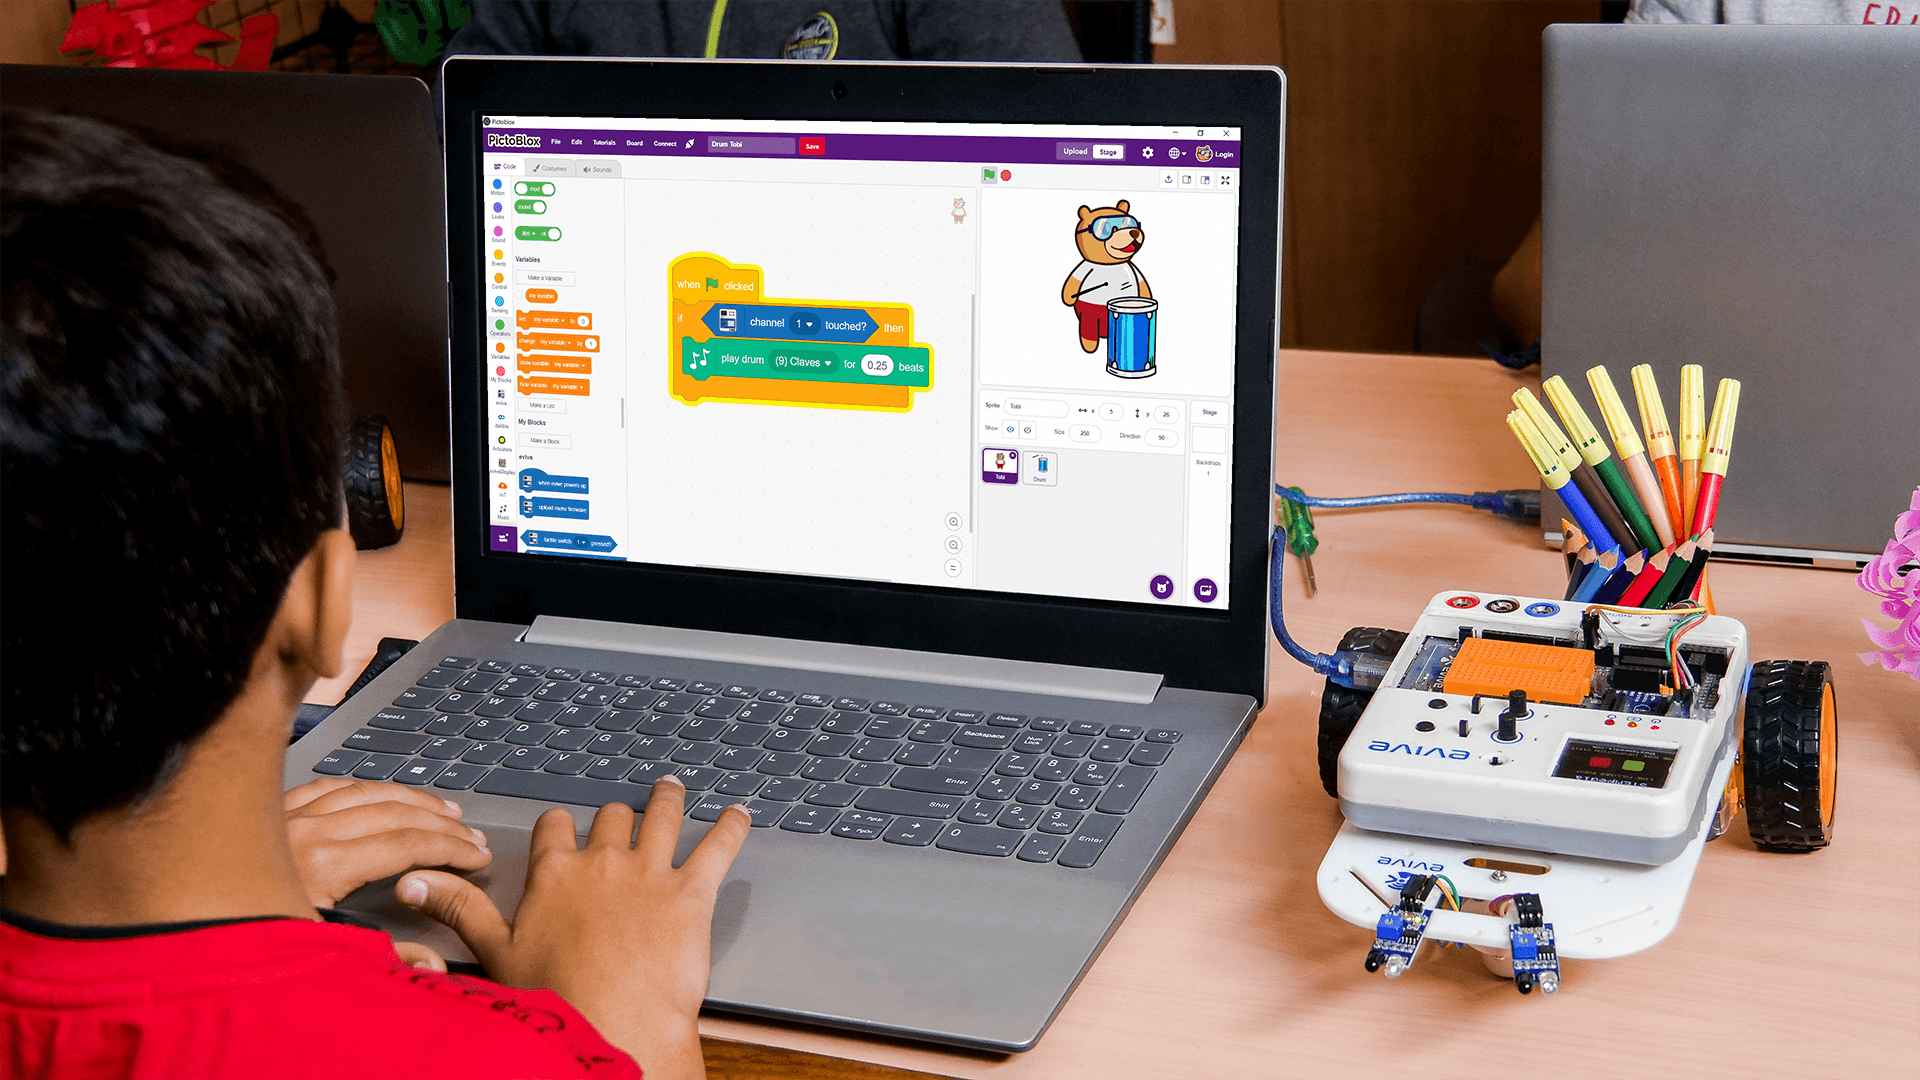
Programming Software: PictoBlox (Block Coding)
Learning Outcomes
After completing Robotics for Kids – Level 1, students will be able to understand the basics of robotics, algorithms, etc with the help of a wide variety of hands-on activities.
Apart from the aforementioned learning outcomes, this STEM curriculum will also help them develop important skills such as problem-solving, attention to detail, patience, and debugging.
9
Lessons
10+
Activities
9+
Learning Hours
5+
Grades
Curriculum Lesson Plan
Module 1: Basics of Robotics
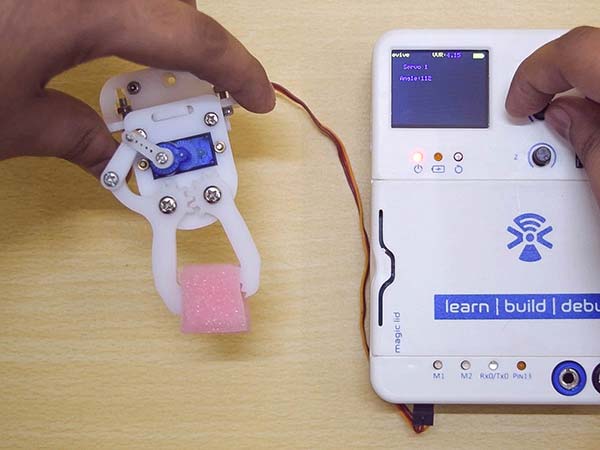
Students will first be introduced to robotics and then to the essentials of building a robot the DIY way as they learn how to build a Smartphone-controlled robot, a follow-me robot, and a gripper.
Lesson 1.1: Introduction to Robotics – Part 1
Objective: What are robots? What are their characteristics? Classification of robots. Applications of robots in different fields. Basic components of a mobile robot – gripper, wheels and actuators.
Activity: Listing application of robotics in different fields.
Learning Outcome: What are robots and their characteristics? | Classification of robots. | Application of robots in different fields.
Objective: How to assemble the basic structure of a mobile robot?
Activity: Assembling a two wheel drive robot.
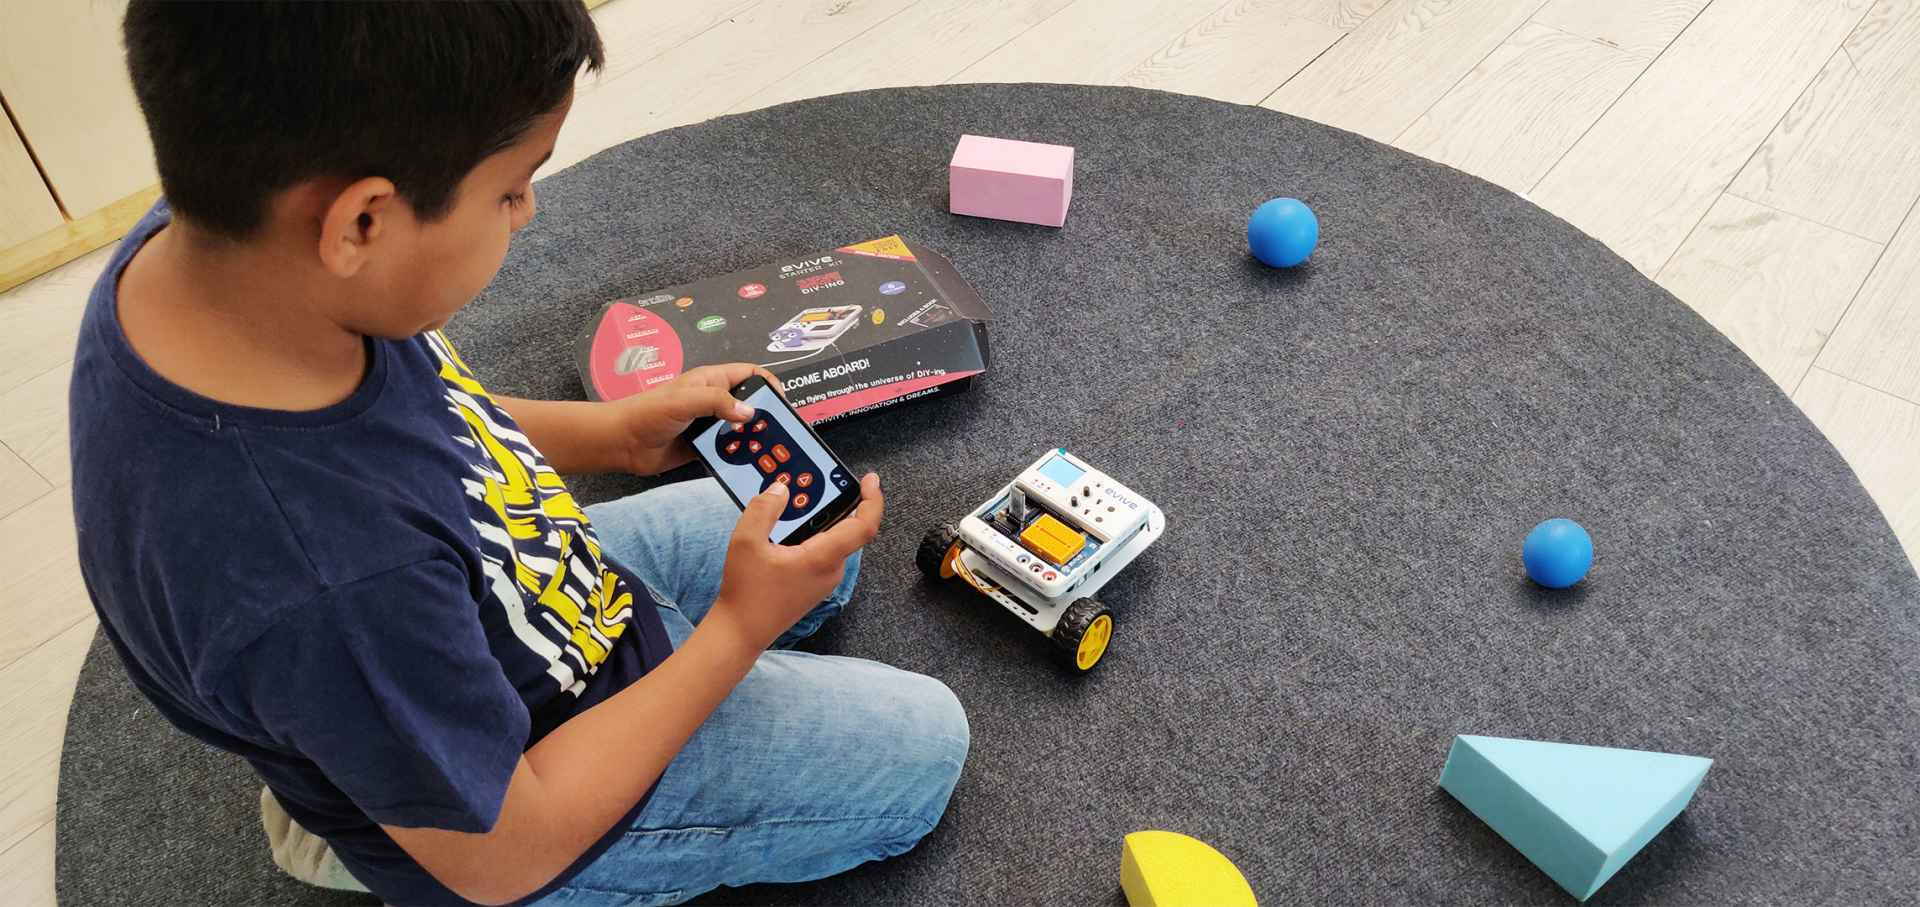
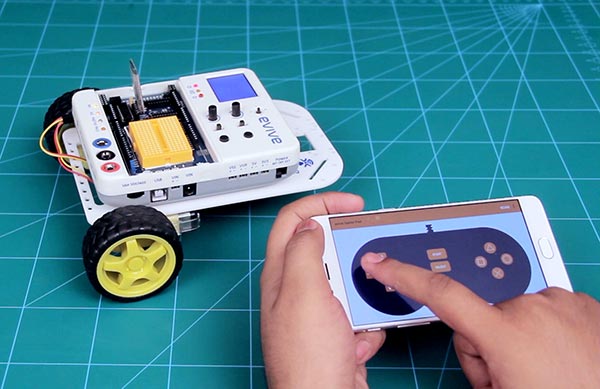
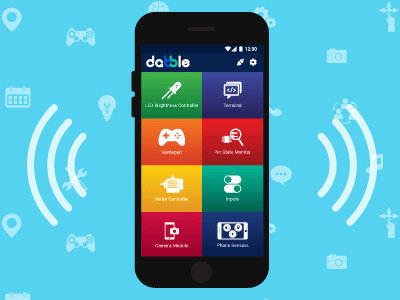
Learning Outcome: In this activity, students will make a smartphone-controlled robot where the motion of the robot is controlled using the inputs of a smartphone app – Dabble. We will use the gamepad module to control the robot.
Objective: How to control the movement of a two wheel mobile robot using evive?
Activity 1: Connecting the motors of the robot to evive. Making the robot move forward, backward, left, and right using evive's menu.
Learning Outcome: In this activity, students will make a smartphone-controlled robot where the motion of the robot is controlled using the inputs of a smartphone app – Dabble. We will use the gamepad module to control the robot.
Objective: How to make a custom block (function) in PictoBlox? How to control a robot using Dabble’s Gamepad module?
Activity: Programming the robot to move forward, backward, left and right when pressing the up, down, left and right switch respectively on the Gamepad module.
Learning Outcome: In this activity, students will make a smartphone-controlled robot where the motion of the robot is controlled using the inputs of a smartphone app – Dabble. We will use the gamepad module to control the robot.
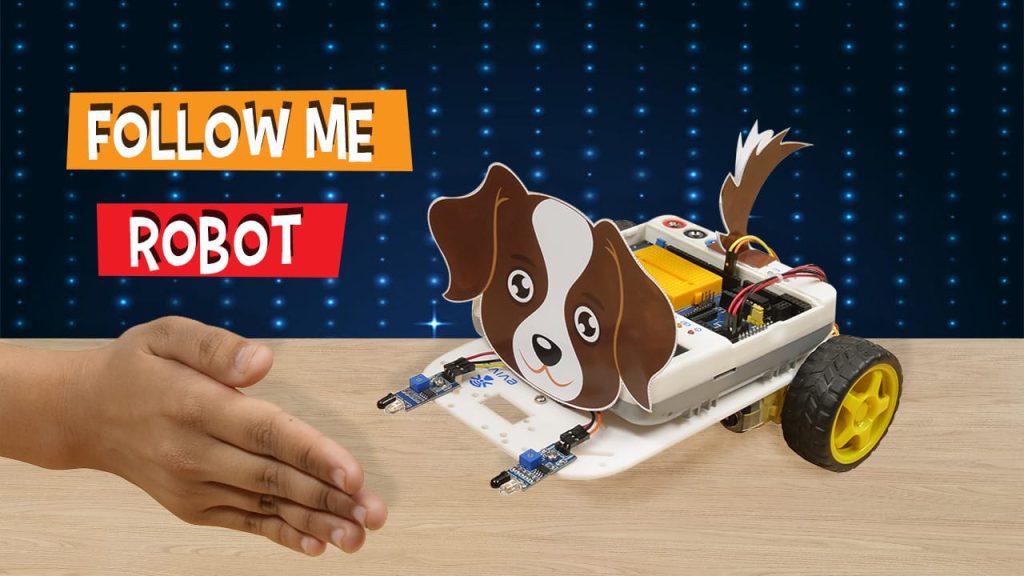
Lesson 1.6: Follow Me Robot – Calibrating IR Sensors
Objective: What is an IR sensor? How does it work? How to connect it to evive and calibrate it to detect objects in close proximity?
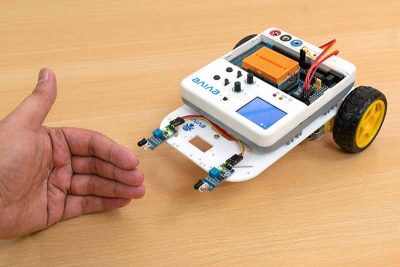
Activity 1: Connecting two IR sensors in front of the robot chassis and calibrating them to detect objects at a distance of 5cm.
Learning Outcome: In this activity, kids will make a follow-me robot, an autonomous robot, which uses two IR sensors to follow the object in front of the robot.
Objective: How to program the IR sensors of the robot to detect objects in front of it and follow them?
Activity: Programming the robot to follow the object according to the sensor readings.
Learning Outcome: In this activity, kids will make a follow-me robot, an autonomous robot, which uses two IR sensors to follow the object in front of the robot.
Objective: Students have to make a robot that runs away from the object in front of it – opposite to follow me robot.
Activity 1: Programming the Follow Me robot such that it runs away from the object in front of it. No assistance from the educator.
Learning Outcome: In this activity, kids will make a shy robot, an autonomous robot, which uses two IR sensors to go away from the object in front of the robot.
The final lesson of the Robotics for Kids – Level 1 curriculum for schools is where students get to apply all the concepts they have learned in the previous sections to make a project to solve a real-world problem of their choice.
What will you need to Conduct this Curriculum?
STEM Classroom Bundle
The perfect Starter Package for schools to implement STEM, electronics, and robotics education.