Electronics for Kids – Level 2
Introduction
Electronics for Kids – Level 2 is a part of the specially-designed high school STEM curriculum curated by curriculum experts for kids to delve deeper into electronics through STEM projects such as understanding the effect of series and parallel connections in a circuit, visualizing analog and digital signals, visualizing an RC circuit, making DIY goggles, etc. With its clear explanations and an assortment of exciting STEM projects, Electronics for Kids – Level 2 will have students building complex yet exciting DIY electronics projects in no time.
- Prerequisites: Completed Electronics for Kids – Level 1 or have a basic understanding of electronic circuits.
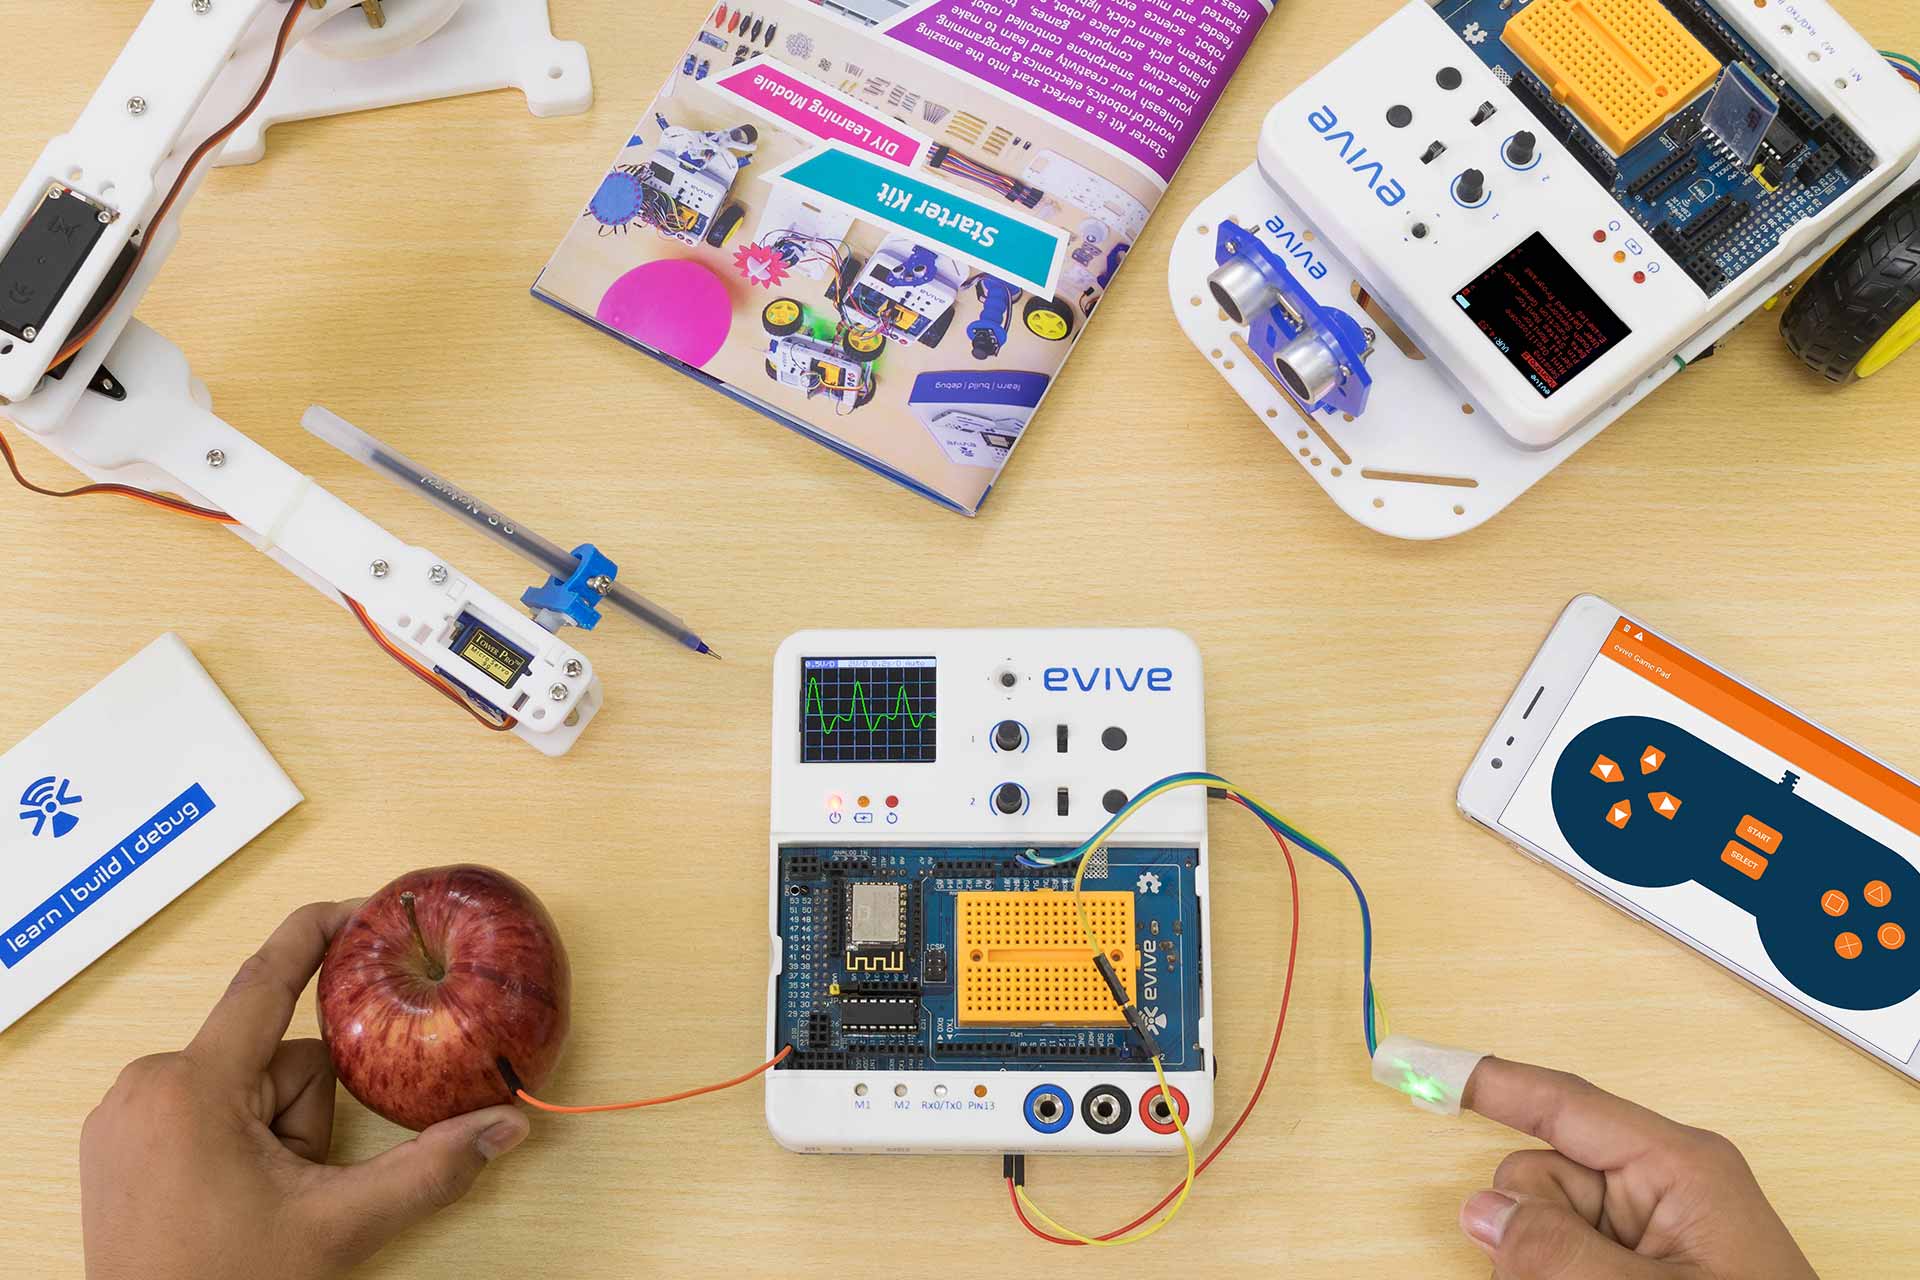
- Kits Required: Evive
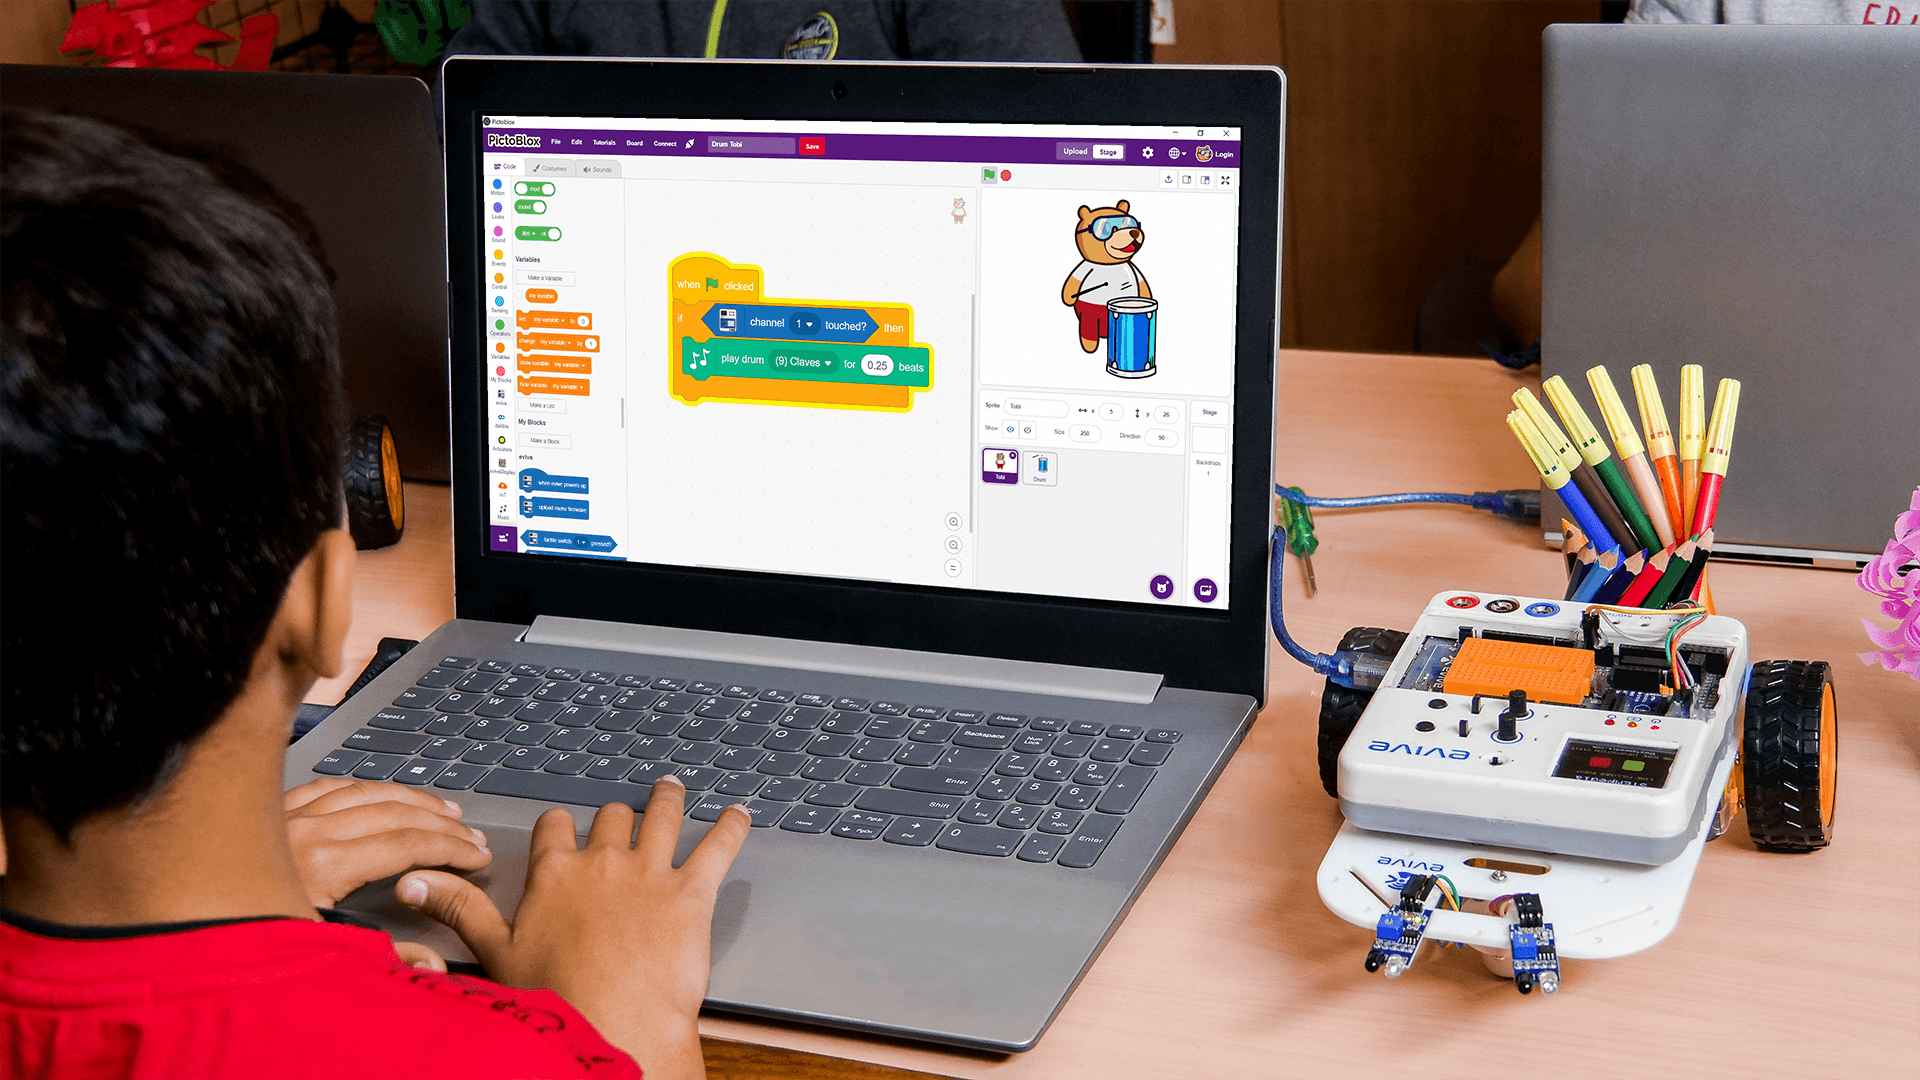
- Programming Software: PictoBlox (Block Coding)
Learning Outcomes
After completing Electronics for Kids – Level 2, students will have a basic understanding of analog and digital electronic circuits with the help of a wide variety of projects.
Apart from the aforementioned learning outcomes, this STEM curriculum will also help them develop important skills such as problem-solving and debugging techniques, DIY-ing, teamwork, and creativity.
Curriculum Lesson Plan
Module 1: A Little More About Basics
This module begins with recapitulation of the basics from Electronics for Kids Level 1 after which students will be introduced to series and parallel connections and their effect on the circuit.
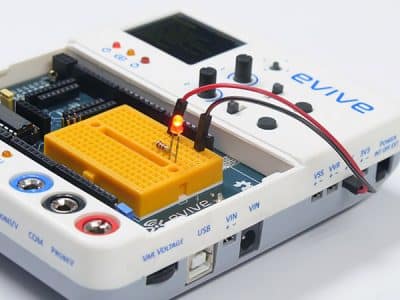
Lesson 1.1: Ohm’s Law and LED Basics
- Objective: What is the relationship between voltage, current, and resistance and how to use it to light up an LED?
- Activity: Glowing an LED using evive.
- Learning Outcome: Ohm’s Law: The relation between voltage, current, and resistance. | LED and its property.
- Mode: Practical

Lesson 1.2: Series and Parallel Connection
- Objective: What are resistor series and parallel connections? How do they affect the brightness of an LED in an electronic circuit?
- Activity : Making LED circuits with single, series, and parallel resistors. Reporting the circuit with maximum and minimum LED brightness.
- Learning Outcome: What is the series configuration in resistors, and how does it affect the overall resistance? | What is the parallel configuration in resistors, and how does it affect the overall resistance?
- Mode: Practical
Module 2: All About Signals
Students will be introduced to digital signals, analog signals, tactile switches, potentiometers, and capacitors with the help of hands-on STEM activities based on evive.
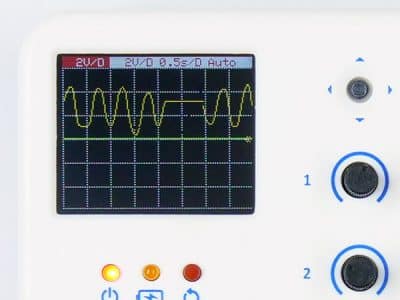
Lesson 2.1: ABC of Analog Signal
- Objective: What is an electrical signal? What is an analog signal? What are its characteristics? What is a potentiometer? How to visualize a signal on evive’s mini oscilloscope?
- Activity: Visualizing the signal generated by evive's potentiometer on the mini oscilloscope.
- Learning Outcome: What is the signal? | What is the analog signal and how it looks? | What is potentiometer?
- Mode: Practical

Lesson 2.2: ABC of Digital Signal
- Objective: What is a digital signal? What are its characteristics? What is a switch? What are its types? How does it behave?
- Activity : Making a switch circuit and visualizing the signal generated by a switch on evive's mine oscilloscope.
- Learning Outcome: What is a digital signal and how it looks? | What is the switch? Different types of switches.
- Mode: Practical

Lesson 2.3: LED Circuit with Switch and Potentiometer
- Objective: How to control the brightness and the state of a LED using a potentiometer and a switch?
- Activity 1: Making a circuit to control an LED's brightness using evive's potentiometer.
- Activity 2: Making a circuit to control an LED's state - (ON/OFF) using a switch.
- Learning Outcome: How to control the brightness of a LED using potentiometer? | How to control the state of the LED using a switch?
- Mode: Practical
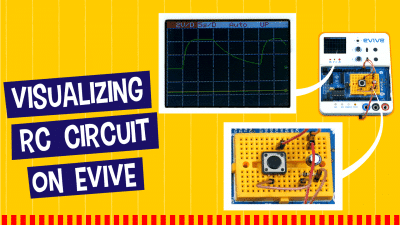
Lesson 2.4: Visualizing Resistor-Capacitor Circuits
- Objective: What are capacitors and their effect on a circuit? Why does an LED’s brightness vary slowly due to capacitor charging and discharging?
- Activity : Making an RC circuit and visualizing the charging and discharging of a capacitor on evive's mini oscilloscope.
- Learning Outcome: What is a capacitor? | What is a capacitor made up of? | How does a capacitor work?
- Mode: Practical
Module 3: Do-It-Yourself!
After gaining ample knowledge of the basics of electronics, students will make an exciting DIY electronics project using evive by implementing that knowledge.
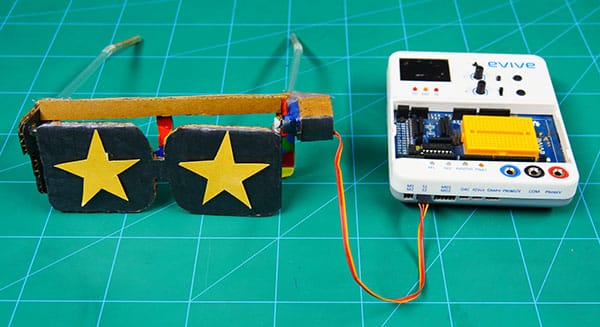
Lesson 3.1: DIY Goggles
- Objective: How to control a servo motor using evive?
- Activity: Making a pair of goggles that open and close the protective shades with the help of servo motor.
- Learning Outcome: In this activity, students will make a goggle which can open or close the shades using servo motor.
- Mode: Practical
Capstone Project
The final lesson of the Electronics for Kids – Level 2 curriculum for schools is where students get to apply all the concepts they have learned in the previous sections to make a project to solve a real-world problem of their choice.
What will you need to Conduct this Curriculum?
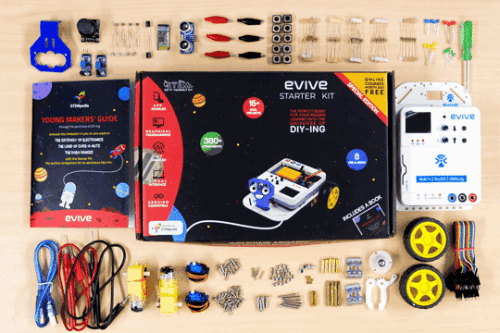
STEM Classroom Bundle
The perfect Starter Package for schools to implement STEM, electronics, and robotics education.
Contact Us
Implement this curriculum at your School / Activity Center!

