

Introduction
Light up your Diwali with this extra-special DIY RGB LED lantern! This project will show you how to make a lantern that can be controlled using a Smartphone at home. All the components required to make the lantern are available inside the evive Starter Kit. We’re going to program our smart RGB LED lantern in PictoBlox- our graphical programming software based on Scratch blocks – and control it using Dabble – a project interaction and Bluetooth controller Smartphone app. You can download PictoBlox from HERE and Dabble from HERE.
Ready for some Diwali DIY?
Let’s begin!
Making the Top and the Base of the Kandil
Let’s first begin by making the top and the bottom plate upon which our entire assembly will be placed.
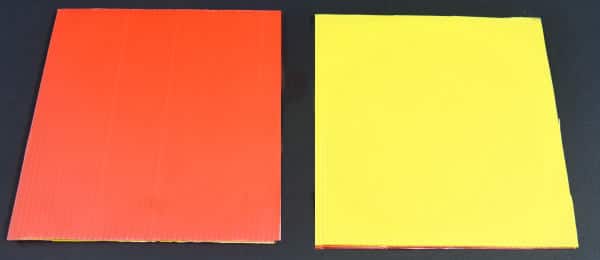
- Take four different colored corrugated sheets of size 17 cm * 17 cm, we have used a red and a yellow corrugated sheet.
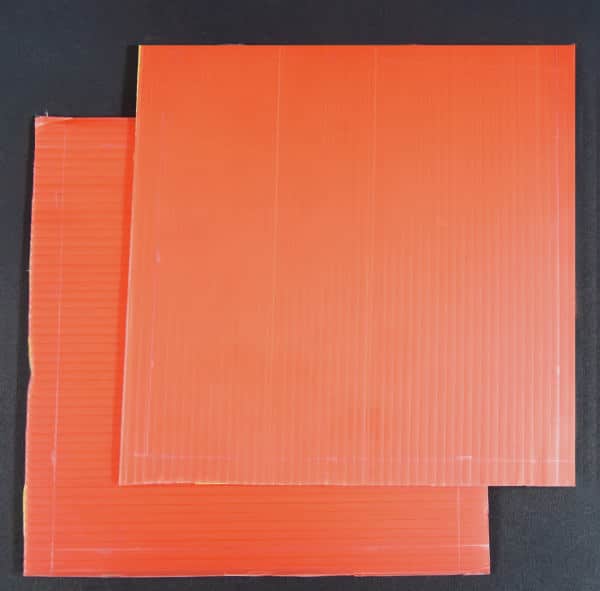
- Glue a pair of two different corrugated together one for the top plate and one for the bottom plate.
 Make sure that the glue them together such that the strips of the corrugated sheets are perpendicular to each other.
Marking the details
We need to make a few markings or holes on our top and bottom sheet.
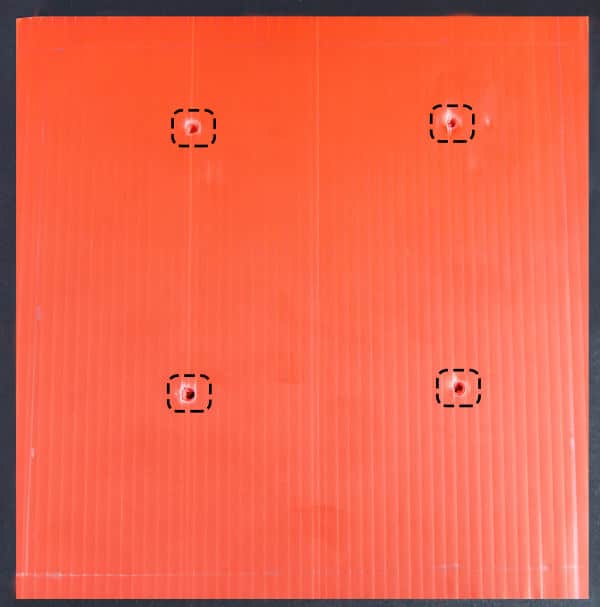
- Mark a 15 cm*15 cm square from the center on both the top and the bottom plate. This is where we will be making the structure of our lantern.
- Now, take one of the two plates, and mark four holes at the distance of 7.5 cm and perpendicular to each other. This is where we will mount our brain: evive. Also, this is now the bottom plate of kandil.
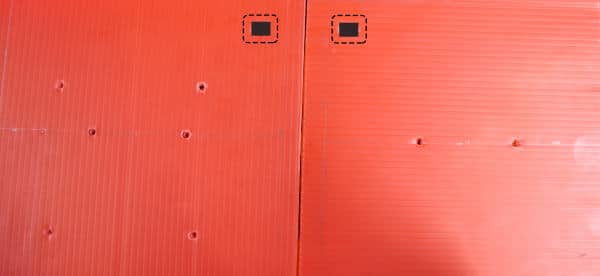
- On both the plates, mark a line from the and mark two holes at a distance of 5 cm and 10 cm from the edge. These holes will be used for passing the support thread on which we would hang the lantern.
- Finally, create a small slit of 1 cm near one of the corners on both the plates. We will pass our electrical wires through these slits.
With this our top and the bottom plates for our kandil are ready.
Making the Structure of the Lantern
As we have our top and the base plate ready, let’s start making the structure of our Lantern.
- Take the base plate and attach four equilateral triangles of side 15 cm to the square that we marked at the plate using tape.
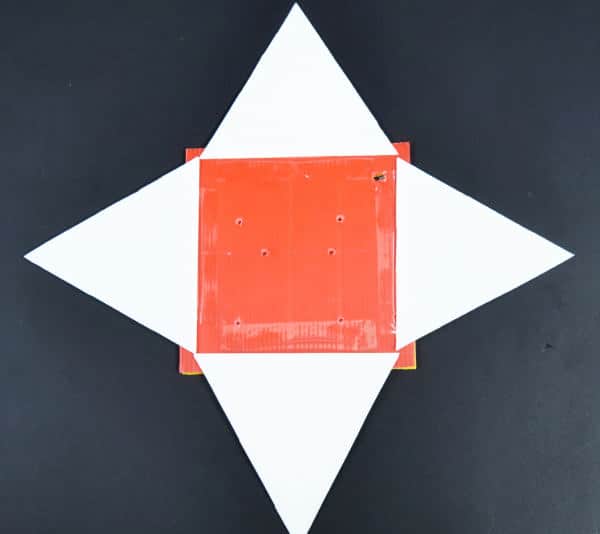
- Make sure that all the triangles are aligned properly to the lines of the square on the base plate.
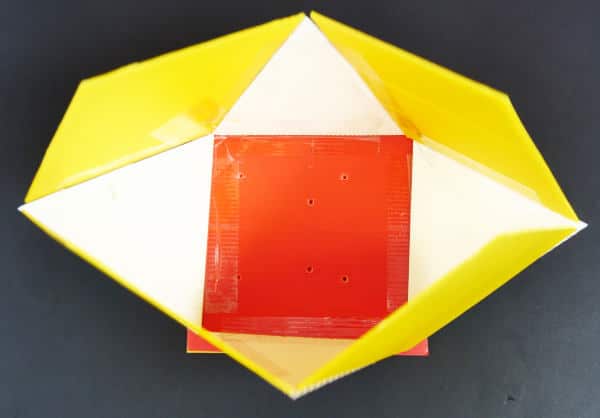
- Take a square of some other corrugated sheet of side 15 cm side and attach it between the two equilateral triangles such that two of its four edges are connected to the two adjacent triangles. Similarly, repeat this process for all four sides.
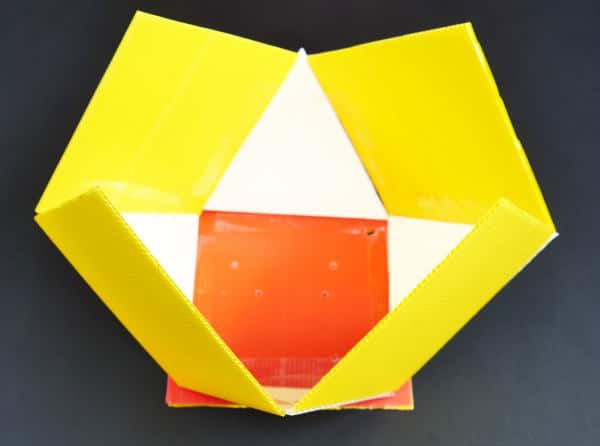
- To complete the other half structure of our Lantern.
- Take four more equilateral triangles of side 15 cm and attach them between the two squares.
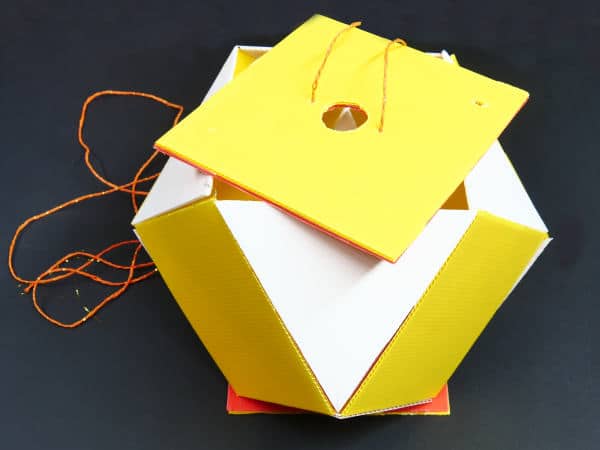
With this, our structure of the Diwali kandil has started taking its shape.
Making out Lantern: the hanging Lantern
As all the Diwali Kandils lights up at night, thus we too will add a bulb for the same.
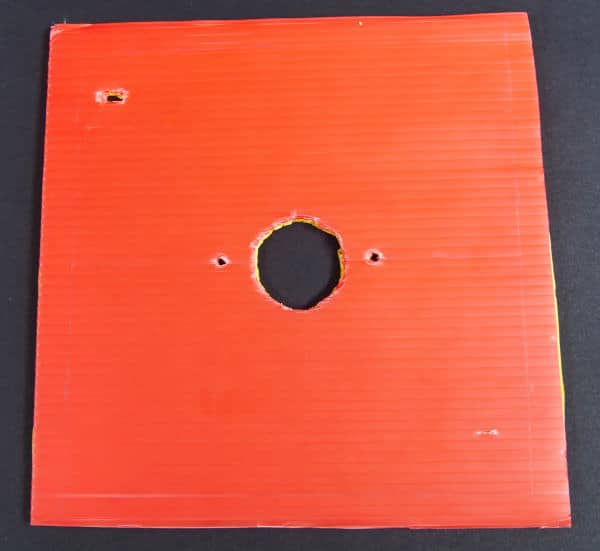
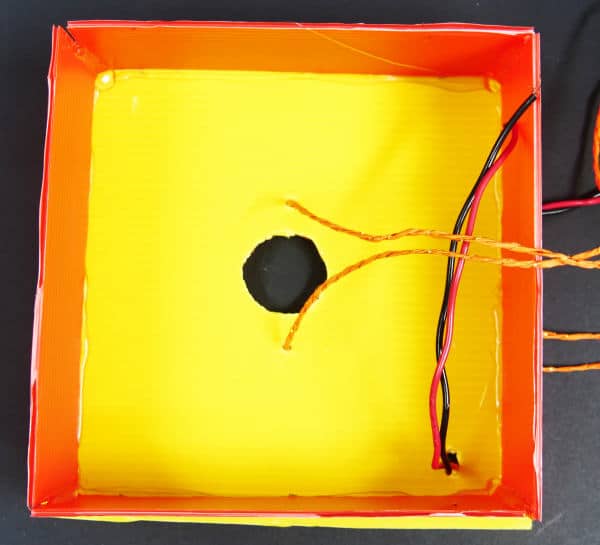
- Thus, let’s first make the housing for the bulb holder. Draw a circle of 1.5cm radius at the center of the top plate and cut it out.
- Also, we will be making our kandil a hanging kandil, thus pass a thread carefully through the first hole of the top plate and then through the first hole of the bottom plate. Then, pass it back through the other hole of bottom plate and then through the second hole of the top plate.
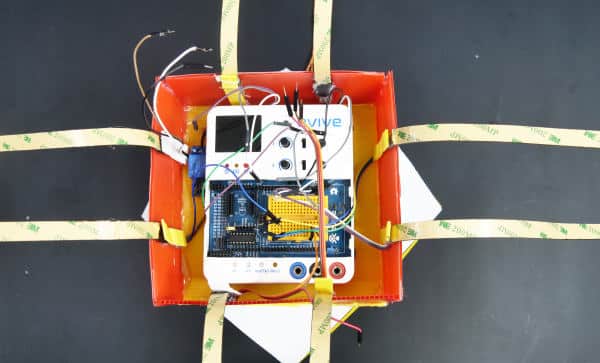
Bringing in the Brain

- Once you have your code uploading to evive, let’s attach our brain: evive to the bottom plate. You can find out more about evive from here and can get started with evive from here.
- Take evive and attach it to the base using 10 mm m3 bolts. Pass the bolts through the base and match the mounting holes on evive correspondingly.
- Using a screw-driver firmly secure the evive to the base.
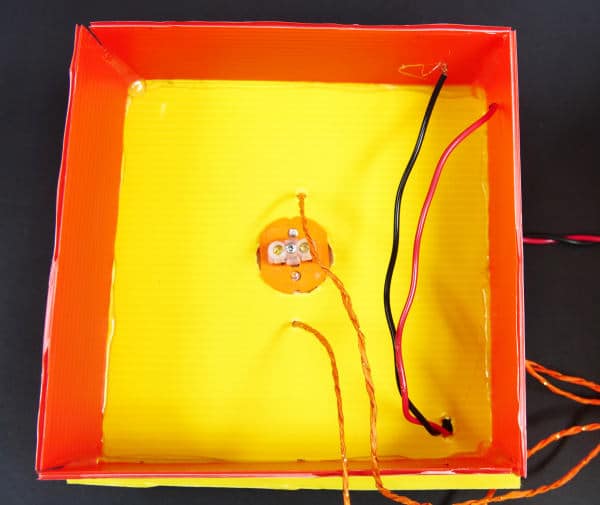
Bringing in the relay
The relay is the electronic component that acts as a switch that works on AC supply. Switching relay ON will switch the bulb ON and turning it OFF will turn the bulb OFF. Let’s add it to our project to make our Lantern turn ON and OFF.
- Take an electrical wire and pass them through the slits provided on the top plate and the bottom plate.
- Connect the black wire to the COM port and the red wire to the NO port of the relay.
Note: You can connect any wire to any port.
- Once done, fix the relay on the bottom plate next to evive using double-sided tape.
Fixing the Top
Let’s work towards completing our Lantern.
- Take four 15 cm * 5 cm rectangular strip of corrugated sheet and stick it on to the top plate using hot glue.
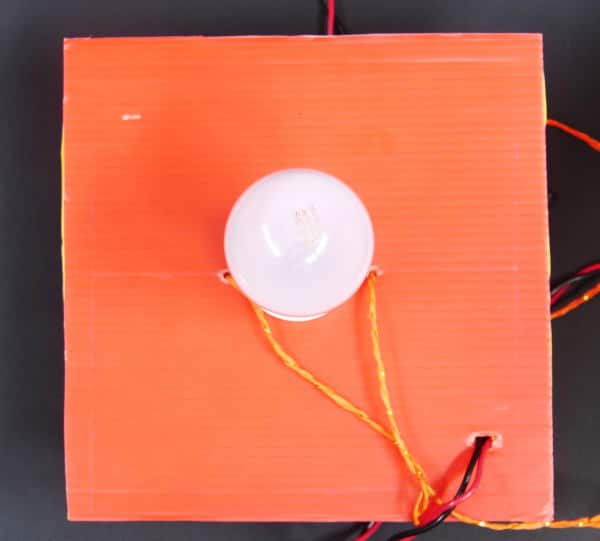
- As we have made the housing for our bulb holder. Fix the bulb holder in it.
- Once the bulb holder is fixed, let’s first complete its wiring.
- Connect the red wire coming from the relay to one of the two terminals of the bulb holder and connect the red wire from the power supply plug to the other terminal of the bulb holder.
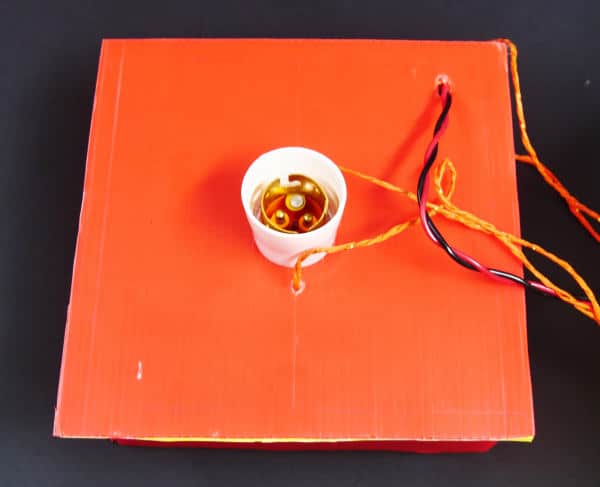
- And connect the other end of supply to the bulb holder.
- Finally, take both the black wires and connect them together thus making the ground common.
- Now, fix the bulb into the bulb holder.
As the assembly and making of inside the lantern are completed, close it by attaching the top plate onto it using hot glue.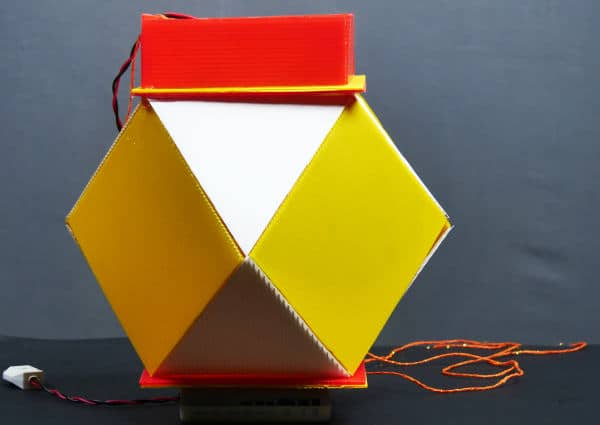
Lighting up the RGB LED Strip
To make tail we will be using the NEOPIXEL / RGB LED Strips.
- We will be using 8 strips of 30 pixel RGB LEDs. Thus, take an RGB LED roll and cut out 8 30-pixel strip from it.
- Take of the insulating material on the edge so that copper pads are visible.
- Now hold the LED strip and solder 3 wires to VCC, Din, GND pin of the RGB strip.
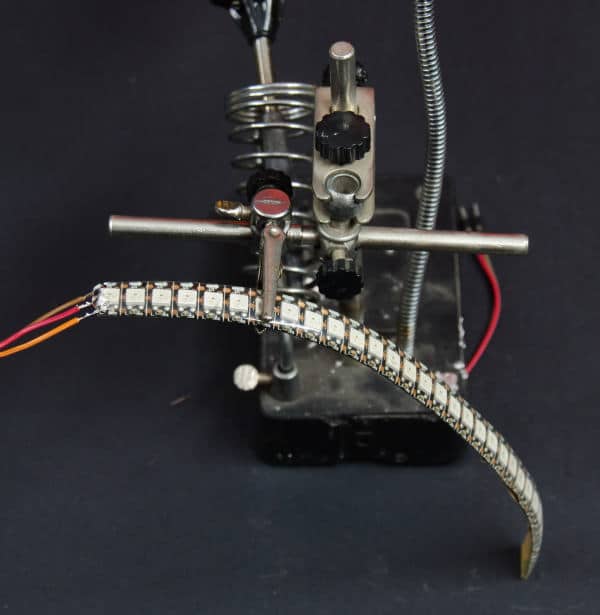 Note: make sure you connect it to the input side denoted by the arrow.
 - Connect the RGB LED Strip to the small strip of the corrugated sheet using some hot glue.

- Thus, repeat steps 3 and 4 for all the 8 strips.
Completing the Assembly of the Kandil
For mounting of RGB Strip to the bottom plate, we will stick them on to the strip of corrugated sheet.
- Take four 17*6 cm corrugated sheets and stick two RGB led strip one at 5 cm from both the ends of sheet.
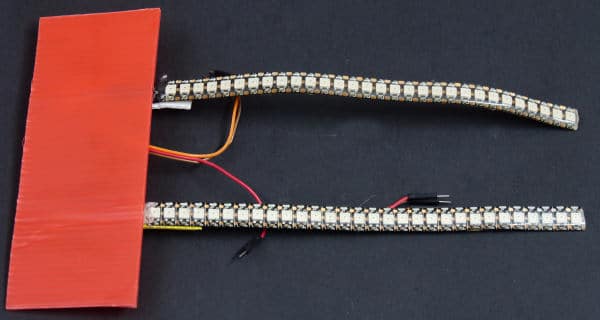
- Attach the sheets to the bottom plate such that the RGB strip should hang down and face outwards.
With these making of our RGB LED lantern is complete time to make connections.
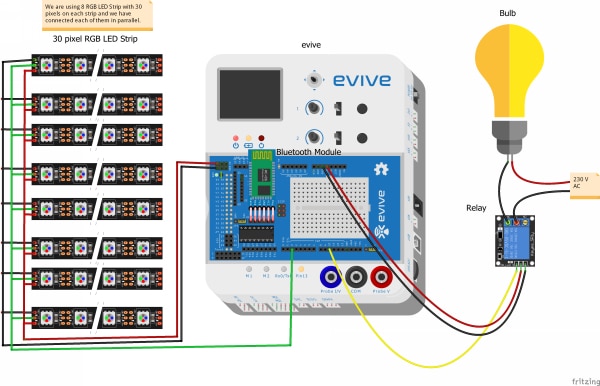
Making the Connections
Make the connections as shown:
HC-05
- Connect the HC-05 Bluetooth module to the header provided on evive.
Relay
- Connect the Signal pin to evive’s Digital Pin 10.
- Connect VCC to evive’s +5v
- Connect GND to evive’s GND pin.
RGB LED Strips
- As we need to connect all the 8 RGB LED Strips in parallel to the same digital pin, thus connect evive’s VCC, GND, and Digital Pin 2 to the breadboard given on evive.
- Connect the VCC pin of the Strips to the pins in the same column of breadboard where +5v is connected.
- Then, connect the GND pin of the Strips to the pins in the same column of breadboard where GND is connected.
- Connect the signal pin of the Strips to the pins in the same column of breadboard where Digital Pin is connected.
Writing the PictoBlox Code
Now, let’s write the code in PictoBlox. You can download it from here.
- We are going to write the code in the Upload mode. The when evive starts up hat block will ensure that code starts executing when evive starts up.
- First, set the Bluetooth baud rate according to your requirements.
- By default, the relay should be in the OFF state and the RGB Strips should be initialized. Thus, click on the add extension palette and add the Lighting Extension.
- The first thing we need to control is the bulb. If the command received from Dabble’s terminal module is ON, then the relay should turn ON which, in turn, will switch ON the bulb. If the command is OFF, then the relay should be OFF thus turning OFF the bulb.
- Next, we need to control the patterns of the LED strip. You can add as many patterns as you want to. In our case, the strip will turn red upon typing red, green upon typing green, and so on.
Now that the code is complete, upload it to evive using the Upload code button and watch the lantern light up the way you want it to!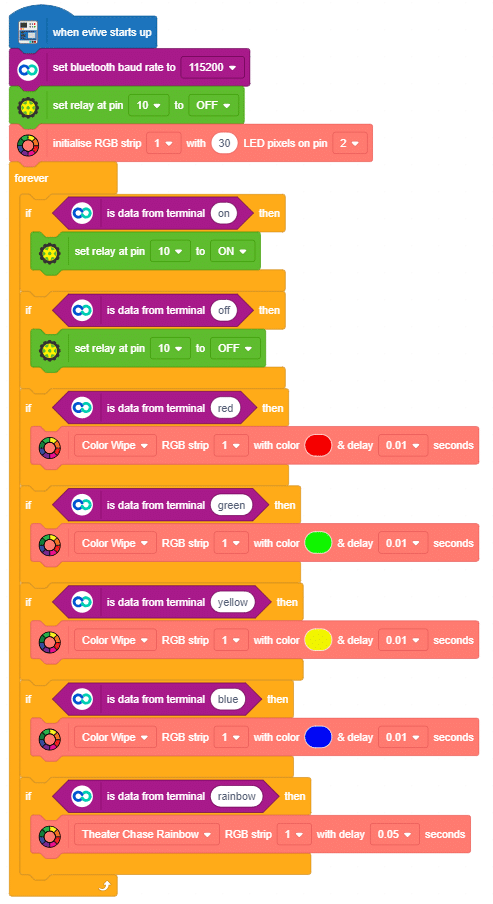
Conclusion
With this, your DIY RGB LED lantern is ready to light up your home. Happy Diwali!


 0-1 screenshot")


