
Introduction
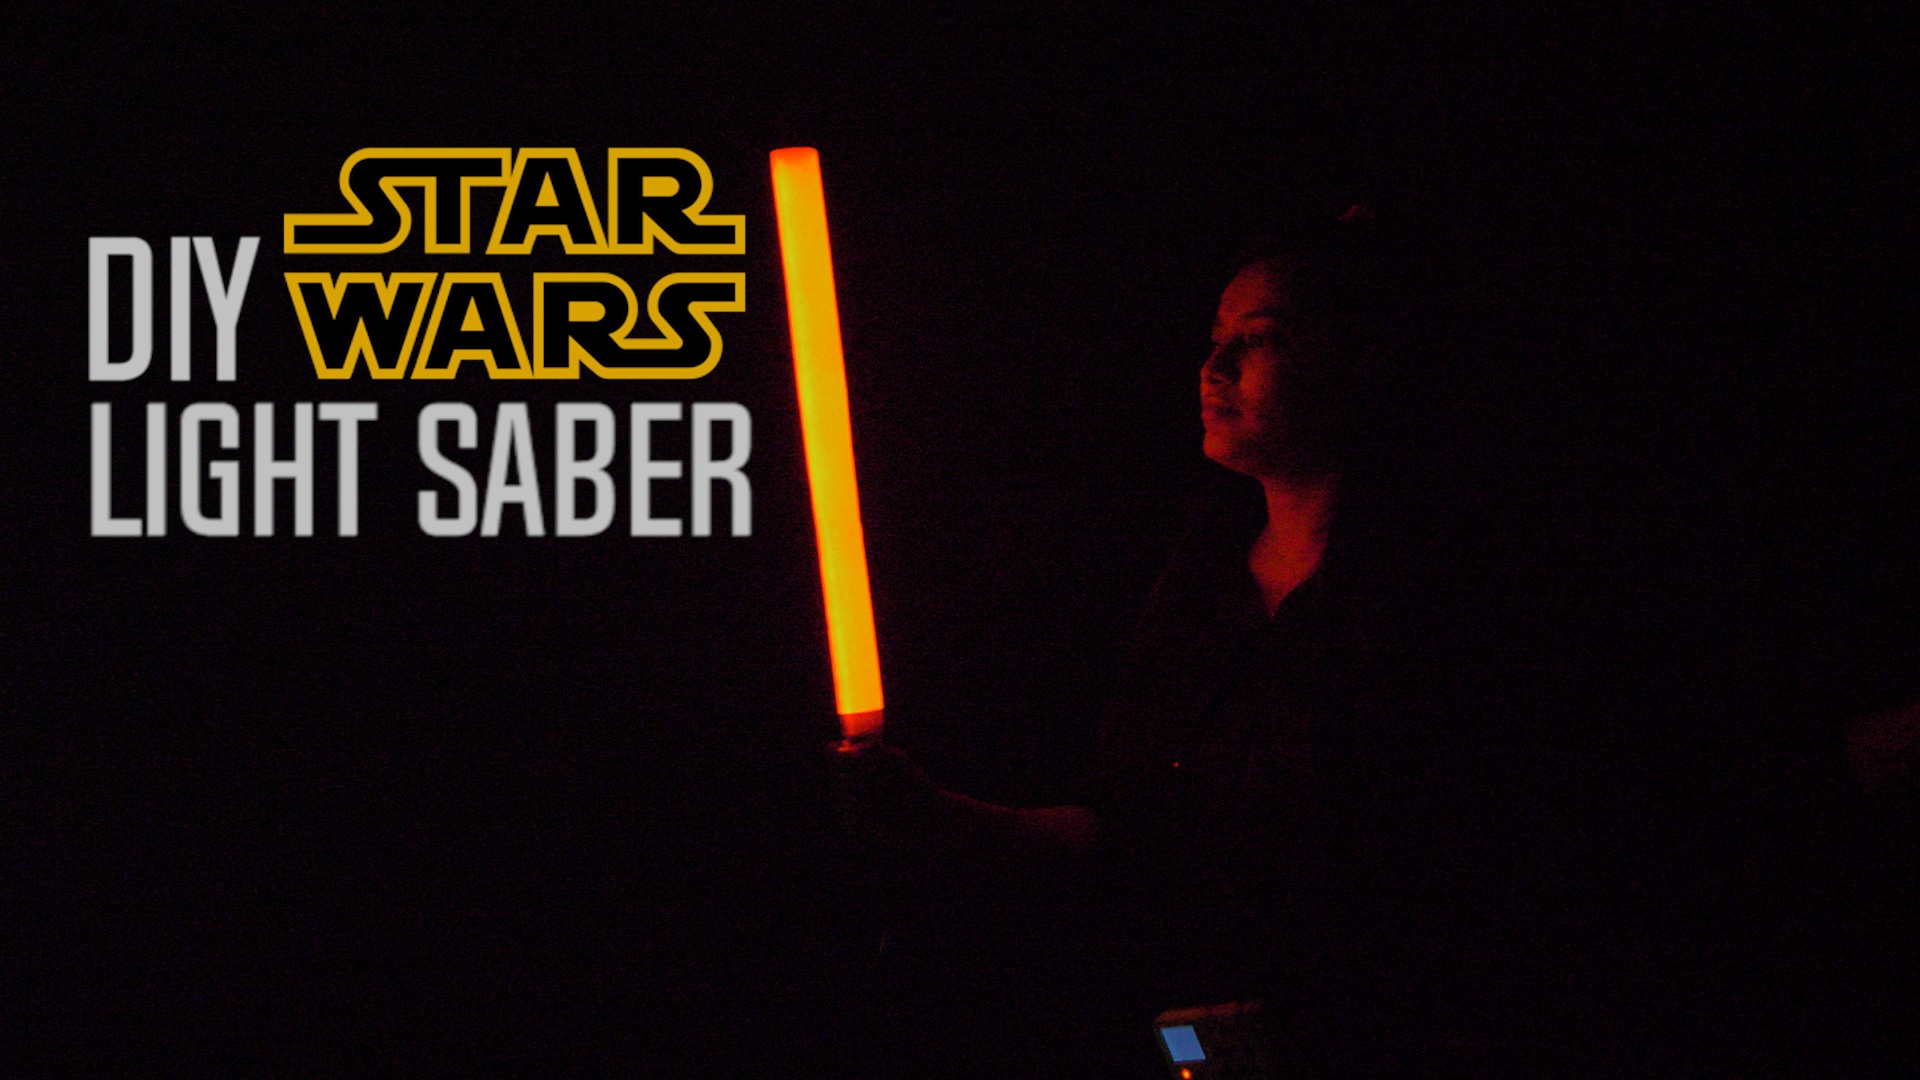
At one point in time all of us have imagined ourselves to be a part of the Star Wars universe and wield a lightsaber to fight the bad guys and save the universe. Only if it was possible to have one in real life!
What if you were told that it is indeed possible to make your very own lightsaber?
You read it right! Get ready to make a lightsaber of your own and defend your land against Darth Vader.
Ready for some action? Let’s begin then!
Assembly
For making the lightsaber, the main component we need is the RGB strip.
Thus let’s start with assembling it.
- Take the RGB of the desired length and stick it on both the sides of the cardboard strip or bar which is the same length as the strips.
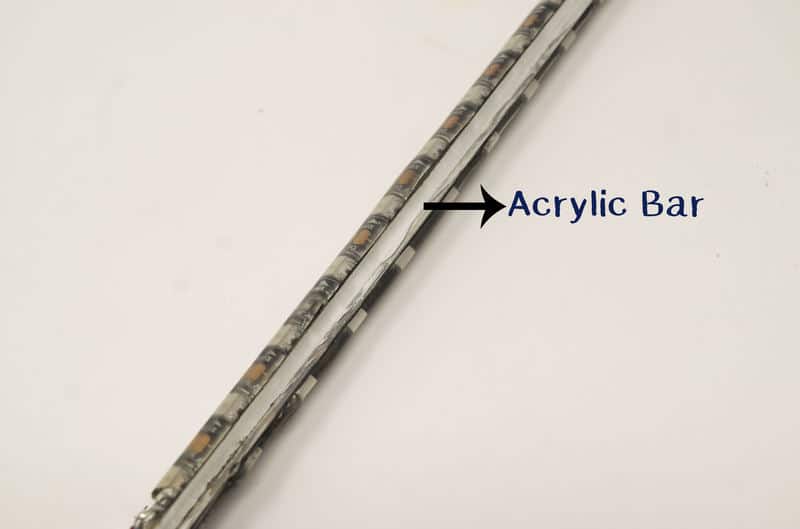

We have used an Acrylic bar.
- Next thing we need to do is, to connect the wires to the RGB strips. This can be done with the help of soldering.
- Solder three wires to +5 V, DIN, and GND pins as shown in the figure.
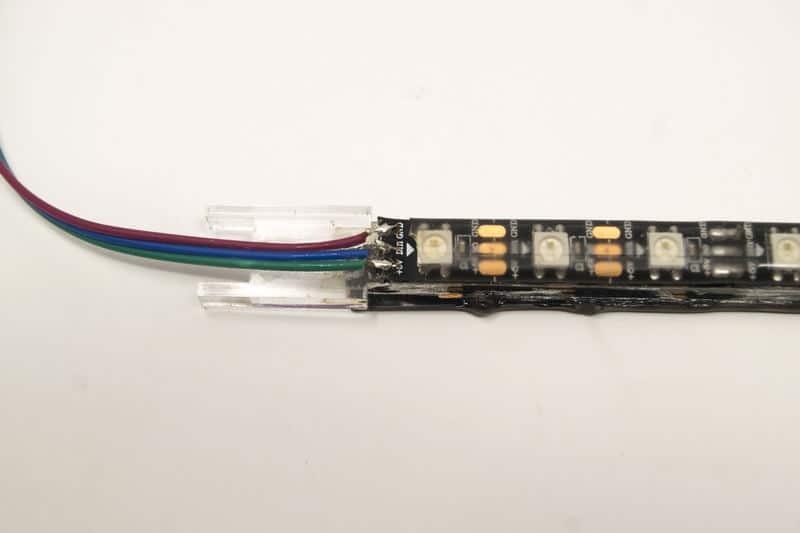

Do this step under the supervision of an adult.
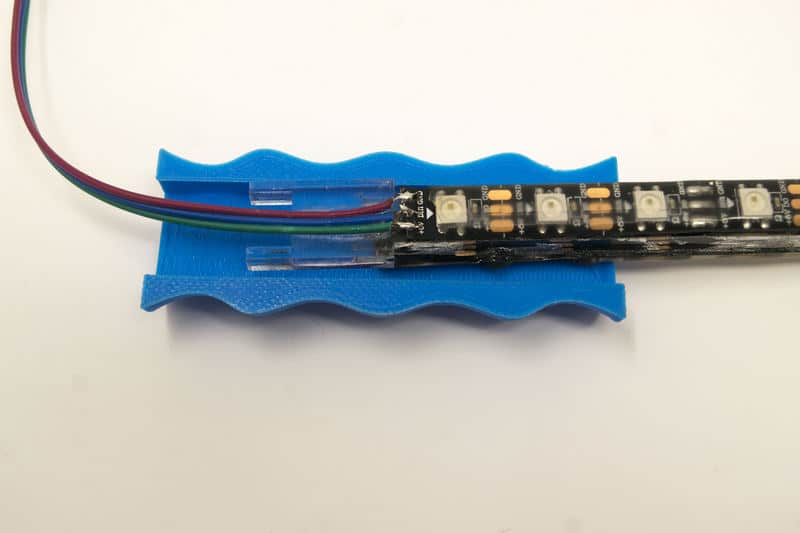
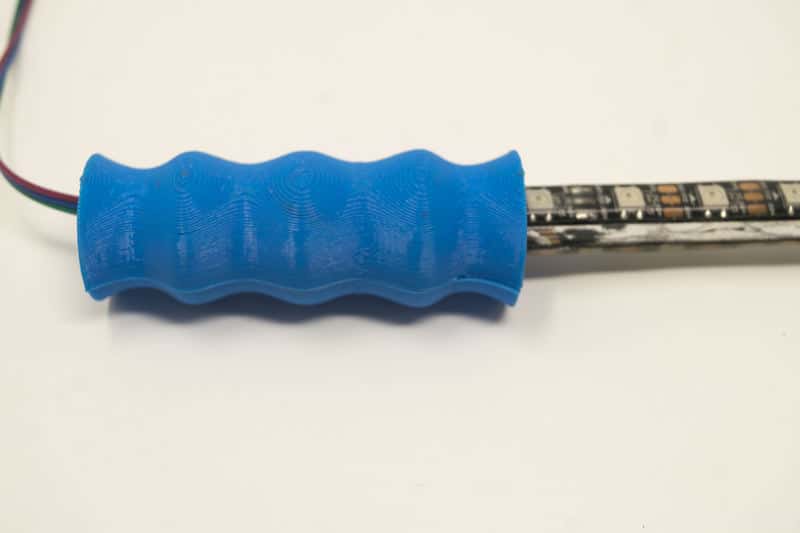
- As the blade is now ready, we need a holder for it.
- We have made a 3D printed holder or gripper, you can use the cardboard to make the holder.

Make sure you leave a holo space in the middle of the holder so that the wire of the strip can pass through. - Using Glue Gun attach the holder ends.
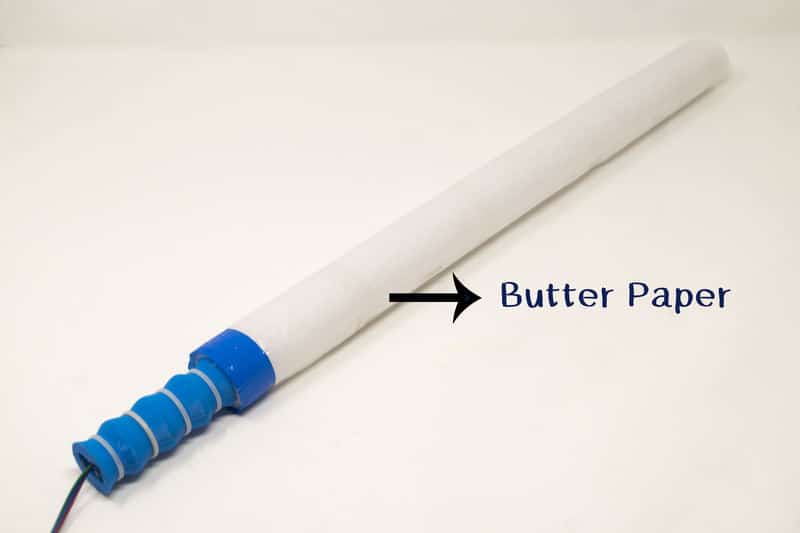
- Let’s wrap a butter paper around it to make it look good.
- Now, as you must have noticed that as we have covered it with butter paper, the brights spots are being seen. The light is not dispersed as we see it in Star Wars.
- Thus, we’ll use the foam sheet to wrap around it so as to disperse the light.
- Cut a piece out of the foam sheet of the size of the blade and wrap it around using tape.

- Finally, warp a butter paper around it. This will make your sword look smooth.
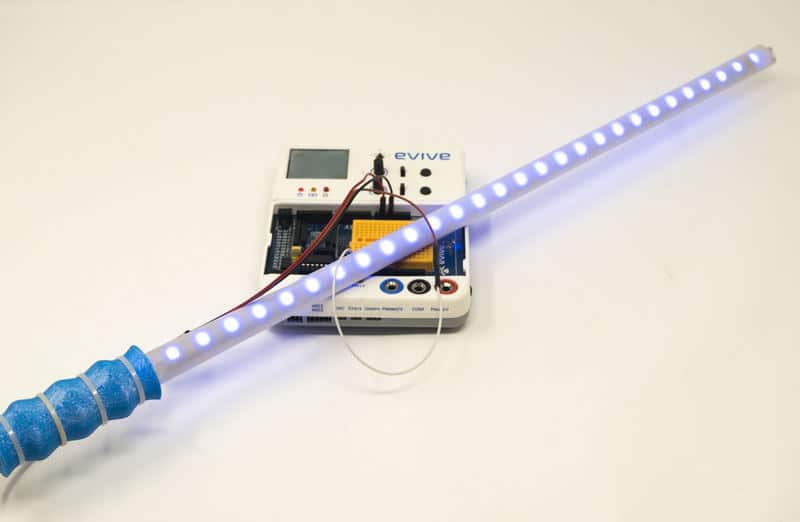
And your lightsaber is now ready.
You can also decorate the blade if you want.
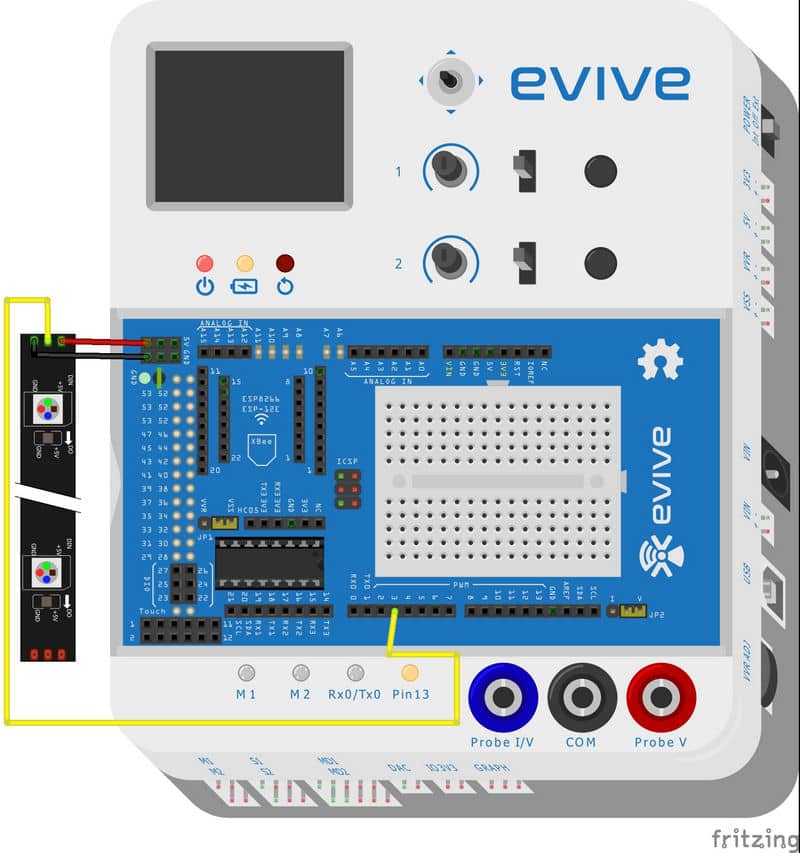
Circuitry
The three wires connected to the RGB Strips are connected as follows:
- GND to GND of evive
- +5V to +5V of evive
- DIN to Pin No. 3 below the breadboard
Code
Below is the code to make your lightsaber glow in different patterns.
Conclusion
With this you lightsaber is ready for action!
Go ahead and use it wisely to defend your land against enemies who try to take it over!
May the force be with you.


 7-13 screenshot")


